40KHW1: Daemons of Khorne by Lawnor
Works in Progress - Painting Shots Part 5 - Skull Cannon / Blood Throne
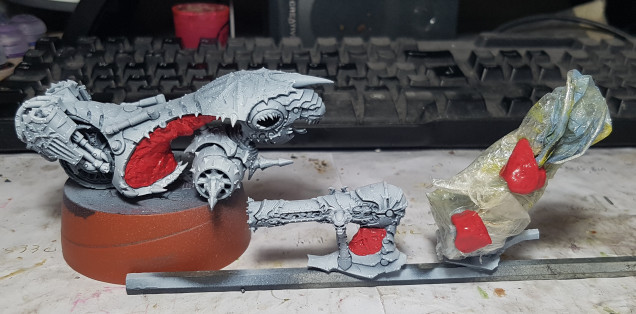 26/8/19 15:00: Its time to start work on the last model. I've masked out the larger flesh areas to preserve the preshade so I can airbrush on the black. It'll be a lot harder to do smoothly by hand.
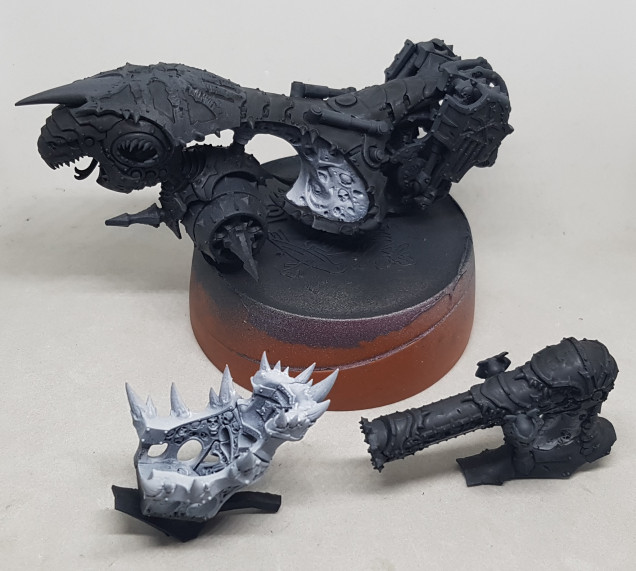 16:40 The black is now finished. It is 28 degrees in my painting studio (bedroom) and I think it may have messed with the way the wash has dried. Hopefully once the gold trim is down everything will look better.
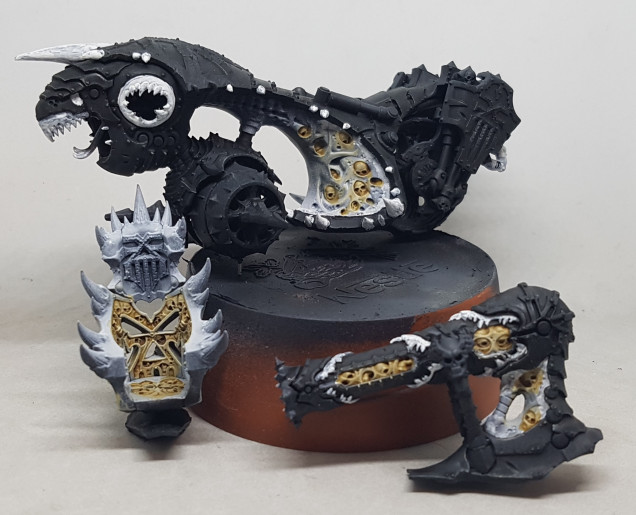 22:16 I reclaimed all the flesh, tooth, and bone areas with white, and then I've painted all the bone. Next up is the flesh I think, but not for a few days.
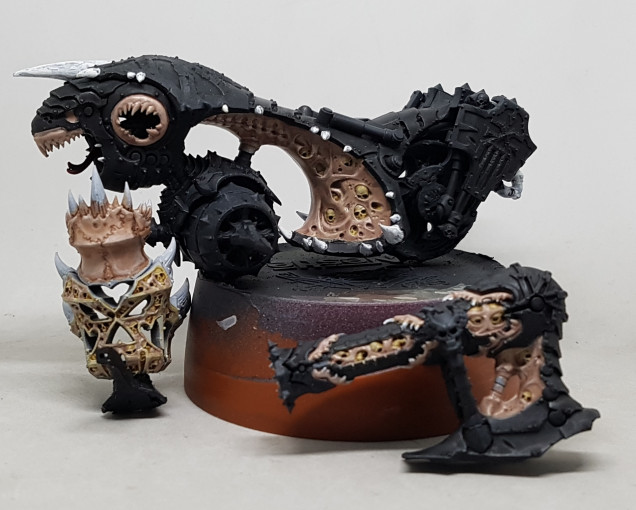 31/8/19 13:45 In my mind theres 3 types of flesh here. The living blighted flesh of the machine, the intestinal flesh round the back, and the flesh harvested from their victims and sewn in to the chair. I have painted the chair and the machine for now. I'll do the intestines after I've painted the iron around them.
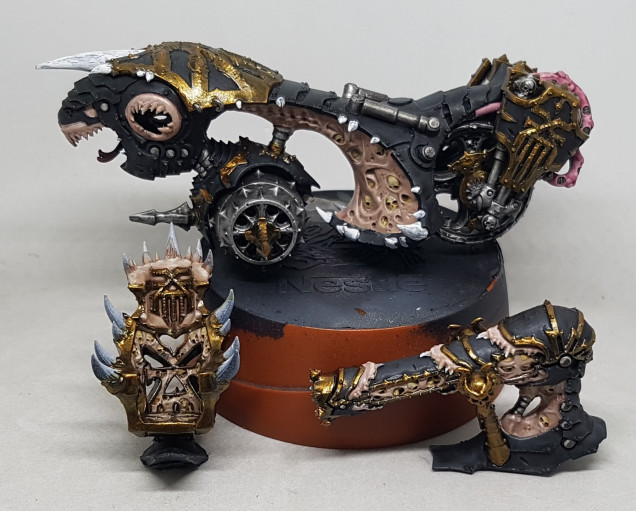 1/9/19 13:00: I've finished the brass and the intestines, and started picking out the iron rings around the edge. This should just leave the teeth, and a tidy up of the black. The guns and the throne have been realyl hard work. Every part of them is think strips next to thin strips. Brass over flesh over bone all in small spaces. So much care needed and such a largepotential for error.
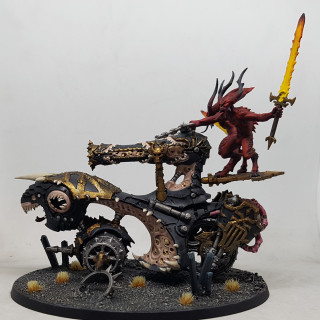
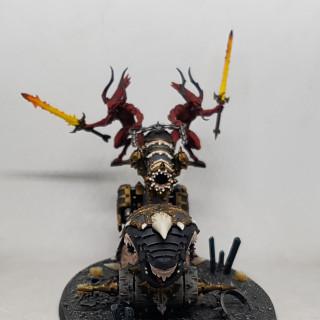
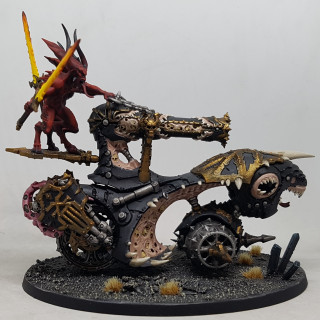
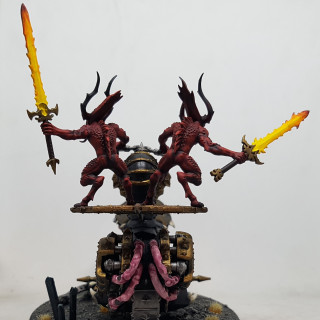
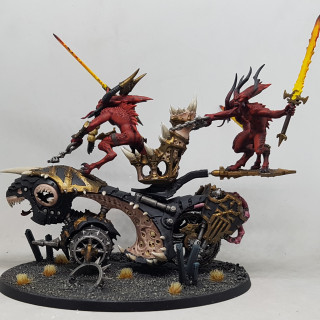
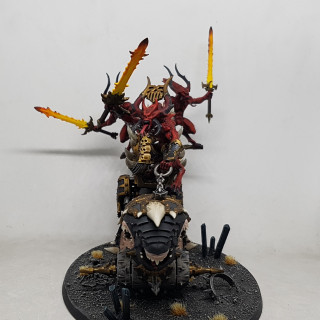
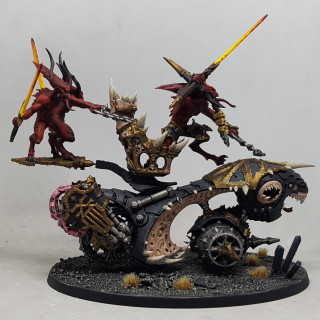
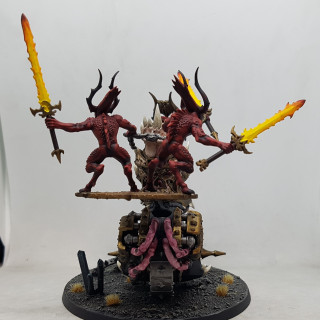
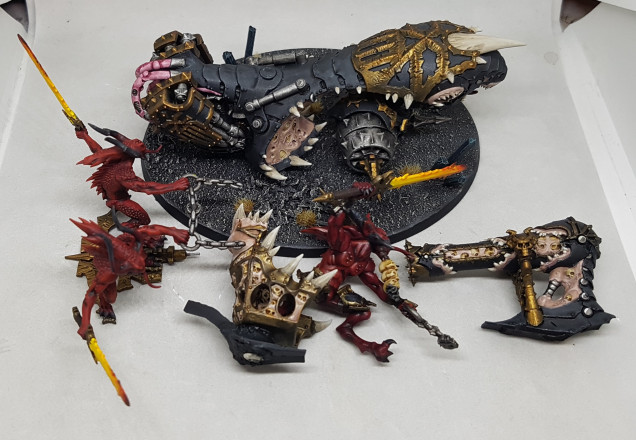 1/9/19 17:00 I finished, assembled, based and varnished all the parts. Here they are, as assembled as they get. Each piece here is magnetised or has pins to slot on to the body.
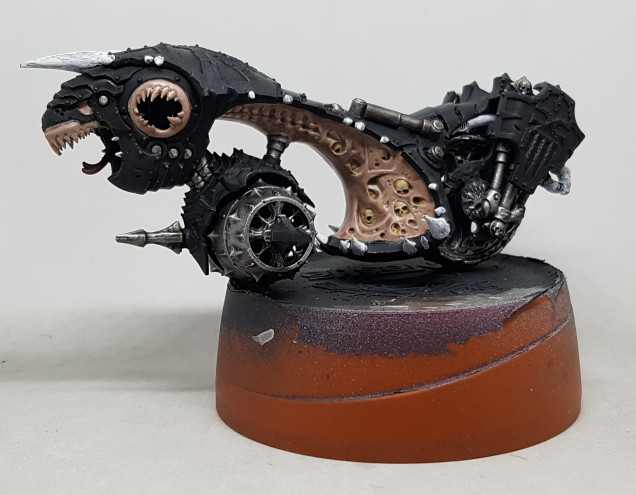
Below you will find a gallery of the thing assembled in both configurations, with images from all angles. I hope to take some in-action pics of the army when I get some free time later.
This is the last of the models from the Start Collecting box, and the last of my Khorne models. At some point in the future I plan on taking the 2 spare banners and turning them in to objective markers for a different game. Otherwise, that’s everything finished at last. I first put actual paint on these models on Friday 9th August, and finished the last on Sunday 1st September. That’s 4 weekends and a few evenings for 33 models (20 Bloodletters, 6 Bloodcrushers, 5 Flesh Hounds, Karanak, and the Skull Cannon)), or 8.5 days and a few 2 hour evenings. I definitely got more done on the hobby weekend. The atmosphere and the hobby group really helped generate momentum and encourage me to start earlier in the day and finish later at night.
EDIT: Apparently there is a little bit of gloss varnish still visible on the nose of the bike, reclecting light in the pics. I’ll have to take care of that and take more pics later
EDIT 2: I’ve applied matt varnish over the remaining gloss and replaced my pics below.




Nice little tutorial so far! Not a fan of the model, but it is interesting to see your processes!
As a big centrepiece, it is a little disappointing. It’s just a big motorbike, in a game where you have whole squads of bikes. I think it might have worked better with 4 wheels too. Let them beef it up a smidge.
Couldn’t have said it better myself. Keep up the good work though. The rest of your demons are very smart and do make a lovely force (plus I am going to steal all your ideas when I get round to painting up my Khorne bits and pieces).
Go for it. You want any more info on anything I did, just ask.