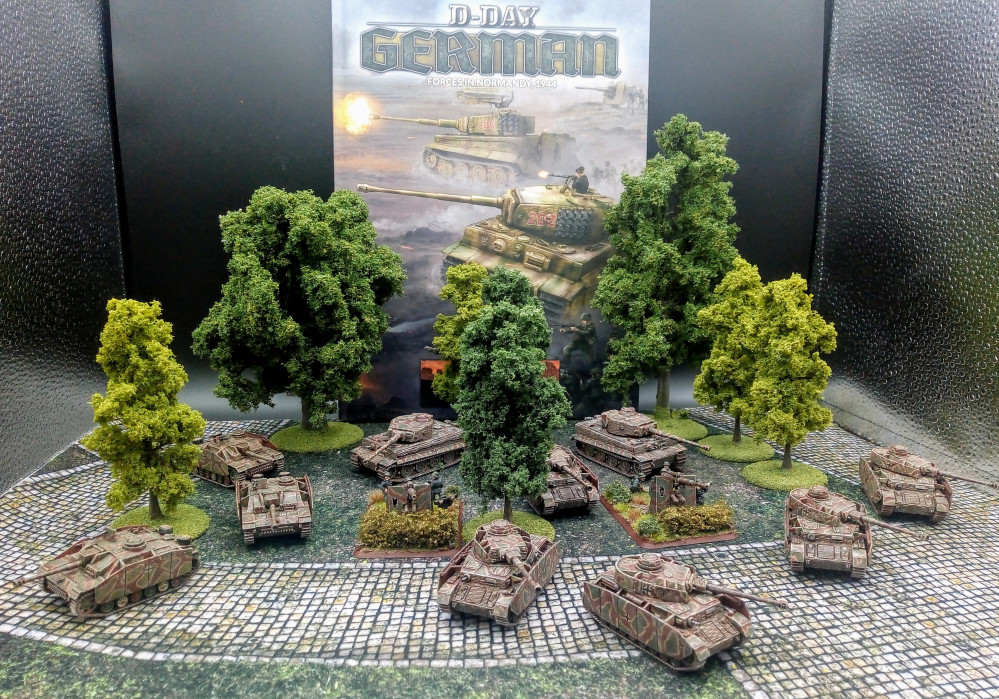
Flames of War Germans
Behind but working hard already this weekend. Artillery are now finished.
Hey guys and girls
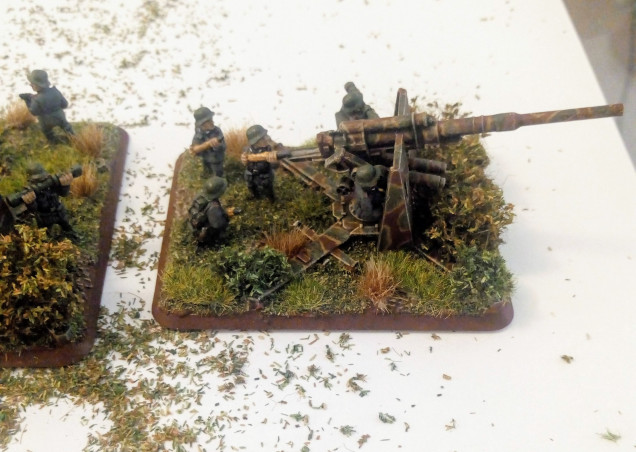
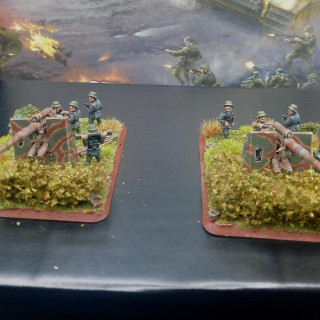
So like a few of my fellow slow growers I am a little behind. I wish I had taken the opportunity at the beginning to get a little ahead but too late now. Today I managed to finish my 8.8cm AT/AA guns. I left the final basing until the end and you can find my processes below along with some final shots in the lightbox thing. Also, I tweaked some of the colours here and there with a lighter final shade so they look a little better in normal lighting and have now stopped using my lamp when painting for anything other than mould line cleaning so the final colours can be seen on the tabletop.
Next, I aim to concentrate on my 3 x StuG into this evening and fingers crossed will finish them off at some point tomorrow, leaving me the final task of working on the 5 x Panzer IV’s.
I have to say I am still really enjoying working with miniatures of this scale and quality and can see me expanding on this force for the foreseeable future when I want a break from other projects.
It’s been really nice to have the other guys on the project forum to keep me ticking along and to see how and what they are doing with their forces. Looking forward to seeing even more in the weeks to come and that final shot of 100 points.
Right, I need to crack on and get some more hobby done.
Have a great weekend everyone.
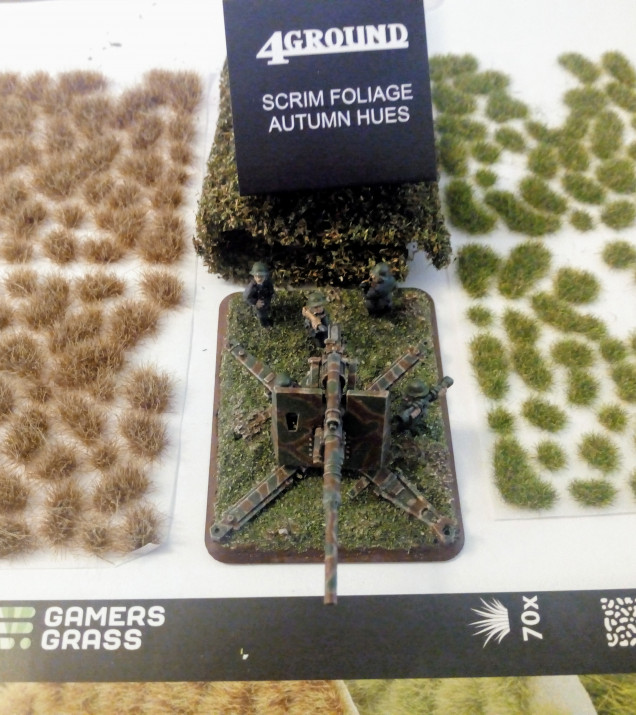 Here are the companies products I will be using. Grass tufts from Gamers Grass and Scrim from 4Ground (think this is unavailable at the minute)
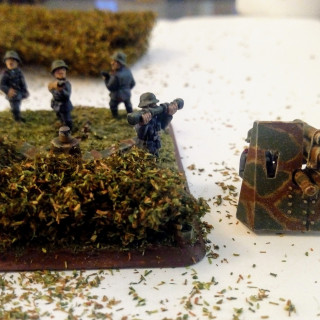
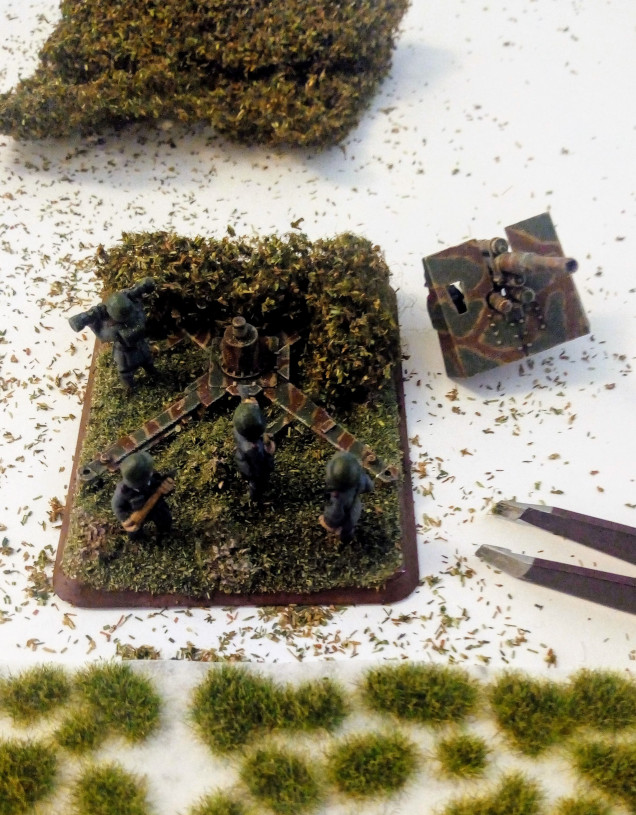
The four images above show my hedge process.
For this, I have the 4Grond Scrim, the inspiration came from seeing @warzan lovely units that he had on an XLBS Weekender. He is far too self-critical and I was more than happy to steal his idea and apply the same method.
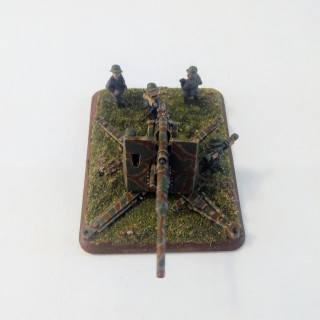
The first image shows the base model with nothing on it.
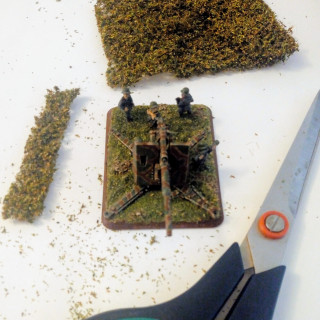
The second I have cut down the scrim using scissors.
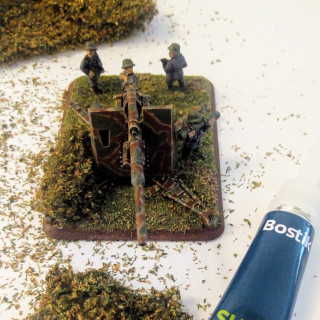
In the third, I have begun to apply Super Glue Gel. This is my choice of superglue for everything these days. It is cheap, easy to use without going everywhere and for delicate items can be used in conjunction with a toothpick for excellent accuracy in application.
In the fourth and before application of the glue I distress the scrim, it is pretty flat and so I pull it around a bit and then squeeze it back together. Its a little like plumping a pillow or cushion. After this, I dry test the location and shape to see if I like it and test and adjust as required. Once happy I apply a few beads of super glue to the underside and put it in the position I wished. I did find that this didn’t quite give me the height I wanted so I did another layer then a third glueing each layer to the one below. Any bits sticking out I then trim with scissors to shape and tidy the hedge here and there.
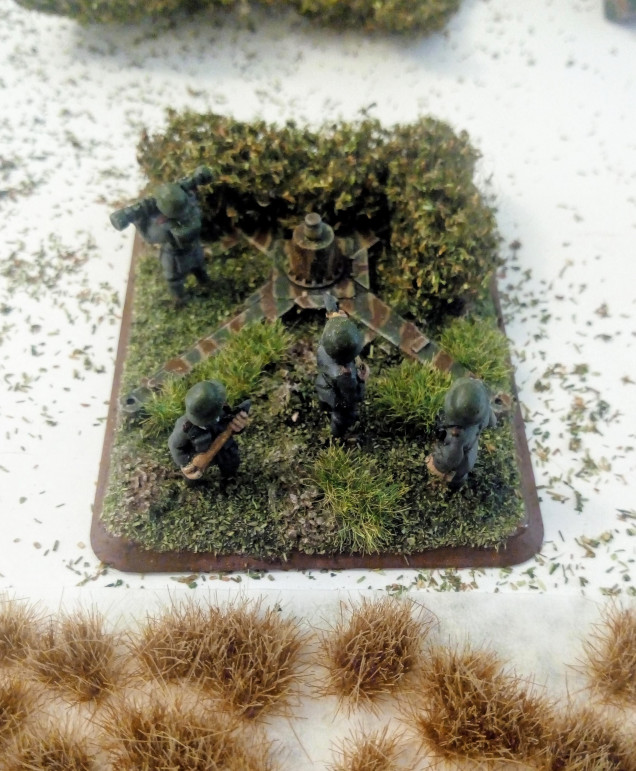 For these I still use the super glue and try to space them out naturally using the lay of the ground the set different shapes and sizes. I decide a place I want the green tuft and then have the tuft sheet below the model to be better able to choose a shape that will fit nicely.
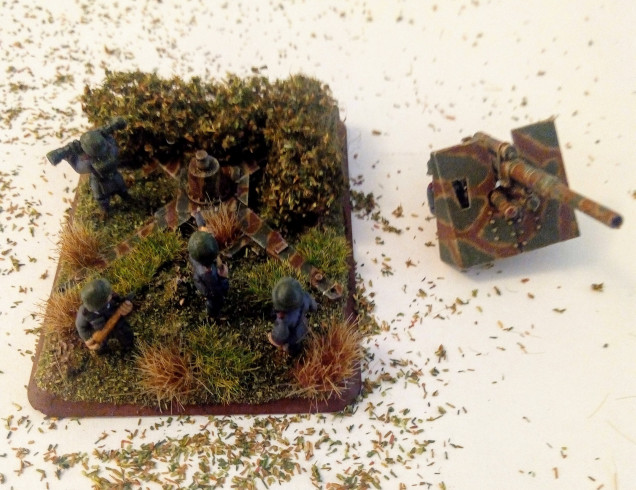 The exact same process is used for the brown tufts. These two colours and the hedge help tie into the colour scheme I have chosen for the force.
 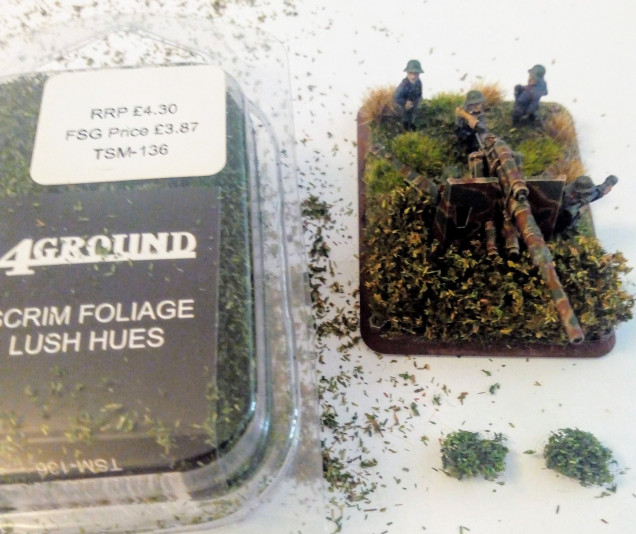 I felt I wanted just a little more volume on one of the bases and to make them just a little different. For this I switch to the 4Ground Lush Foliage. I cut two small squares, distressed then again and made them rounder to act as small bushes.
With both these bases now completed I am happy with the 8.8cm AT/AA guns and their crews. I then put them in the lightbox and took some photos with my phone.


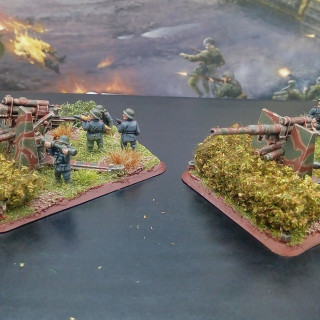
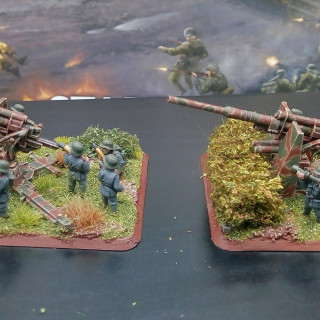
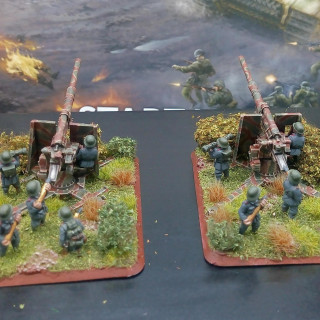
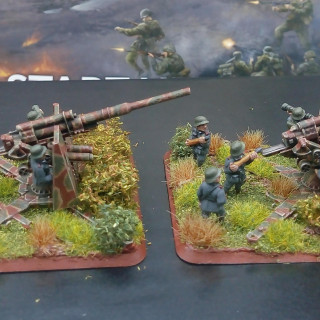


Looks the part! Love a bit of bush on basing!
@robert cheers buddy, I even trimmed the bush a little bit too 😉
Nothing worse than an untidy bush! I have got my Panzers base coated in Dark Yellow,so a bit of progress being made.
Great stuff buddy, I am hoping to have the turrets fully painted tonight for mine as I have all the base colours already on them but need to get the bazooka armour painted and attached.