Tiny micro desktop smoke machine
Recommendations: 26
About the Project
A while ago I went to see Biggus Bennus from 4Ground after he'd said how much he liked my daisy-chain LED system. He asked if I could make a tiny desktop smoke machine. I didn't think I could...
Related Company: 4Ground
Related Genre: Game Aid
This Project is Completed
Getting started
A while ago I went to see Biggus Bennus at @4Ground.
He’d seen one of my earlier projects, the daisy-chain LEDs with bluetooth controller and said they’d be pretty cool to embed in some of the terrain they make over in Winchester. We all agreed it would be.
Now making LEDs switch on and off is pretty small-beer; I mean, it looks amazing (even those Space Marines with LED heads and batteries in their base – although technically simple – look pretty awesome) but it’s not much of a challenge.
What Ben came up with next was….
“Could you make a smoke machine that fits on the tabletop?”
Vape smoking juice
At it’s core, a vape cigarette is little more than a battery and a coil – the coil acts as a heater and it has a “wick” through the centre of it. The wick soaks up a mixture of vegetable glycerin and/or propylene glycol and when it hits the heated coil, it immediately vapourises, creating those recognisable plumes of smoke that seem to accompany hipsters that hang around the doorways of trendy cafes.
I figured that since the technology already existed, it’d be the perfect place to start. Except, of course, simply gutting a vape machine wasn’t going to cut it – in terms of 28mm scale, they’re massive.
So the trick was to re-create a controllable heater coil, as small as possible.
It took quite a bit of trial and error to work out the voltage and current requirements to get the coil hot enough to vapourise the PV liquid, without causing “thermal runaway” and making the thing a fire hazard on the tabletop!
That said, a microcontroller, a high-current MOSFET and some 32AWG wire were pretty much enough to get started. It took a few iterations to realise that, at first, I wasn’t using enough voltage.
Because the microcontroller was running at 5V, I simply used a 5V supply but this wasn’t really enough to get the coil hot enough (and in order to get the coil hot, the resistance had to be so low that the device was pulling 3-4 Amps – that’s a lot for such tiny electronics!)
So I tried using a 12V power supply, and a 5V regulator to step the voltage down; this allowed me to run the microcontroller at 5V but still switch the coil on and off at 12V.
To get the coil hot enough to vapourise liquid, I had to pull about 1 Amp from the power supply; still quite a lot (relatively speaking) but well under the 2A rating of my power supply adapter.
By using a high-speed microcontroller to turn the coil on and off, really quickly, I could simulate a range of power levels – allowing the coil to run between a range of different temperatures.
Unfortunately, this extra complexity would require a little more thought….
First smoke test
Using a microcontroller to change the rate at which the MOSFET turned the coil on and off allowed us to have a range of power levels. In the video above you can see that when running at about 1/4 power, a small – barely noticable – whisp of smoke comes off the coil.
At about 1/2 power, the smoke is nice and thick and immediately obvious.
At full power, you can just about see the actual wire in the coil gets so hot that it glows red! The liquid vapourises faster than the wick can soak up fresh “fuel” – resulting in what vape-smokers know as a “dry hit” – that’s what makes the hiss and crackle and popping noises; air mixes with the “fuel” in the wick, making it extremely hot and unpredictable.
It’s probably best that we don’t ever allow the coil to run at full whack for any length of time!
Miniaturising chunky electronics
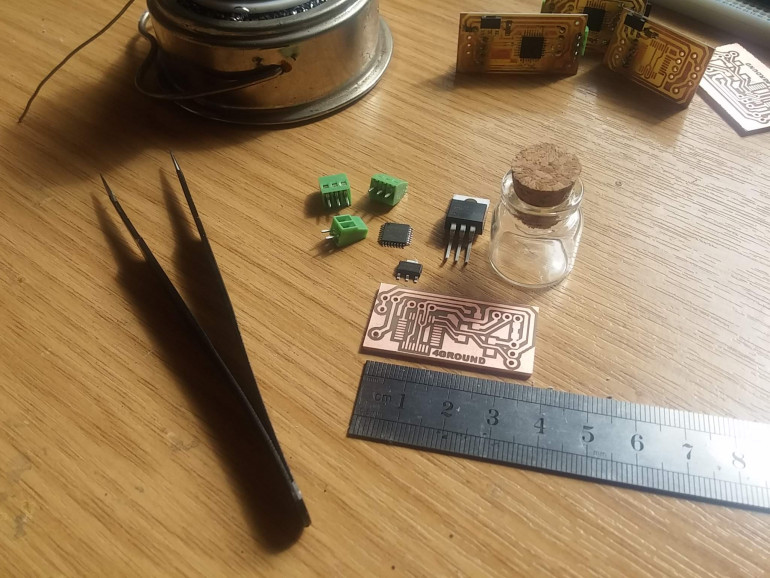
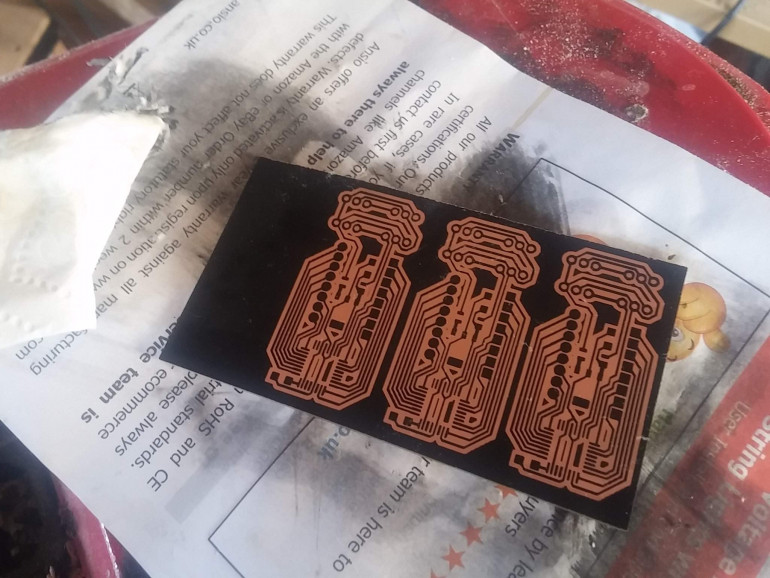
Creating your own circuit boards at home is pretty easy, if you have a laser cutter, a couple of hours, and a vat of heated ferric chloride. Luckily, I had access to all three, so had the chance of trying out a few PCB designs, to get the overall physical size as small as possible.
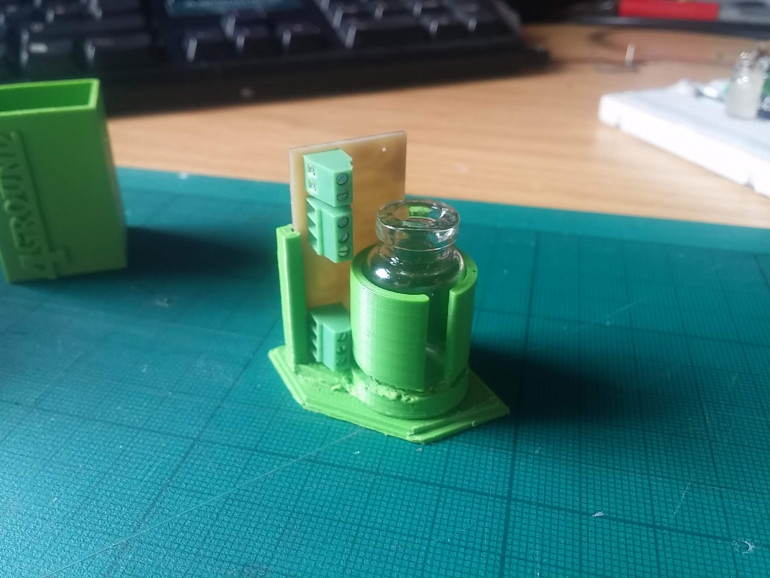
I bought some tiny little glass vials off the intertubes (to hold the vape juice) and 3d printed a little holder to keep everything nice and neat.
I honestly thought I’d cracked the design; everything was nice and small and super-neat, and worked really well.
The only problem was, because the vial was so small, the “smoke machine” would run out of juice after about 20 minutes of continuous use. I was in two minds about whether to just accept this as a “feature” of the device when something else happened that required (yet another) complete redesign:
Everything that uses microelectronics requires a power and a ground wire. To be able to communicate with the device (to tell it when to turn the coil on and off, remotely, for example) we also need at least one data line (lots of electronic devices require two data lines, or a data and a clock line, but I managed to come up with a system that allowed us to use just a single wire for bi-directional communication).
These three wires need to connect to a “controller” (which we use to send data to control the device remotely). During a test, I put the plug in back-to-front, inverted the power and ground lines and “pop!” everything suddenly stopped working (the acrid smell of burnt electronic components took a while to register, as the air was thick with vapourised vegetable oil!)
Given that I’m supposed to be relatively competent with electronics, and still managed to mess things up by putting the wires the wrong way around, I decided it was time to reconsider the whole design….
Reverse polarity protection
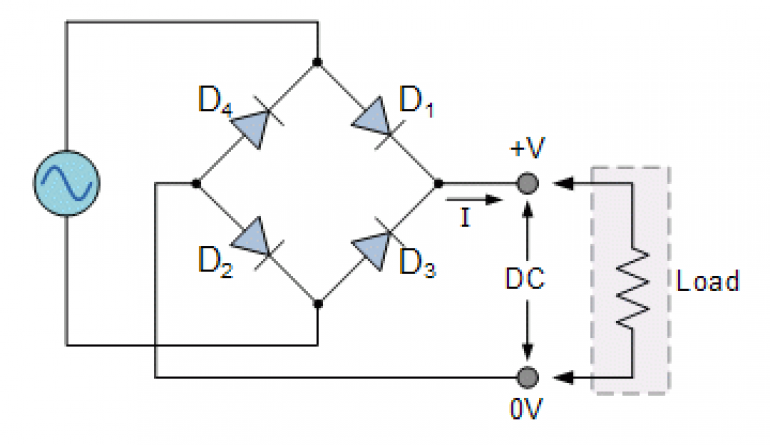
A diode is a clever little device that only allows electrical current to flow one way through it. A bunch of diodes, connected in a certain way, can be used to create a “rectifier” – these are usually used to turn AC or mains electricity into DC (single direction) current. But they can also be used to “flip” an existing DC current, to ensure that we always know which point is positive and which point is negative (or ground) in a DC input.
By using a rectifier, it wouldn’t matter which way around the power and ground wires were connected – it would take any potentially inverted input current and “flip it” to make sure it’s always the right way around.
So before anything on the circuit, I had to introduce a high-current rectifier (since we already know that the coil pulls between 1A – 1.5 Amps, the rectifier needed to be rated to at least 2 Amps).
After a few weeks (sadly, work still takes priority so this was very much an evening/weekends project) I had a design that seemed stable and resiliant.
I ordered some PCBs from PCBWay, handed over some cash, waited the necessary 10 days or so, then soldered up a couple of prototypes.
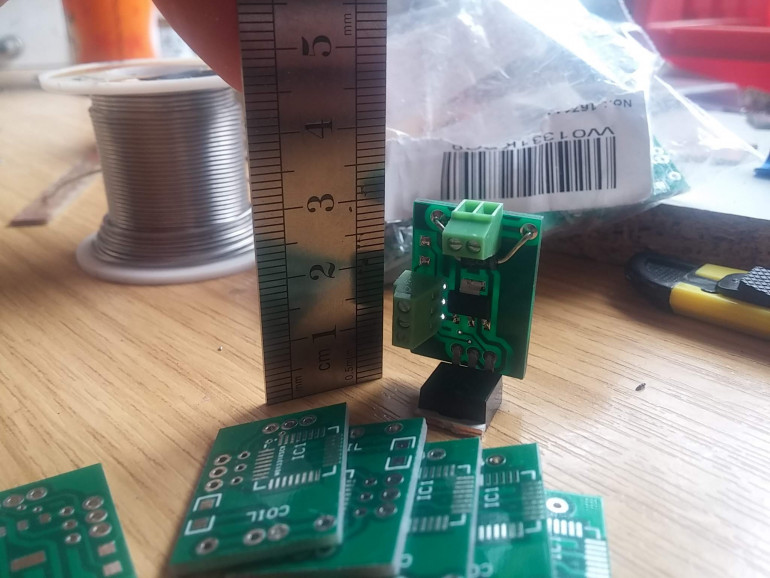
The circuit boards were just 30mm high, but rather “chunkier” (wider) that I would have liked. I’m not sure why. There was just something about them that felt like they were bigger than I would have liked.
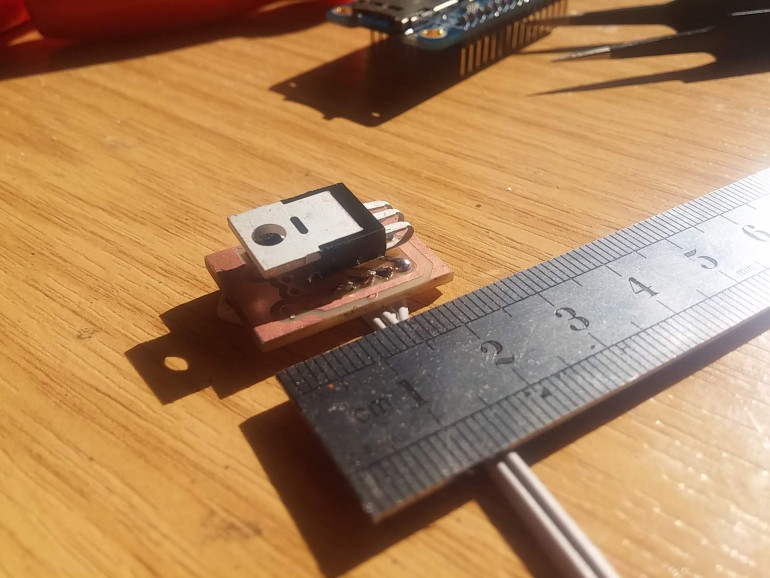
Almost entirely by accident, when soldering a MOSFET to a homebrew circuit board, I stumbled upon a way of “squashing things up” a bit – simply fold the component up over itself!
After another few weekends of trial-and-error, I had another circuit design ready to send off to the factory for production. All I had to do was wait for it – along with a load of rectifier components I’d ordered online – to arrive, and get soldering!
Final design and testing
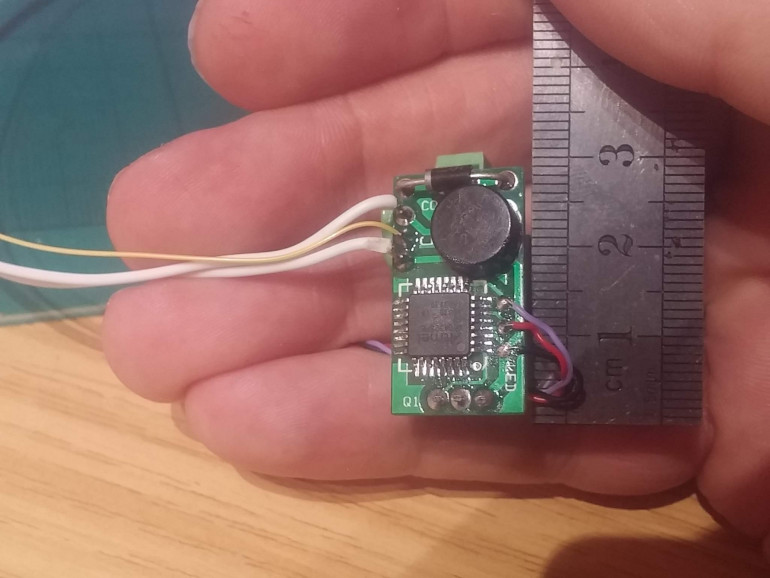
Having to re-order more circuit boards gave me an opportunity to change a few things around; I needed to create a little more space to accommodate the new rectifier component, but it did give me a chance to make the whole thing a little slimmer and more streamlined.
As the micrcontroller was also vastly under-utilised for this single purpose, I added in some fancy LED control and a single, RGB LED.
Thanks to the automatic white balance and terrible autofocus on my camera phone, the effect isn’t as clear in the video as it is real life; but the single LED creates a half-decent flame/flickering effect.
I figured that anything that is going to have smoke coming out of it on the tabletop is likely to be simulating something on fire – so having an LED that looked like a flame effect just seemed like an obvious use of all those extra processing cycles that were going unused in the microcontroller.
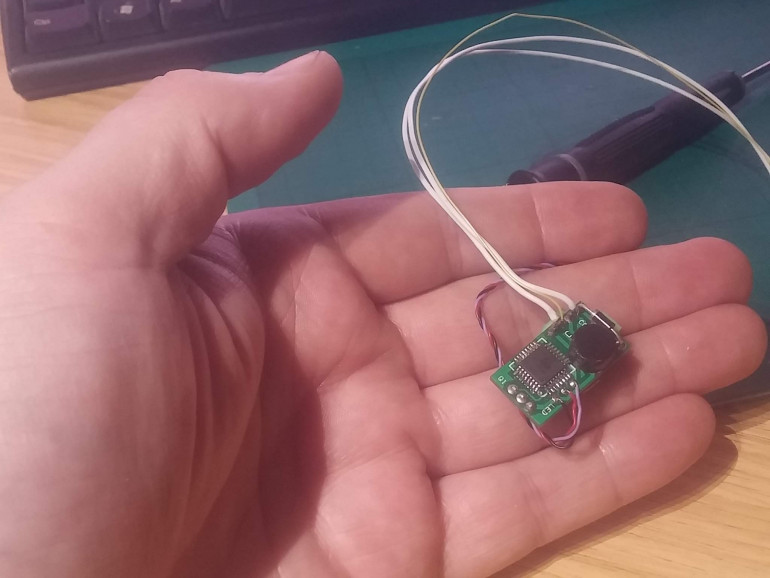
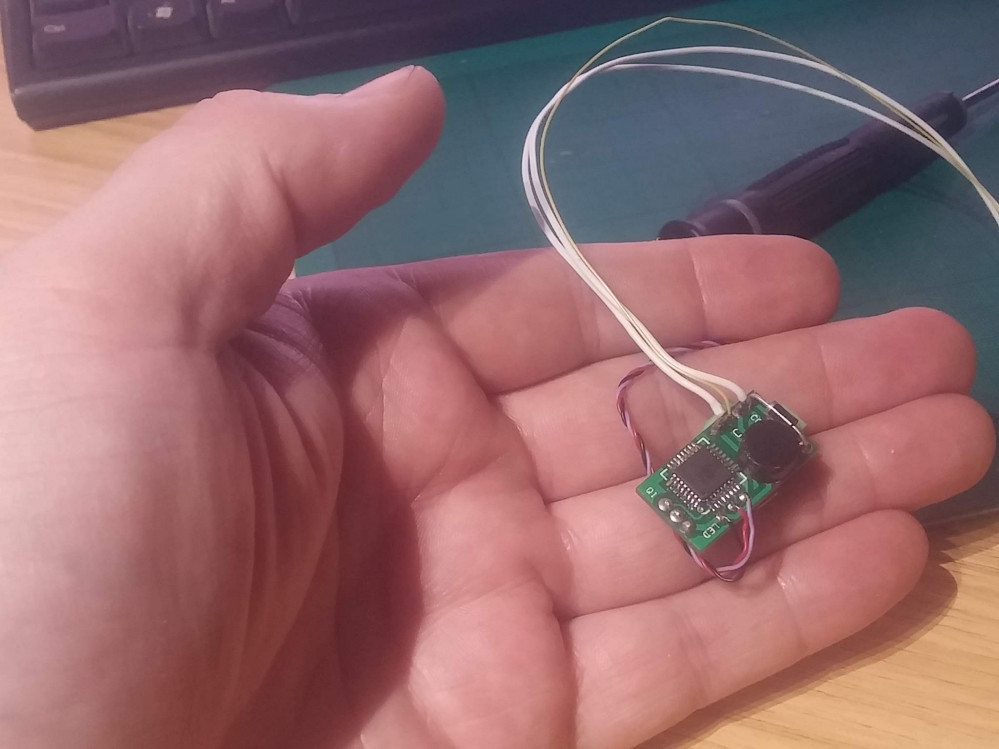
So here’s the final design.
It’s still about 30mm high, but now only about 14mm wide. Small enough to cram inside a building – or even an model steam train!
I decided not to make the vape fluid container an integral part of the actual smoke machine – so long as there’s room for something under the coil, the actual size of the container can be left up to the user; I’ve tried 1ml, 2ml and even relatively large 6ml containers to hold the vape fluid.
You can 3d print your own juice containers, or use ready-made glass vials (as I found on the interwebs) or any little pot/jar.
So there it is – that’s about as small as I can get it. Part of me thinks that, with a little more time and effort, I might be able to shave the odd millimetre off, here and there. But that would require me to use smaller (phyiscally smaller) components. And smaller components usually can’t handle the relatively high currents required to get the coil up to temperature.
So I’m calling this one done.
In this final version of the device, there are a few things of note:
Because the incoming voltage passes through a rectifier, to ensure it’s always the “right way around” the full 12V isn’t available to the coil – this isn’t a bad thing really, since the full 12V caused the coil wire to get so hot it glowed red!
This latest version switches between “coil on” and “coil off” like a car indicator – it comes on for a number of seconds, then goes off for a number of seconds; this ensures that even if the coil were to be powered by the full 12V, it would never be on for more than a few seconds at a time.
Even when the coil is not powered, it retains its heat for a few seconds – so even though it’s off, the vape juice continues to vapourise. Before the smoke finishes, the coil turns back on and creates yet more – the overall effect isn’t that the smoke machine is turning on and off in bursts – more than the smoke “billows” in pulses.
Although the camera fails to pick it up, the integrated LED creates a warm flickering effect that simulates a flame, which makes it ideal for inside a building – either to simulate a bombed out building, or even something like a domestic fireside/hearth.


