40KHW1: Daemons of Khorne by Lawnor
Prep Work & Basing
Everything gets a wash with warm soapy water and a scrub with an old toothbrush, and left as long as it needs to air dry. Then I build individual models, clipping off the sprue and cleaning up mould lines as I go. Pins are put in to the feet etc of everything I can. This is much easier with a small electric drill than with a pin vice. The riders are kept separate from their mounts or vehicles, but connection pints are determined and pin holes will be drilled where appropriate, although I am considering the possibility of magnets.
Basing
This is something I learned from AssetDrop for making crystal growths I’ll be painting these up to look like obsidian, as detailed below.
Firstly, remember to put pins in the feet of the model. Then you need to mark matching holes on the base. Drill the first roughly where you want it and then put the model in that hole. Rotate it around that pin scratching a path on the base with the other pin. You can now drill the other hole in that guideline. Double check after to ensure they do match up.
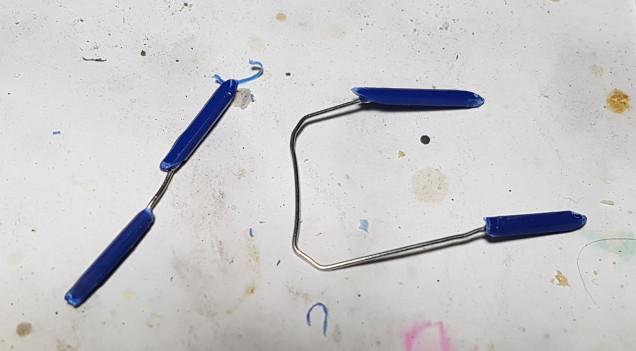
The first step was to save some sprue and cut out some straight sections, removing any writing or jutty outy bits. Then you take your hobby knife and shave off the corners so you have an irregular 8 sided shape. Then you bring one end to an irregular angular tip. I then cut a flat bottom on to it at the angle I want.
As you will see below, this gets very messy very fast. Plan for this, and for gods sake, don’t blow on anything like I did!
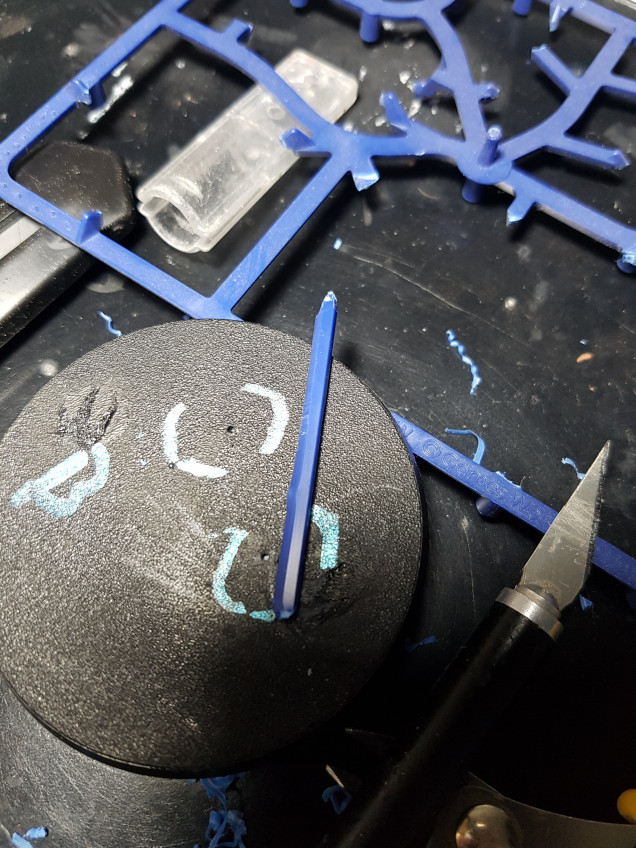 My first crystal and the base. You can see I've marked out where the feet will go so I do not put anything in the way.
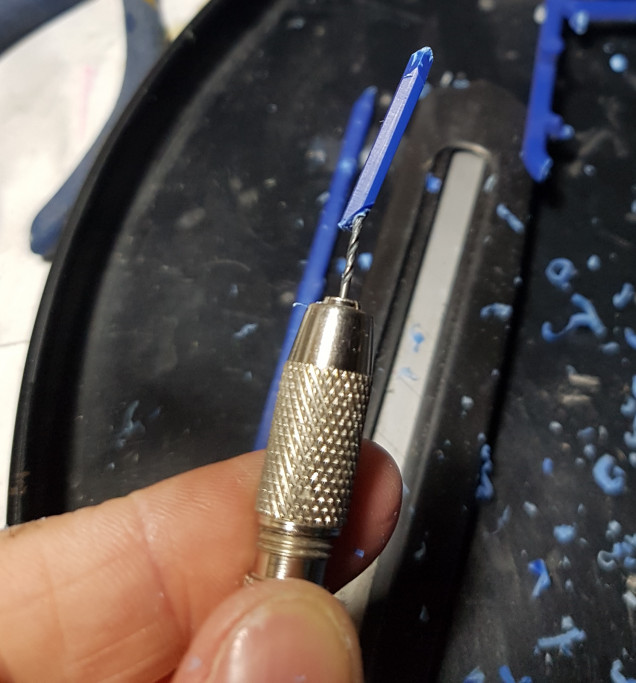 Then I drill a pin hole in the bottom of each. I drilled a guide hole perpendicular to the surface, but once I'm about 1mm in I angle the drill to go alone the middle of the crystal as best as I can.
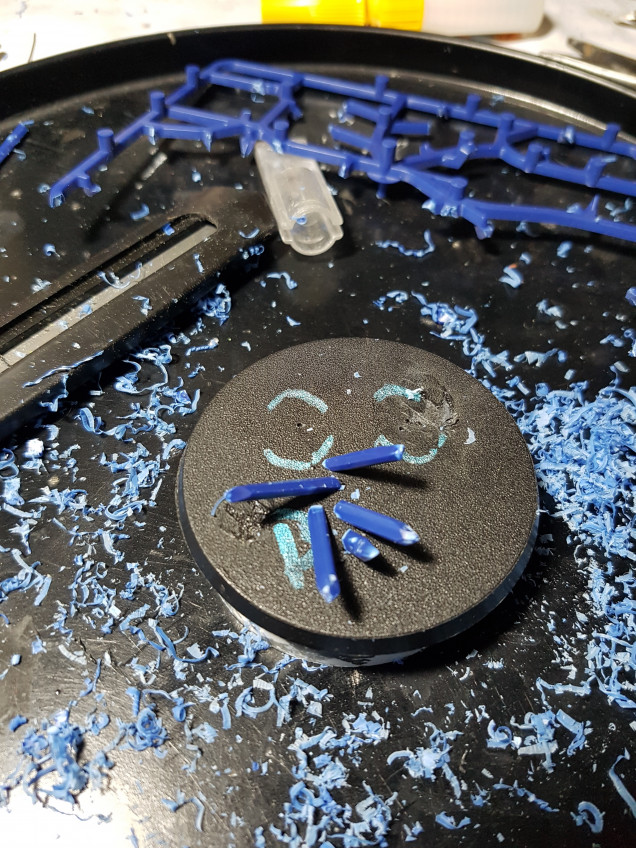 Drill holes in the base using the same method as before. Do this one at a time, dry-fitting crystals until you are happy with the arrangement
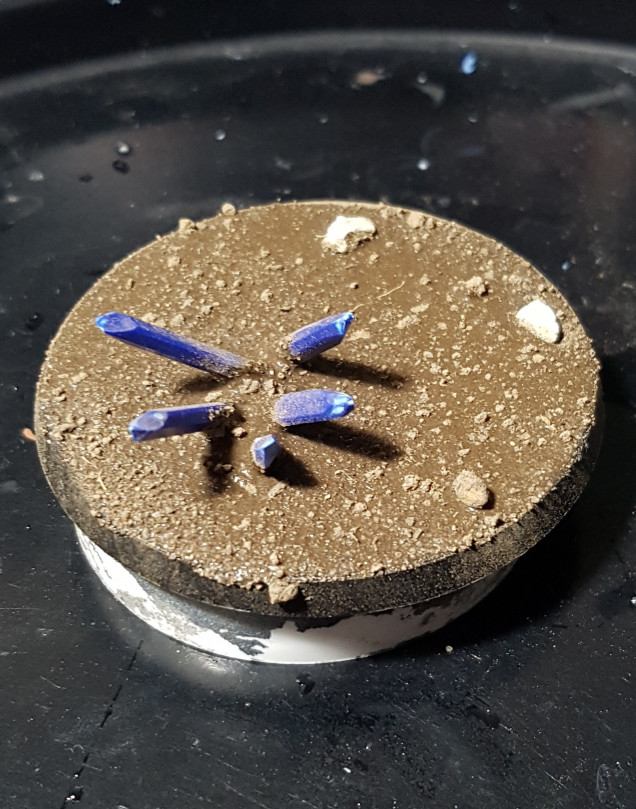 Some kitty litter was superglued down, and then some watery PVA was spread over the base and over the bottoms of the crystals. Fine garden dirt was then crumbled over everything. Once the glue is dry (8-24 hours) I'll go over it with even more watery PVA
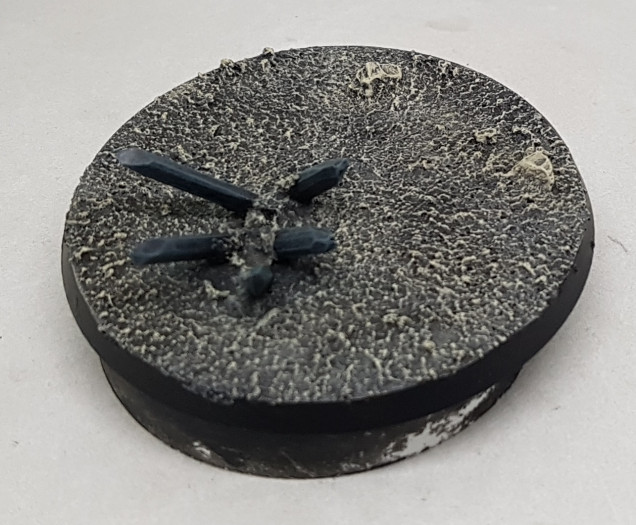 Here is what it looks like fully painted. Remember to re-drill those pin holes before painting so you can cover over any damage that happens
The base was primed black and then painted with P3 Great Coat Grey. This will be based on the guide from the book, “Warhammer: Age of Sigmar: Painting Guide” p120.
Then I mixed up some GW Nuln Oil with water and applied this in patches over the base, focusing on areas that would have more shadow. Once dry, more was then applied evenly all over the base, with the hope that the hard edges around the first wash would be less clearly defined but some areas would still be darker than others.
It was given a drybrush of GW Karak Stone and then GW Screaming Skull. The edges were then reclaimed with black.
The shards were base coated black, and then the upper half of each surface was painted with a thinned mix of P3 Coal Black and P3 Thamar Black
Add some P3 Menoth White Base to the previous colours. Using a drybrush you have removed every bit of paint from that you can, drybrush the shards in the directiin light would hit them. Clip the hard edges on the upper parts of the undersides too.
Drybrush with a mix of Coal Black and Menoth White Base, on just the top sides on the shards.
Coal Black was mixed with P3 Menthoh White Highlight and drybrushed to just the tips and the 1/3rd-ish of each shard leading up to the tip. Army Painter Highland Tufts or Serious Play Scenics Burnt Grass tufts were later added to the base.


![How To Paint Moonstone’s Nanny | Goblin King Games [7 Days Early Access]](https://images.beastsofwar.com/2024/12/3CU-Gobin-King-Games-Moonstone-Shades-Nanny-coverimage-225-127.jpg)




Leave a Reply