
Collins Does Scarif Table Build
Landing Pad
Obviously as part of this build I will need a landing pad. Its quite a large piece of recognisable terrain for this theme along with the bunker.
It would be quite easily to make one out of MDF, Card, Plasticard, Grit etc but I decided to try and test my 3D printer.
I shall preface this with, If I was to redo this, I would go with a traditional method rather than 3D printing.
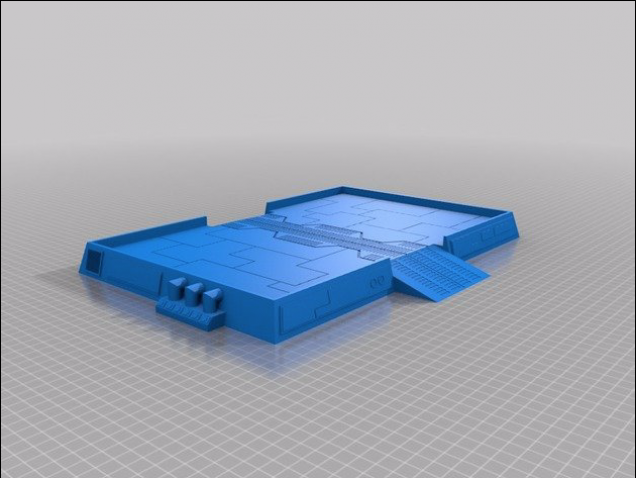
A quick trawl of thingiverse gives us this landing pad by cheffrey85. It looks pretty cool and has the added benefit of giving some additional cover through being raised about an inch to what might end up being a very flat open area (unless you fill it with boxes and scatter etc)
The model is broken down into 5 parts.
Left side, right side, middle walkway and two ramps.
Cheffrey85 has done us all a solid one by making the model fit on a small sized bed (210×210) so we don’t need to muck about with it at all. I printed it at 0.2 layer height with 7% infill. This I’ve found is the lowest amount of infill I can have without compromising the structure without needing to have lots of top layers. I also tried to put a brim/raft on it. Sadly due to it taking up the majority of the heatbed I could only put a very small brim on it. something that would come back to bite
The left and right sides would take 9 hours to print each and the middle and ramps would take 6 hours to print together. Thankfully my wife was away from the house at the weekend I did this so I was able to run the printer and only annoy myself and the puppy. Prusa machines are demonstrably quieter than others, but they’re still loud and annoying.
The never ending battle with 3D printing
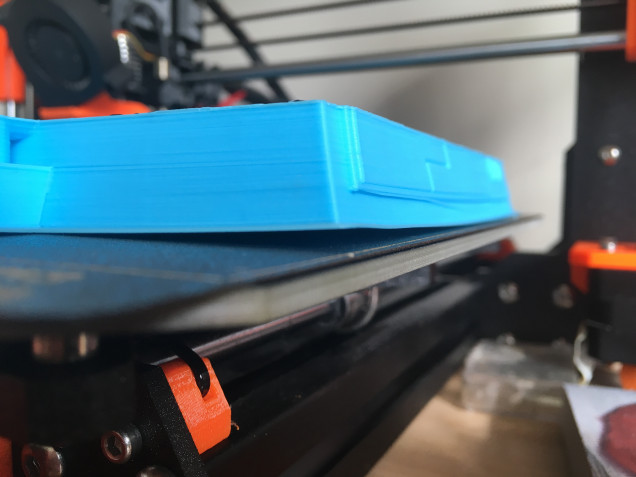
It is always hard to keep prints from lifting from the bed. it is especially difficult (for me) with wide prints. I have done all I can to ensure a perfectly level bed and use the electronic adjustments to allow for a 100 micron (+/-50) variation over the bed. There are lots of people on facebook groups that are willing to help and once you get past the standard responses of ‘oh just change your Z hight’ (which is usually wrong advise) you do get the odd nugget of useful info.
There are a number of videos on youtube that explain why we have these problems etc.
The advise I see regularly for this problem is to A) raise the bed temp, B) lower the bed temp, C) clean the bed, D) recalibrate the machine, E) pray, F) drink beer.
A lot of people explain that a clean bed is the best, for me, I find my bed is a lot less ‘sticky’ once its been cleaned using soapy water, isopropyl alcohol and/or acetone (rarely). Once its had two prints done on it it miraculously becomes much more sticky.
Still it suffers from print lifting. I think the only way I can make this better is to rebuild the machine using proper tools rather than rocks and hope. to be fair, its done 3700 metres of filament with minimal failures to date so it is doing quite well. I just think this was a challenge that it wasn’t set up for.
Please advise if you know how I can sort this problem!
Once the print had completed I glued it together using a polyutherene type glue (a gorilla glue). This is a water activated expanding product so you don’t need to use much of it.
It is at this point that the warping from the print bed became a problem for me. It was so noticable that I decided that I had to base it to get around the issue. The point of 3D printing is that you shouldn’t need to base the stuff unless you want to blend it into a table layout. It then becomes somewhat dedicated to that one layout which really defeats the objective. This is the reason I said at the beginning I would do it the traditional way if I was to do it again. It would have been quicker and probably cheaper too when you take into account the energy and plastic used. Cut plasticard or foam board would have done just as well.
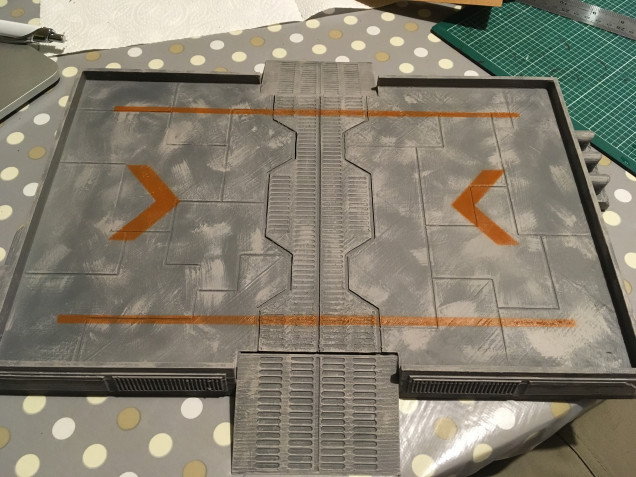
On the image you can see the damage to the top layers by the print lifting. It has caused ripple and scratching and loss of details. all parts suffer from this except for the ramps. AKA all the big prints are damaged.
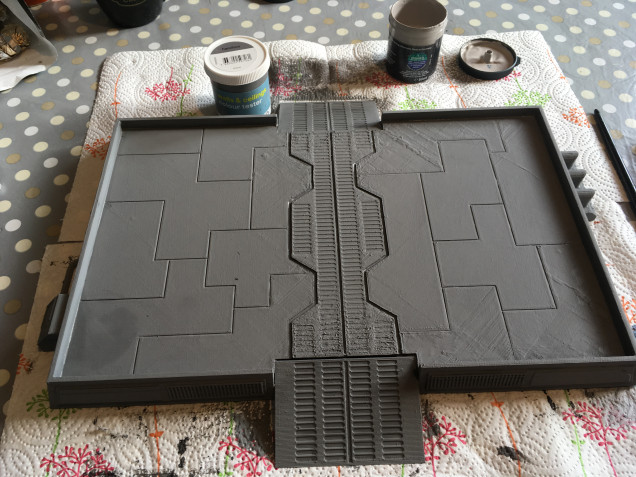
The pad was primed black and then some house emulsions used to paint it.
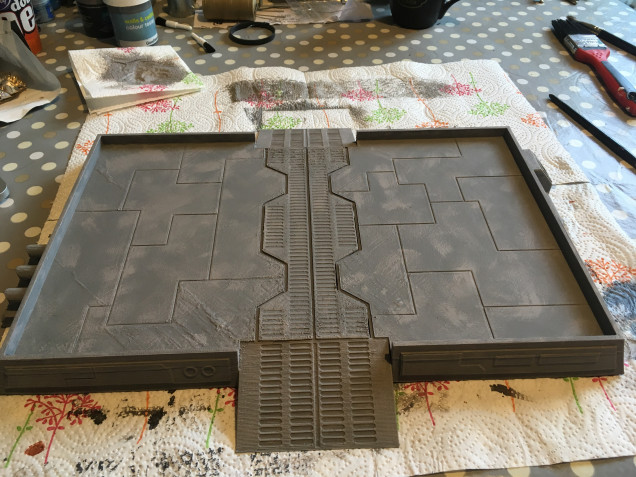
The house paints used are Hamilton grey and then dry brushed with with Long Island grey.
I kept the dry brushing to the edges of the panels. I thought that it would give the best effect. I then thought about it again and added some larger marks to simulate scratches etc.
Once that was done it was time to add landing markings. When you refer to the research images you can see that they are usually lines and arrow heads and usually orange/browny orange in colour. I broke out the airbrush ive been lent. I’ll be honest, I don’t know how to use this fully yet, still learning and I am consistently over thinning the paint but Im getting there slowly.
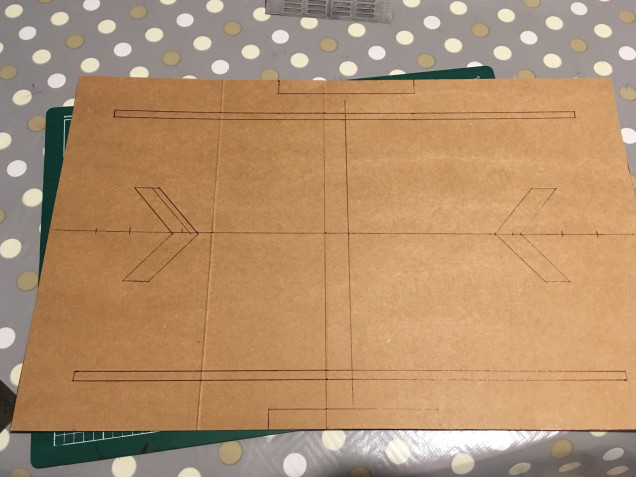
I made a stencil out of cereal box and then laid it over and sprayed. didn’t take long.





























Leave a Reply