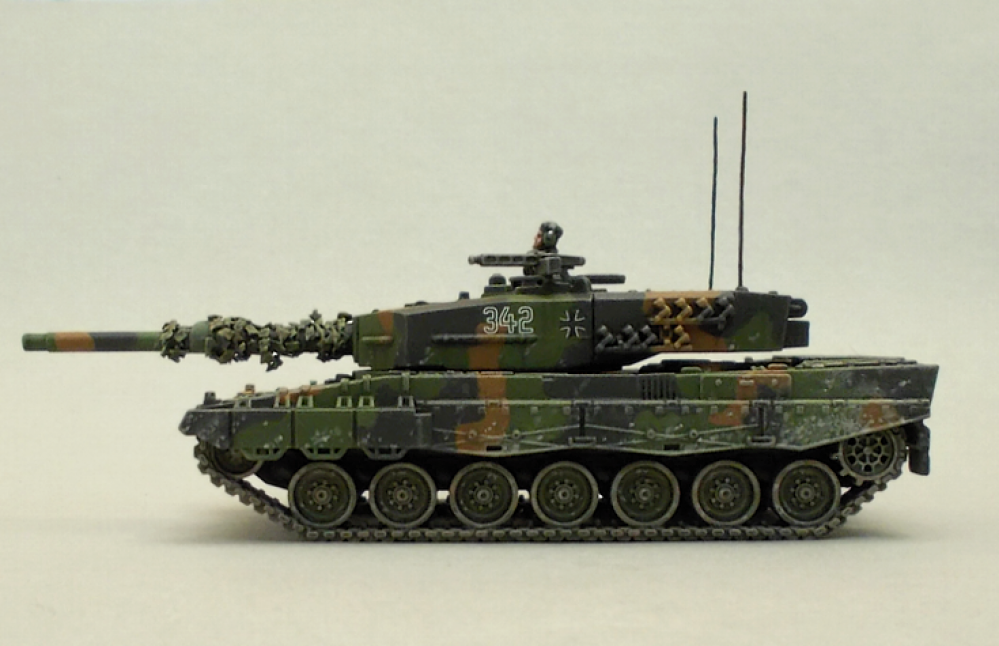
1985
Opening hatches and adding extra stowage
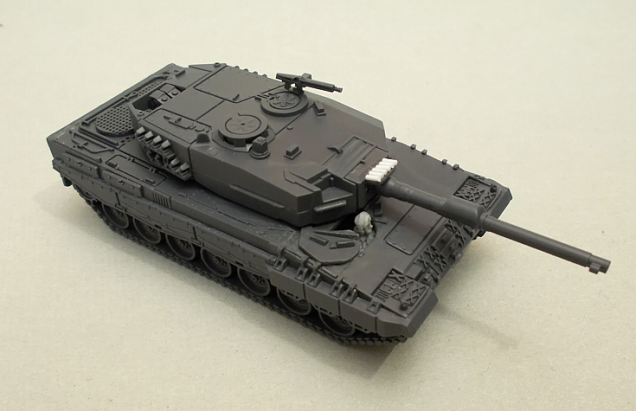
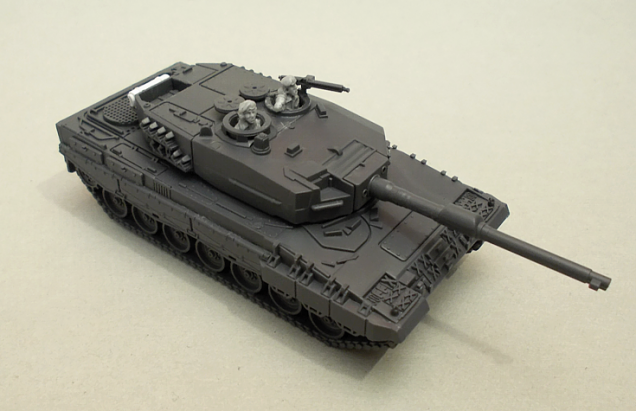
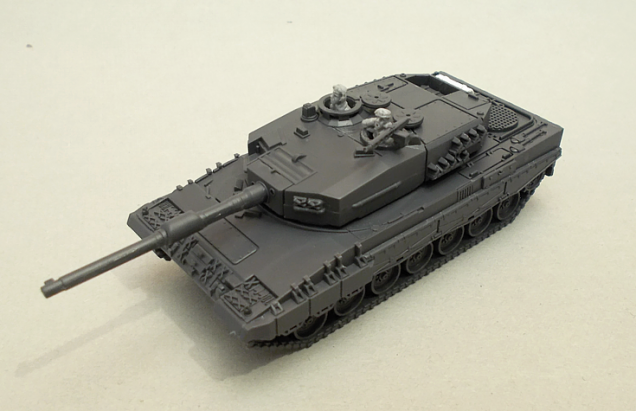
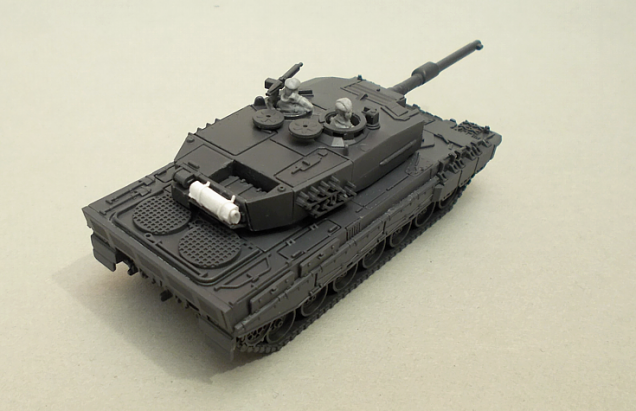
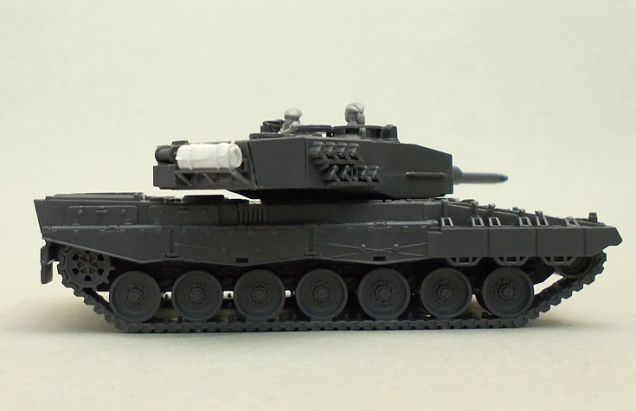
For my next two kitties, I decided to open up two hatches which are only available closed on the kit out of the box: The other turret hatch next to the machine gun, and the driver’s hatch. The turret hatch was pretty easy and straight-forward: Carefully drilling out the circular hatch, cleaning up the edge of the newly created opening, and adding a spare hatch from the open cupola-piece on the sprue.
The driver’s hatch was a lot more challenging, mainly because the plastic on the main hull as well as the main turret-pieces is quite thick – something which I like, because it gives the models a nice weight, but it also is a pain in the butt when tackling modifications like that.
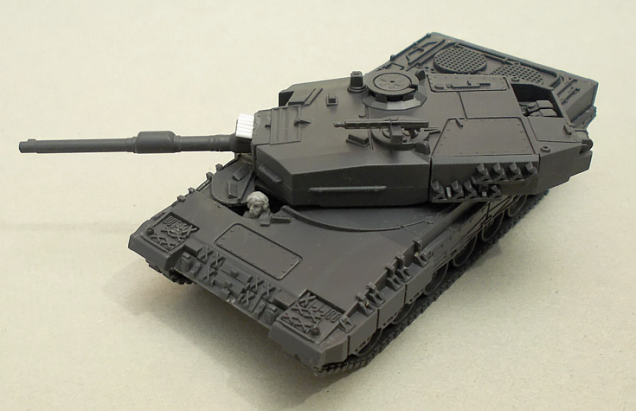
I started by carefully and slowly creating a clean, precise cut all around the driver’s hatch until it was deep enough to create a light outline of the hatch visible on the underside of the upper hull piece. At that point, I proceeded to cut out the hatch from the inside, thereby leaving a clean edge on both the new opening as well as the now seperate hatch-piece. Now I needed to build a small light-proof compartment for the driver under the opening, and I also needed to make the opening smaller behind the driver, because the hatch significantly overlaps the hull there.
When that was done, I could finaly glue in the driver and glue on the hatch pushed to the side.
I also created a small rack attached to the back of one of the turrets right behind the stowage area and put a bundle held in place by two straps on it.




Leave a Reply