Browse
Contact Us
About OnTableTop
Supported by (Turn Off)
-

1
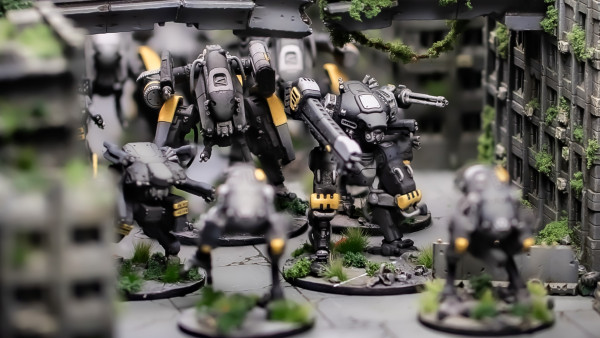
Final Day For Full Spectrum Dominance’s Third Wave
-

0
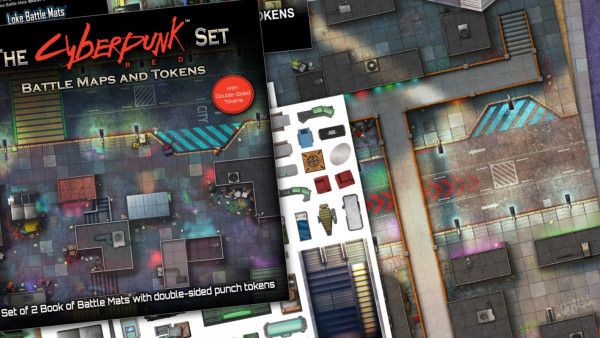
Check Out Loke BattleMats Ace New Cyberpunk RED Sets!
-

2
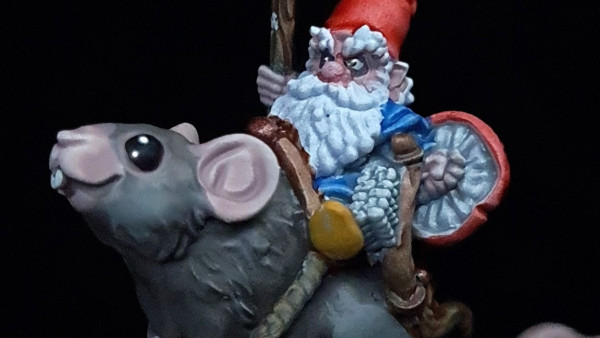
Warp Celebrate Gnomevember With The Mousehold Cavalry!
-

0
Roleplay In A World Of Irish Myth & Folklore With Beyond The Woods
-

2
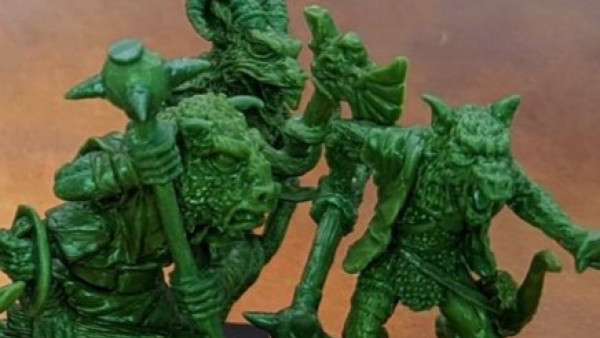
Satyr Unleash Their Menagerie Of Oldhammer Beastmen
-


3
Spectre Working On Mythos Supplement For Their Game!
-

2
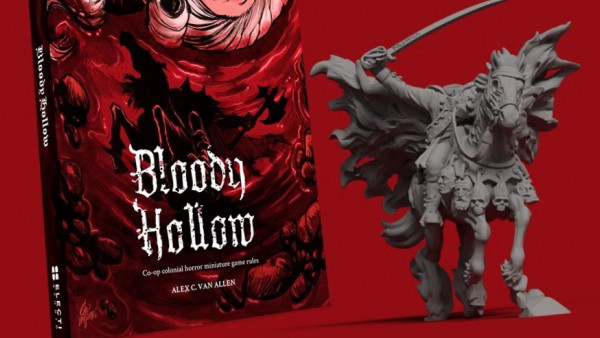
Journey To Bloody Hollow & Face The Headless Horseman!
-


3
Pre-Order Caesar Ink’s Doomsong Roleplaying Game
-


2
Check Out PWork Wargames’ Halloween 2025 Sale!
-

13
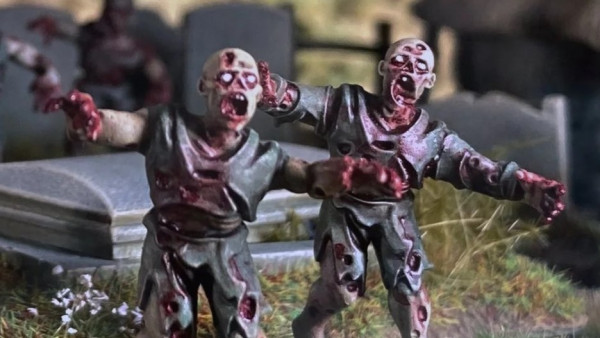
Wargames Atlantic Unleash A Horde Of Zombies For Halloween!
-


19
Trench Crusade Brings Its Grimdark Warfare To Kickstarter
-

5
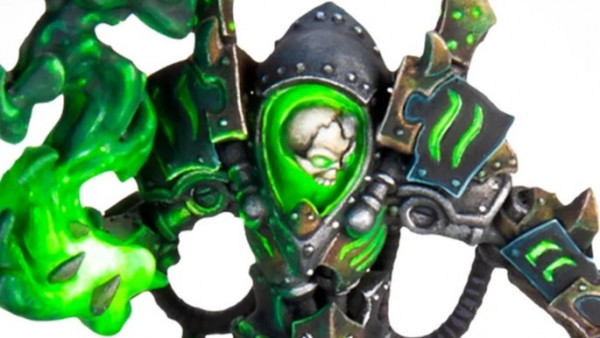
Deadly Cryx Experiments Come To Steamforged’s Warmachine
-


3
Piano Wargames’ Ace Danube Campaign Kickstarter Launches
-

4
Warlord’s Vanguard: Normandy Comes To Kickstarter Next Week
-


5
Get An Angry Gift Chicken For Para Bellum Games’ Conquest!
-


13
Tackle The Mountains Of Madness With New Crooked Dice Minis
-

0
Bulk Out Your Ancient Greek Army With V&V Miniatures
-


4
Eldritch Foundry’s New Colour 3D Printing Kickstarter – Live Now!
-


6
Late-War Leviathan Pre-Orders Up For Flames Of War
-

2
New Miniature Previews For Fantasy Game, Guards Of Traitor’s Toll
-


2
Valkir Heavy Troopers Take To The Battlefield From Wargames Atlantic
-

5
Aeldari Phoenix Lord Fuegan Returns To Warhammer 40K Soon!
-


2
Villainous New Lord Comes To GW’s Middle-earth Strategy Game
-


4
Dive Into A New Halloween Game With Black Site’s GhostWatcher
-


3
Warhammer 40K’s Da Red Gobbo Is Back For Christmas 2024
-

26
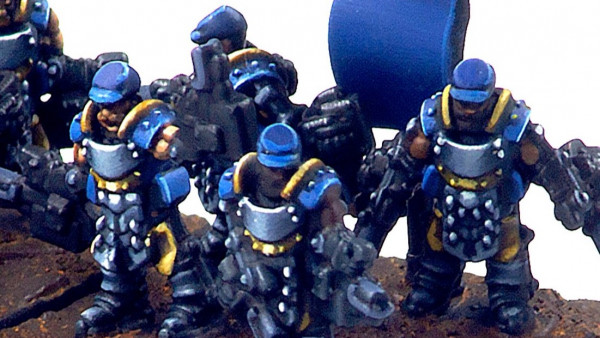
The Union Coming To Warcradle’s Armoured Clash In November!
-


1
Panzerfäuste Support Teams Now Available From Wessex Games
-


4
Sarissa Builds More Of Grey For Now’s Guards Of Traitor’s Toll
-


18
Plastic Mounted Gunfighters Coming Soon For Dead Man’s Hand
-

3
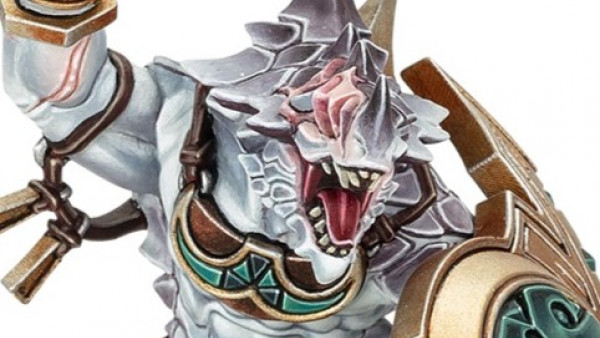
Seraphon & Nurgle Coming To Warhammer Underworlds
Latest From the Forums
-
Nam 68 'Tour of Duty' up for sale at last!
News, Rumours & General Discussion
-
[the NEW unofficial WEEKENDER!] November 3 2024
News, Rumours & General Discussion
-
HATE
COG – Trading Bazaar
-
[unofficial weekender] Orktober 2024
News, Rumours & General Discussion
-
What Are You Painting Now?
Painting in Tabletop Gaming
-
[GF] Pulp City on Gamefound ending Nov2
News, Rumours & General Discussion
-
[Kickstarter] 3D printable terrain tiles with water for your battlefield
3D Printing for Tabletop Gaming
-
Trench Crusade Kickstarter is live
Pulp, Punk, Horror & Weird Tabletop Game Discussions
-
BattleTech: Mercenaries - CGL does a shipping booboo? Internet rages!
News, Rumours & General Discussion
-
[KS] Ruined Drive-in Cinema STL files
News, Rumours & General Discussion
-
[unofficial Hobby Hangout] #231 Here I come
News, Rumours & General Discussion
-
Next Saga - Age of Chivalry
News, Rumours & General Discussion
-
Can someone name the animated series?
Fantasy Tabletop Game Discussions
-
Jeux de figurines chibi
News, Rumours & General Discussion
-
[unofficial weekender] Old folks home
News, Rumours & General Discussion
-
Battlegroup Northag Rules
Historical Tabletop Game Discussions
-
[unofficial Weekender] Why is G'Wullu seemingly invincible?
News, Rumours & General Discussion
-
[unofficial Hobby Hangout] #230 I smell cinnamon
News, Rumours & General Discussion
-
[unofficial Hobby Hangout] #229 The number of the episode
News, Rumours & General Discussion
-
[Official Birthday Thread] It's cake day!
News, Rumours & General Discussion
Browse
Services
Contact Us
Copyright © 2024 Beasts of War Ltd.
All trademarks and images are copyright of their respective owners.












Leave a Reply