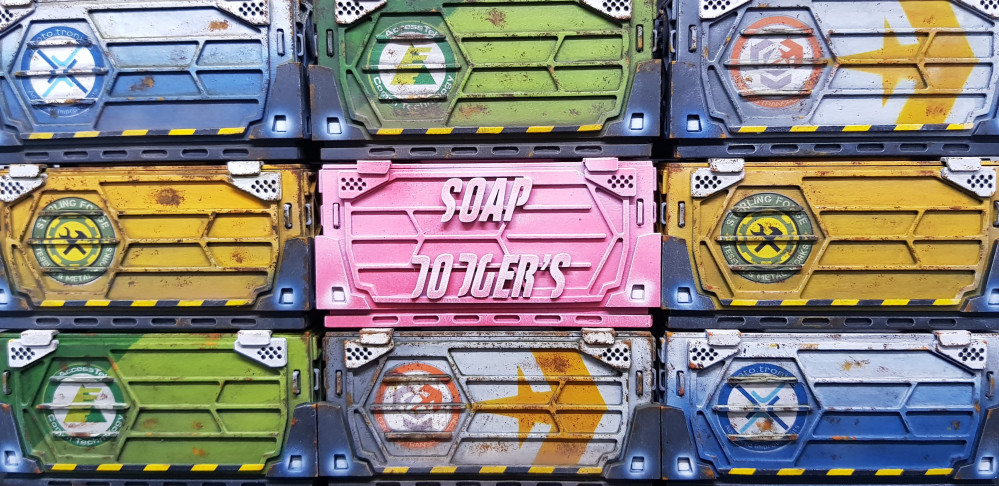
Infinity Terrain
Revenge of the staircase.
Long time no progress. I took a few weeks off from this. I burnt out on this project so moved on and messed around. Now I am back cutting and printing again.
Usually my burn outs happen when something doesn’t go right. This was no exception.
I cut out 100 parts it takes to build this staircase. this in itself is not slow or difficult. It was good to see I managed to laser cut the fibreglass mesh. I rush to assembly on my old GW brush that would make the core.
Problem was I was using superglue and going this (started in the light) in the dark. It was ok not great until about 2/3 of the way up. Then I glued a stair in bent and then proceeded to put the rest on and only noticed when I was done. I then broke it numerous times trying to fix it and in the end it was not very accurate and not up to my own standards.
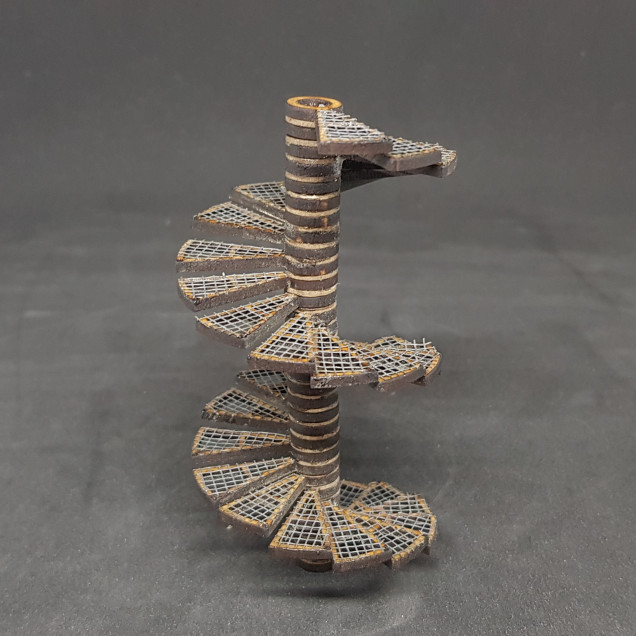 This was ok as a concept and would have been good in non high sci-fi setting. This started my burn out as this took about 2 hours to assemble incorrectly, probabaly more.
So I did learn from my mistakes. I learned to play more and have more fun. I have played 4 games of infinity in-between then and now which is more than I have played all year. I am now no longer using the starter rules and am having to copy with the loads of special rules. I did miss not having the landing pad around to use to play on so I guess I had to get back to it and that meant dealing with the staircase.
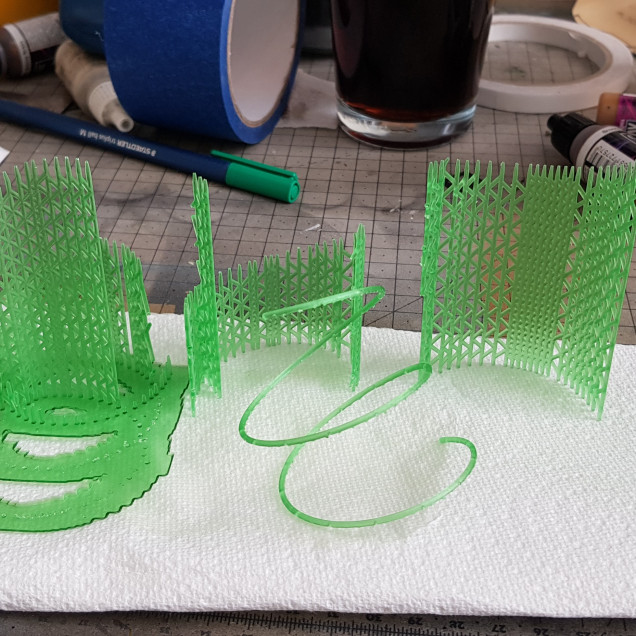
I started with the banister one of the issues was even though I was kind of accurate with the rotation it wasn’t great. So last night while playing infinity I got the print on the go. This is the largest print I think I have done so far on the photon and for such a small part.
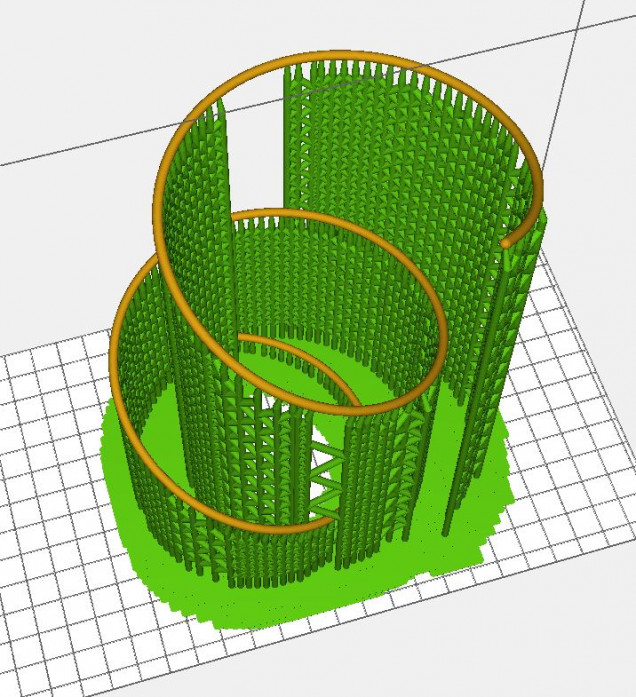 This is the slicer. I done auto supports and removed some to make sure it was supported but the support was not through the model. Bellow the banister it has holes for the uprights and this should allow me to keep the correct distance.
 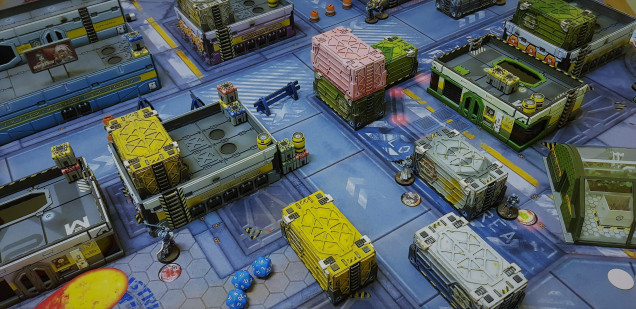 This was my final game of infinity last night it was a 3 way fight with a HVT in the middle that needed to be escorted to an extraction point.
 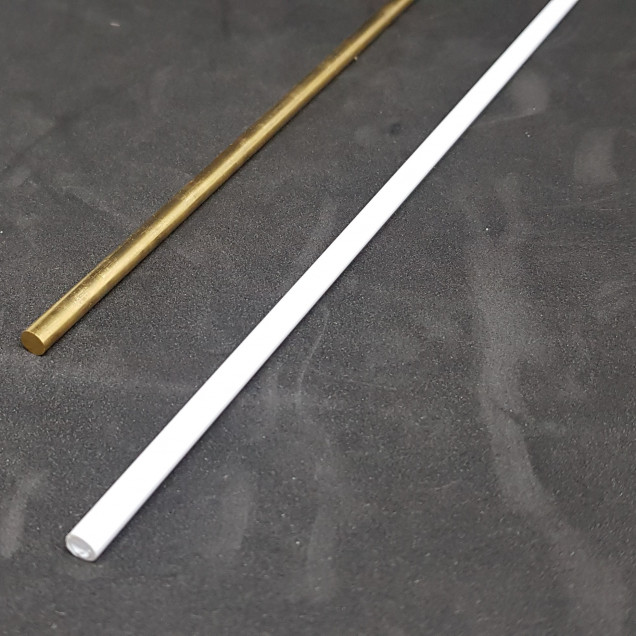 I got two types of rod for the middle this time but decided on plastic but I will use PVA instead of superglue.
 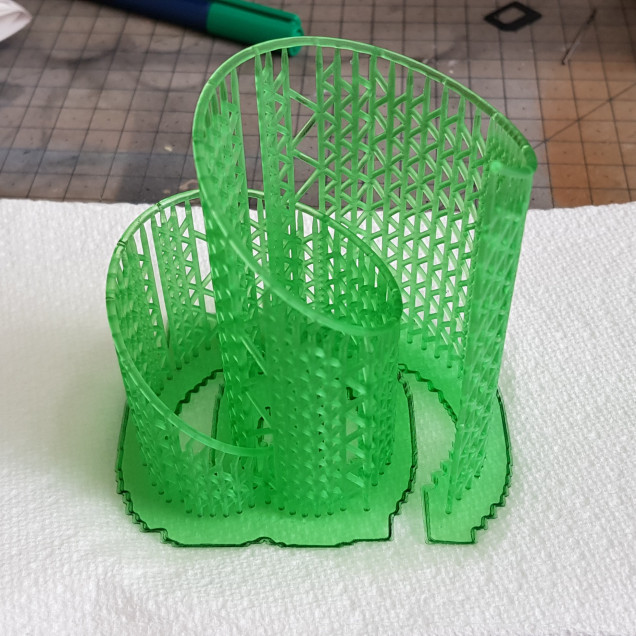 Print finished overnight this was impressive that it came out. I wont cure this until it's stuck on the model or clean the support points.
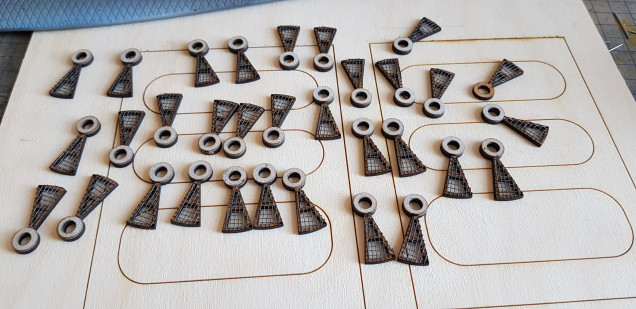 I then laser cut the 100 parts again to make it and came up with a cunning plan. Better than my last nights games of infinity which I lost. These subassemblies were done with superglue and each one sanded down to between 2.95 and 3.00mm I then cut paperclips into 19mm strips and glued them into the cut holes.
 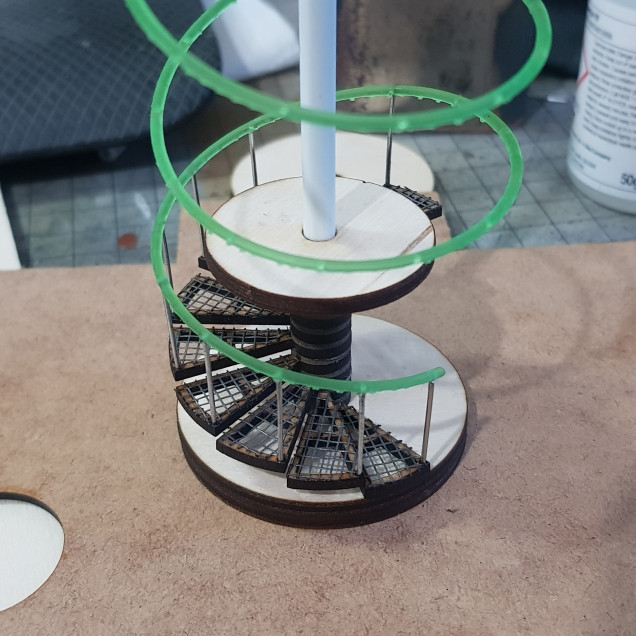 I made a way to hold this flat by making a couple of disks the same diameter as the staircase. I also made a smaller disk to use as a press to try and keep the height correct. I then placed one subassembly down and then pressed, took the press off and placed the next after I had 3 down I glued on the railing and moved some of the treads to make them the correct distance. I then done one at a time pressing in-between. gluing the bottom in PVA and the top of the upright with superglue into the bannister.
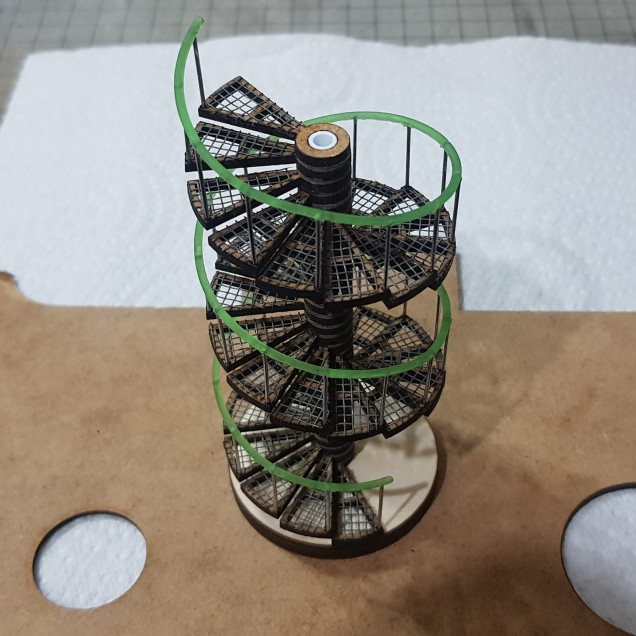 I then finished and used a needle file to remove the sprue lines and cut the top. Quite pleased with the result. It's not perfect but I am still pleased and at least this will fit.
 I have the 3D printed parts for the second platform printing just now as I type. I have already laser cut the top and bottom of the platform. I will be doing this over the next couple of days and then I will be ready to start assembly and then painting again.
I don’t think I have learned my lesson for making and designing things that are very complicated. Cant wait to get this finished though.
More to come.




Leave a Reply