251st Independent Mechanised Brigade
Recommendations: 69
About the Project
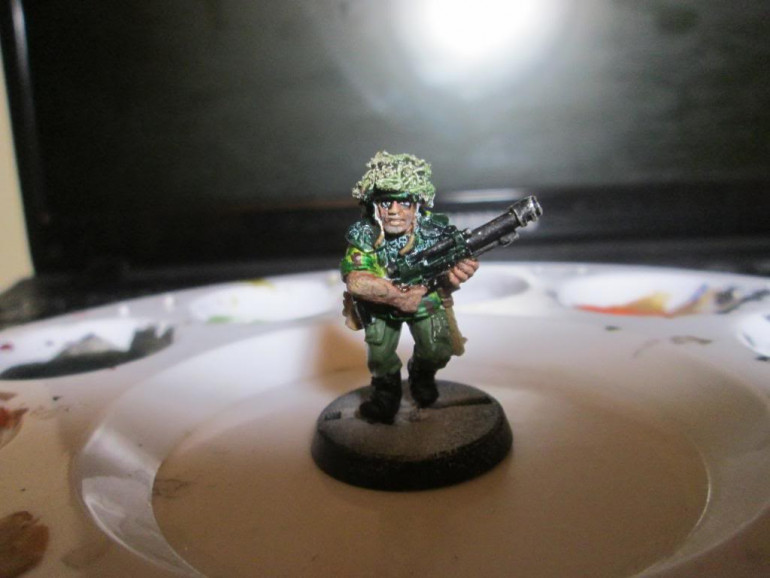
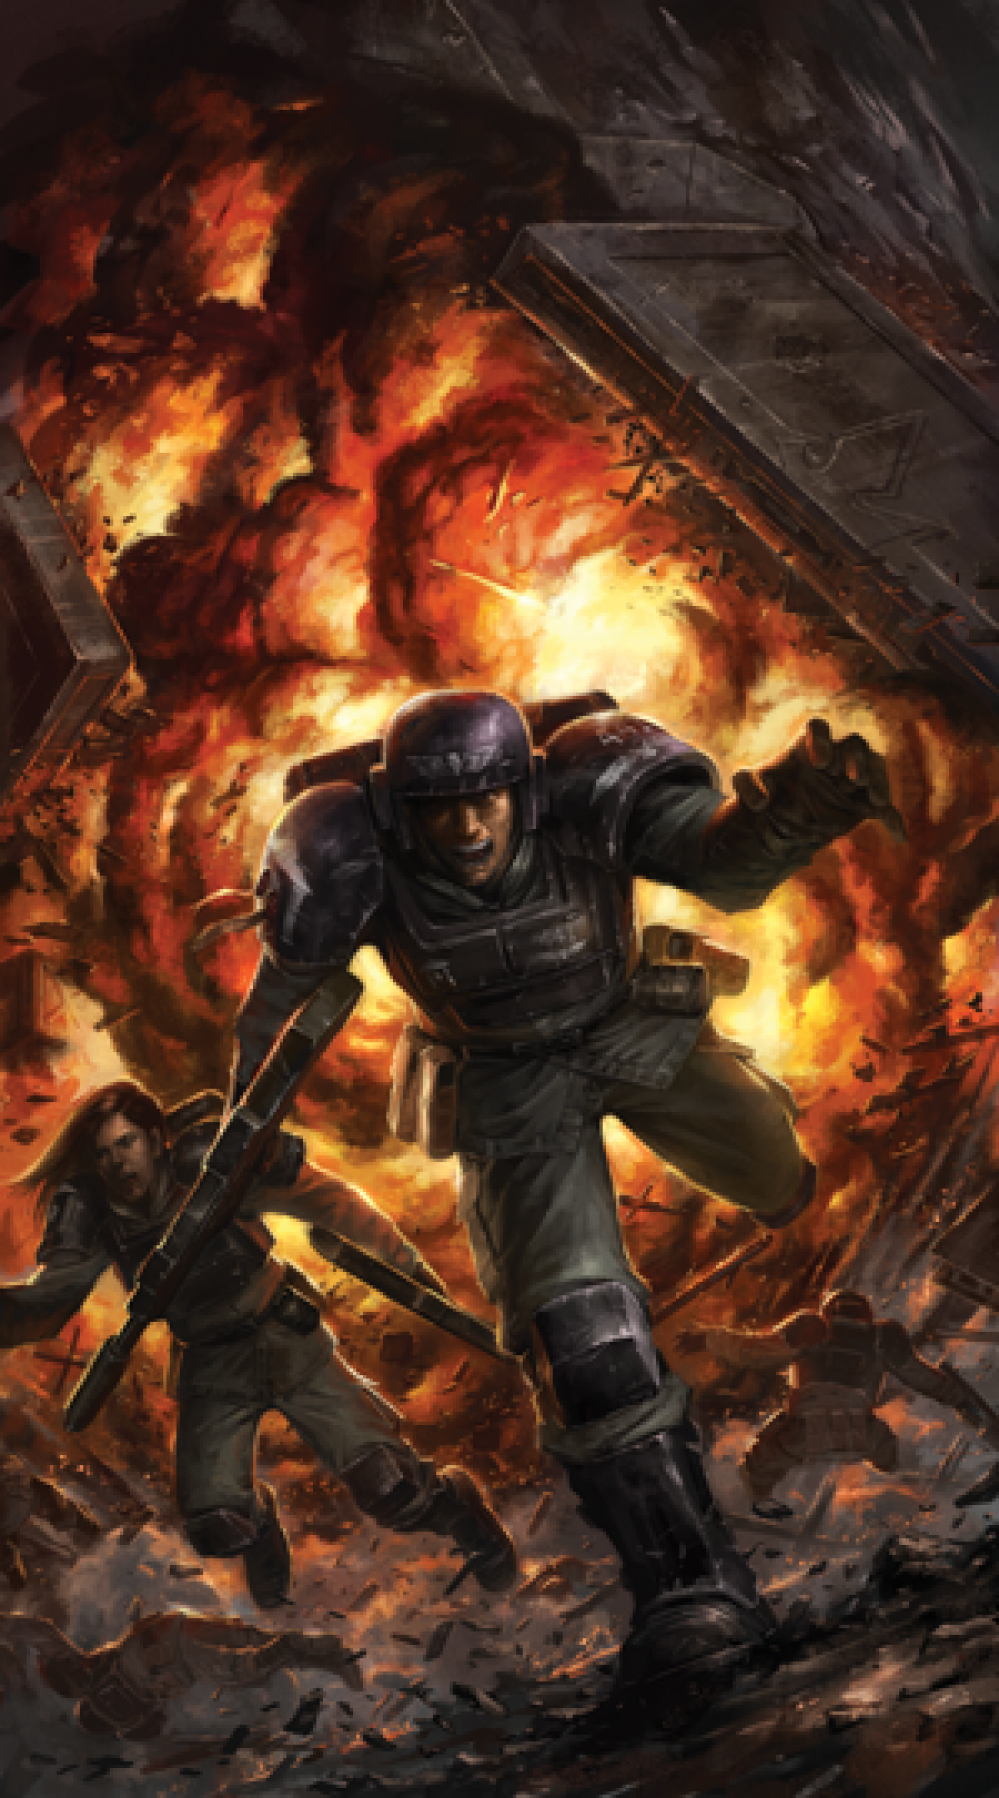
after a hiatus in the hobby, mainly due to loss of hoby space 3 years ago as the spare room became a nursery to the 1st spawned child i have started to pull my thumb out and kick painting back into the hobby. I am painting imper.. sorry Astra milia.... oh bollocks to it Imperial guard and some Space marines, mainly for the painting/conversion side rather than the gaming side as doing shift work i rarely get free time to do that sort of thing any more. I hopefully will build up some stories and fluff for my mini's as i go, basic premise is the setting is the northern side of the galaxy so supplies from the larger forge worlds a hard to come by and the Guard and Marines will have a battle worn look with equipment scrounged or repurposed due to supply issues.
Related Game: Warhammer 40,000
Related Company: Games Workshop
Related Genre: Science Fiction
This Project is Active
Been AWOL for a good reason
project has come to a mini halt, main reason been building Ikea furniture as we swapped around bits from Lily (Spawn 1) into the spare bedroom as Jack (Spawn 2) has arrived. I have to transfer hobby gear into a prefab garage and line it to be a little more insulated than what it is now. Unfortunately Baby Jack had to go into the SCBU today as his breathing became erratic so things are on halt till he is well
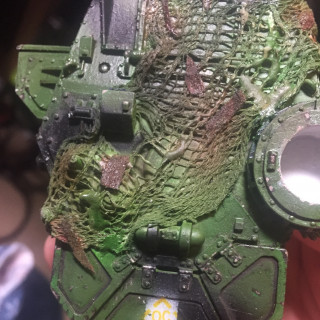
start of the little details and mud
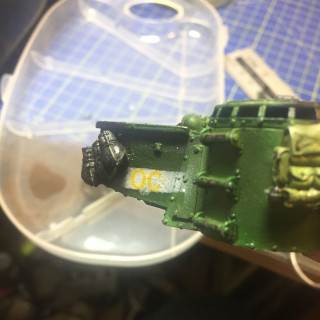
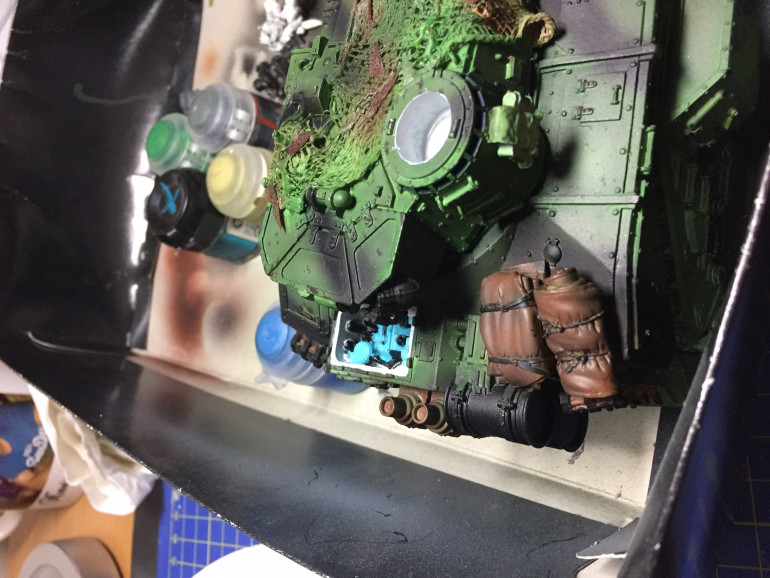
been a mild hiatus as work, and child care/wife got in the way of hobby time as its the holidays so i had to interact with them, and i have to go off to see family up north so again hobby time will be curbed. Anyway back to the subject at hand today i managed a hour or so before i had to go look at a grainy picture of spawn number two thats being baked by the wife. So i managed to find some appropriate scale British Army tac decals, problem is the green i sprayed the Mac is too dark to see the decals properly so i had to do a not very tactical background to get them seen but it’s not too far from what (era dependent) the army used. a good little bit of info for anyone looking at B.O.A.R markings are the Military Vehicle owners website’s like this one https://www.emlra.org/index.php/articles/painting-and-marking-post-war-british-vehicles-p-4-4
as it can be a pain to find stuff on the web that isn’t based on WW2 Uk armed forces. I still going to add a few other decals from the standard decal set from a leman russ to add a Div marking.
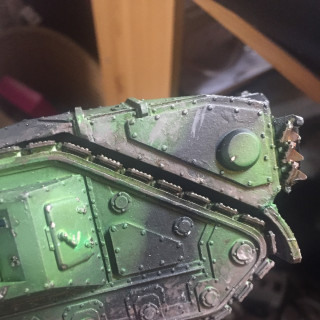
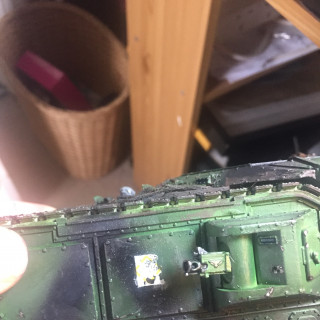
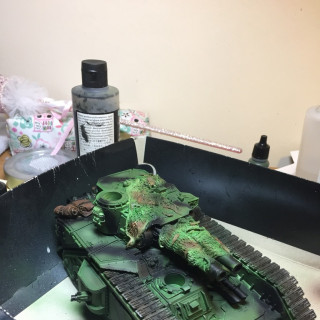
i also started using some home made weathering powders to start the mud layers starting with the dried on bits before adding the wet mud layer. ill do a step by step when i get back from telford. i will also clean up the little bits of over spray when i get back as well. oh also have some chipping fluid work on the exhaust stacks which again i will get some pictures. so tatty by for now
Are you sitting comfortably, then let’s begin
So the wife and child are out at a party, I am getting ready for a night shift on a payday weekend which means I will be muppet herding later on (small bonus it’s a hour shorter thanks to clock magic, don’t forget to set yours a hour early if your reading this on Sunday and you totally forgot).
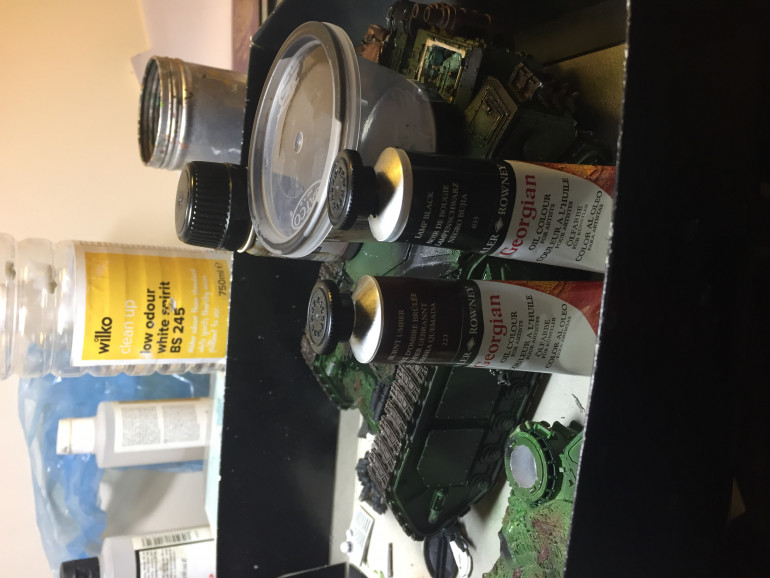
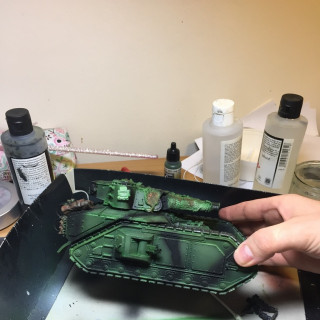
so I thought I would sit down and do a oil wash and maybe a very mild tutorial for those who never tried.
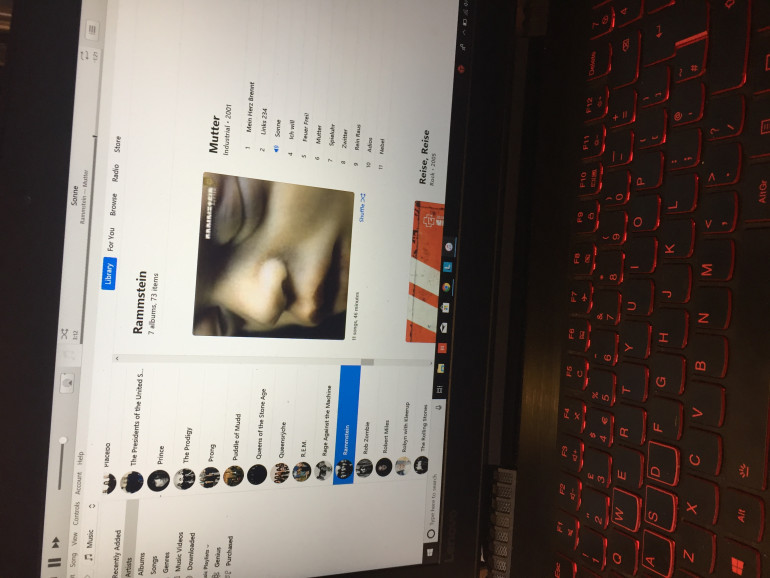 Set yourself up, this isn’t a quick five minute jobby you need a hour or two to do it half decently. So get a beverage be that tea/coffee/ beer or a fine Shiraz. Then choose something for background noise obviously being this is on the BOW/OTT site your have a plethora of videos to distract you, personally I chosen this time for some Rammstien, for those of painting something chaotic I would recommend Barbra Streisand to really connect to the chaos gods as they love themselves a bit of Babs
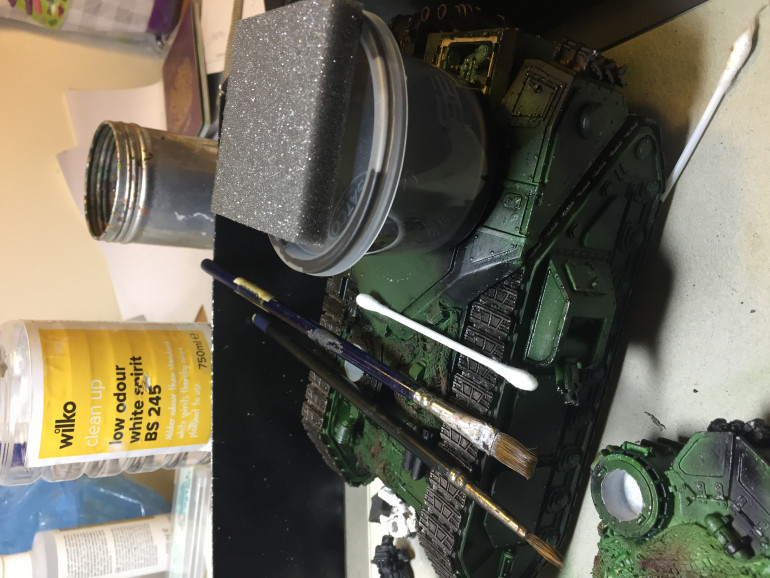 First off tools, I use a cheap pound shop brush to mix as hey if it falls apart meh it’s a couple of pence. For the love of god do not use your parents/loved ones £30 Winsor and Newton sable brush for any of this I’m talking to the younger audience but there will be some one who has survived to adulthood and will do something that stupid. I have a GW wash brush but there are other manufacturers out there, a dry brush, a cotton wool bud or Q-tip for the septics and then the foam from a blister pack or if you haven’t any of it again pound shop and a washing up sponge.
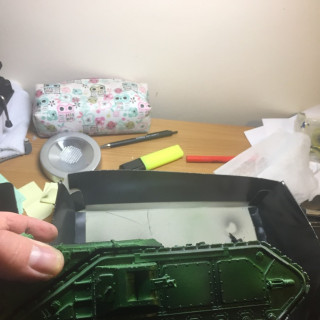
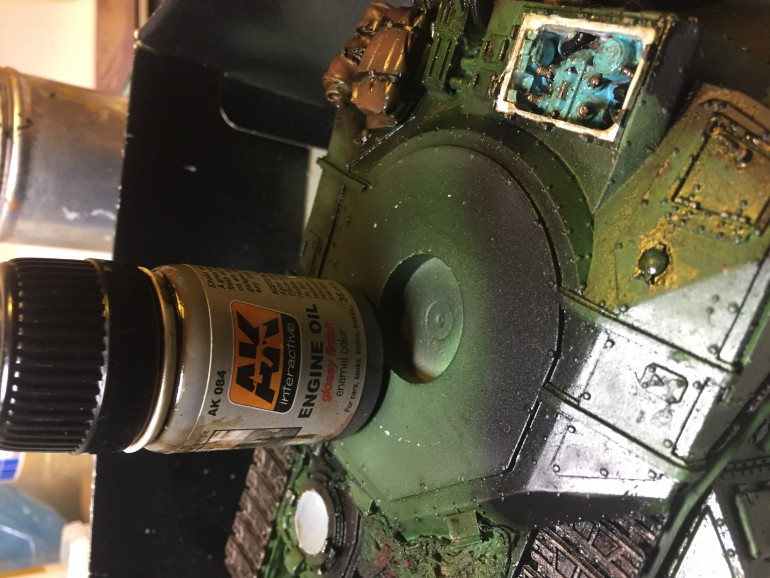 So you will need some artist oil paint, oderless White spirt/thinner in this wash it was a 50/50 mix of the black and brown, 10 to 15 ml roughly of the spirit mixed to a consistency of a very thin milk, then once happy you apply too your model on the bottom of said model in this case the tank hull, that way if it’s your not happy with it it’s not ruined the model. A word of note, it is preferable to have a varnish coat on the min beforehand as it makes cleaning up and pin washes so much easier but it can be done on a uncoated mini.
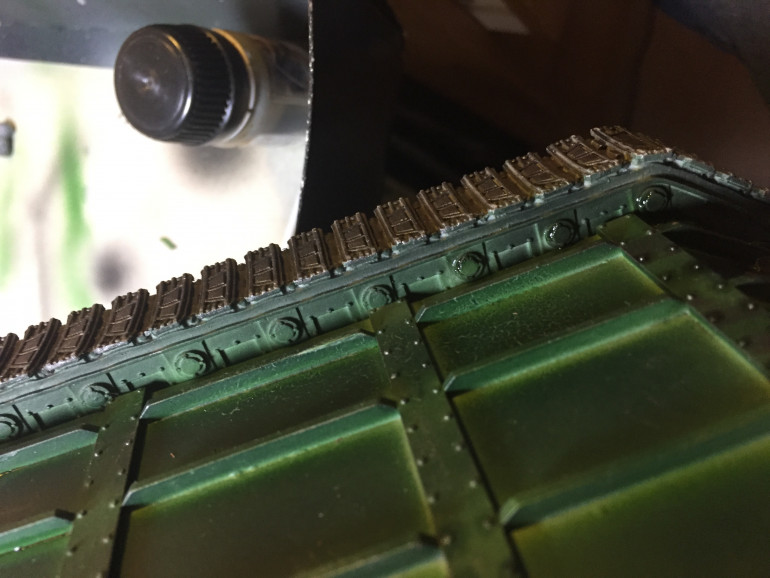 As you see trying it out on the bottom. I will continue this later on this evening but I’m having to leave for work at this moment.
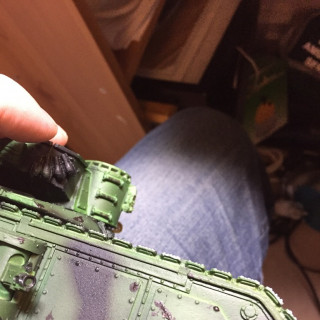
So the joy with a oil wash is you have several hours of play time before it drys and to a certain time frame you can reactivate it with the White spirits to try and clean it up if you’re not happy with the results, also while a bit of a pain to get it right it’s a lot cheaper in the long run than say GW washes as you get more bang for your buck for the same price of one tiny wash pot. With the wash start of small and work up to bigger surface areas using the wash brush, now I cant give you exact how much to load in your brush as it’s a personal preference and what your putting it on, but the general rule of thumb is don’t slap it on as you have more to remove as you clean up. Personally I start of doing the large wash surface bits such as the fins at the bottom of the hull for example, then using the dry brush I remove the excess giving it a clean in the White spirits intermittently and a good dry on some old but clean skiddies so your not just spreading oil wash as you carry on, you can use the foam/sponge to do the same thing. Now the buds will be used when you need to do smaller clear ups say after pin washing the rivets or in the case of the engine bay where I used the AK interactives engine oil enamel wash. Once I have done more of the washing I will post more pics
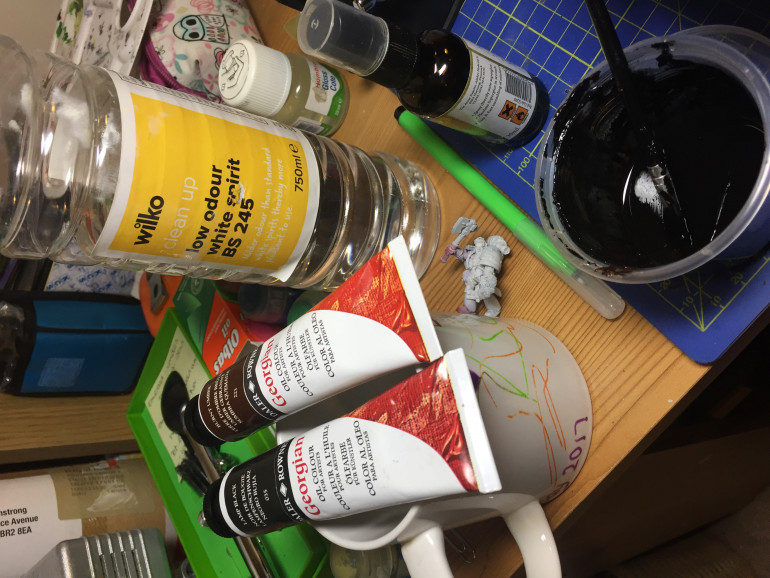 So a small note, so as you can see I was mixing the oil paint and the spirit and it wasn’t mixing at first, turned out I had grabbed the surgical spirits I use in a different weathering technique instead of the White spirits. So make sure you don’t do the same, or get a grown up to do it even if your 38 years old as even at that age your still going to need mum or dad to make sure you not being a idiot
 More Donkey Walloping goodness
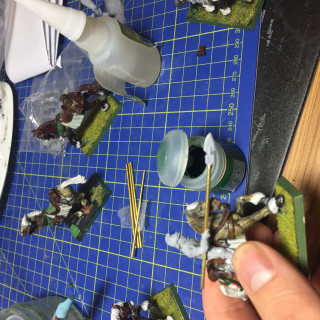
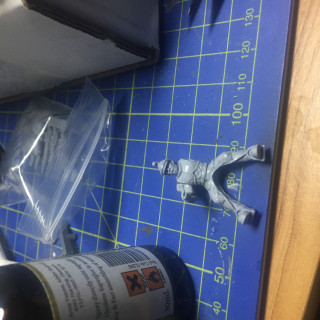
So today I had a Adjust (I;e I had done enough 12 hour shifts to get a extra day off, well worth slowly killing myself with shift work I tell you) as any married man can attest I was given a list of house work to complete. Once I had moved stuff and given some areas a clean so it looked like I had done work I went to crack on with the Mac but the first varnish had not fully cured, So I spent more time trying to find the empire out riders I had put into the loft than I intended, and then after removing empire stuff like flintlocks I green stuffed the gaps I created and filed some mould lines I had missed many moons ago. Test fit of lance looked good, I will look at adding a few sabres from Anvil miniatures on to the tack and then repaint the whole lot.
Too much armour you say?
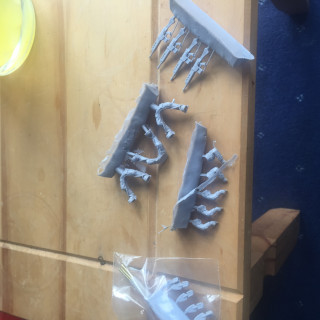
As I was drilling the garage door to add a new lock and hasp the postie brought forth a package, parts for my army, now the more astute of you will say “Hang on your making a mech unit, that’s clearly a donkey walloper what gives!”
And you would be correct I am adding a rough riders as a honour guard for my commanding officer. Besides after being based on a camp that had Donkey Wallopers there is nothing like seeing a Cavalry unit in all their finest. I’ll be repurposing some horses from empire out riders since old hammer was killed off and won’t need to use them for anything else
Brief few minutes too myself
Wife and child vanished into the netherworld that is baby ballet, normally on a Saturday I would be in a coma after a 12 hour night shift but I was in a course yesterday so had the bonus of getting some small details done. So I have painted the couplers, some lenses and the engine bay, even going to the detail (John will appreciate this) of mixing paint to nearly match the turquoise/greenish paint that the British Army paint their power packs on their AFV’s, it will look nicer once a oil wash has been applied and it tones it down and gives it a working engine look. I am going to pin the engine deck so I can have the engine visible when I want to show the detail or it would akin to wetting your self in dark trousers, gives you a warm feeling but nobody notices if I just glued it in place.
heavy metal
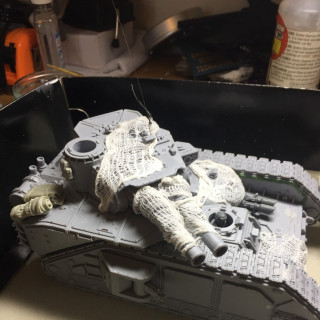
Always loved the Macharius and treated myself to one, only thing wasn’t a massive fan of . A the shoddy casting from forgeworld, a lot of sanding and swearing until the bottom plate fitted with aide of blood and green stuff. B. I am not a fan of the twin linked heavy stubbers, initially i was going to swap them out for TL heavy bolters from some kit i had, but they didn’t sit right so i placed Tl LasCanons after a little bit of cutting and sculpting they sat right and looked Bobby Dazzler. i have moved on to the slow paint war now, going for a simple cam used by the Army for some time, and I am trying to find appropriate cold war tac markings used by the BAOR that will fit as most stuff is aimed at 15mm. as and when i move the weathering on and add bits ill up date, at mo i have started with a dark brown fine paint on scratches and pock marks placed on the model but that dastardly thing called work has made me call it for a day


