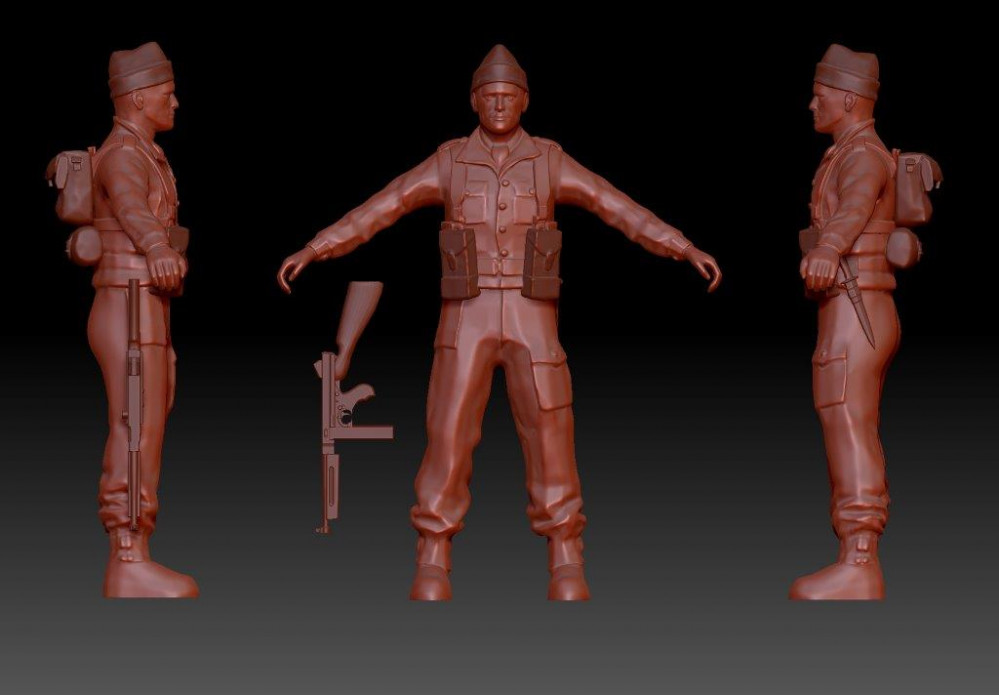
Spring Clean Challenge: Developing WWII infantry for 3D printing
MKII Rig
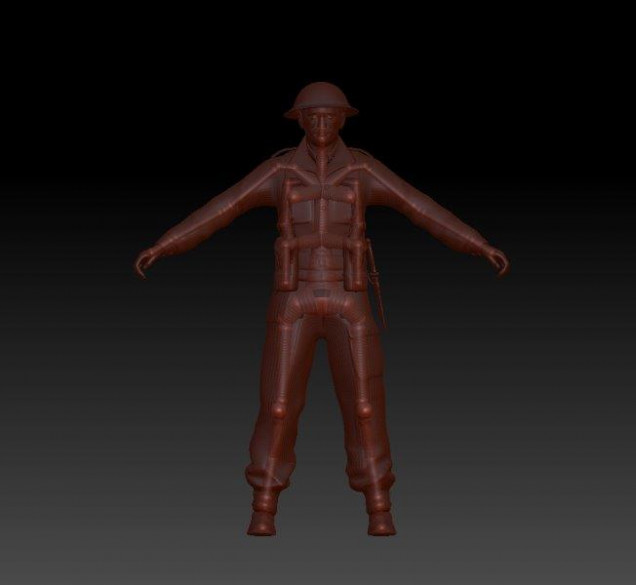
With my master model downloaded it was time for another lesson in rigging. I watched the tutorials again as I wasn’t quite sure how I’d gotten it to work the first time and knew I hadn’t followed each of the steps correctly.
I also wanted to create a neater and more anatomically correct rig. The tutorials elude to the need for an economy of design when building a rig/skeleton. Too few components and the mesh would stretch and distort around the internal framework. Too many and it would become infinitely pliable, bending all over the place and loosing any sense of anatomy.
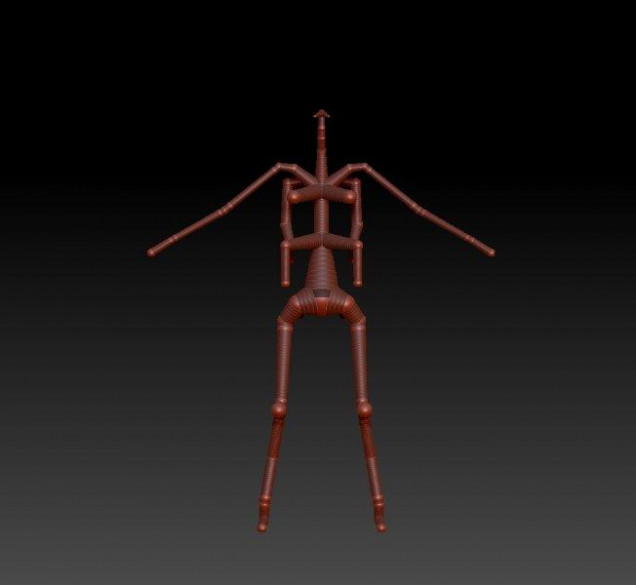
The above image shows the new rig without the soldier mesh. The various protrusions around the spine are intended to ensure that the torso retains its volume as the model bends. I’ve put structure into the pack and webbing in an attempt to retain their form and position during posing.
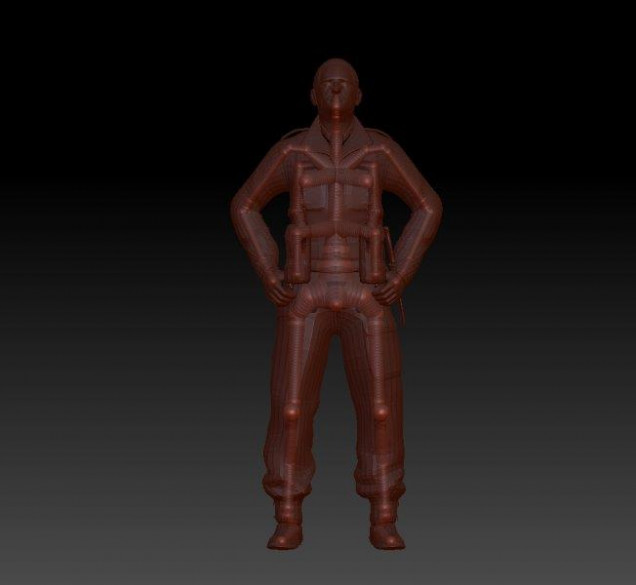
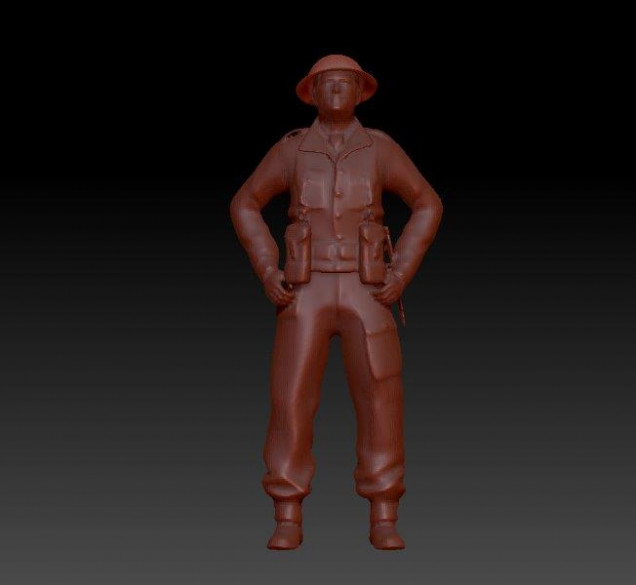
After reposing the arms, tilting the head and improving the stance of the legs I ended up with this;
I found it beneficial to remove the helmet and reposition it manually after posing the figure, in order to retain its correct form.
I’m a little disappointed by the softening of the soldier’s form when I transfer the pose to the skin of the model. I suspect this is due to the topology of the mesh which was likely built for 3D graphics, rather than 3D printing . I think I need to do some work to the mesh prior to transferring it to my rig so I’m going back a step to revaluate.




Leave a Reply