Foehammer's 2019 New Year's Resolution
Brick basing tutorial 2, phase 1
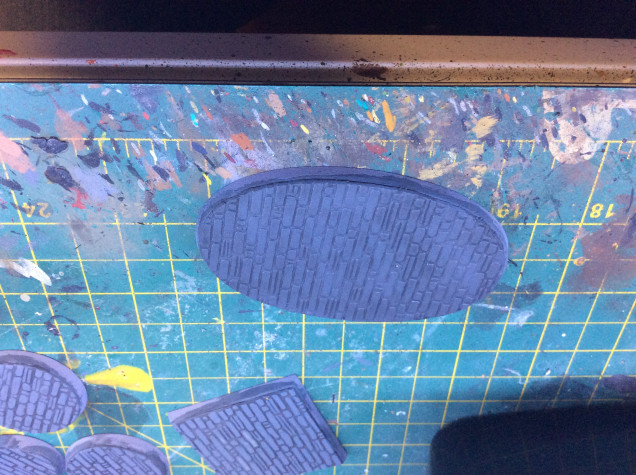
The second half of my basing tutorial covers painting, which accounts for a lot of the appearance. Once all the bases are created, they are:
1) primed
2) basecoated with a medium grey
3) washed with GW Nuln oil
4) allowed to fully dry
this gives a solid color, while the wash picks out the stone details.
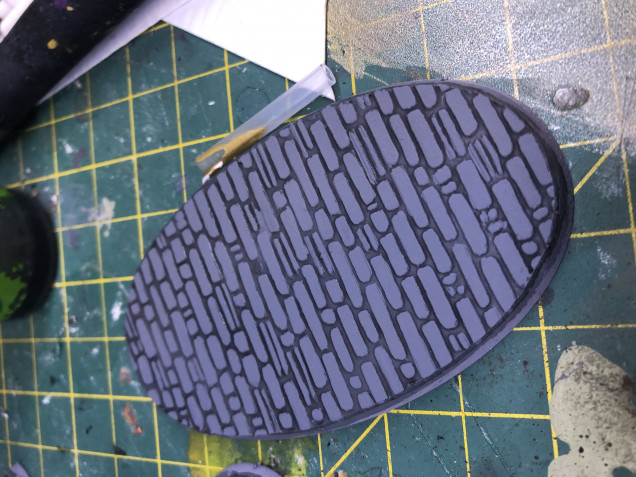
Once this is dry, we proceed through the first 3 steps of painting.
1) use the grey base coat color to pick out the bricks
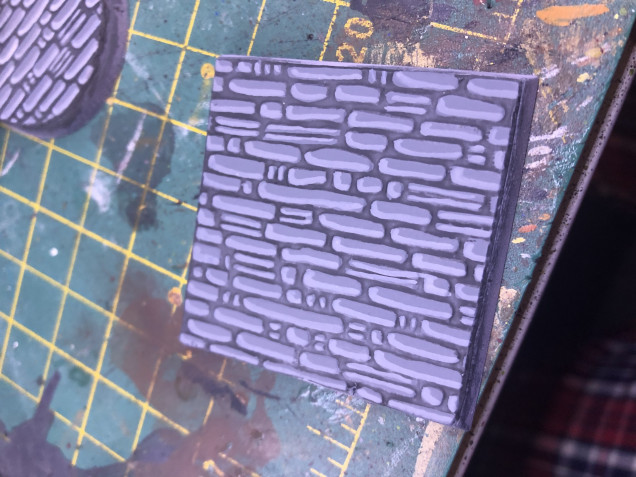
2) using a slightly lighter shade of grey, paint a broad highlight on one short edge and one long edge of each brick. Consistently highlight the same edges to give the impression of a uniform light source
3) repeat step 2, using a lighter shade of grey, only painting a finer highlight on the same two edges
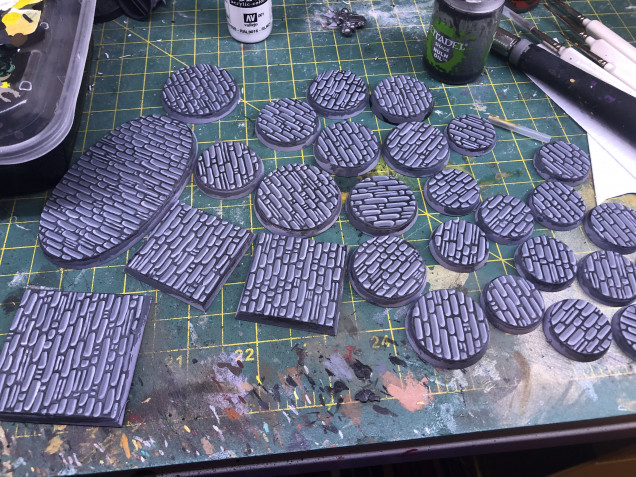
dont worry about being too neat, as the second to last step will clean things up.
The next post will finish the bases with 1 last highlight, a shading step, and painting the black lip of the base.


Great idea and so simple! I’m definitely trying this on my next project.
And its surprisingly flexible, as textured plasticard is available in many textures, including things like cobblestones, diamondplate (for more modern/scifi feel),etc. The most critical steps are: 1) getting a good glue adhesion between the edge of the base and the plasticard, and 2) taking your time with the final trimming of the plasticard around the edges of the bases. If these two steps are done too-quickly, you will end up with a very visible seem/gap where the plasticard meets the base. You can still see it in many of my photos, but its not hugely visible. The more care/time you… Read more »