
Foehammer's 2019 New Year's Resolution
Dwarf basing tutorial, part 1
Ok, several people have been asking how I did the dwarves bases. I finally got around to doing a second round of them for the next set of minis, so took the opportunity to document the process. You need
– sharp hobby knife
– plastic bases
– plastic glue
– textured plasticard (see link)
https://www.amazon.com/gp/aw/d/B004FLQLRQ?psc=1&ref=ppx_pop_mob_b_pd_title
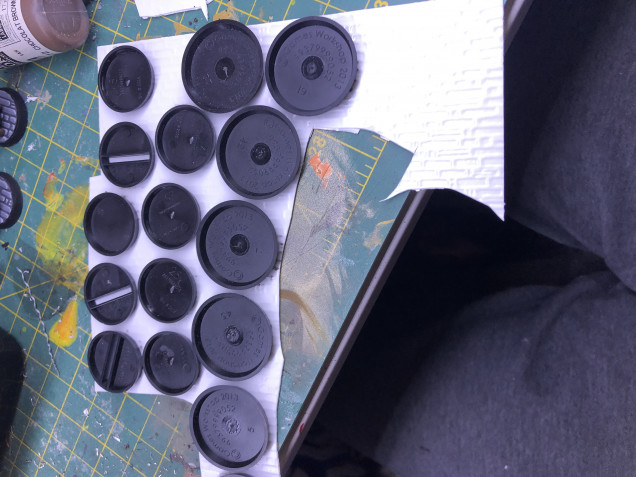
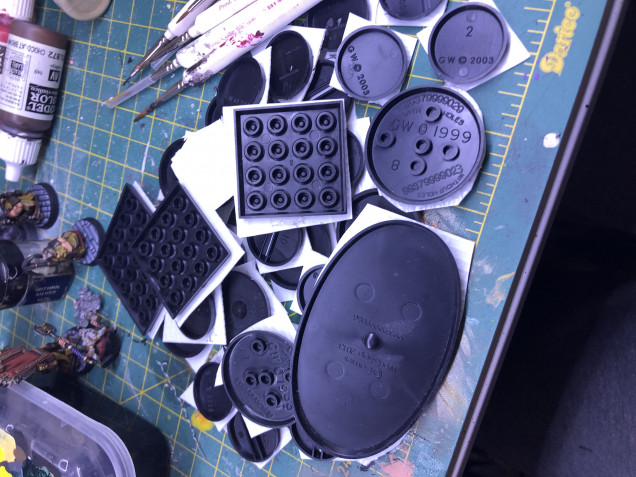
start by laying the plasticard face down on your work surface. Then, apply plastic glue to the tops of your bases. This should be a thin coat spread all the way to the edge to ensure good adhesion. Press bases against the bottom of the plasticard, leaving enough space to fit a knife blade between bases for cutting.
leave to dry/set.
Once dry, cut the plasticard sheet to separate the individual bases. These are rough cuts. The detail work is later.
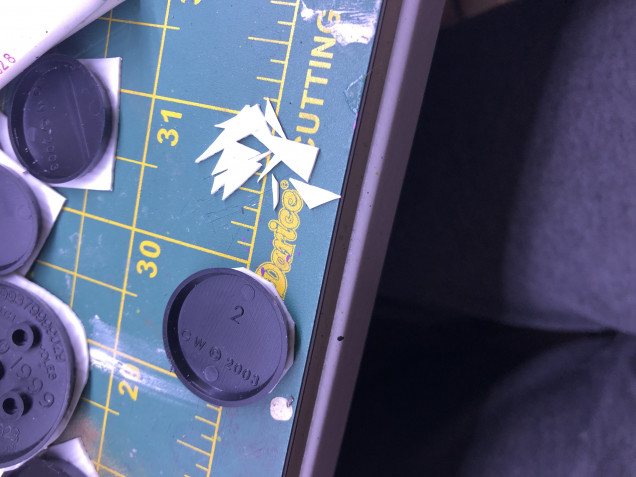
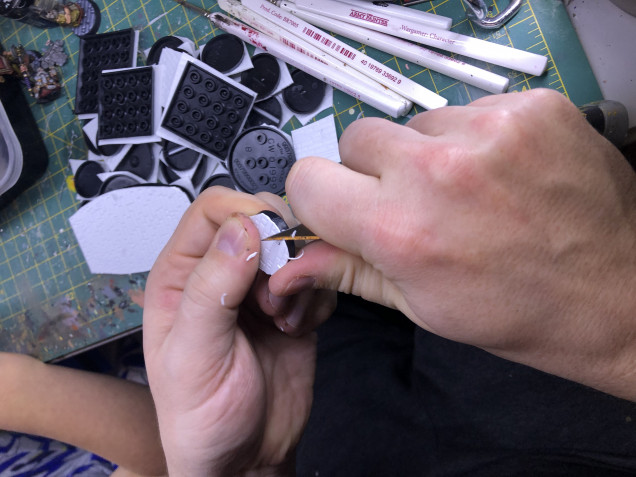
Now, take each base and place it face down on your cutting mat. While rotating the base, cut as much excess plasticard as you can from around the edge of the base. Be careful with the knife work.
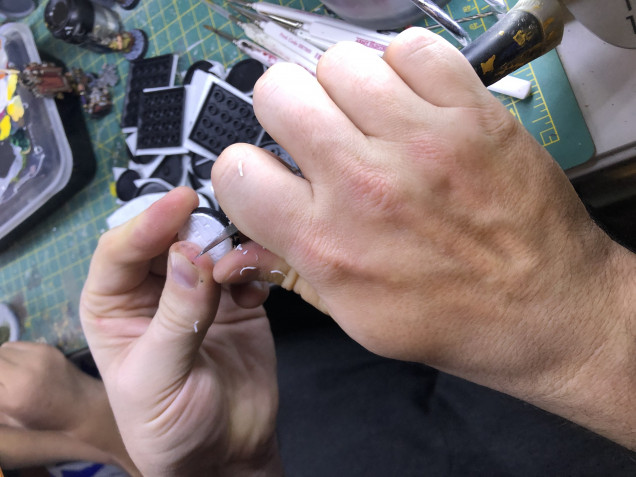
90% done. Now, flip the base over. While holding it in one hand, run your knife blade around the base, using the beveled edge as a guide, trimming off any small amounts of overhanging plasticard material. The plasticard should now be flush with the beveled edges of the base. You can run your finger along it to identify any areas needing further smoothing.
Lastly, you may find the top lip of the base has a hard/sharp edge from the previous cuts. To soften this, I reverse my knife blade and run it quickly along the lid hard edge, just like I was removing a mold line. 1-2 passes and the edge should now be softer/smoother.
this will get you 1-200 bases from just $8 of materials.
Next steps, priming and painting.




Wow, such a simple way to get that cobbled street look for your bases. Will have to try that on my next project!