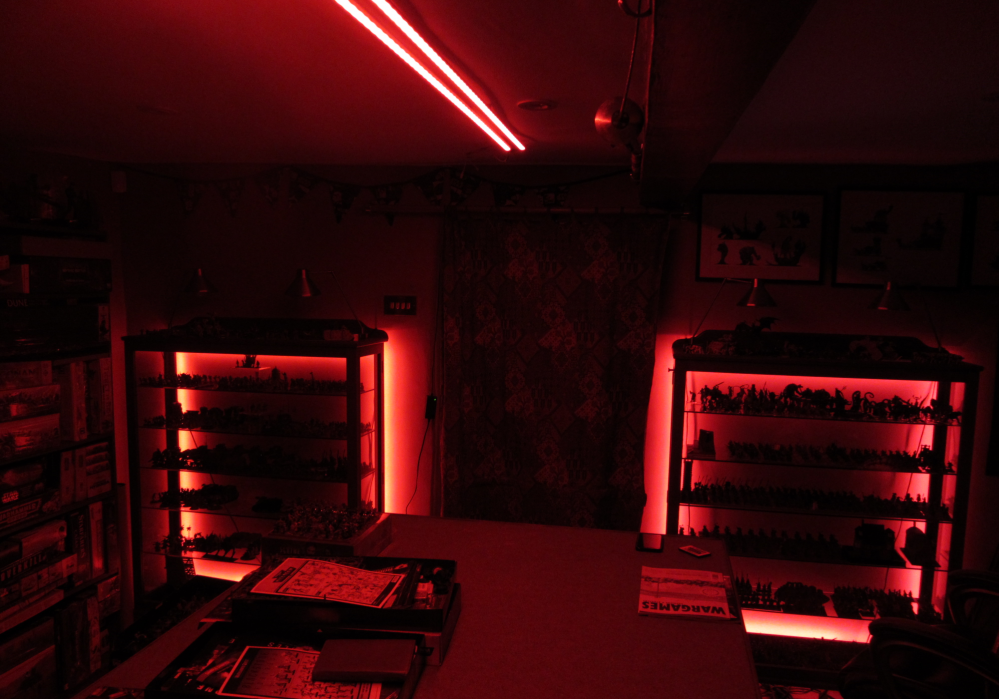
Mood lighting the games room, step by step
Construction
Tonight I’m putting all the bit together. First let’s look at the led strips in more detail:
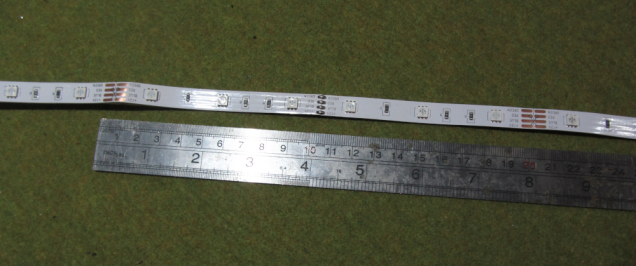
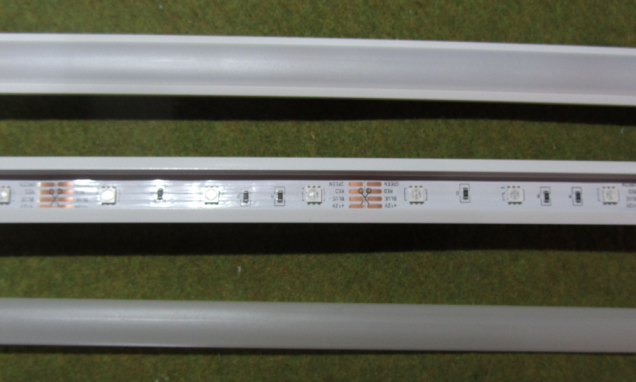
LED strips come in various types, not that I was aware of that when I bought these. This one has the LEDs in groups of three with copper connector points between the groups to allow the strips to be cut (and possibly rejoined with a special connector clip). This strip has 3 LEDs every 100mm and this ratio is very common for the cheaper kits, (the LEDs are the little white squares in case anyone hasn’t seen this type of light before). This strip is 10mm wide so will fit exactly into my extruded aluminium (I checked this before order everything). 10mm is apparently pretty standard although there are some strips that are 8mm wide apparently. There are also strips with LEDs closer together so you get 4, 5 or more LEDs per 100mm. They are obviously more expensive.
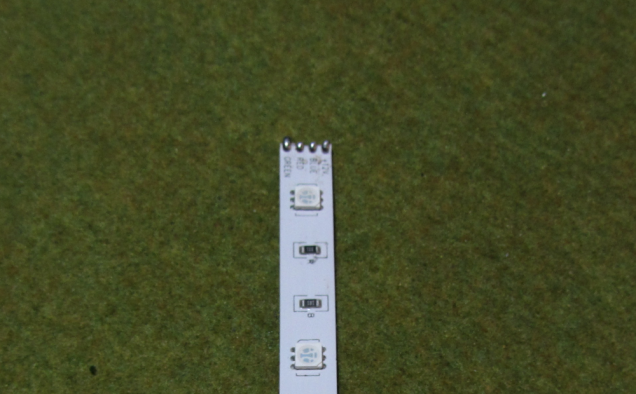
In the centre of this photo is a soldered joint which is the manufacturers method of connecting several smaller lenghts into this 5 meter strip. Soldered joins were every 500mm on this strip. As I need two lengths of 2.5 meters for the extruded aluminium housed ceiling lights I would need to cut this strip at the solder joint. Initially I wasn’t too sure but having examined it more closely it seemed that this was a suitable place to cut through so I carefully cut the solder only and separated the reel in the middle.
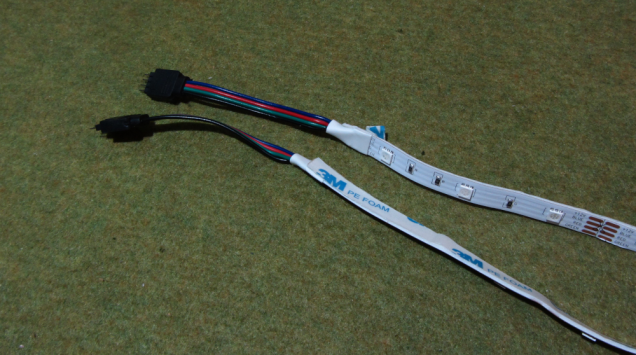
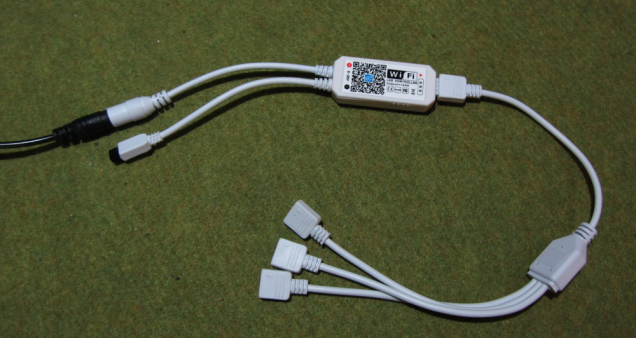
At the other end is the attached plug connector. The strip is supplied with female plug ends and two male to male converters. The plugs on the wireless connector and the 3 gang connector are also female ends.
This photo shows the sticky foam backing. Having split this reel into two 2.5 meter lengths, I then glued them into the extruded aluminium strips:
Then it was time to test everything. First I connected the power to the WiFi connector and this into the 3 gang connector:
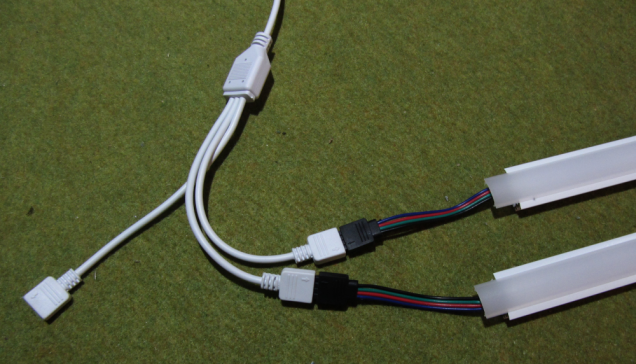
Then the strip ends into the 3 gang connector.
N.B. Careful here. There is a specific way round that the plugs go. There is an arrow pointing to the end connector of the four and this must line up with the arrow on the end of the other plug. You will risk shorting the strip if you plug it in the wrong way round.




Leave a Reply