Revolutions // Game Design
Recommendations: 9
About the Project
Hoy ahoy there friends! This is Ryan from the OnTableTop team. This project blog is about the second game I've been making called Revolutions. I started a project every three months where I make a game and send it to a friend of mine. By quickly prototyping games and taking them through to completion every three months I hope to get much better at game design. The deadline for this game was January 12th, so this is a retrospective blog taking apart the process I followed and how I put the game together. The challenge I set myself for this game was to design something involving circles. In this project blog I'll post about: Prototype Design - Game Design - Rulebook Design - A final postmortem video to cap it off
Related Genre: Strategy
This Project is Active
Prototype Design
Oh hai there friends! My first post on this project blog will be about how I created the prototype of the board for this game. I had a rough idea for what I wanted to do mechanically with the game but it all centred around the concept of the board. And before I could mess about with the mechanics I needed to make the board itself.
I wanted to do something with circles as that sounded both difficult and interesting to me. I had the idea of a multi-tiered city of circles that all rotated and I instantly fell in love with that board idea. I liked the idea that each tier was split into four areas and that players would have to align these tiers to move their pieces up and down the board.
From this I had a clear idea of what I wanted to do. I just needed the materials! So as soon as I posted my first game Bloom to my friend, I went to the stationary shop to pick up what I needed:
- Thick card
- Coloured paper
- Kitchen roll holder
- Compass (circle drawing thing)
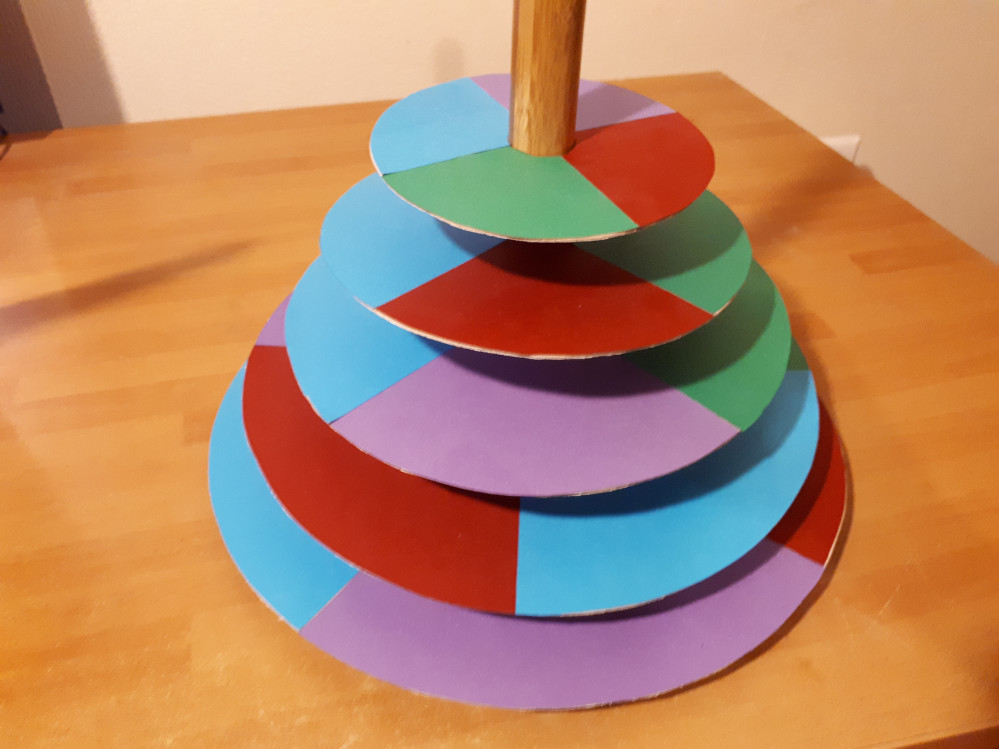
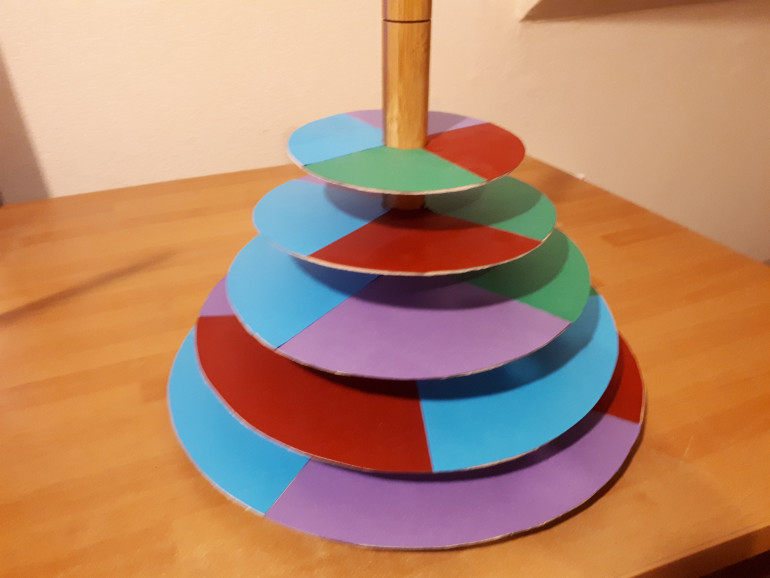
I wanted 5 tiers starting with the largest at the bottom and the smallest at the top – like a wedding cake or Minas Tirith. I needed the size of the tiers to go up in size enough so that there would be space to place the pieces. So I decided that increments of 4cm would be enough (it would not be but more on that another time). So I cut out the circles in sizes of 12/16/20/24/28cm and then separated them into quarters by attaching coloured card. Following this, I cut holes in the middle of these circles so they could be threaded onto the kitchen roll holder. Finally I spaced out the tiers on the kitchen roll holder with some more card and a bit of glue attached to this central pillar. The result can be seen below:
It’s a little wonky. Some of the edges are a bit rough. But it’s a prototype. Each of the circles rotates and can align one or two of the colours with the tier above or below it. All in all, it took a short afternoon to assemble it and I couldn’t wait to get started on the design.
For now I’ll leave it there. I want to separate out my posts on building the prototype and on game design because the prototype of the board came before I worked on the mechanics. And that’s a key point in how I actually struggled with making a game around this board design.
My next three posts will be on the three games I tried to make on this board. They will be in-depth postmortems on the design of each one and why ultimately, they don’t work. Toodles for now!


