Shredhead’s first project – My little photo booth
Recommendations: 21
About the Project
Hey folks! I want to get into these project thingies. So, for preparation I decided to make a little photo booth so I can make good quality pictures of my stuff. The whole build took me about an hour and was a nice little project on a drab and dreary Saturday.
Related Genre: General
This Project is Completed
1 hour of building in 9 pictures
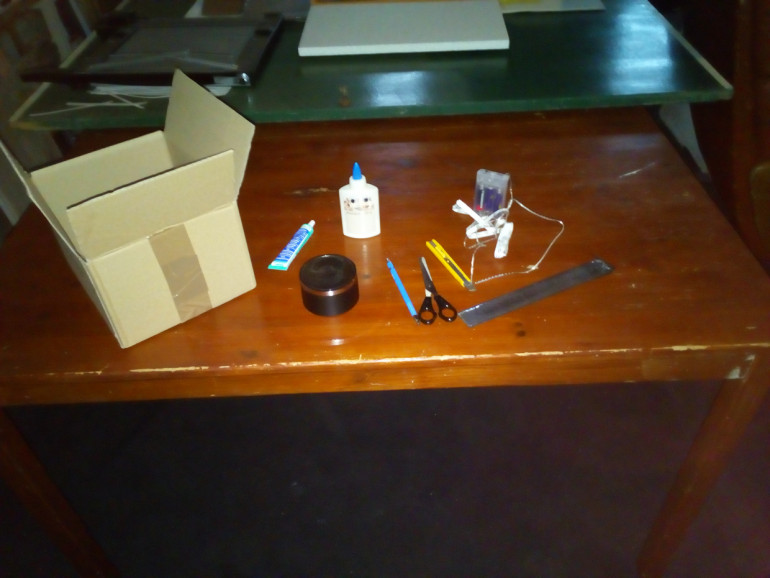
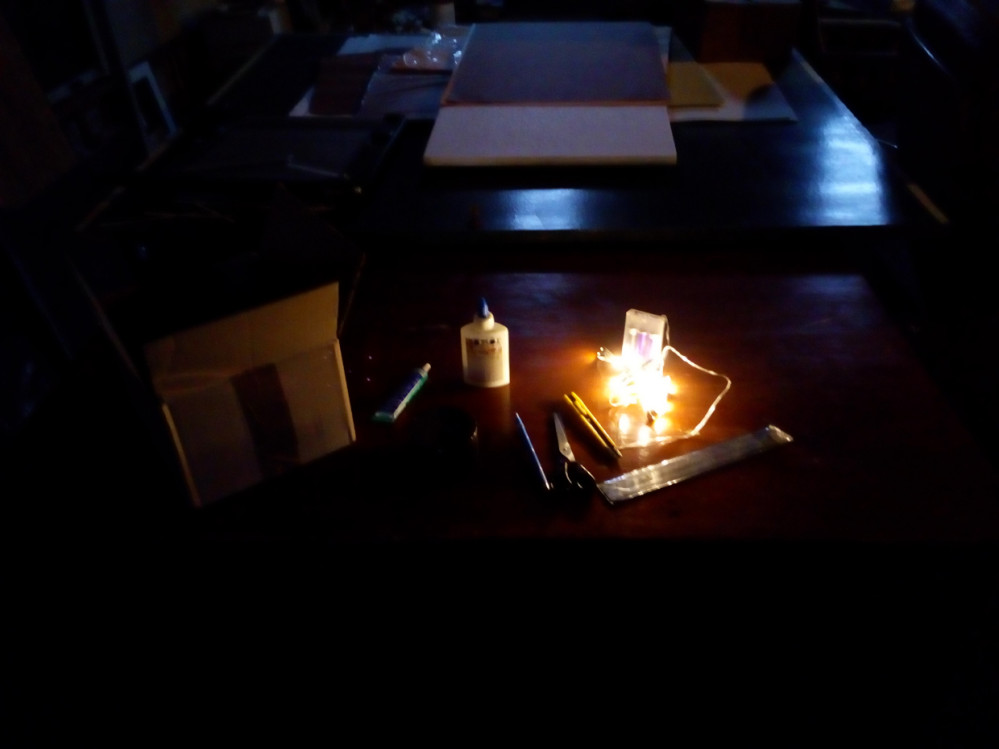
All you need to make your own little photo booth is:
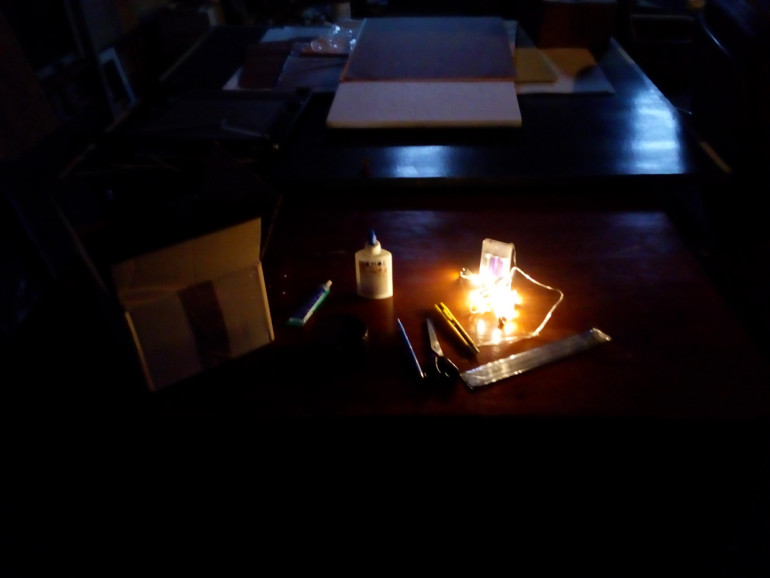
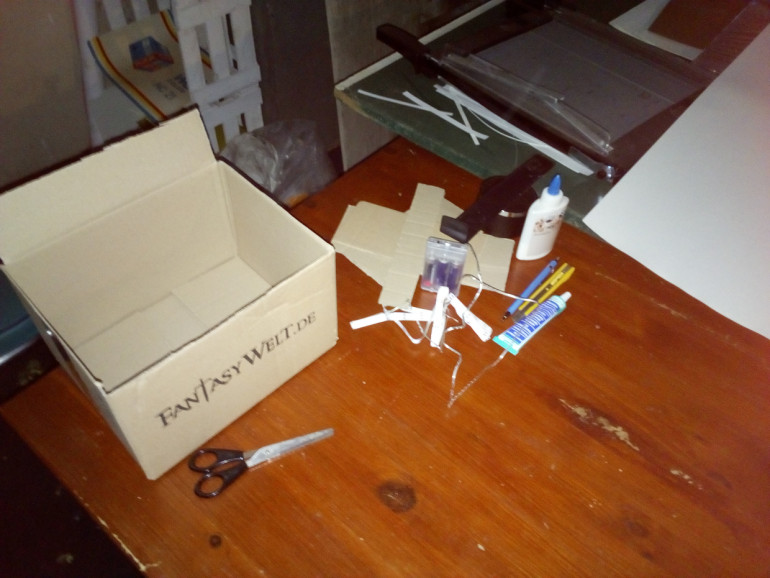
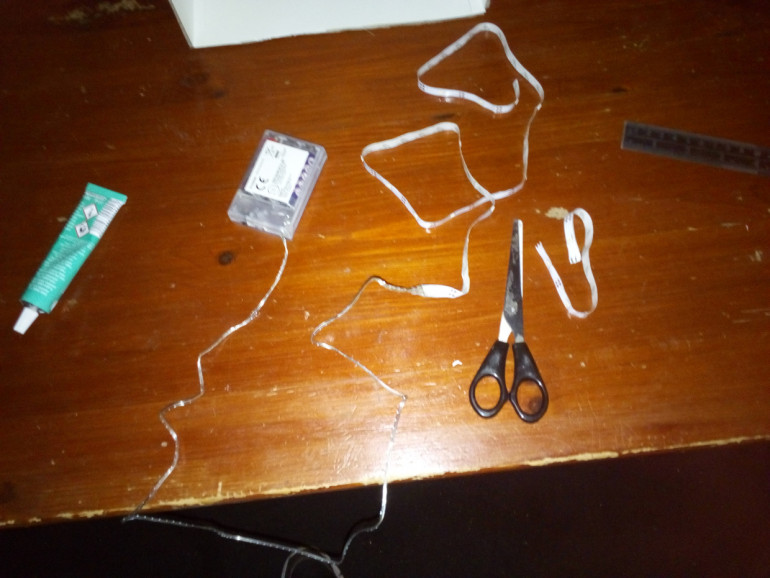
A box; a battery powered LED strip, 1 meter long; white paper or card board; a pencil; a ruler; scissors and/or cutter knife (aka box cutter, hobby knife) and glue. Check if the LED strip works. I got mine for 3 € at a Euro-store (aka Dollar/Pound shop)
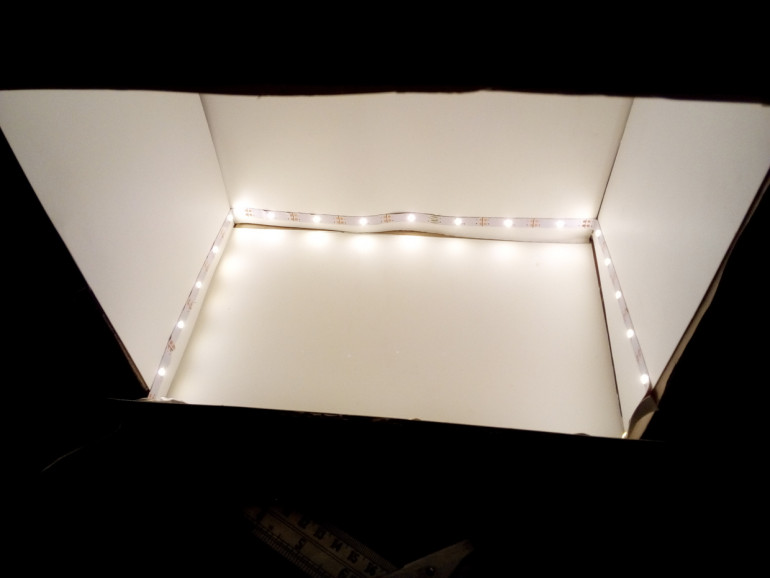
You then proceed to cut off the cover flaps from the box. The one flap on what is to become the top of your photo booth you only partially cut off, so you can wrap the LED strip all around the top on the inside.
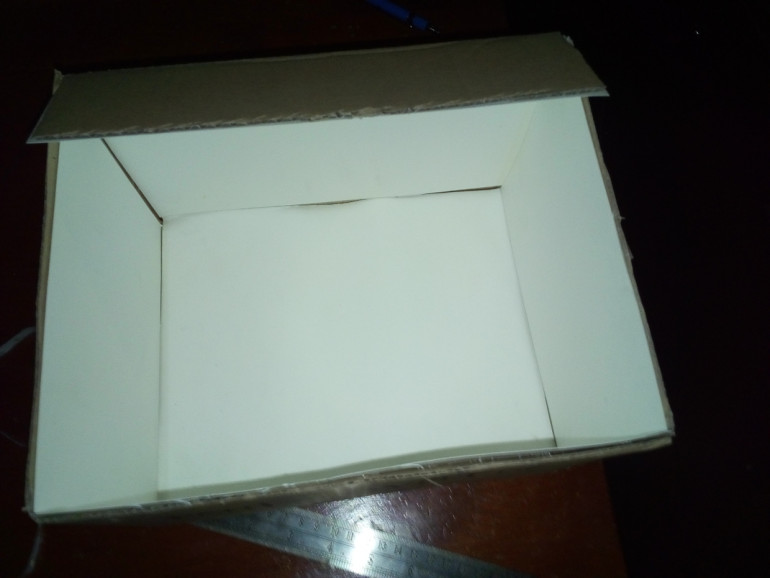
In the next step you cut your white paper or card board to fit all the sides inside the box. Leave the upper side longer so it covers the flap you left as well. Better to make your cut outs bigger than necessary, you can always cut off overhang or bend around the corners. Glue it in. I decided to rather use the all purpose glue than PVA. When I glued in the upper square I used the tackiness of the glue to pull the flap down at an angle and let it dry like that.
I then went and measured the length (circumference) necessary for the LED strip and cut it accordingly. You can keep the rest and attach it to a battery box by soldering for other hobby projects.
The LED strip is self adhesive, so it was easy to fit in.
Part Deux
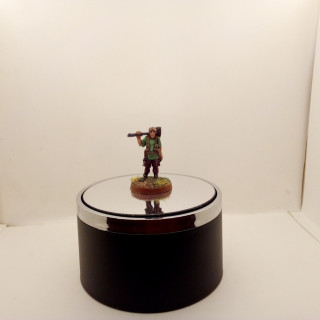
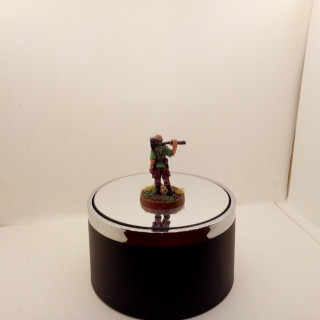
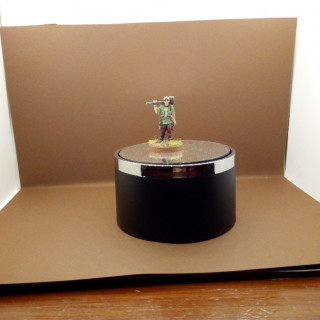
Now for some test shots with my crappy Chinese smart phone. It works, as far as I can tell.
I also cut me a little brown cardboard inlet as a darker background. So, that is that. Easy little build for great effect, and cheap.


