Gaius Papirius Tenebris Builds a Gang - A Gangs of Rome Project
Step 1B - Pinning and assembly
I seem to have an issue with glue; it tends to go “bad” fairly quickly. Well, actually, I don’t build a lot, so it’s likely that once it’s opened it just sits around for too long. So I try to do assembly in big batches.
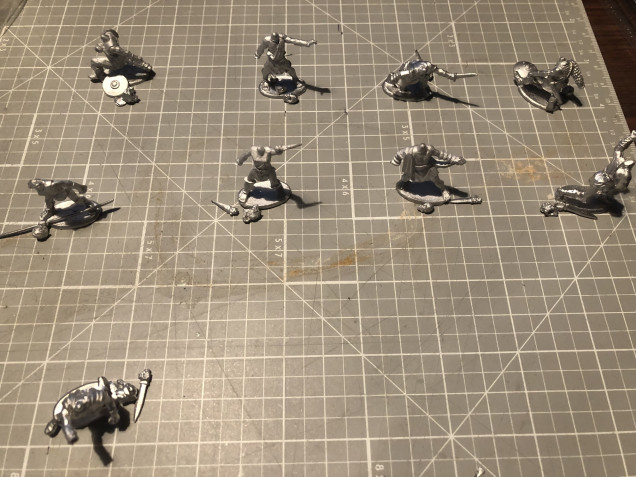
The only models in Gangs of Rome that need assembled are the fighters, and they typically come with 5 heads to choose from and a weapon sprue. I pick what weapons and heads I want and lay them out with each model. That way I can cut the tip off a fresh bottle of glue and do everything at once.
If you’re going to cut the bases off the models, I don’t recommend you assemble or prime first. The pressure you will apply will often cause the glued parts to pop off or the primer to rub away.
The GoR models are cast with “built in” pins. The neck sits into a cavity in the head and there will be a small divot in the hands that matches a “nubbin” on the weapon. A lot of people will go ahead and pin these pieces anyway, but I’ve found that it holds pretty well as long as you don’t use too much glue. Plus, let’s be honest, these are really small parts and pinning it is a pain in the butt.
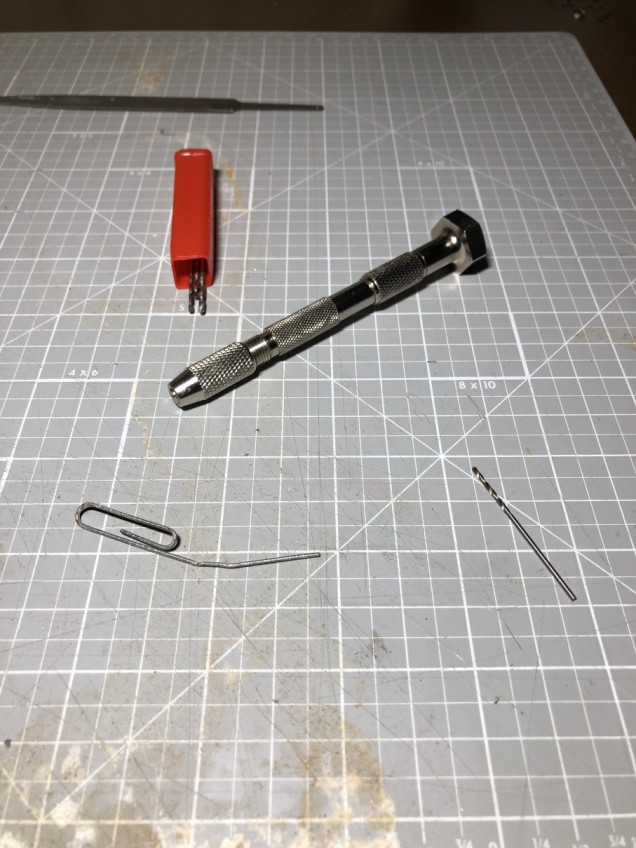
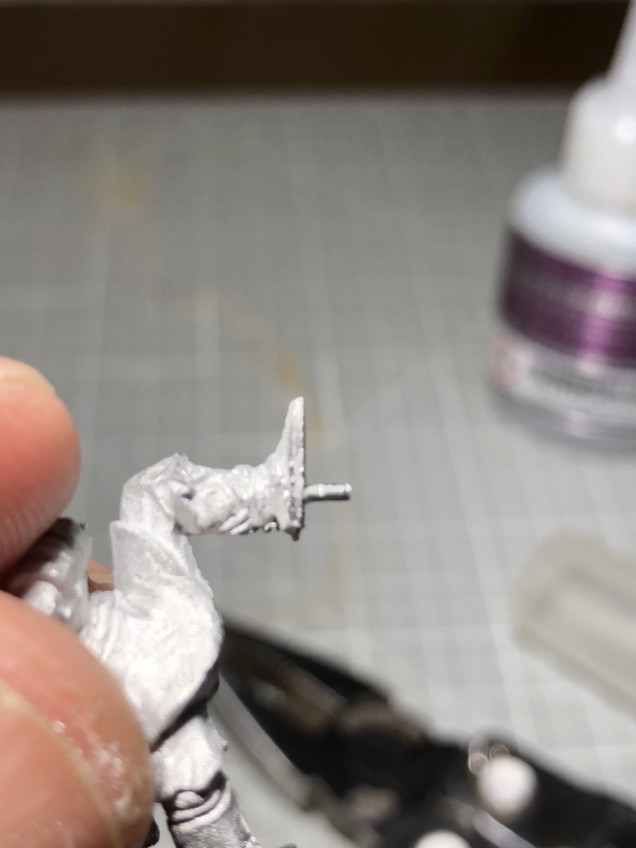
Once the models are assembled, I put pins in the feet for anchoring to the bases. My usual tool is a pin drill. I assume you could use a rotary tool, but neither of mine have small enough adapters to hold the tiny bits for pinning a model.
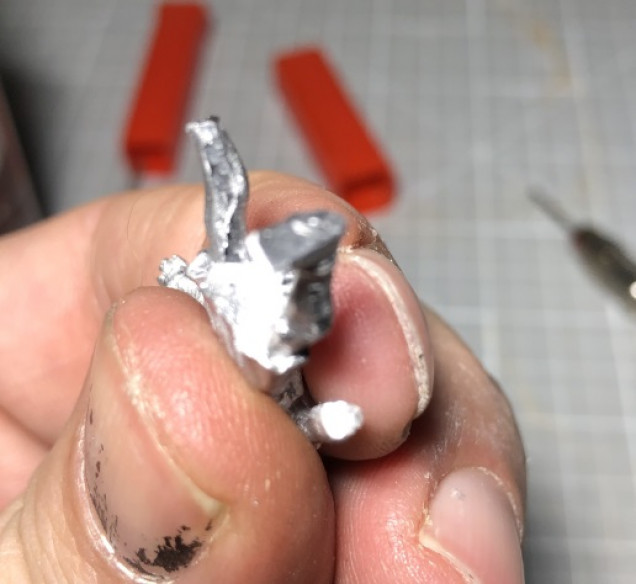
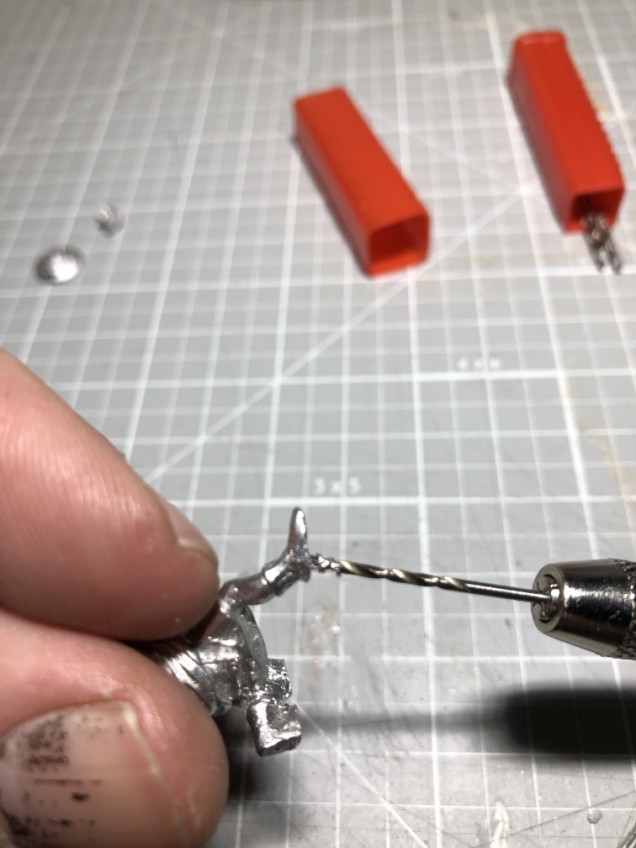
Gently put the bit against the part you want to pin (in this case, the foot). Don’t use a lot of pressure as it will just cause the bit to skitter off the surface. If you keep having issues with that, you can try to “drill” with the tip of a hobby knife, just enough to put a small divot in the surface for the bit to start in. Be very careful if you do this.
Once you’ve got a nice hole, maybe an 1/8″ deep (or 2mm), insert your pin rod (I use paperclips) and put a drop of glue around it. Once it dries, you can carefully trim off any extra glue and, viola, pinned model!





Leave a Reply