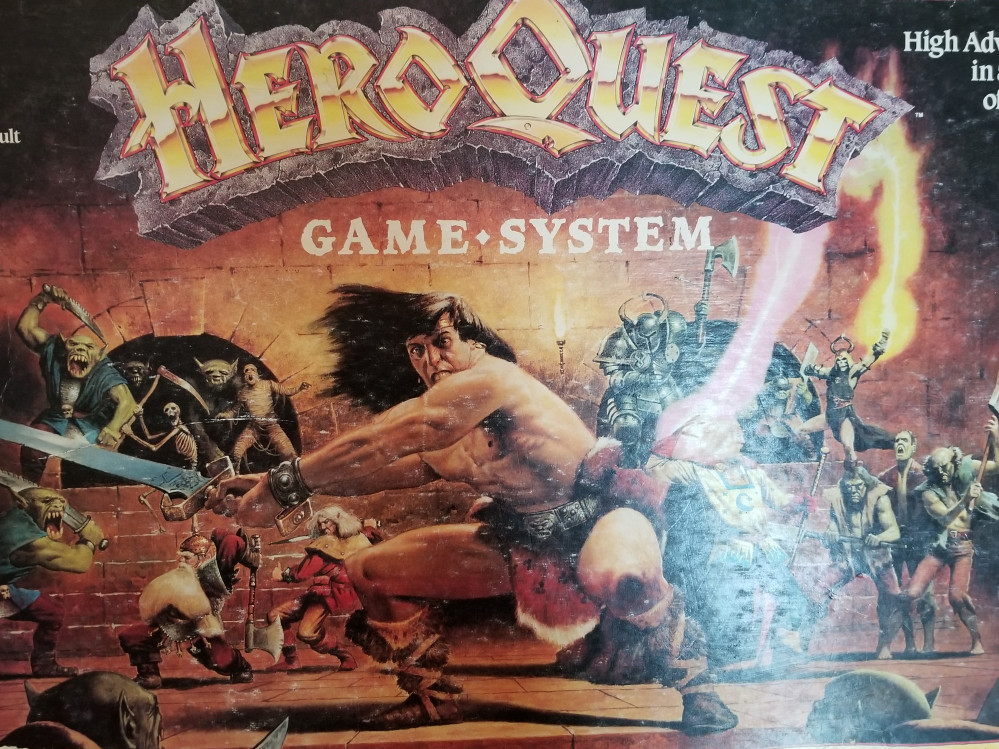
Heroquest Restoration
the Elves, part 2
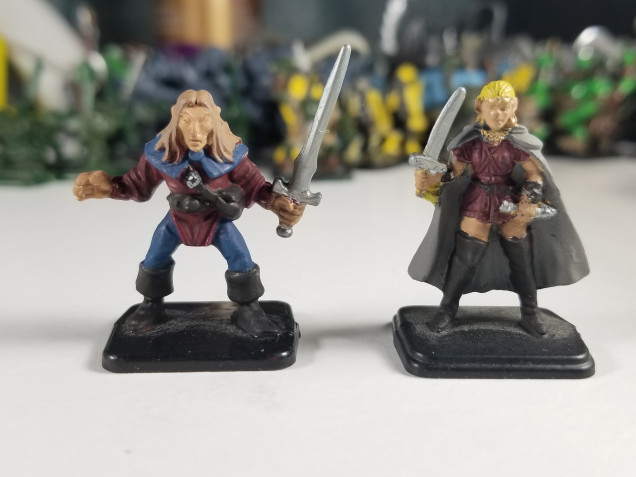
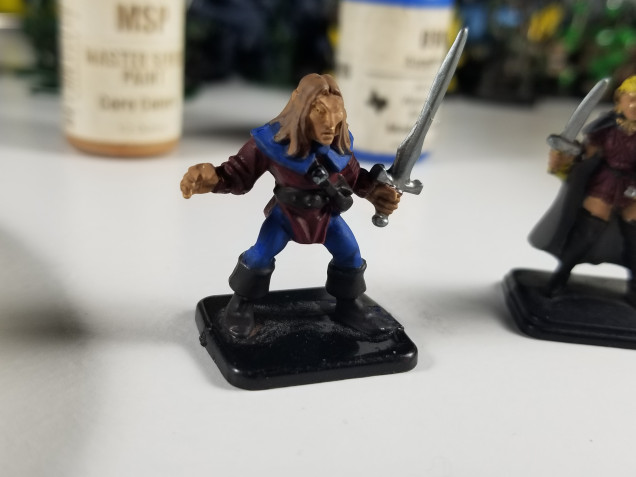
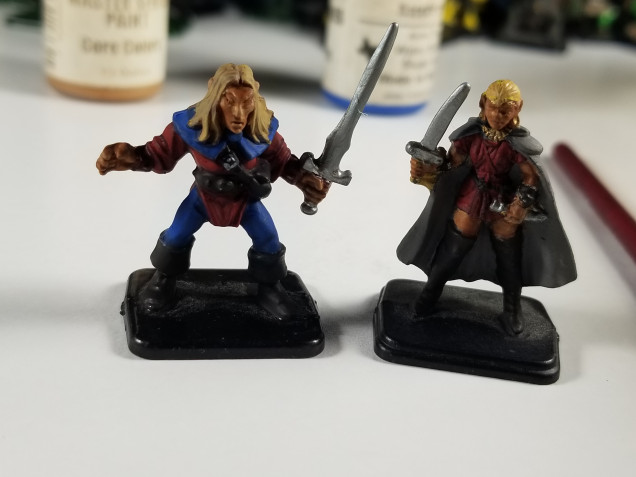
Step 6 – For the next layer, starting with reaper Tanned Skin for all the exposed skin. For this color I just went over the higher parts of the models, not total coverage.
Step 7 – used Reaper Sapphire Blue on all the blue sections. This was mostly covered, but left the darker blue in near the edges to hair and other cloth, to simulate a shadow.
Step 8 – Went over the higher areas with a thinned Blood Red from reaper. This was thinned enough that I could go over the highest points again once the layer dried.
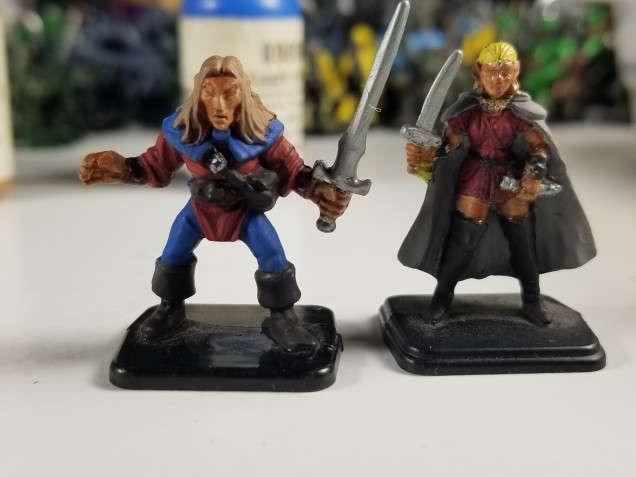
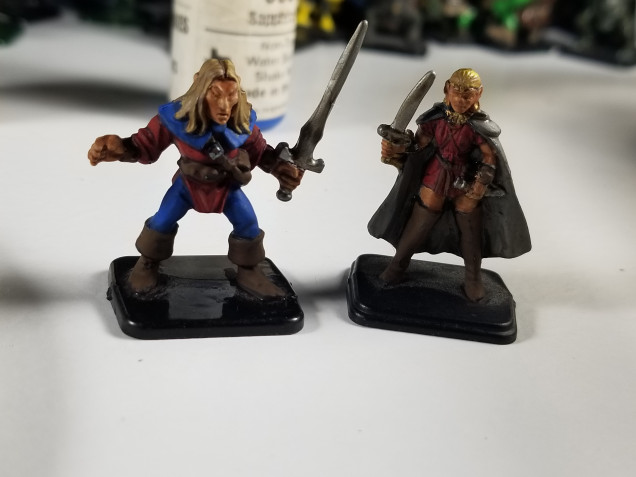
Step 9 – used Reaper Flesh Wash on all the skin areas, took care to put into the deeper areas, as I didn’t want to just completely wash out the whole faces and hands.
Step 10 – Used Vallejo Desert Yellow to go over both models hair. For this color I did do deliberate paint strokes that would follow the strands of hair, using the color to add depth to the hair and variety in color.
Step 11 – Layered up the leather bits with Reaper Muddy Brown. I noticed at this point that the male had bracers, so I went over them with this brown. Since those were based in red before, it didn’t look too bad, so I went with this instead of rebasing them.
Step 12 – Used army painter strong tone wash in deliberate strokes on the hair to darken it up a bit and again add some more detail. Also used this wash on the metal bits to dirty them up.
For now I’m calling these done. I will redo the base color after some thought on what colors I want to use for heroes vs the evil minions.
I may come back and add more details later, but I still want the paint to be quick so I can get through the entire set in less than 20 years.







Leave a Reply