Infinity Terrain
Finishing touches and design elements.
With the major problems sorted out I started to focus on the details.
I needed to make some transfers, paint the ladder rungs *shiver*, design and print some touch screens.
I will start with the rungs. This was perhaps the worst job in the world. I had to do this two times for the last buildings I didn’t even want to do this one time now.
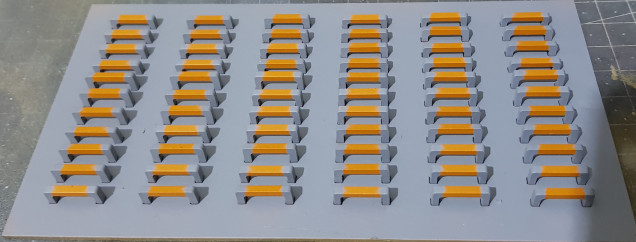
This time I broke it down into processes. The full painting of the ladders for all three buildings took just over an hour which is fantastic. I cut a template sheet out of 1mm card. I put masking tape over the back leaving sticky square holes for the rungs to slot into.
I mounted everything and undercoated grey then went over in orange. After this I used 10mm tape to mask each one then sprayed grey.
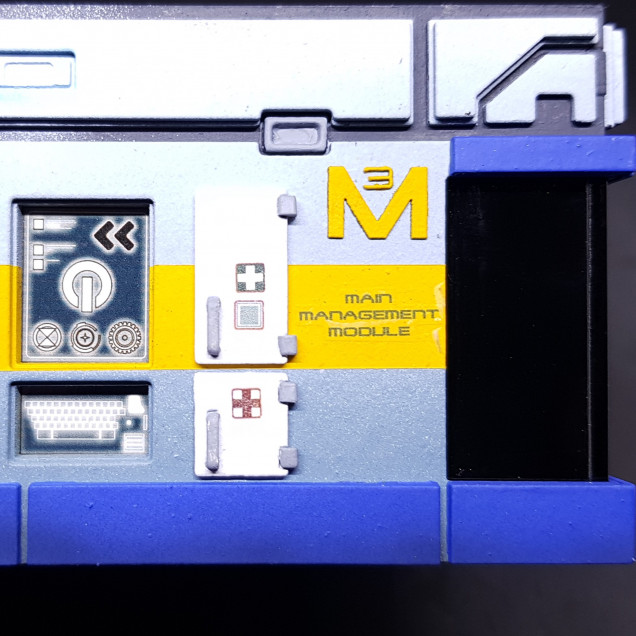
For the transfers I designed in CAD and coloured in photo editing software. This was then printed onto transfer paper, gloss spray varnished and cut and mounted with water.
For the screen this was done as before designed in CAD then moved into photo editing to add effects and colour. This was then printed on photo paper, gloss spray varnished then super glued down to a piece of plastic. To mount I placed double sided tape on the sides. Placed in place and then PVA put all round on the back to hold into position as I don’t always trust double sided tape alone.
While I am on this Image I also laser cut out of 0.5mm card some “M #” text. I mounted these on masking tape primed and sprayed yellow.
I done the hazard lines using some laser cut templates and laser cut 0.5mm card. Similar to before but these were much longer and turned out ok and was fast. I decided not to be to anal about this and decided they did not need to match up all the way.
I decided to show my working here.
This is also a good time to advise how I done the windows. These are not perfect but they were never going to be as they were in two pieces.
On module 4 (test) I just back sprayed the clear acrylic on the back in black and stuck it together.
I do know how to do these perfectly (if you can be bothered). You cut the two joining ends longer than they need to be. You then cut or sand a perfect 45 degree angle down the side about 0.2mm longer than it needs to be and you then sand and polish this back up to clear. You then use a product called Tensol to weld the two sections together and then polish the seam until nearly optically clear and mask and back spray. The above would take me about 6 – 9 hours of work for the 6 corner windows so I didn’t do it this way.
I masked off the join on the windows and left this clear as it came off of the laser cutter which is glossy but had a little ripple. Then back sprayed and this took about 20 minutes for all 6 instead. I then unmasked and inserted the windows. I then used PVA to glue this, it was also a nice strong glue-less fit as well, PVA is more for my piece of mind (aka, drunk prevention).
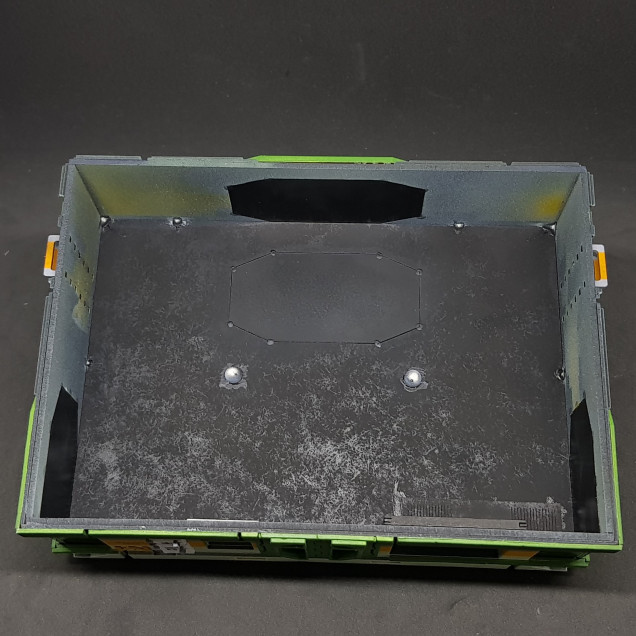
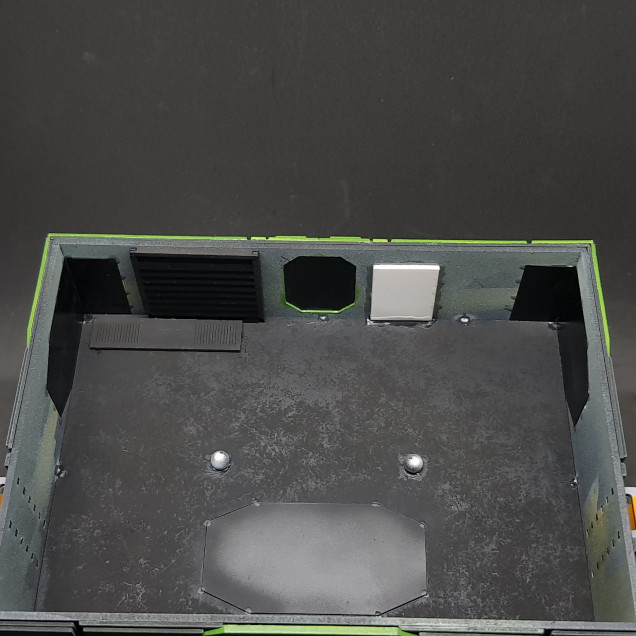
I also didn’t like that you can see in the side of the shutters. I designed then cut a window frame for the inside so you cant see in.
I am almost at the last post section for the Ice Storm starter. These details make up the last parts I needed to design/build and assemble. More to come in about 10 minutes.





Leave a Reply