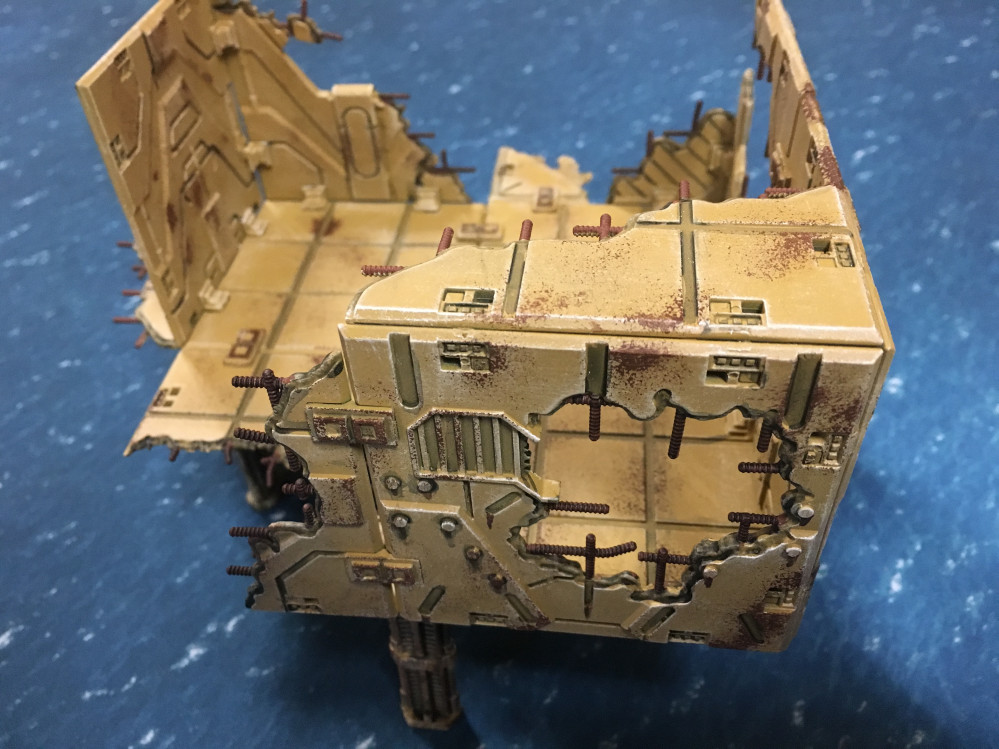
Drowned Earth Terrain Project Log
Recommendations: 65
About the Project
I’ve been watching The Drowned Earth Miniatures Game since it’s Kickstarter but just recently decided to take the plunge. As the terrain for the game is pretty unique, and really sets it apart from other post apocalyptic games, I knew I had to create my own. Not having much experience with terrain building I decided to document my experience. So, here goes!
Related Game: The Drowned Earth Miniatures Game
Related Company: The Drowned Earth
Related Genre: Science Fiction
This Project is Active
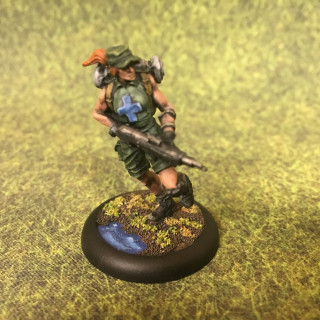
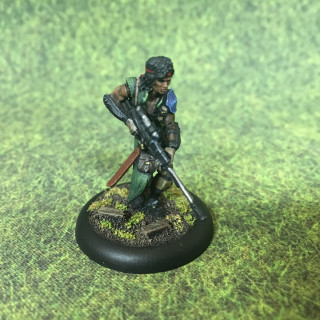
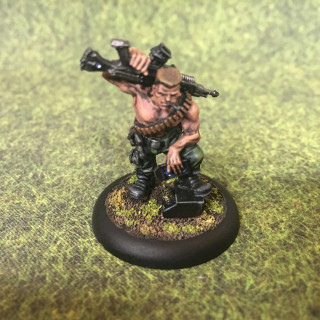
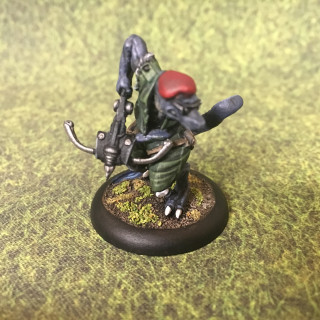
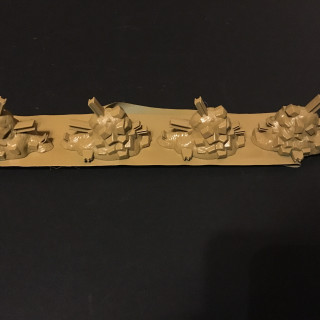
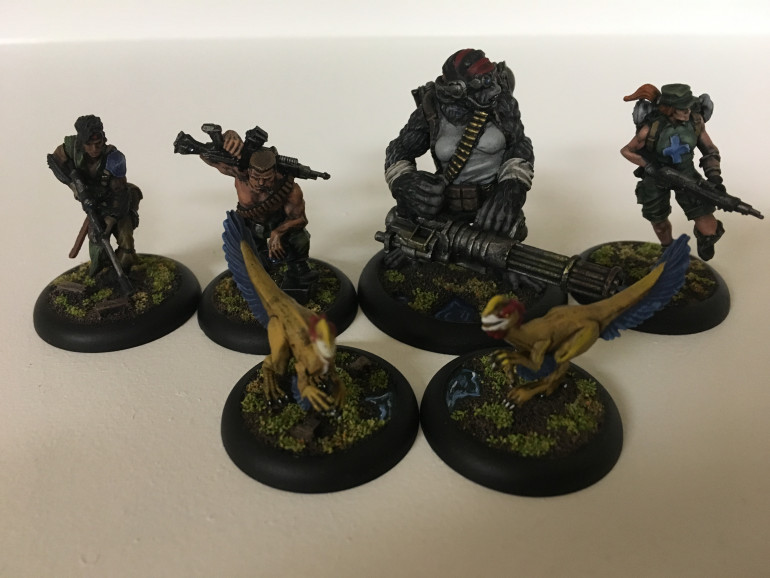
Something I didn’t paint, but worth seeing anyway
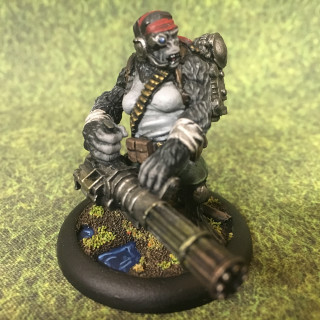
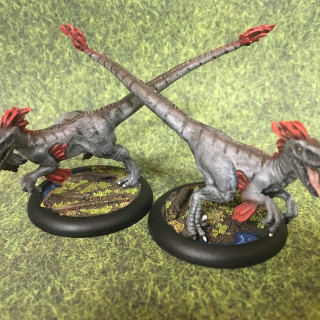
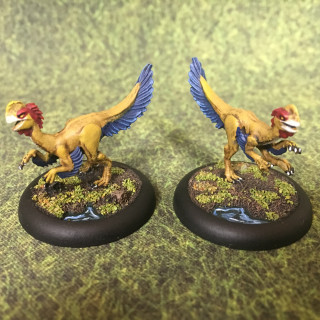
I did not paint any of these miniatures.
They were all done by Sean Twiddy, a very talented local painter and an art professor at one of our local colleges. The sculpts are really good and Sean did a great job painting them.
You can see more of Sean’s work here:
https://stwiddy.wordpress.com/2018/11/30/drowned-earth-dinos-and-gorillas/
My personal favorite is the saurian with his jaunty beret and Ray-bans.
The dinosaurs are amazingly life like and just just shows how real painting skill can bring relatively simple models to life.
2nd Attempt at Rust
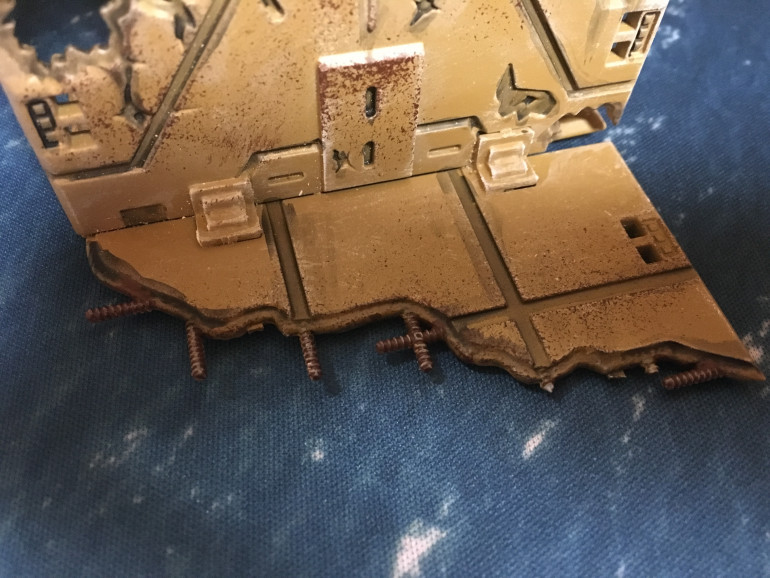
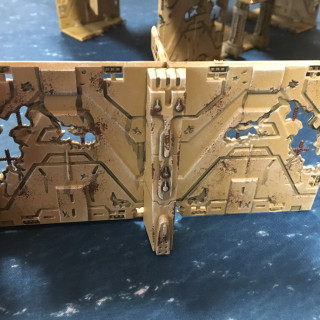
Tried again with the sponge technique using a little less pressure and pretty pleased with how it turned out.
Rust Attempt
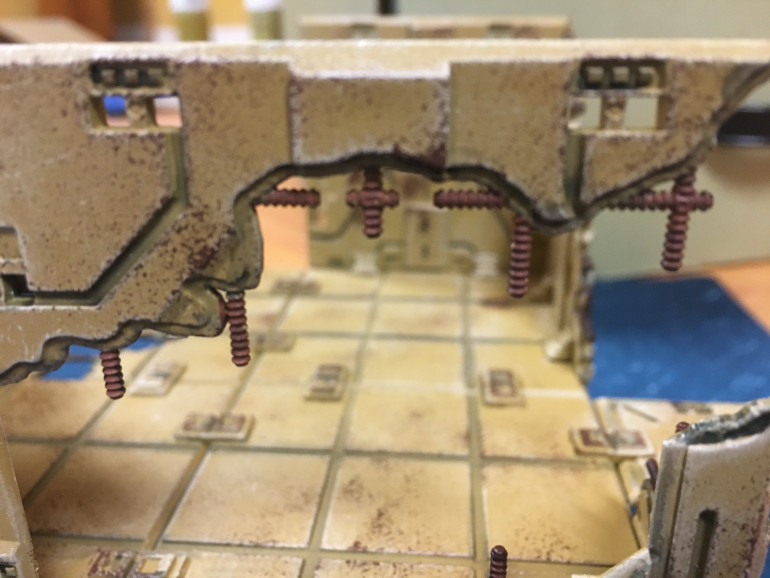
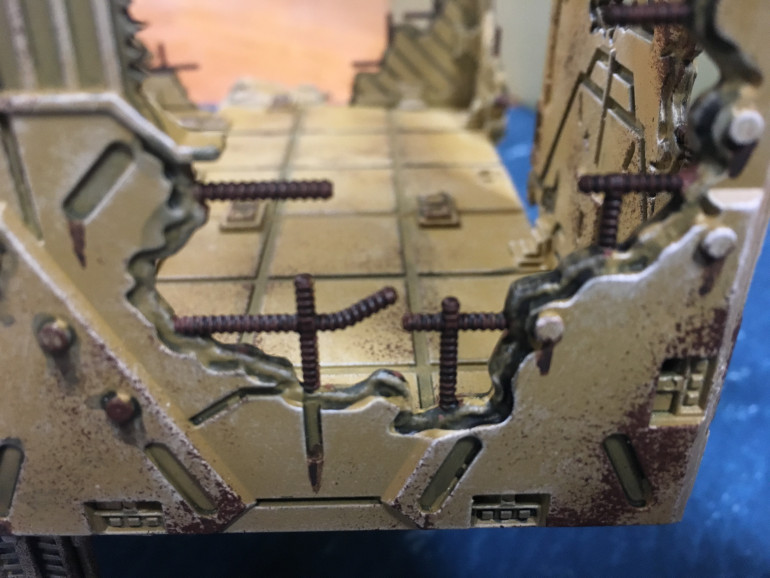
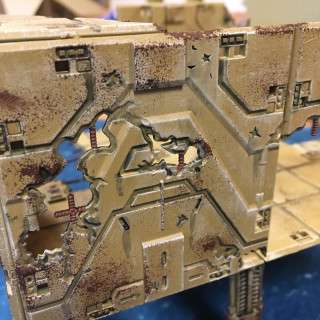
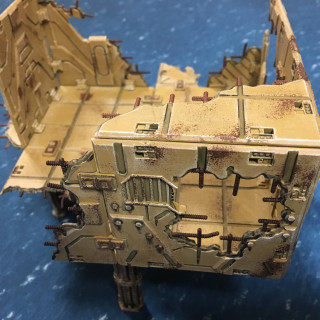
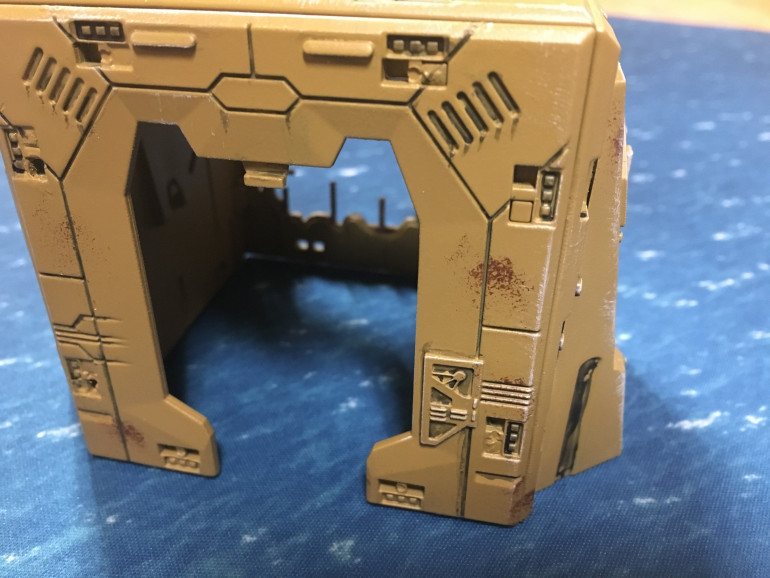 This is the single smallest structure and I usually attempt any techniques on it first to practice before moving on to the bigger pieces. Here I attempted to add rust and it didn’t turn out very well so I repainted the whole thing and tried again. This is the second attempt. Still not completely happy with it but I’m going to work on the technique more. Essentially you use a bit of torn sponge and dab the paint on. On my first attempt I was pressing too firmly and leaving large blotches rather thsn the smaller specks here. The paint used is Vallejo Flat Brown.
 Stain/Wash
The stain/wash is a mix of Army Painter Strong Tone and Green Tone. I used a small plastic cup and added 10 drops of Strong Tone then 5 drops of Green Tone.
As The Drowned Earth is a pretty specific setting, I wanted to capture that atmosphere by making everything appear as if it’s constantly wet and humid and algae grows everywhere.
I brushed the stain into the recesses and tried to imagine where rain water would flow and collect. I also tried to make it somewhat irregular.
Base Coat
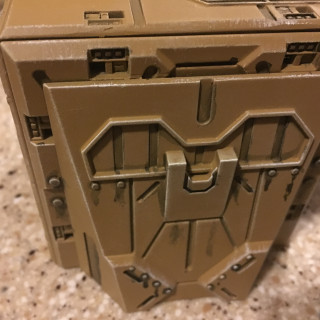
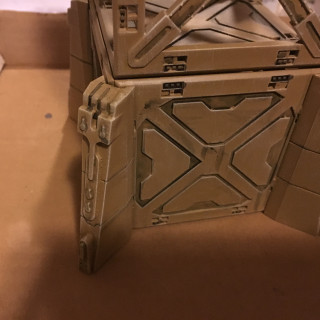
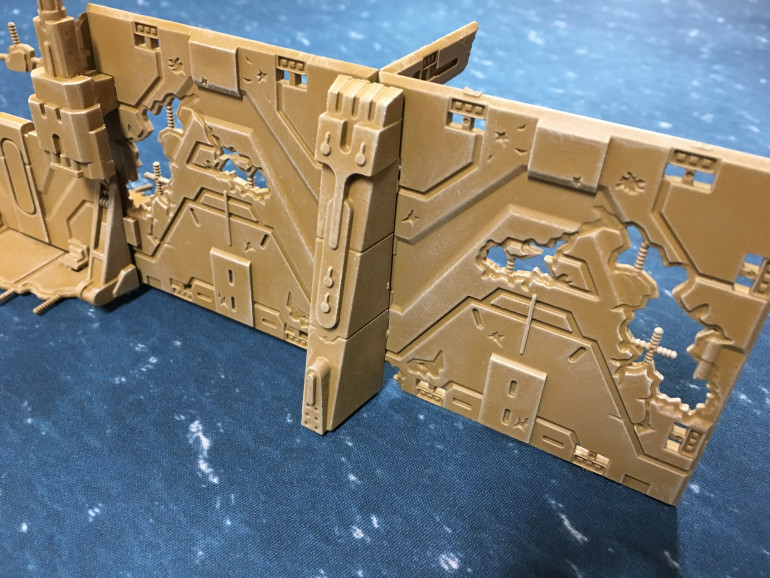
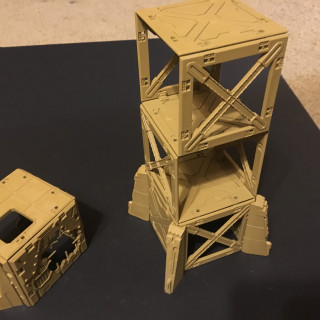
I used Army Painter Desert Yellow as the base coat. While it’s a primer paint you will need to do two light coats.
Army Painter has some nice tutorials on their webpage and, surprise!, they featured Mantic terrain in their project. I’ll use a lot of that tutorial here.
Ruined Building Construction
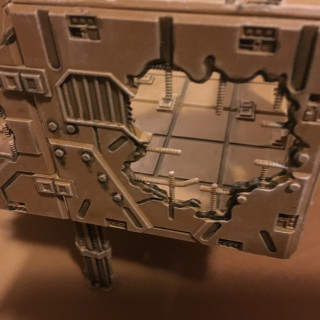
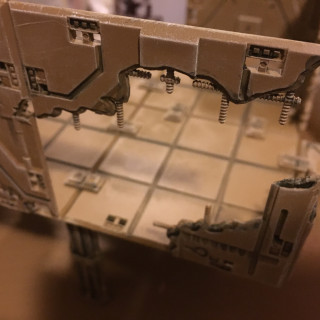
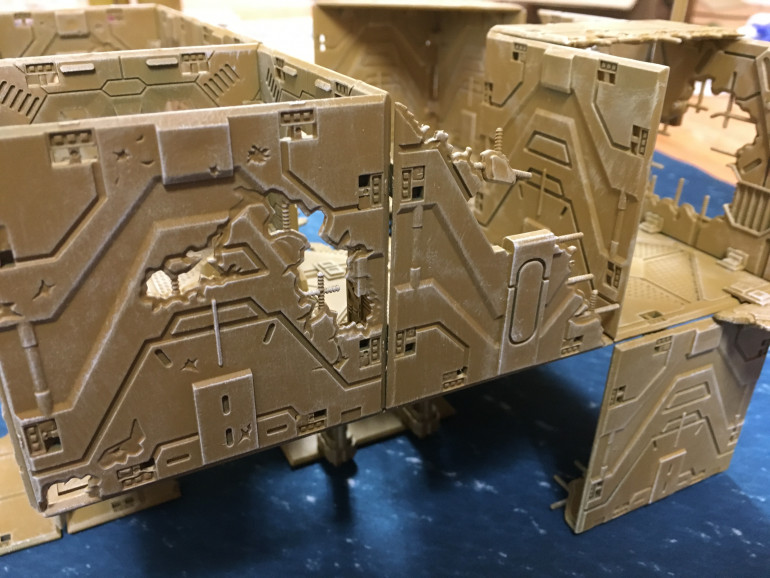
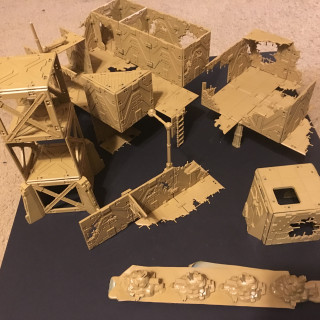
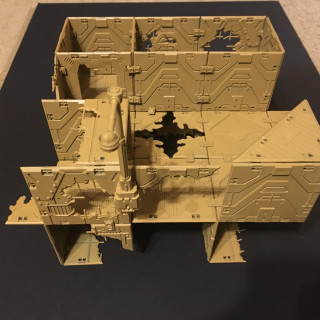
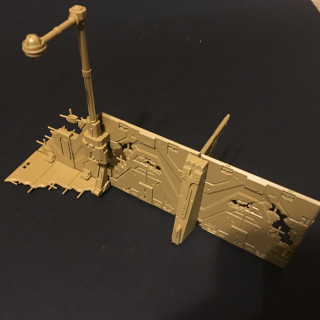
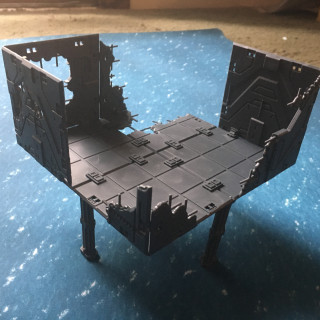
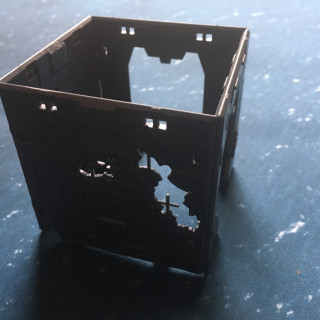
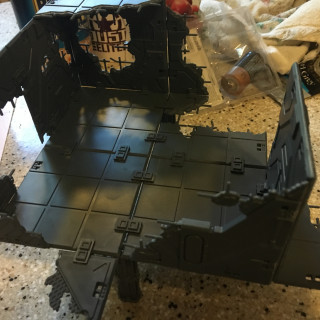
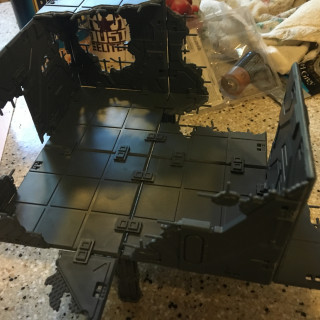
The Mantic war zone terrain set has a nice sci feel and is useable as both military and industrial terrain. There are also a number of ruined pieces the are perfect for a post apocalyptic world. (But is The Drowned Earth actually post apocalyptic? More on that later.)
The fastener system Mantic uses is great for test fitting terrain elements and makes on the fly building possible as you generate new ideas but DO NOT rely on them to hold the buildings together. Make sure you test fit everything. The quality is good but some fasteners will have a very tight fit and I had to file down a few pieces.
Once you’re satisfied, glue everything together. I used Testors glue for styrene plastics. This glue will chemically melt the parts together creating a weld.
It takes a while to set so you have some flexibility if you need to change anything. Be sure to have pliers or a wooden dowel handy to push the fasteners snugly into their respective openings.
General Plans
Edit: The minis shown here were painted by Sean Twiddy
Generally speaking the terrain elements for the game are ruins, jungle or swamps, water features and finally wild stuff I haven’t thought of yet.
The base of the game is going to be a neoprene water mat. I’m going to use Mantic’s war zone terrain for the ruins then scratch build jungle terrain, some caves and water features.


