


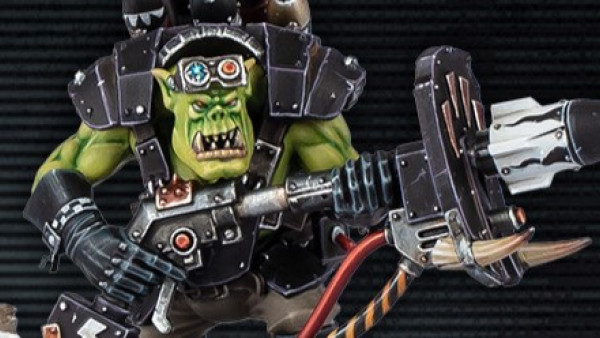
Grot Mege Bomma


1: Getting Started.
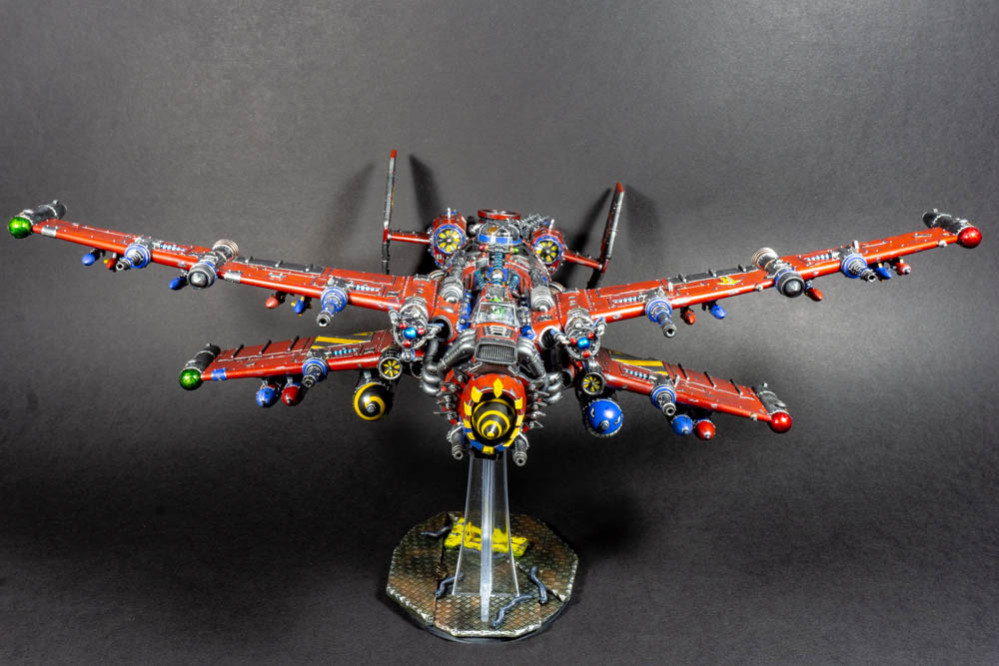
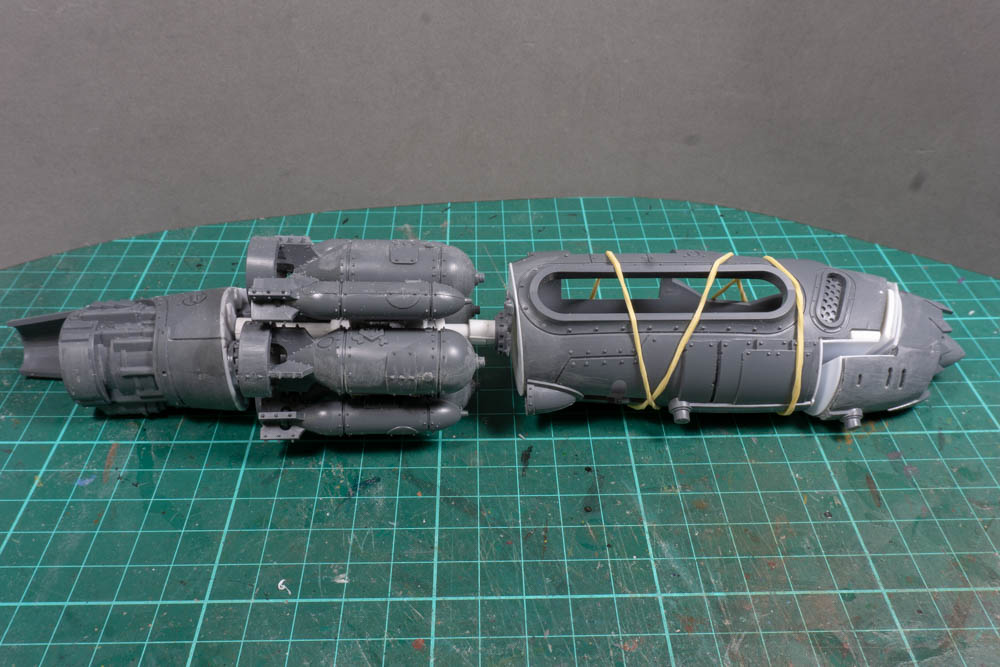
I’ve struggled to come up with a title for this project as it’s something going to be something of a Frankenstein creation that is trying to be all things to all grots. Following on the back of the Redemptor project I’ve got the kit-bash bug again and now want to do a flyer. The two things it has to have a big Gatling style cannon and big bombs, I’ve made Gatling guns before so I’m ok with this part, as for the bombs I actually want a bomb bay which I think will be the main challenge. After a bit of pondering I’ve settled on a rotary bomb bay with four big bombs and four medium bombs being the starting point. This means that starting with an out of the box Orky flyer I need to make it wider and longer.
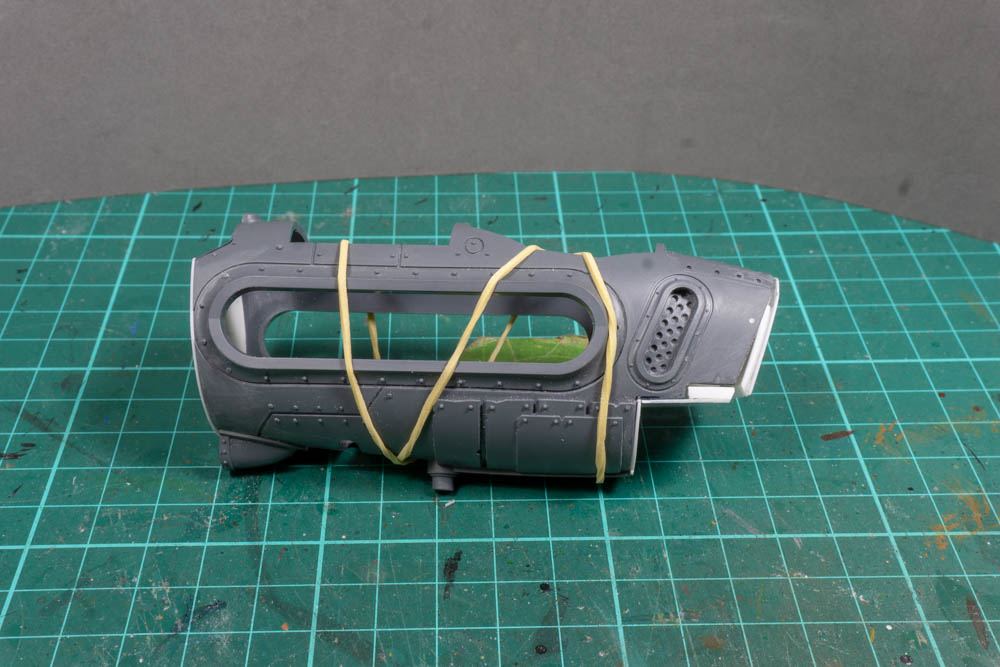
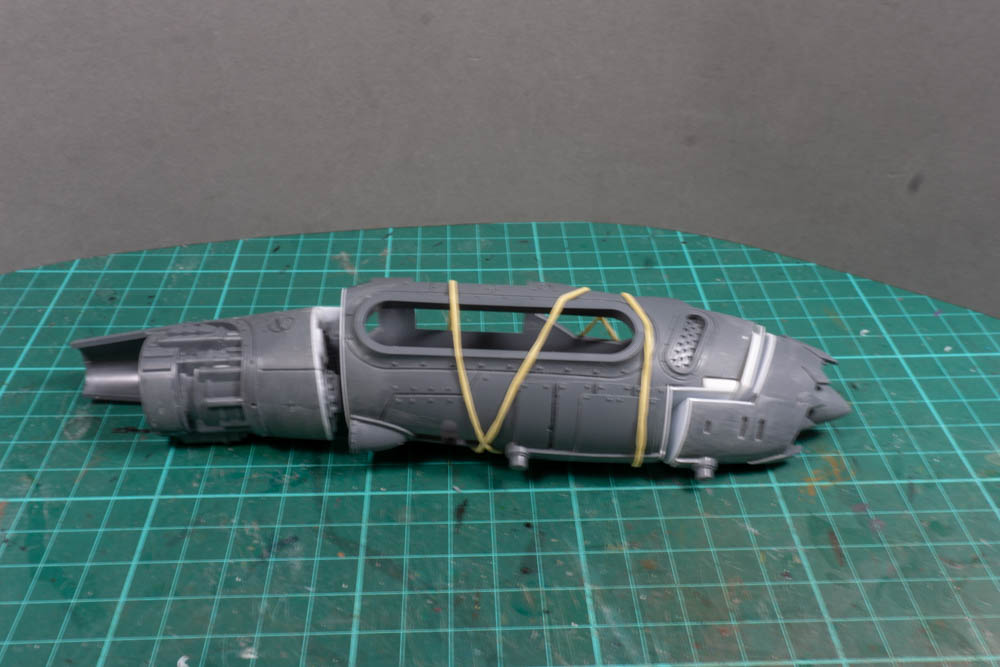
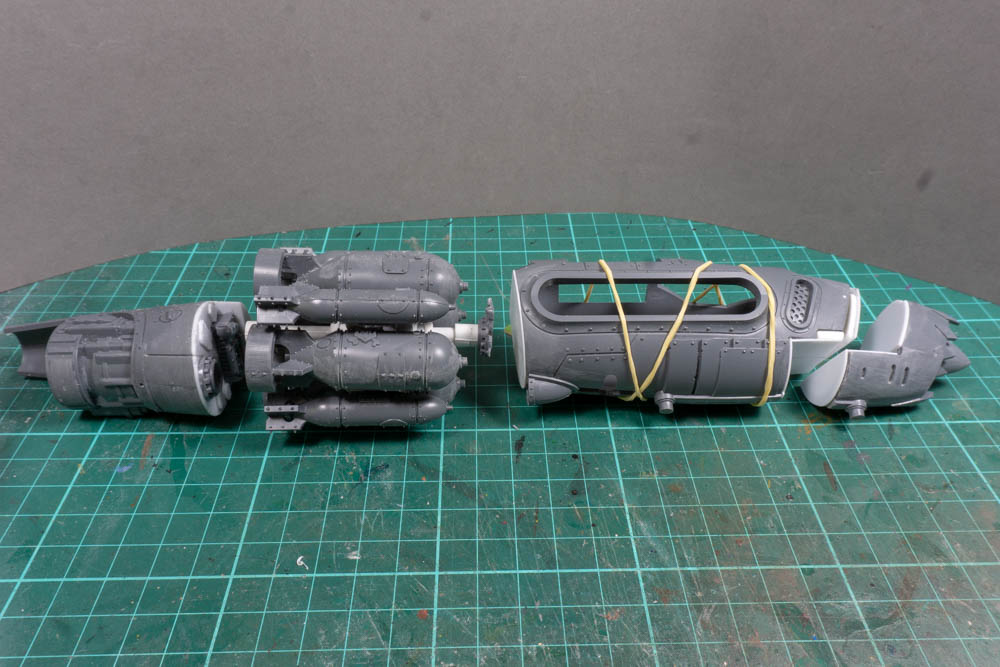
I’ve made a couple of pages of notes to remind me of the key bits I want to add so it’s to get going. With the flyer in hand the first thing I did was to cut the fuselage into three sections, nose, main body and tail. The reason for this was that I only wanted to widen the main body so I need some way of dividing things up. By picking and then cutting on existing panel lines I think I can put things back together without it looking too disjointed. I then used some thin card I got from a craft shop draw out and cut some templates to fill in where I made the cuts. I find it much easier and cheaper using the card to make a template before moving on to plasticard.
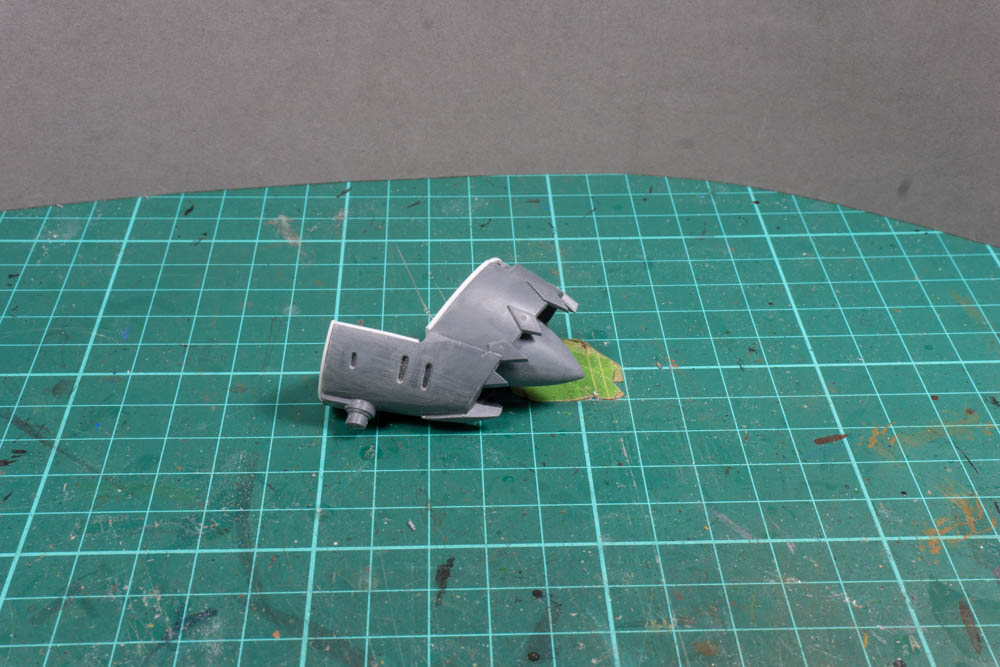
The nose and tail just needed the gaps filling in so that was nice and easy. Although I had to quite a bit work to the nose code to fit properly. This was because the mounting plate had moved and it was now at a different angle which made the nose point sharply down. For the main body I needed to get the pieces that could act as spacers to keep everything aligned once it was widened. I did this by getting something that would fit with the fuselage in its normal set up, then I cut these in half and added new sections to get the width I wanted before fixing the fuselage back together. There’s still a long way to go but I think the layout I have now will work.
One thing I would also like to share is that whilst I have a good idea of what I want to end up with the whole process is very fluid. So I’m sure I will spend lots of time on things I think will work only to find out I’ve made a complete mess of it. So a top tip here is don’t worry about it and if you build something that isn’t right, either change it or better yet throw it in your bits box and start again. It will be the perfect piece for a future project, you just don’t know it yet.


Leave a Reply