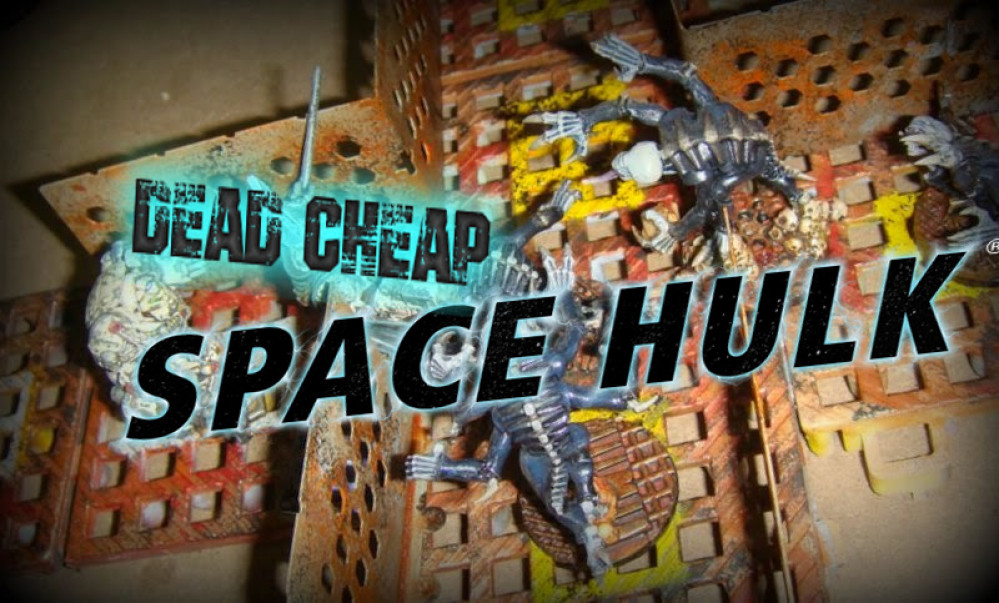
Fast & Dead Cheap Hulk !
Recommendations: 100
About the Project
The idea behind this project was born in 2009 right before the 3rd Edition released and went through three iterations before the one I plan to complete this week. First, a bit of background. The first prototype was made of recycled foam, MDF and masking tape. The result was clumsy so I build a second prototype, this time made of recycled corrugated plastic and electronics from an old computers. Despise being playable and graphically satisfying, the prototype was super-heavy, fragile and time-consuming. This the project was abandoned a first time. Years later I rebooted it using other parts of the same old computers and cheap bathroom carpet from a dollar store. The result was, again, not satisfying so the project was left in the garage for few more years. This week-end, as I am planning to build a new Hobby space, I put out all the MDF "Space Hulk" tiles I had cut back in 2000's. It's finally time to complete that crazy task and this time I have a pretty solid plan and idea of how to do it in... no time!
Related Game: Space Hulk
Related Company: Games Workshop
Related Genre: Science Fiction
This Project is Active
Cleansing Fire!
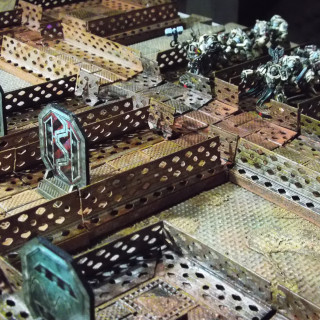
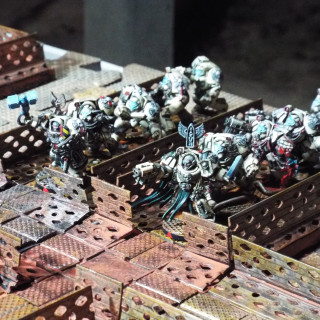
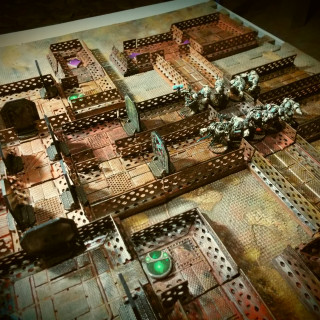
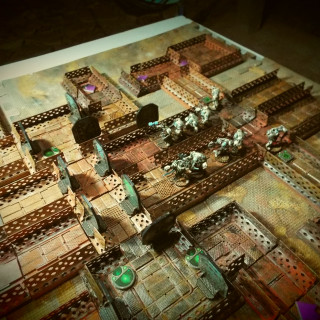
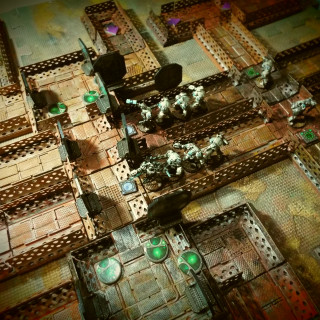
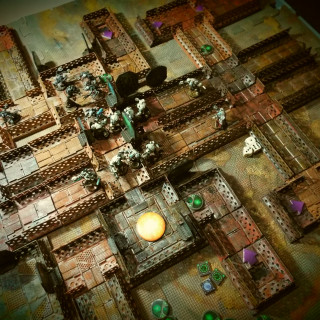
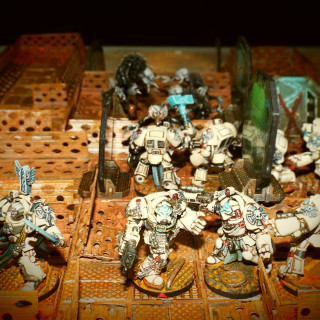
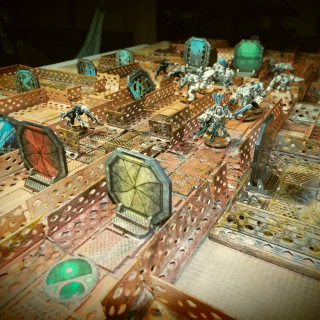
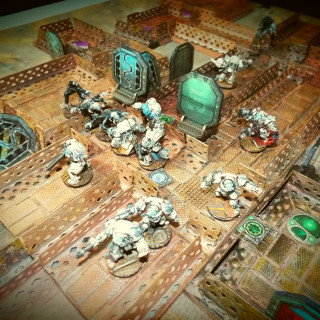
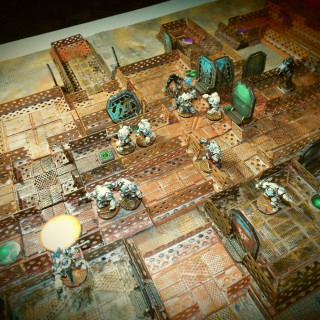
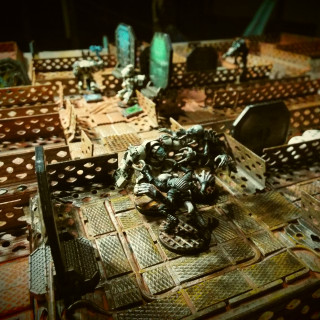
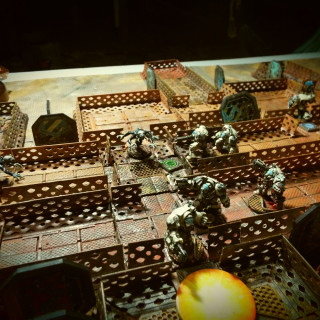
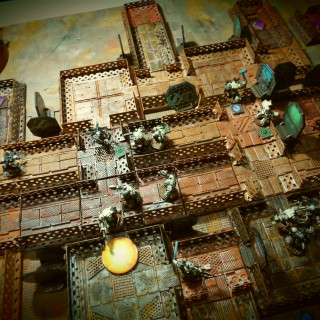
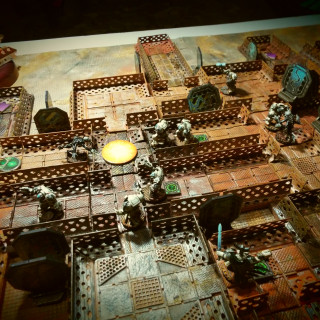
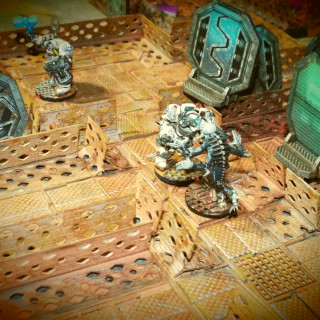
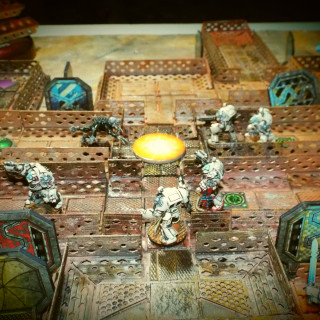
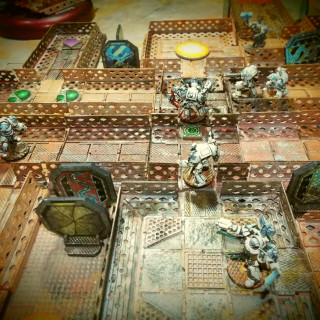
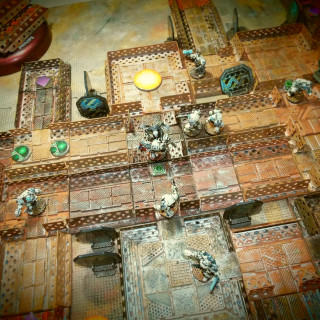
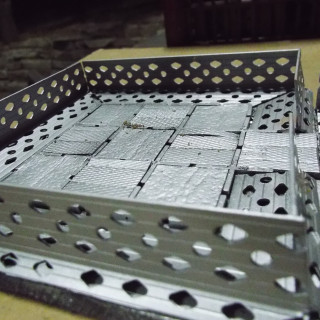
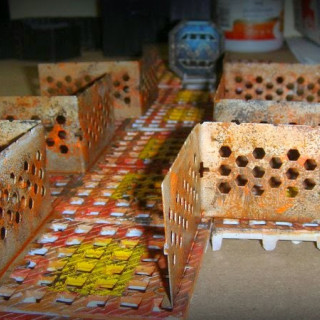
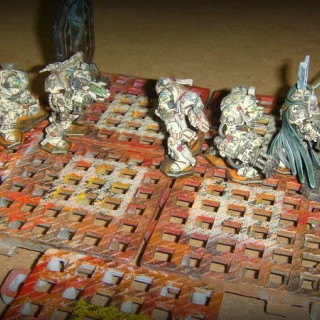
We had a party tonight in the “new” Hulk. The added pleasure of playing on a 3D board, even plain and low profile like mine, is simply incommensurable!
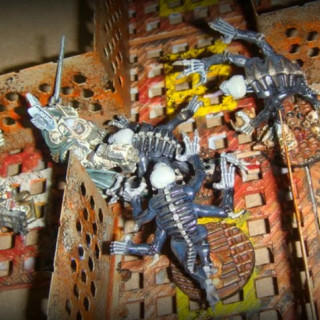
We play the Cleansing Mission from the box where two squads of Space Marine, here from the Deathwing, need to clean the dead corpse from fellows techmarines.
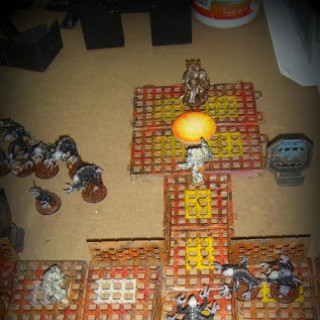
SM had a large victory, mostly due to a terrible mistake from Genestealers who left the door of the objective room… open 😀 😀 😀 !
I let you enjoy the pictures and I thanks you for following me during this project and also endorsing me for it: thanks a lot and see you soon for another project !!!
Done!
D-1, fifth day in the project and I can gladly proclaim : I did it!
Not that I had any doubts. After all these years thinking and planning how to use all these MDF tiles I knew two things:
- to get it done, do it fast!
- do not overdo it.
And so I did!
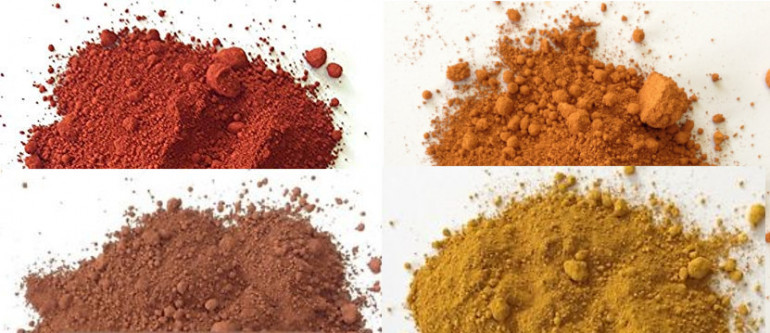
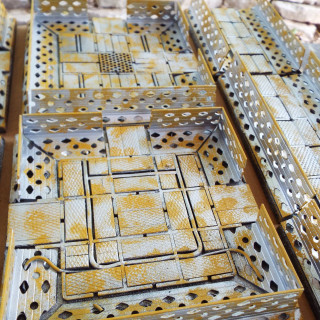
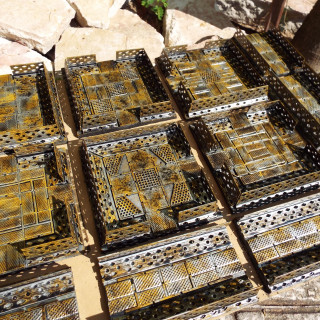
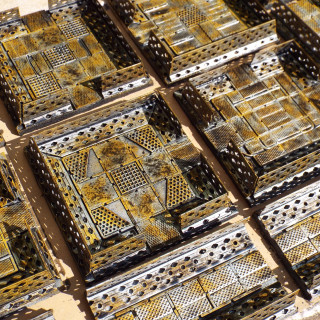
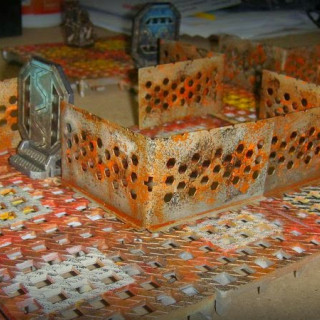
As previously stated, I did the weathering using grout colored powder dissolve in medical alcohol (for a fast drying). Grout and colour for concrete are a cheap source of weathering pigment.
Grout don’t really need to be fixed after you apply it but to be sure, I quickly sprayed the whole batch with cheap clear varnish.
If everything goes according to plan, tonight I set up the Hulk and tomorrow we goes!
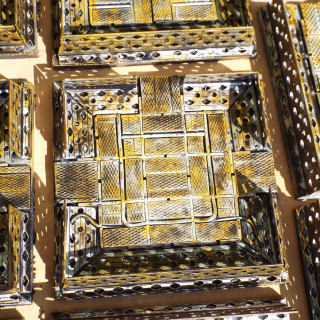
You will notice different hue and colour between tiles: it’s made on purpose.
I prepared different mix and try to apply it more or less randomly to break the monotony of the Hulk.
It gave the whole thing a really worn and beaten aspect that suit well any derelict station or spaceship.
Dusty Rusty
T -2, forth day into the project and a little bit closer to the end.
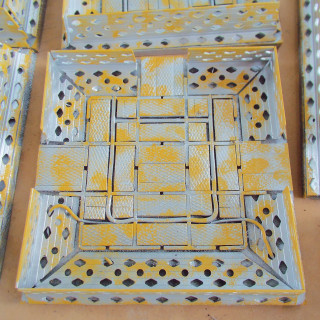
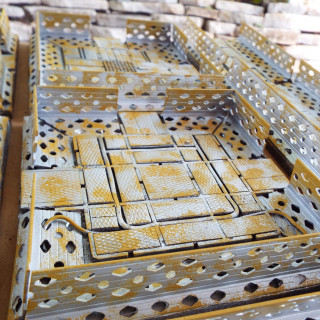
I streamlined my process and did only one stamping of yellow ochre, using pieces of masonry sponge.
For the wash I use the recipe described previously:
Transparent water-based woodstain + distilled water + mini-tube of black acrylic
If you never heard about water-based woodstain, check it next time at your local DIY. Albeit expensive, it’s the perfect base for homemade wash.
Gluing time!
T-3, third days into the project and I managed to get all the tiles glued together.
I used 2 bottle of cheap cyanoacrylate to glue the tile spacers, in order to accelerate the process.
The walls and floors where glue with the polyurethane and I didn’t wait for it to dry before I sprayed it. I am pretty sure the glue will cure even covered with paint.
It took me 3 metallic spray cans for the whole Hulk.
Fro now on, this is how I see the project going:
- T -2 (today) :
- stamping acrylic ochre, red and black with sponge
- wash with Water Transparent Woodstain + Water + Acrylic Black Ink
- T -1 (Friday) :
- weathered with a mix of red/ochre grout powder + alcohol
- T (Saturday): set up the Hulk and play with my three chipmunks!
Reduce, Reuse, Recycle
To go cheap, go green. The second part of my materials list will focus on recycle parts.
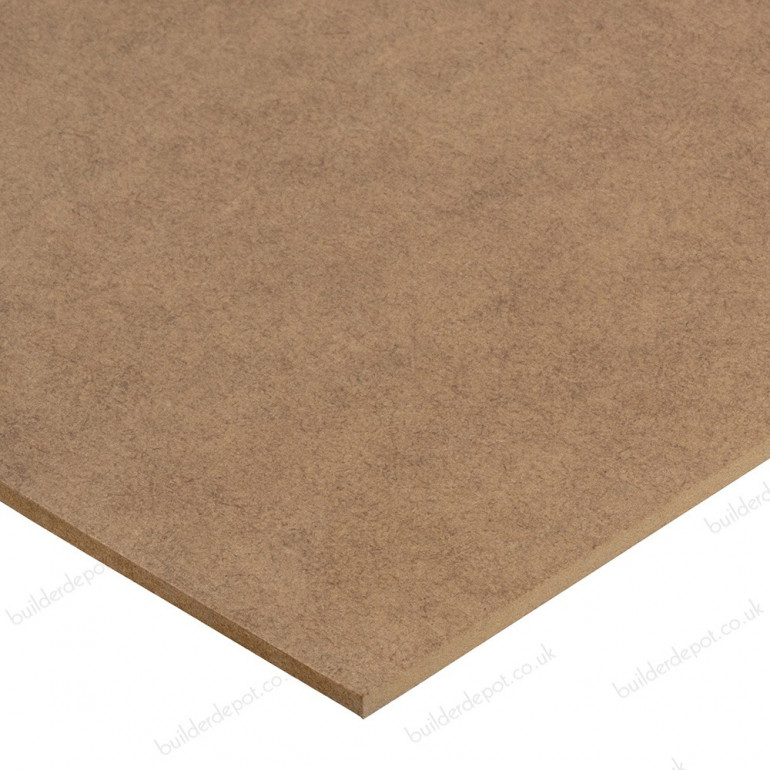
- The tiles : at my former works paper was deliver by palette, each one have a crude MDF board at the bottom, to protect the paper stacks. Back in 2009 I had few of these cut to the correct size at my local wood-shop. Ten years later, they are still in good shape and luckily humidity have not yet damage it.
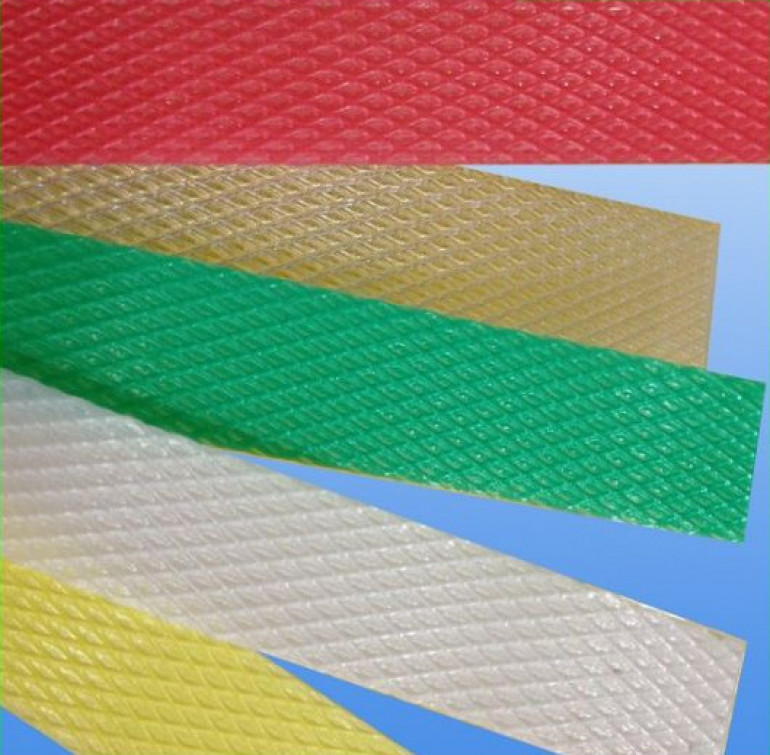
- The floor : at my present work manual books are deliver stacked with plastic packing belt. This is a sturdy material, with a thick texture, easy to cut and of the exact right size: 1/2″.
I started to collect it and cut in piece of 1″ at every coffee break until I had a shoe box full of diamond plate for my SH floor!
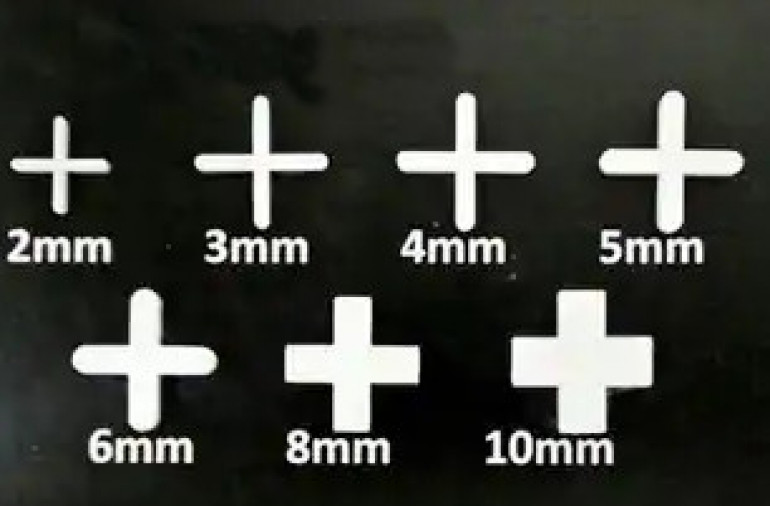
- In order to clearly mark delimitations between my squares I will use tile plastic spacers. I recycled some of it but I went back to the DIY shop yesterday to buy more. I suspect that I will need a good number.
Yesterday evening job consisted in gathering all the listed material and cut it to size. I finished it late in the night but I think the gluing session tonight should go quick & smooth.
See you tomorrow !
T – 4 :O
To where I'm going!
As a little bit of planning can go a long way, I will start first with the materials for building the Hulk.
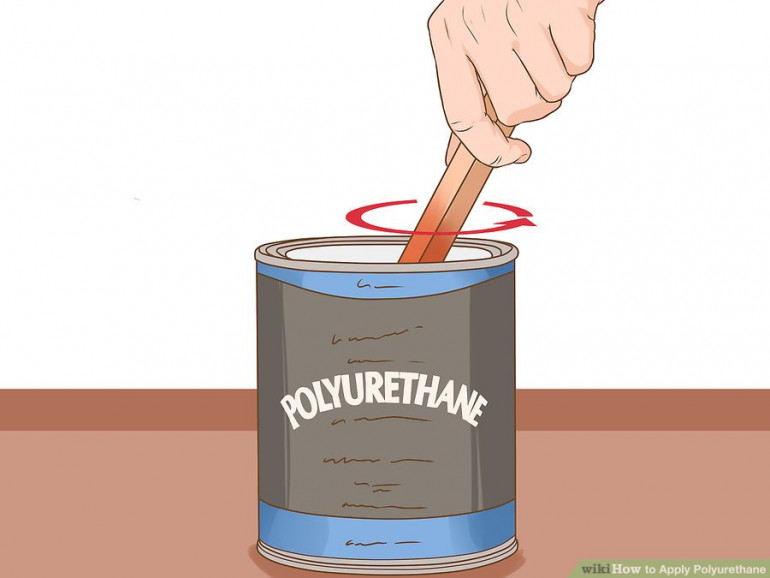
- The glue : when it comes to glue plastic to MDF, I always go for Polyurethane glue. There is a huge choice of Polyu glue and usually the price vary largely with brand but also with… packaging. A simple metal-can will always be cheaper and often as easy to use than any fancy bottle. In this project, a medium can of an unnamed brand and an old ice-cream stick and I am good to go!
- The walls: this is the trickiest part of creating a 3D SH. I needed to get something:
Cheap + Convenient + graphically satisfying
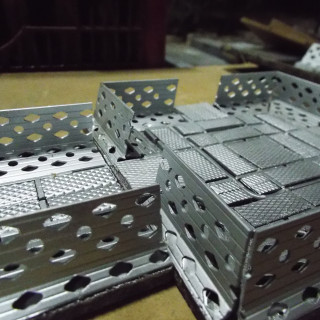
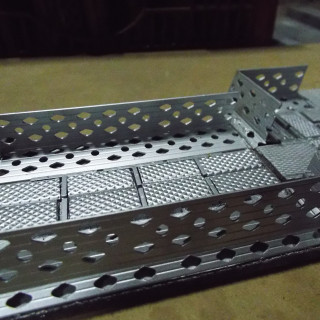
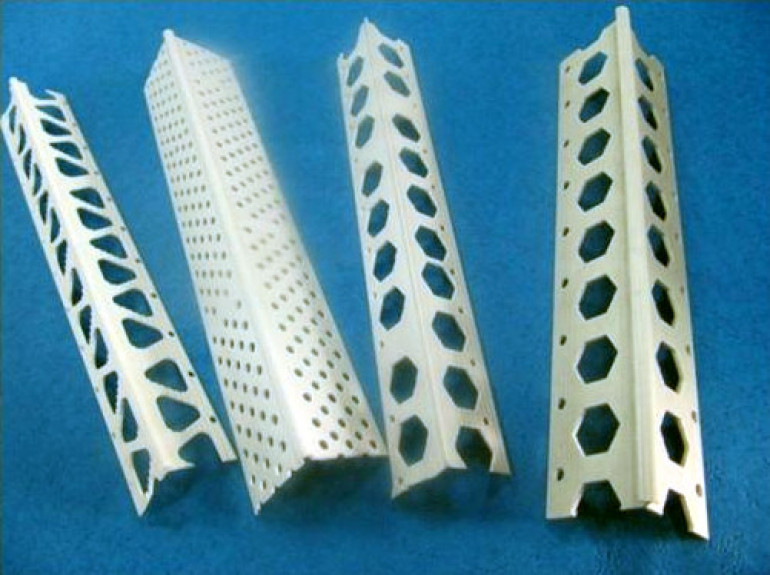
Not an easy task but I feel like this time I have the solution: plastic wall corner bead. This simple and cheap piece used to protect wall come in various shape and size and it is just perfect:- It have that “few” degrees angle that create the oppressive feeling of a Space Hulk corridor
- It is low and thin enough to be playable and allow easy access to the minis.
- the usual diamond shape opening and ridge surface give that industrial look as well as simple-low detail surfaces, ideal for tiles batch-painting.
From where I come...
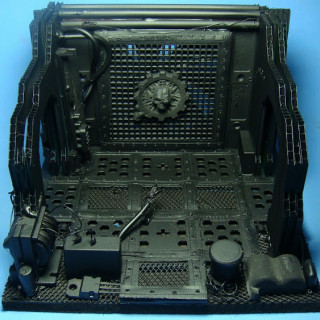
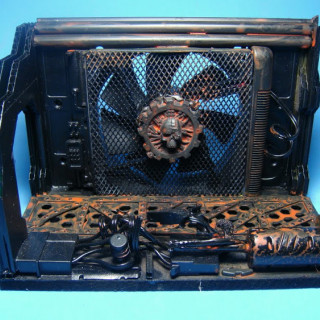
I have no picture of the first serie of prototypes. Those were made of recycled foam, MDF and masking tape but the result was clumsy and very ugly.
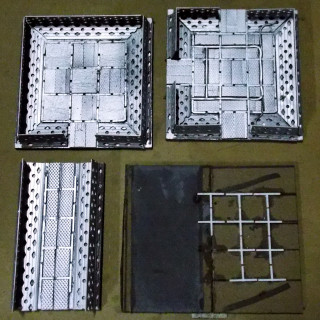
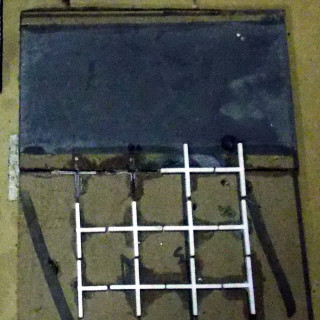
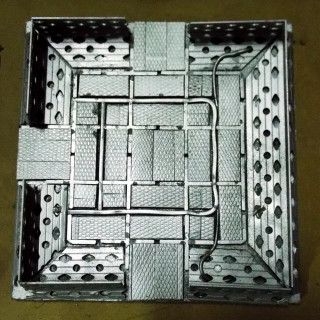
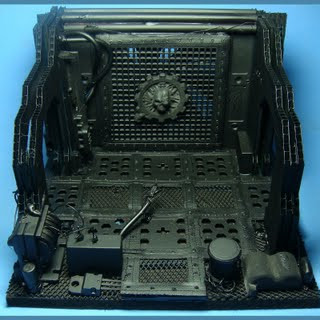
So came the second series, made of the two elements in the gallery above. This time it was made of recycled corrugated plastic and electronics from old computers. Despise being playable and graphically satisfying, these prototypes were super-heavy, fragile and time-consuming. This was in october 2010 and the project was abandoned for a first time.
In July 2013 the Dead Cheap Ship Hulk came back from the … dead, and I restarted it with other parts of the same old computers for the wall. I bought cheap bathroom carpets from a dollar store for the floor. It was really modular but the result was again, not satisfying. So the project was left in the garage for a few more years…






![TerrainFest 2024! Build Terrain With OnTableTop & Win A £300 Prize [Extended!]](https://images.beastsofwar.com/2024/10/TerrainFEST-2024-Social-Media-Post-Square-225-127.jpg)


