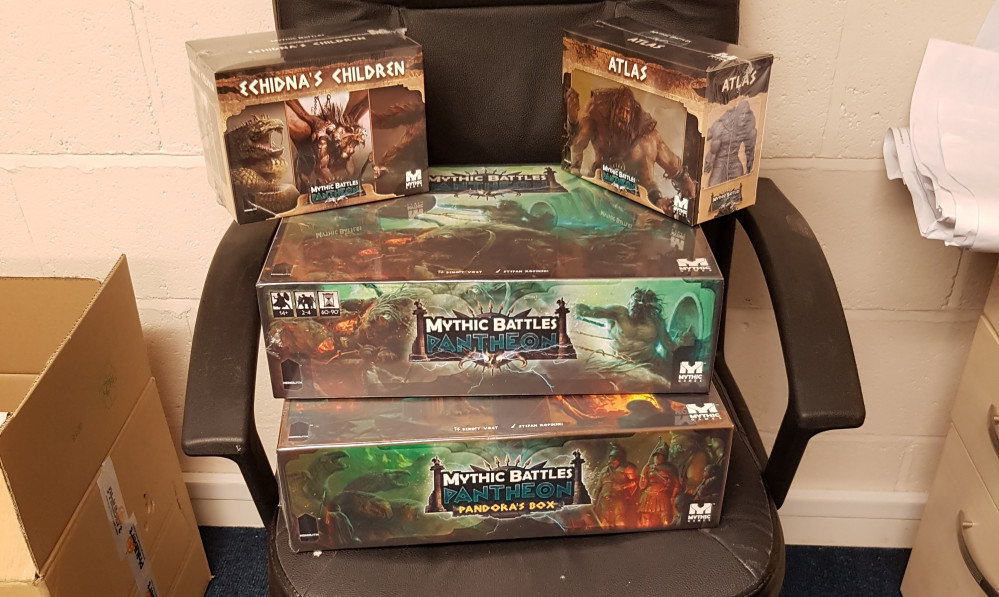
Mythic Battles: Pantheon by lawnor
The Griffon
I’ve painted a few models like this before with great success. unfortunately all my steps were stored in a WAYPN thread on the old forums which are still down so its time to work from a foggy memory and try to figure it all out again. I’m also painting 7 griffons for Circle Orboros at the same time. This will mostly be airbrush work.
Any time I am adding paint to the airbrush I am going 50:50 for Thinner: Primer. I start with 6:30 for Paint:Thinner, and then test it out and add a little of whatever is needed to get the mix right. Everyone’s needs will vary.
I started by washing the model and cleaning up the sculpt. I added some dirt to the base. Given I want it to fit back in the plastic trays in the box I cannot afford to build up or decorate the base much. This may already turn out to be too much. We will see, and I will learn from this for future MB:P minis.
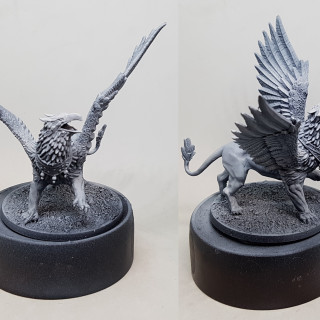
After clean up he got 2-3 coats of black primer and 1-2 zenithal coats of Vallejo 74.601 Grey primer and then left overnight to dry properly. See Pic 1 below
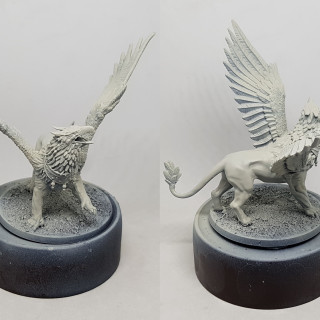
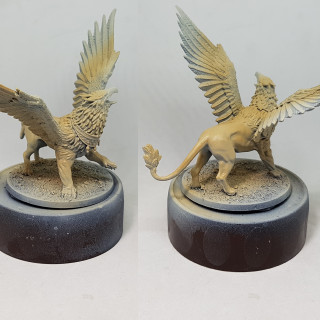
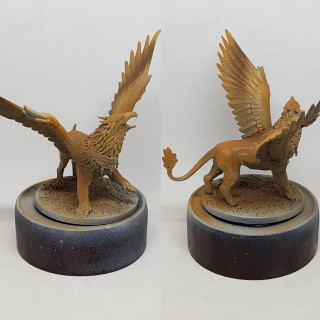
The base colour was VMC 70.986 Deck Tan. I love this colour. It is of white, but off by what its hard to tell. is it grey? Is it Brown? Who can tell? This means it is a great base for mixing with with any colour you want to fade in to white. I started with a very light dusting of the whole model in every direction. Then it got 3-4 coats from the sides and above, looking to preserve the darkness from the undersides. I occasionally dusted the darker bits again as I want them dark versions of the base colour, not black. See pic 2 below
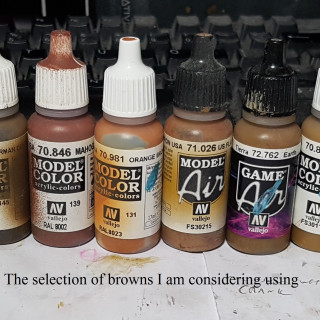
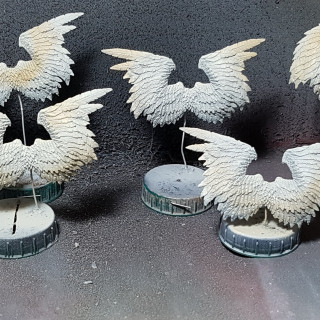
Next stage is to pick a series of random browns off my shelf and spray diffused lines across the wings. I’ve opted to start with VMC 70.843 Cork Brown. It’s a mild brown that will fade in to the base colour well and act as a solid base for darker browns as I build up the colour of his back. With all these colours, favour avoiding spraying from below whenever possible to preserve the shade. Let the sculpt work with you. Go gentle too. Avoid building up any strong colour boundaries. Avoid covering too much too as we will be adding more colours and patterns. I am also painting multiple similar models for a different game so I am trying to vary the pattern across them to make them all a little more individual. See pics 4 & 5 below.
I opted for a much darker colour next as I was looking for contrast. I expect to get at least 1 more shade in after this so i can always tone it back down again if it’s too much. I went with VMC 70.872 Chocolate Brown following the same ideas as in the last stage. It came out lighter than it looks in the bottle as I am not building up the coats and allowing the spray to remain a little diffused. See pics 6 & 7 below.
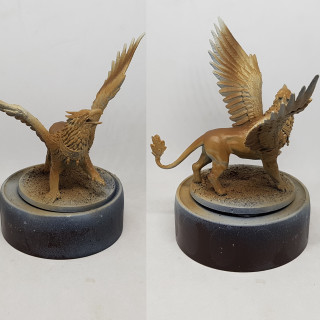
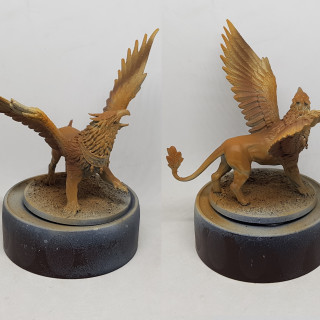
Next I added a touch of VMC 70.981 Orange Brown. Same method as above. I’m not just painting stripes by the way. Occasionally I’m holding the airbrush another foot away and just dusting all over a set of wings to mix it with the other colours lightly. I think this is the colour scheme I’ll be aiming for with the lions body at the least. See pics 8 & 9 below.
I should probably stop at this stage, but I’m very tempted to add just a touch of VMC 70.846 Mahogany Brown to some of these models. Lets see if that ruins everything?
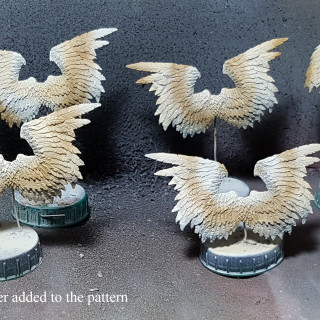
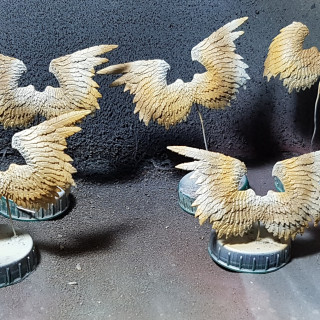
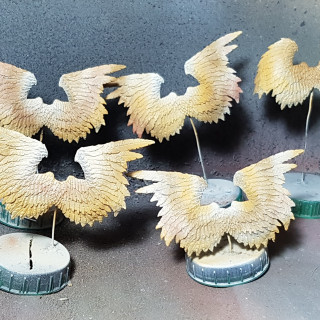
Its now 10 minutes later and the Mahogany Brown is done and I like it. See pics 10 & 11. Next stage is the big time sink of the project. The wings need a wash of diluted Agrax Earthshade and then balancing upside down to dry. Historically this wash takes ages to dry. Given I have no way to hang them upside down I can only wash one side at a time and then lean them the other way and wash the other side once the first has dried. This has taken all day before. We will see if I can find a better way this time.
For anyone curious about how fast an airbrush is, I primed last night, and sat down to paint around 9am this morning, and its not yet 2pm. I took a break for lunch and I’ve done 2 loads of washing and dithered. I was watching the weekender (2hrs long this week) whenever painting and it only just finished before I started that last colour. There was a fair amount of time spent waiting for paint to dry and I was writing this as I went. Doing this by hand would have taken many days and been nowhere near as smooth.
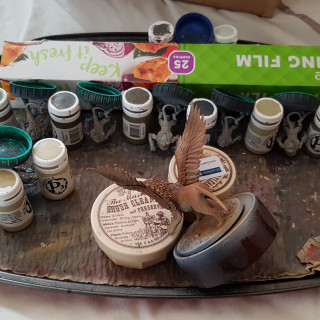
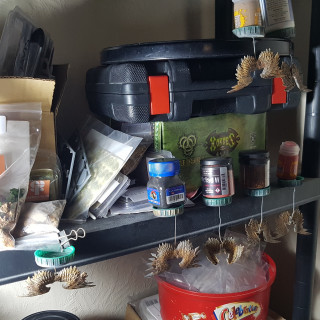
So I found a way to balance or hang my models so no washed part is touching anything so I’ve been able to get the wash done in one go. See pics 12 & 13 below. The paint may not have been as dry as it appeared as the Agrax Earthshade wash turned a little milky at times suggested it reactivated and mixed with the dried paint. We will see how this turns out. While it is drying I am off to do some gardening. No photos of that to follow unless I find something particularly interesting.
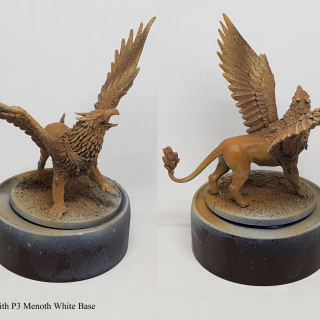
It is now the next day and the wash has dried. It was probably dry late yesterday but I had something else to work on so why not give it extra time to dry thoroughly? I have applied a drybrush of P3 Menoth White Base over all the feathers and nothing else. That’s all the feathers and fur finished, leaving just the gold, eyes, claws, beak, and base.
The gold has had 3 thin coats of Ammo Mig Jimenez 190 Old Brass. I’m told this wants 24 hours to dry completely so it’s time for a break. The tongue is getting 2 coats of P3 Midlund Flesh and then washed with GW Carroburg Crimson. The eyes were painted black and given a single dot of white. They will get a gloss varnish at the very end.
Once the Old Brass had dried it was given a targeted wash of Agrax Earthshade and after that had dried the detail was picked out in 2-3 coats of Ammo Mig Jimenez 197 Brass and now looks very shiny. I have some cloth to paint on my Hordes Griffons, and then I’ll paint all the beaks and claws together. If anyone has any schemes or ideas for this I’m interested.
At the weekend I finished this guy off. The beak was given a few even coats of P3 Mouldy Ochre. I mixed in some P3 Menoth White Highlight and drybrushed it up. This wasn’t as extreme as I was hoping for so I gave it another drybrush of pure Menoth White Highlight. I watered down some GW Seraphim Sepia and shaded the beak, keeping an eye out for anything running in to the feathers as it dried. Careful balancing and tilting was required once again.
the claws were base coated with P3 Thornwood Green (a dark greenish brown), drybrushed P3 Cryx Bane Highlight (grey with an edge of green) and then washed with GW Nuln Oil.
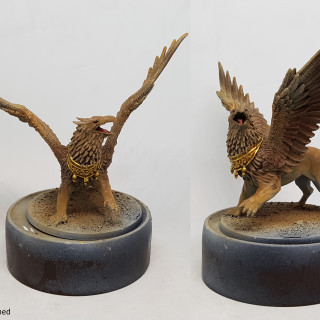
The base was then painted with P3 Bloodtracker Brown and drybrushed with P3 Mouldy Ochre. Some stones were picked out in P3 Bastion Grey, and then it was all washed with GW Agrax Earthshade. The ground was drybrushed with P3 Bog Moss, and then the ground and stones were drybrushed with P3 Menoth White Base. The edge was reclaimed with black. Once everything was dry it was varnished with gloss, and then matt varnish. The eyes and tongue were picked out with a final coat of gloss and a couple of tufts were added as a final touch.




Very pretty work. Thanks for the detail with regards to your airbrush techniques. I am currently being convinced to try one by a friend of mine and if I do take the leap I’ll be re-reading your post with interest
Even if all you ever do is prime and apply the first base colour on your models they are worth their cost. That alone can speed up your painting no end. I do very little more than that usually and I have never regretted buying one. Its cheaper than rattle cans for priming too in the long run. Feel free to bug me for info or advice if you want. I’ve bugged this community when I was learning or had issues.
Cheers when I take the plunge, I will certainly fire a couple of questions your way. Thanks