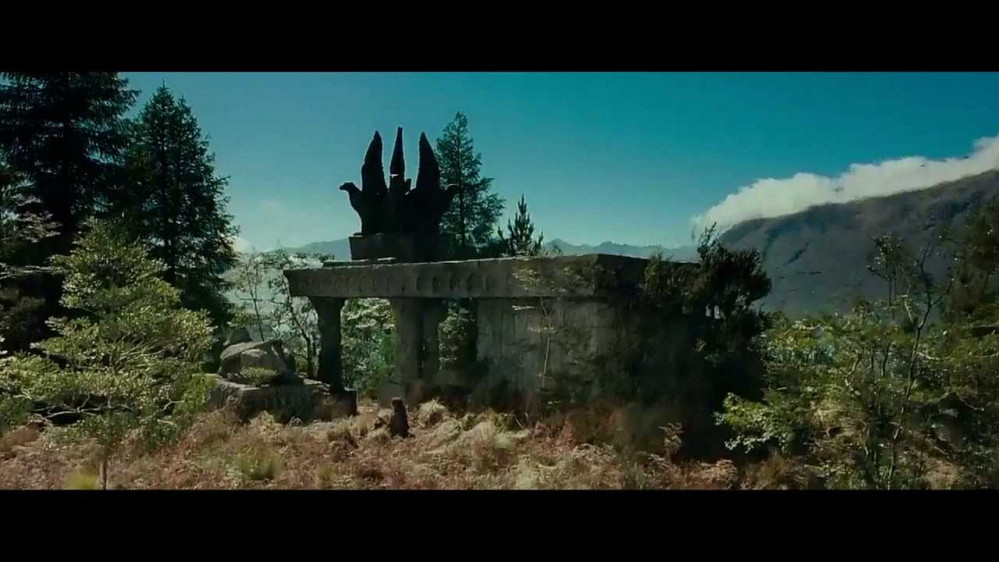
Amon Hen: Middle Earth SBG Terrain.
Weathering
Since I am still working on the seems for Amon Hen and waiting for glue to dry.
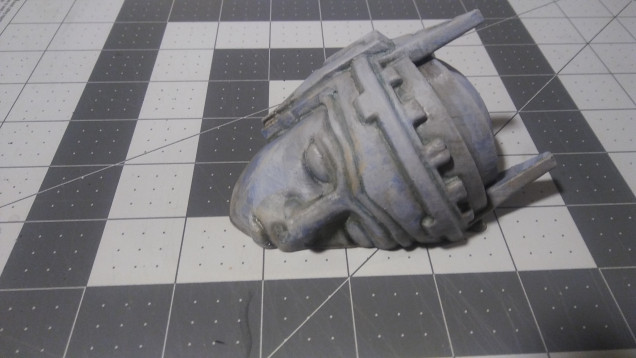
I did a quick weathering look.
1st pass was a great primer. 2nd pass was a light layer of stone grey over all of it. If some of the primer showed through. I didn’t care about it and encouraged doing so. This gives a layered look of possible aging. 3rd layer was a green wash around all of the edges. While going a bit heavy handed in areas closer to the ground. Think how moss and undergrowth takes over stone works . Once that was dry, I dry brushed a grey with a hint of blue in it over most of the surface. I did this going one dirrection starting where light would hit the object and go straight down. Think Noon till 6 position. After that had a bit to dry I took an fawn color and dry brushed a few areas where the light would hit the most. This would help break up the lightly colored areas where light would hit it the most. Again, its about the layers and breaking up how light hits the model.
By hitting the edges earlier with a green wash and then using a grey with a blue tint to it. This helps show some aging to the stone. So we are sitting at 5 layers at this point and we are going full circle again. By dry brushing most of the raised areas that would see light with that Stone Grey used back in step 2. This gives the model a look of minerals that maybe leaking towards the surface and trying to break threw that stone grey.
Last step was to use an Earth Shade wash to the areas closest to the earth or any area that may collect dirt and forest debri over the coarse of 100 years.
And if it looks good at this point stop. At the very least leave it along for a few days and look at it again with a fresh pair of eyes.
Next step would be adding basing material to it. This should bring enough color contrast to make it really show its again. Again using the green wash and the blue tinted grey will really make any green grass stand out.


Leave a Reply