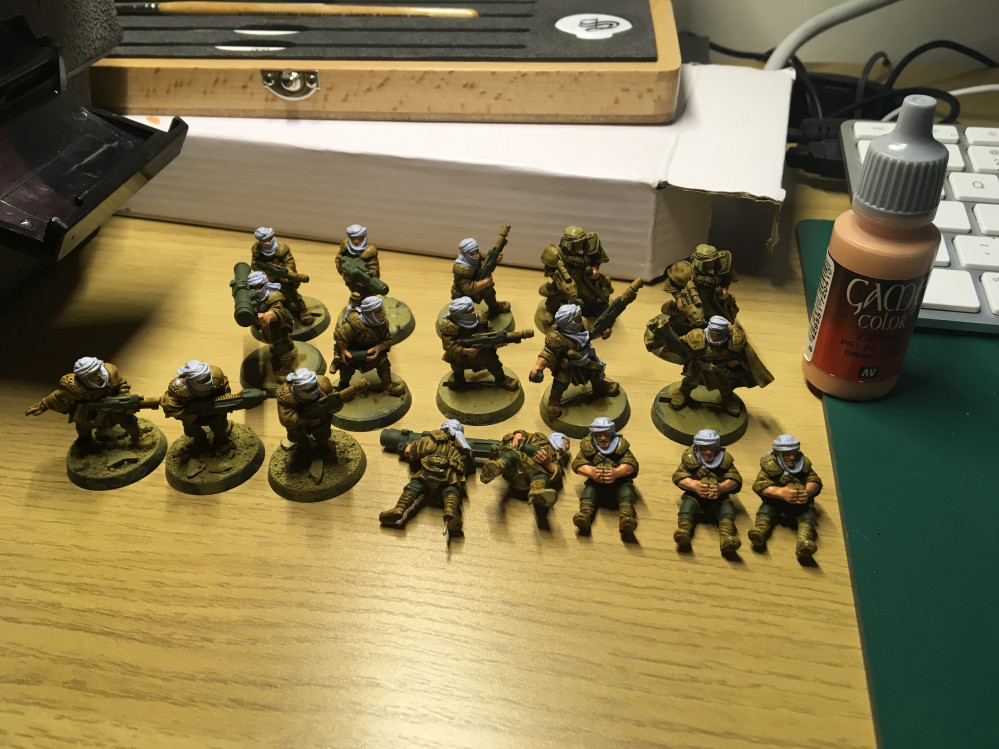
Tallarn Desert Raiders
All your base are belong to us
I’ve had an enforced week+ off the tallarn project due to papa nurgle’s plague descending on my house. The boy bore the brunt of it, but since he’s ‘just a bairn’ as they say in my home land he’s been even more hard work than usual!
With recovery we’ll on the way ‘daddy’ managed to squeeze in some painting time! It’s now time to start on the highlights, which are slow going. I’ve started on the smocks, going back over the washes area with the base colour before I do a final highlight with a lighter colour.
In the time i’ve Spent on this colour so far, with previous colours I’d be finished everyone. But since the highlights are slower I’m actually only half way though.
Before I sicken myself though, I decided to try some basing.
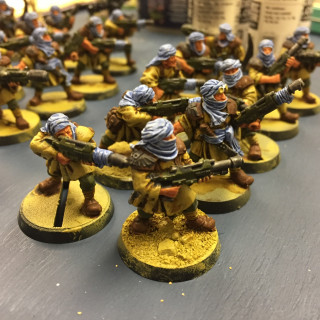
Like I think I said in the last post, these guys have enough paint on them now where they could be considered done. Only the bases are bare. So i figured if I base them up, they could at least be put on a table (before the enthusiasm in my local club burns out and they move to another gaming system before I’ve even got a game!)
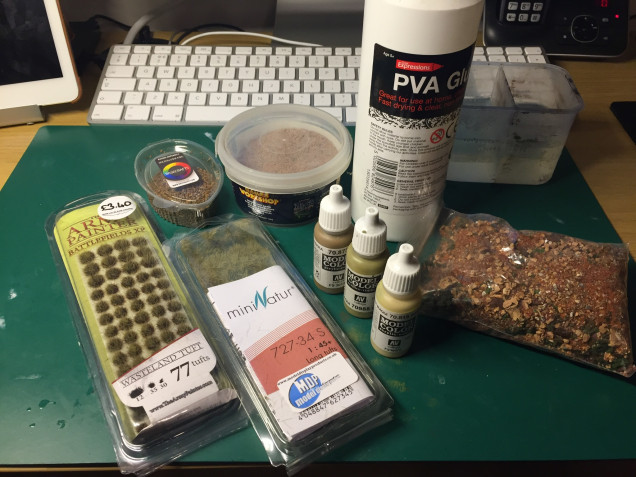
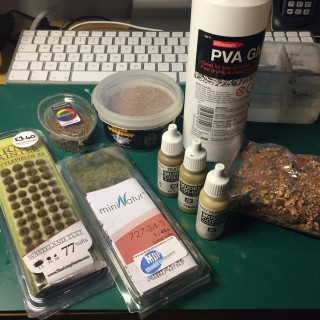
so I pull out my basing kit and have a look at what I’ve got.
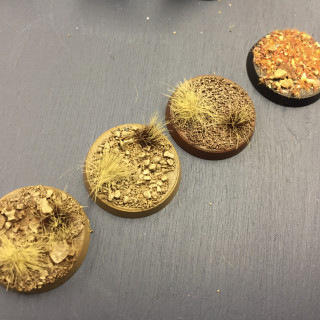
I’ve pulled this stuff out of my basing kit, having never actually done any desert bases before I needed to do some experiments to see what fits best.
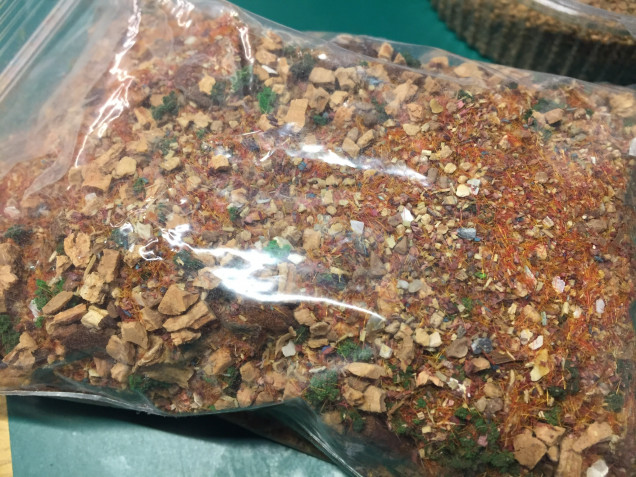
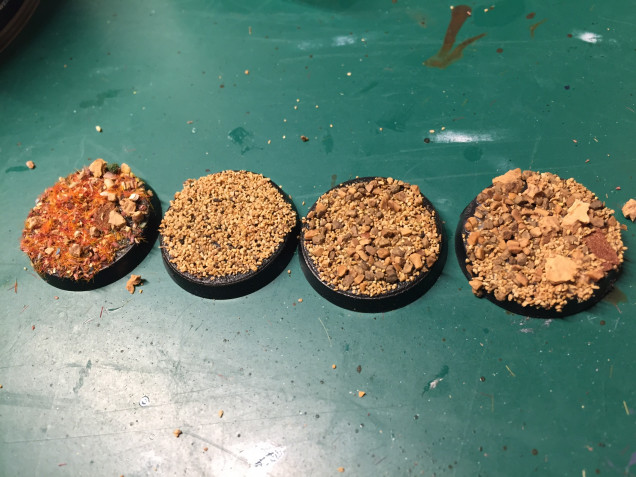
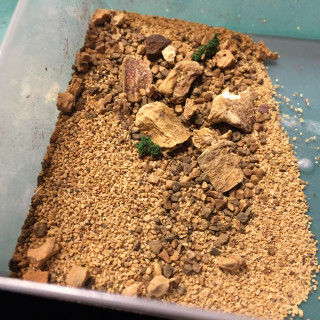
A while back I bought some cheap basing mixes from a seller on eBay, one of them looked quite deserts, so I gave it a try.
The result was quite nice, but nothing like what I actually want for my tallarn bases.
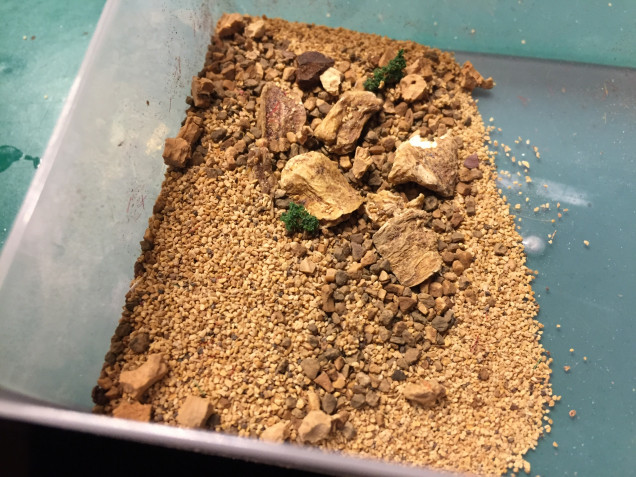
Next experiment was with with some old gw basing course sand, with varying amounts of gravel stuff added in.
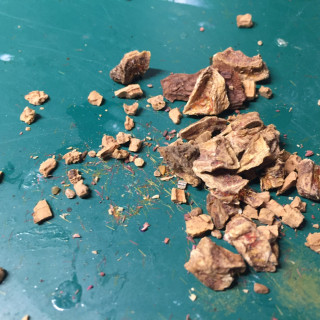
I made are my own mix using cork flecks, and some old ‘basecrafts’ course gravel.
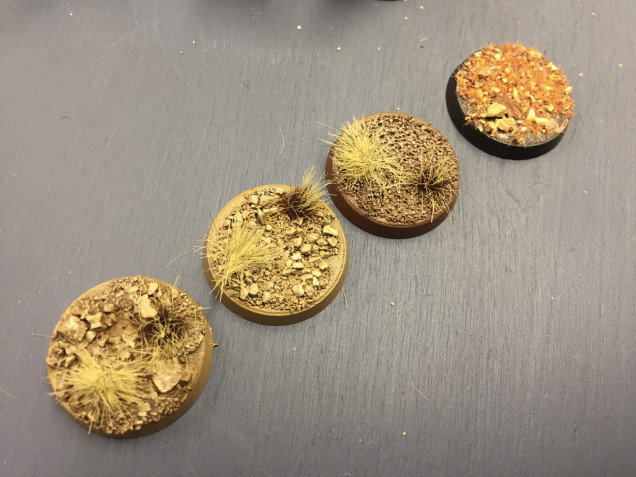
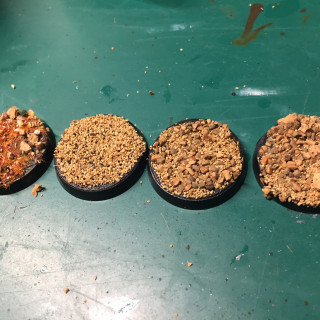
I also didn’t know what colour to paint the bases, so I tried three approaches.
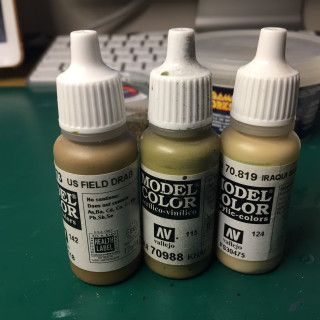
1) Vallejo flat brown base, with a us field drab then Iraqi sand dry brush.
2) us field drab base, sepia wash, Iraqi sand dry brush.
3) us field drab base, khaki then Iraqi sand dry brush.
2 & 3 came out essentially the same, but 2 has slightly more contrast. So i’ll Go with that.
I did these quickly too so the layers didn’t get much time to dry, which meant the wash wasn’t as effective on this test base. When they’re done for real the drying time won’t be a problem.
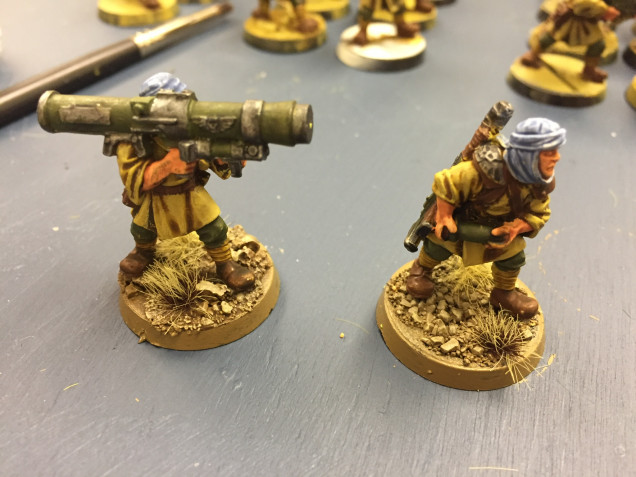
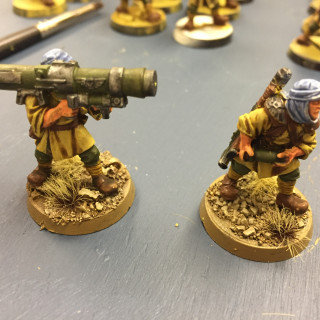
Had a couple of models that were originally mounted to a 60mm base, but I want them on proper bases so I used these test bases to base these up, I’m really pleased with the results!
Oh, nearly forgot. The final stage was to add two different tufts.
The first was from mininatur, purchased from model display products about 3 years ago at the Sheffield Wargames show.
The second was the wasteland tufts from army painter, purchased from ‘Bow And Blade Games’.
So now I’ e decided on basing, I’m going to base all these guys up while doing the highlights on the smocks, by the time we’re done it’ll start looking like a proper army!!




Leave a Reply