


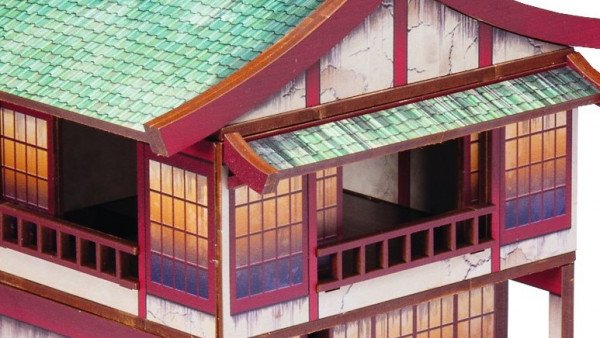
Abandoned Desert Village


Getting plastered (part 1)
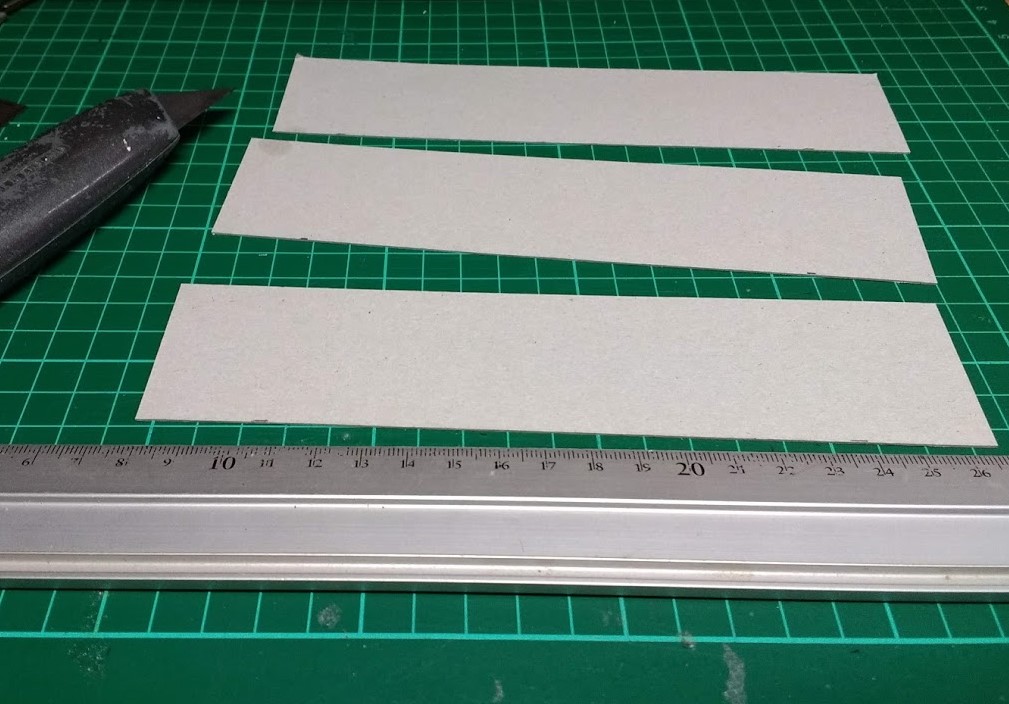
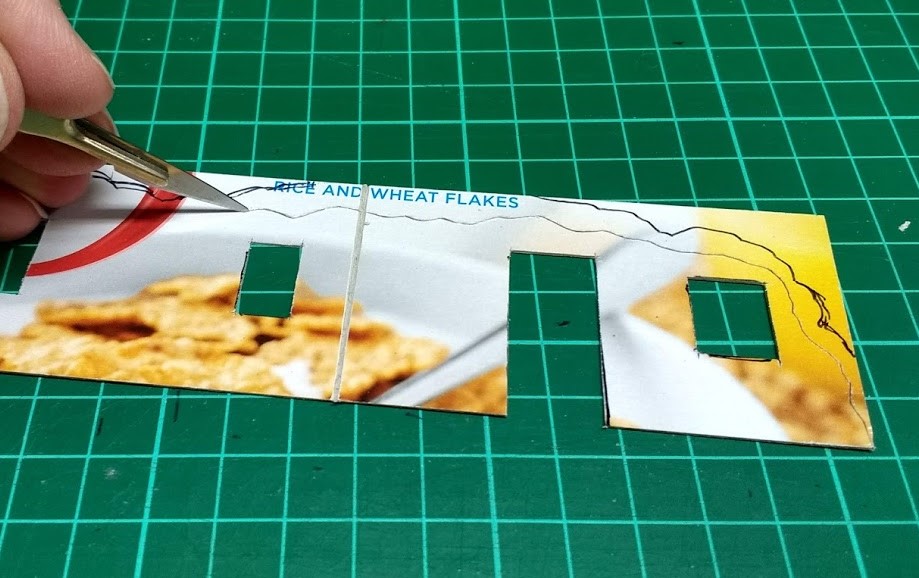
The base for the render/plaster is a layer of card, in this case, good old cereal packet. I started by cutting some strips 45 mm wide.

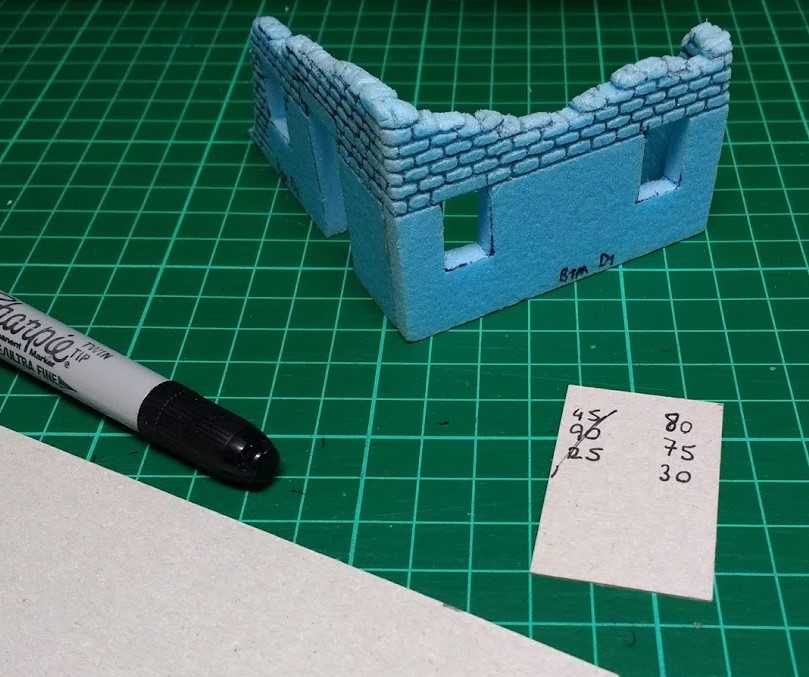
Next measure the outside of the wall to be covered, for each corner to be turned on the outside, add an extra 0.5mm to allow for the thickness of the card around the corner. (For internal corners, deduct 0.5mm) I always write the measurements down on a scrap of card/paper as an aide memoire ‘cos, you know, numbers… and remember; measure twice, cut once. Or is it measure twice, make two different marks, cut along the wrong one? Or pick up the off cut and try to fit that to the wall and wonder why it doesn’t fit? Or cut your finger and bleed all over the measurements? sometimes I forget.
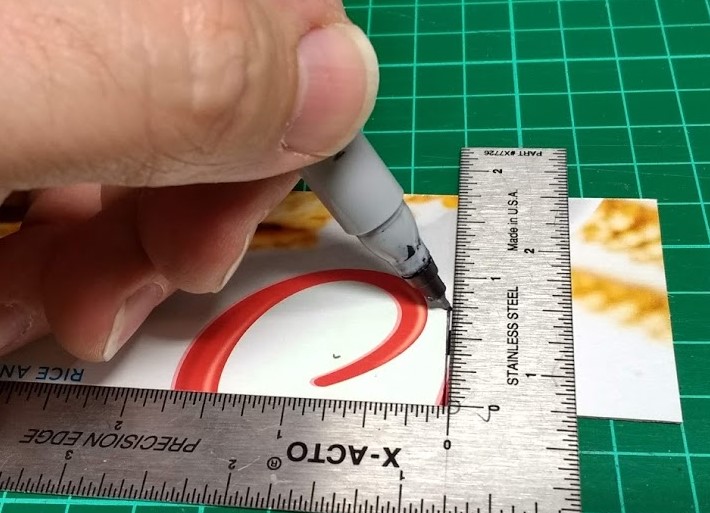
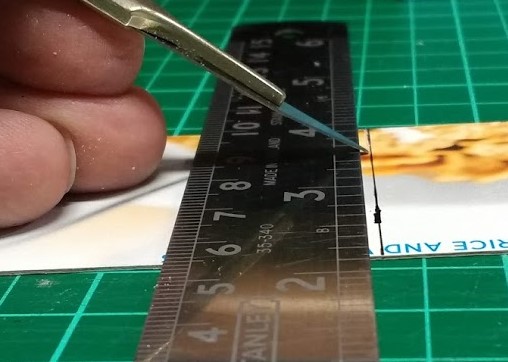
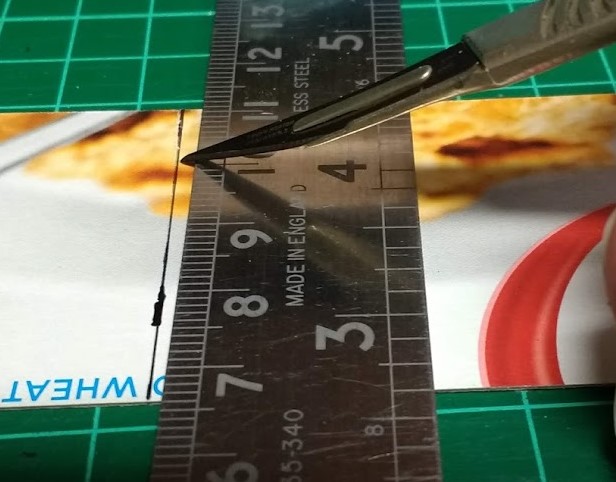
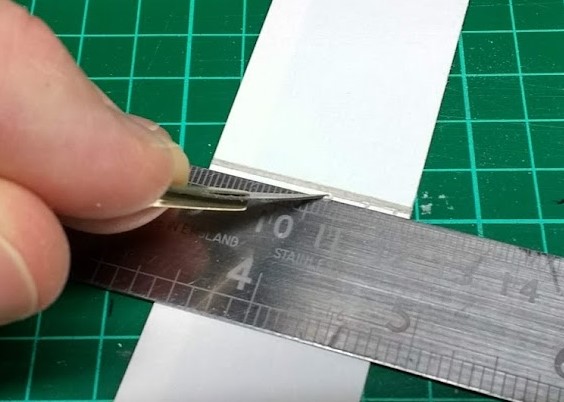
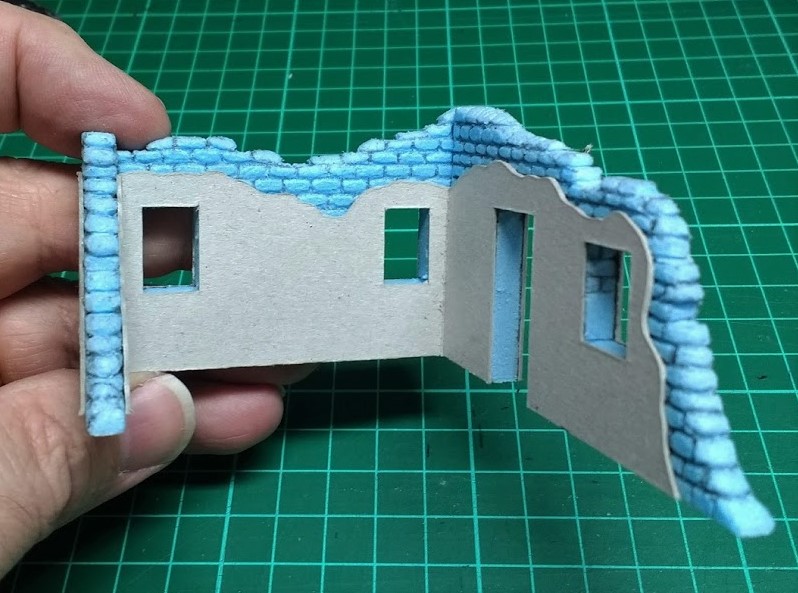
Anyway, next start marking in the fold lines where the plaster wraps around the corners. Remember the addition or subtraction for the thickness of the card… (You came here for some interesting or relaxing hobby talk and you get a maths lesson, sorry). The next bit can be a little tricky and requires a bit of patience and a steady hand, some practice will help you get the hang of it. Place the ruler approx. 1.5mm away from the fold line and then gently cut into the card with the knife held at 45 degrees to the surface, don’t cut all the way through the card, repeat this cut on the opposite side of the fold line in the opposite direction. The objective is to cut out a triangular shaped section of the card that will leave a groove that acts as a hinge line that can be folded around the wall section. This stops the card deforming and creasing up when folded. As an alternative, a heavy score line can be put along the fold line with the back edge of the blade, but this doesn’t reduce the creasing as effectively.
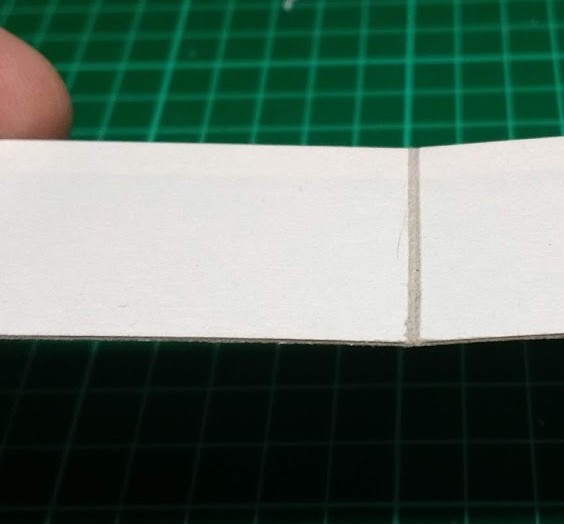
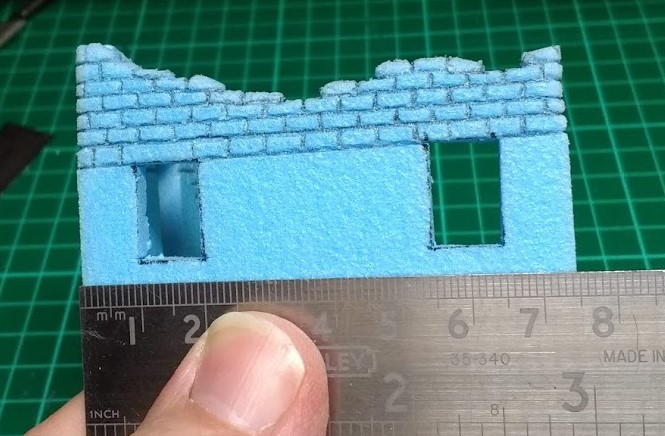
After cutting in the fold lines, offer up the cladding piece to the wall to check the fit. If it doesn’t quite match, more material can be cut out along the edge of the fold line to re-position the fold slightly.
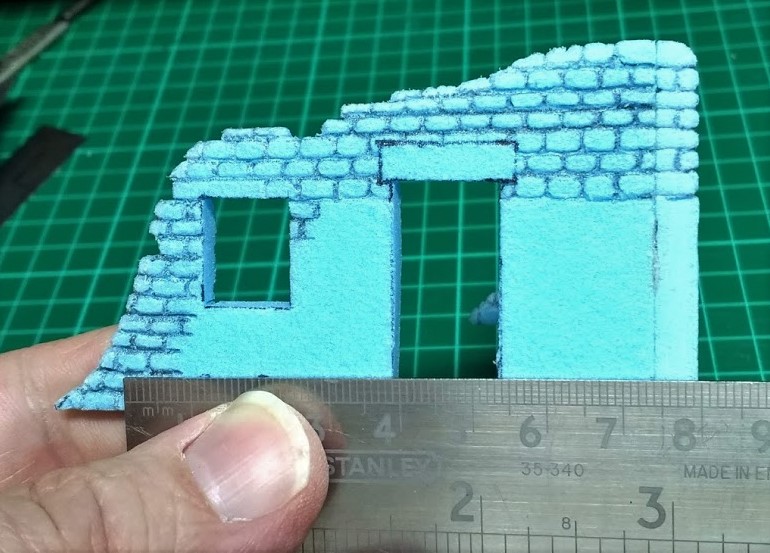
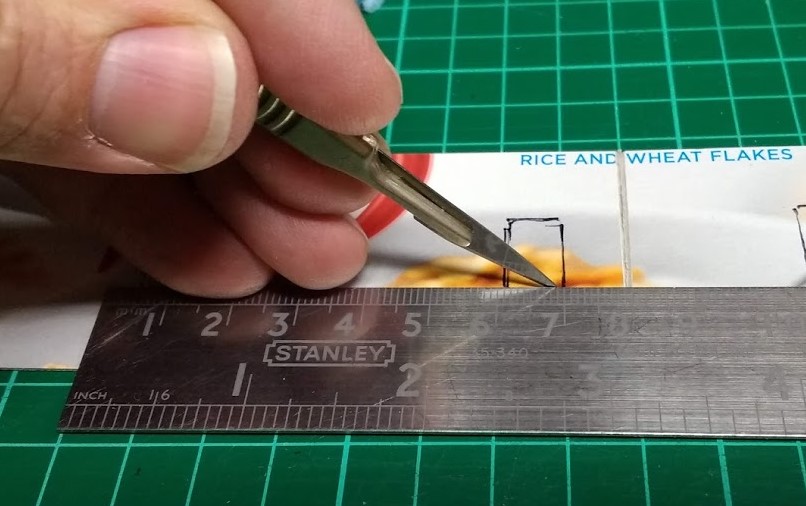
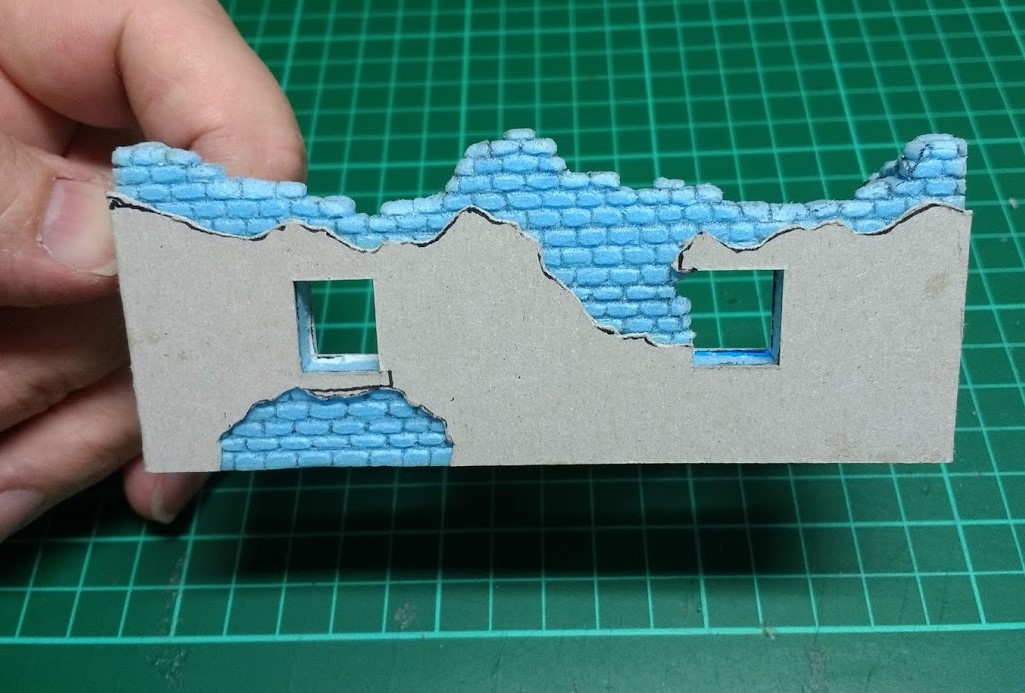
Once the fold lines are in place, mark in the position of the windows and doors and cut them out. Then mark in the broken edges of the walls and cut 3-5mm inside this line to expose the brickwork.

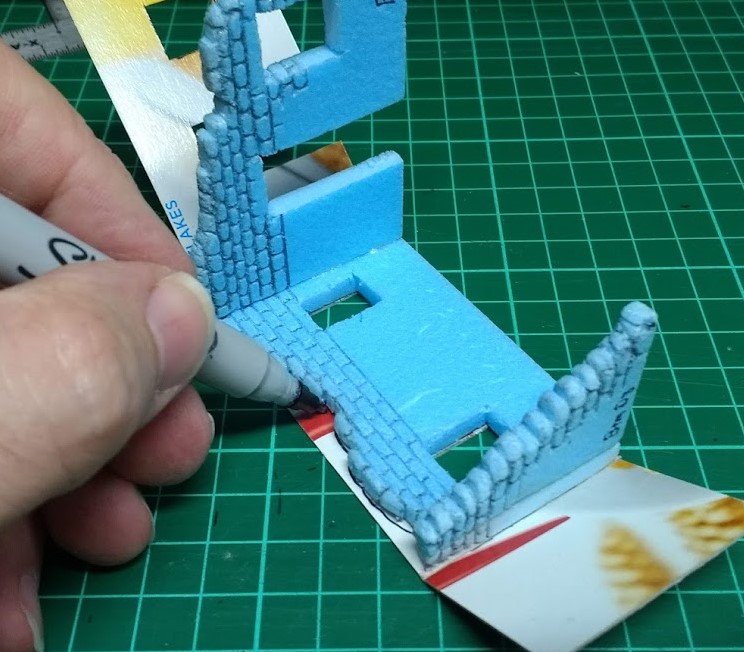
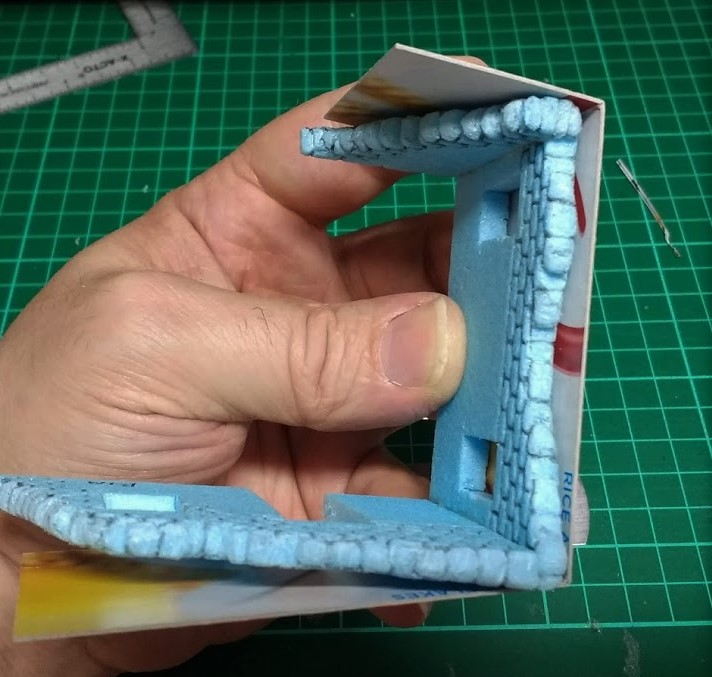
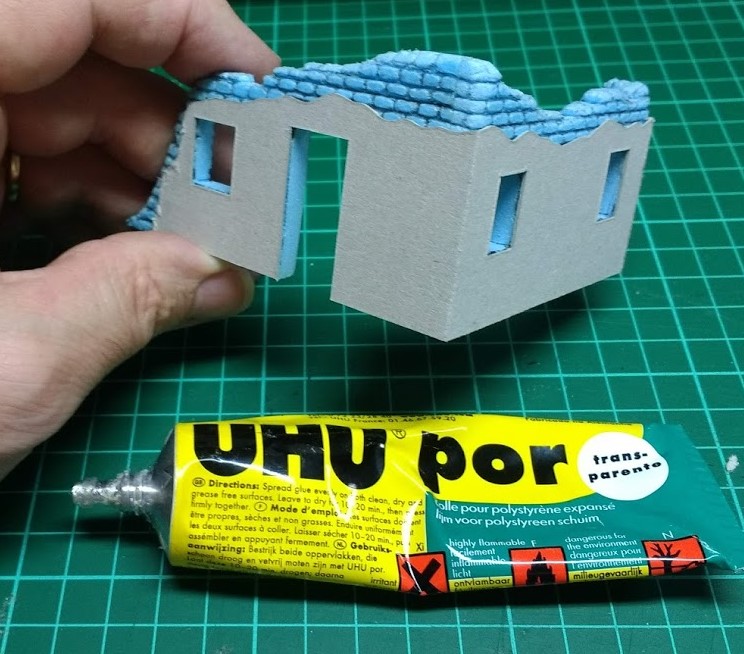
Once the plaster piece is cut to size, it can be glued into place. I use UHU Por, this will stick polystyrene, card and paper and doesn’t have any solvents that melt polystyrene. PVA can be used but takes a while longer to cure and I’ve found the card can warp as the PVA shrinks as it dries. Before you start gluing, extra bits of card can be cut away to expose more brick work if you want a more derelict look. The inside of the walls can be treated in the same fashion.


excellent, very nicely done.
@soldado thanks mate