


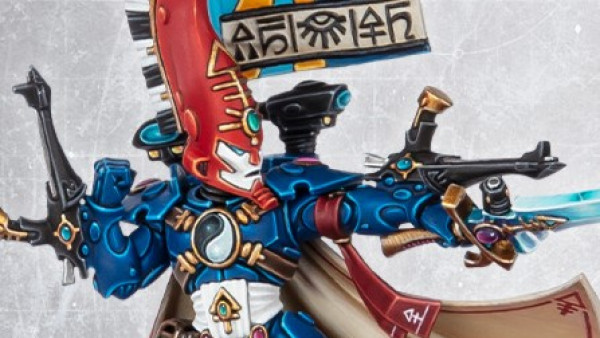
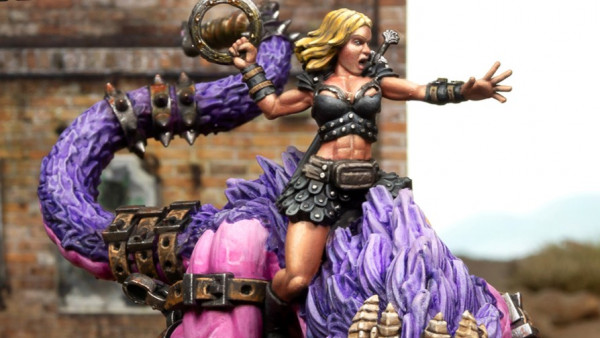
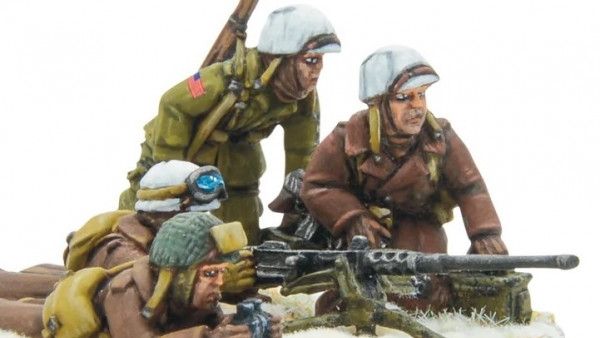
Luna Wolves Reborn a.k.a. Cawl's personal Guard - by Bothi


Bases: Step by step
I was asked multiple times how I do my bases. I already posted a small overview in a the painting guide down below a few month ago. But I wanted to go more into detail and create a step by step photo guide on how I do these bases. So here we go.
Stuff you need:
- Your Base (Duh!)
- Black Paint (I use Army Painter Black)
- GW Martian Ironearth
- GW Carroburg Crimson (dark red wash)
- Some Bushes/Tufts (I use Warlords Patchy Tufts)
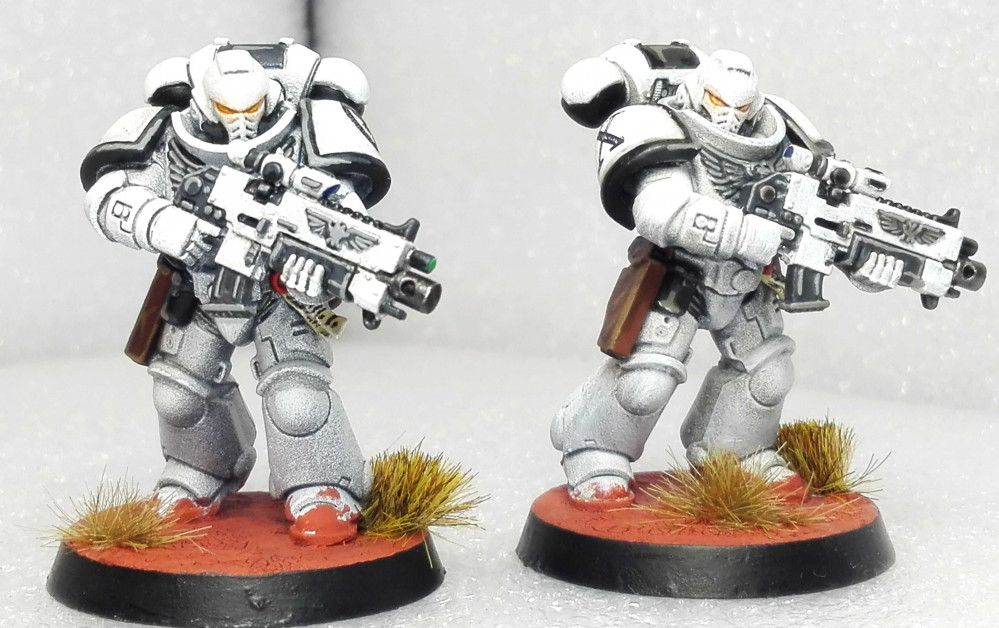
 Step 1: Painted Mini with blackened Base
Step 1:
Paint the mini as you would normally do. In my case it is a white Primaris Marine. Then use a normal black paint of your choice and blacken the entire base.
 Step 2: Apply GW Martian Ironearth
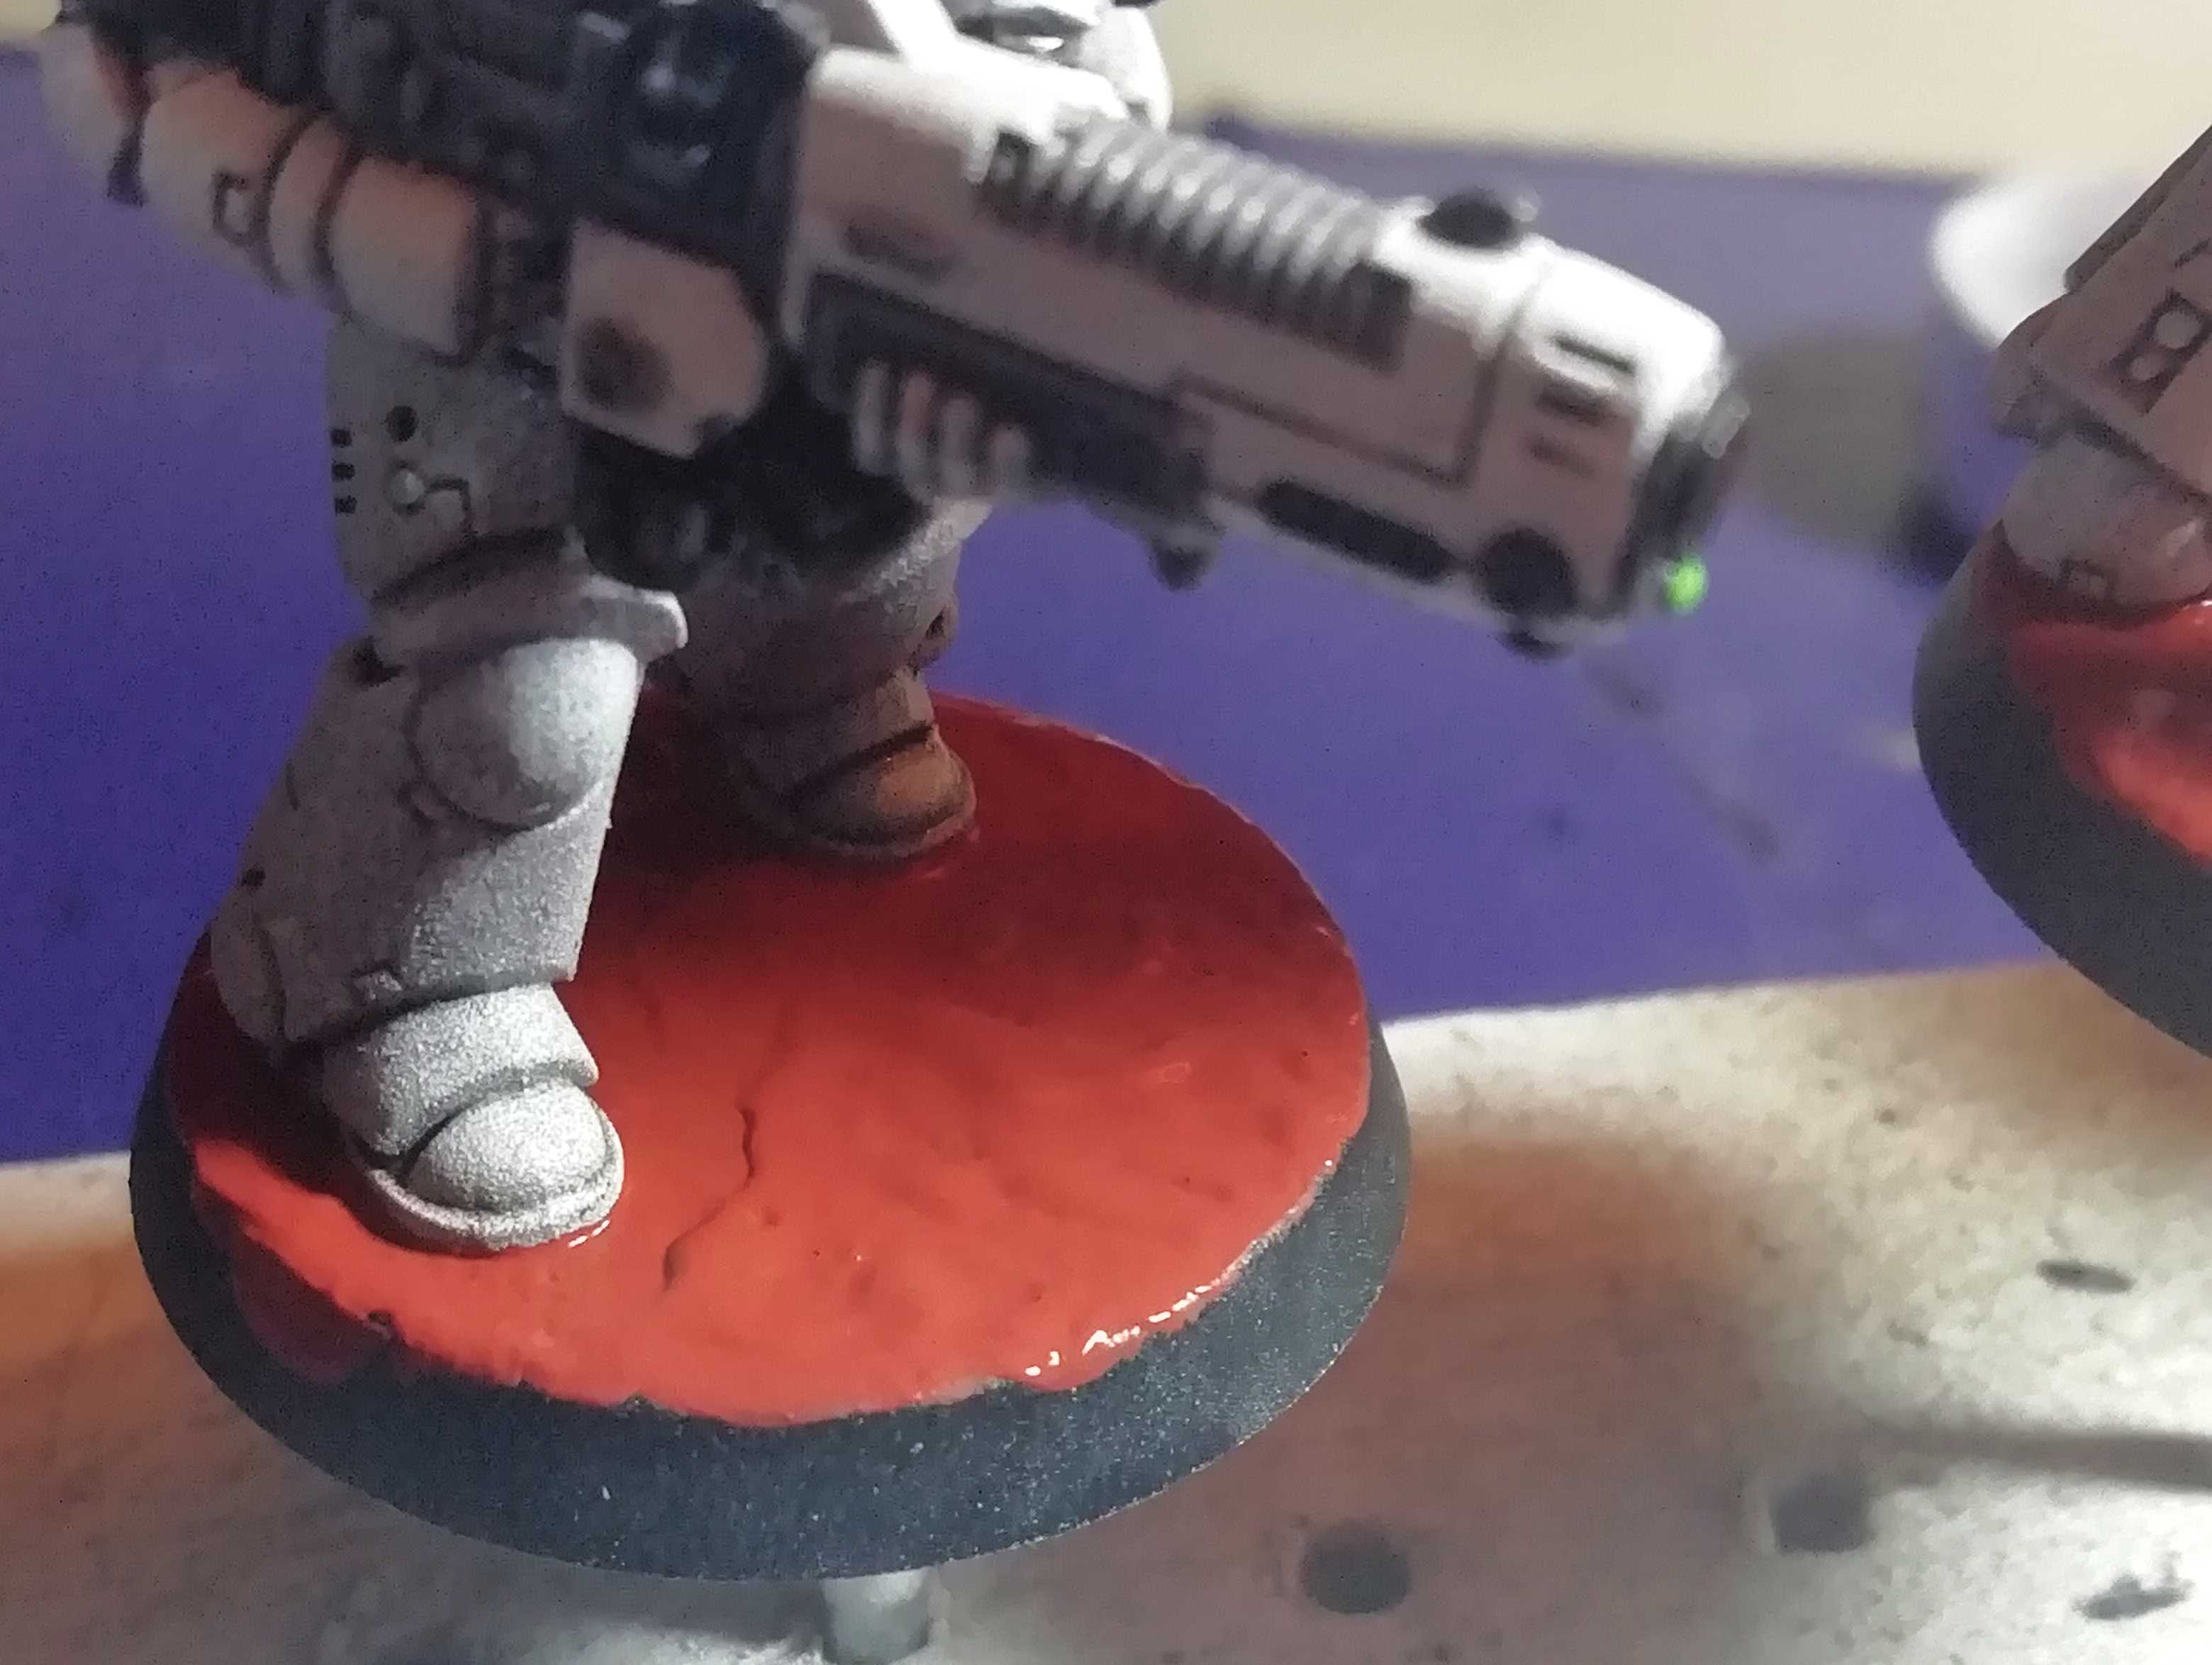
Step 2:
Apply GW Martian Ironearth to the flat area of the base. If you get some on the rim use a tissue to wipe it of. Don’t worry if the rim stays a bit red, but you don’t want to get the thick stuff on it. Also don’t worry if you get some on the mini. You can use this later.
Most guides say that you should apply this stuff very thin. I completely disagree. I suggest you apply it from thick to really really thick. Like up to 2mm. I worked with this stuff a lot and it seems that the thicker you apply it the larger the crevasses you get. Try around a little and see what results you like.
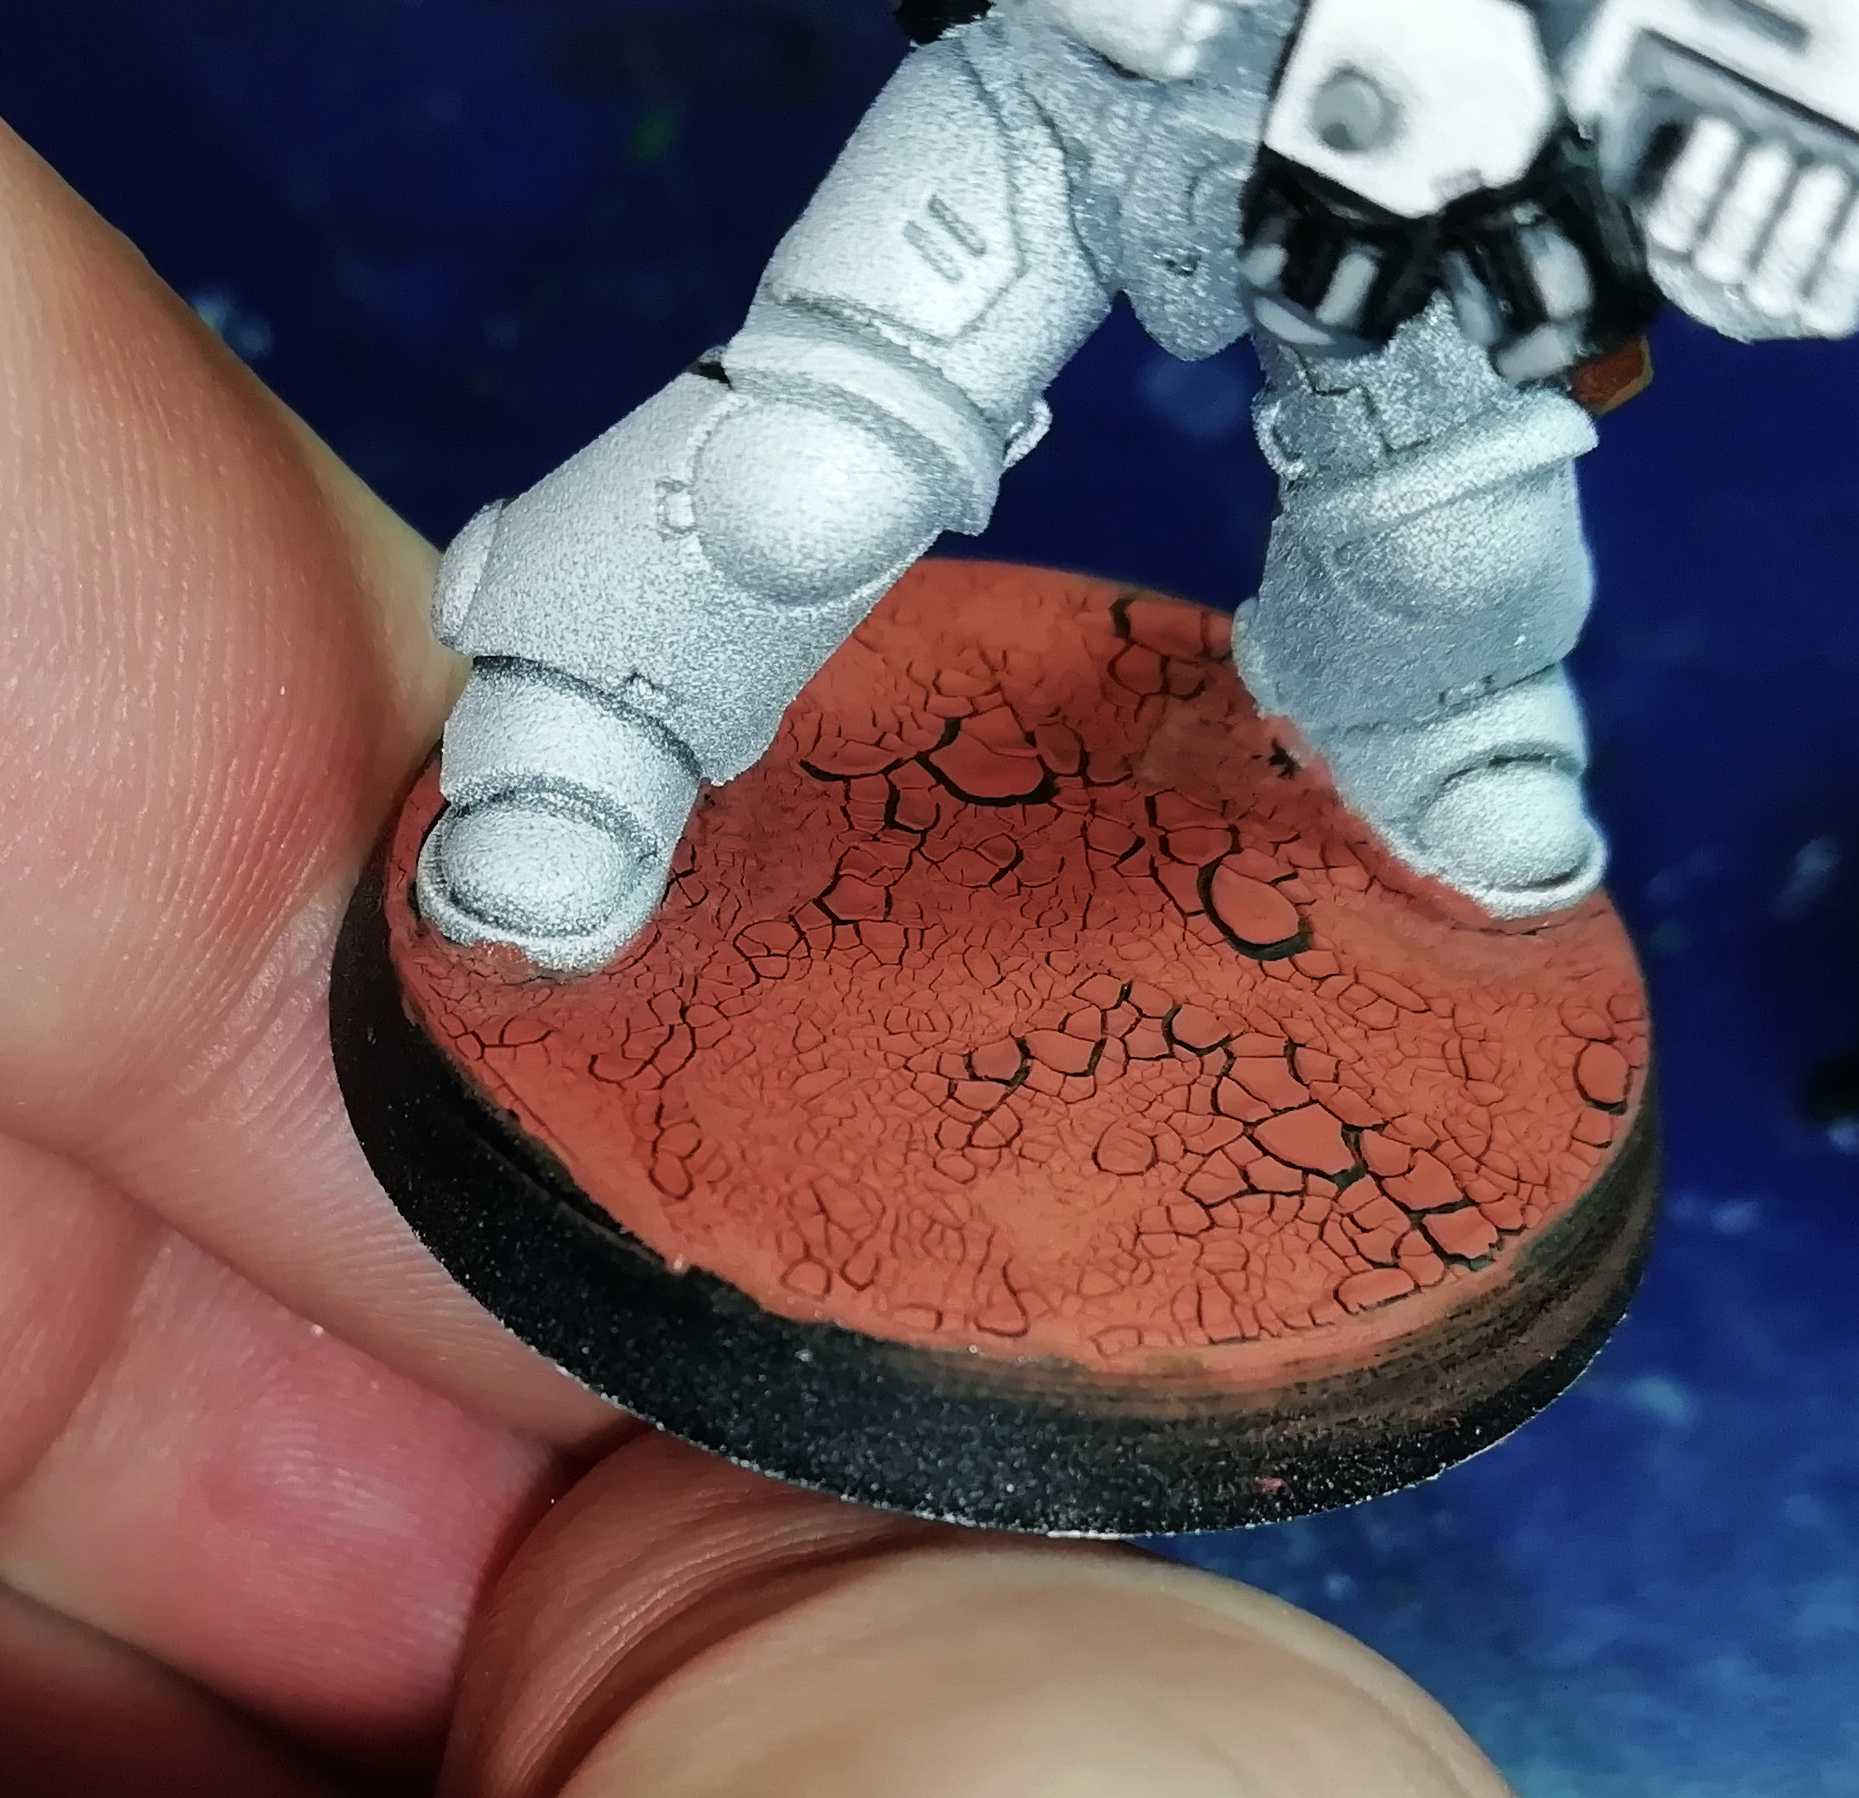
In the pic below you can see how it looks completely dried. Let it cure for at least an hour. Notice the different sizes of crevasses.
 Step 2: Dried
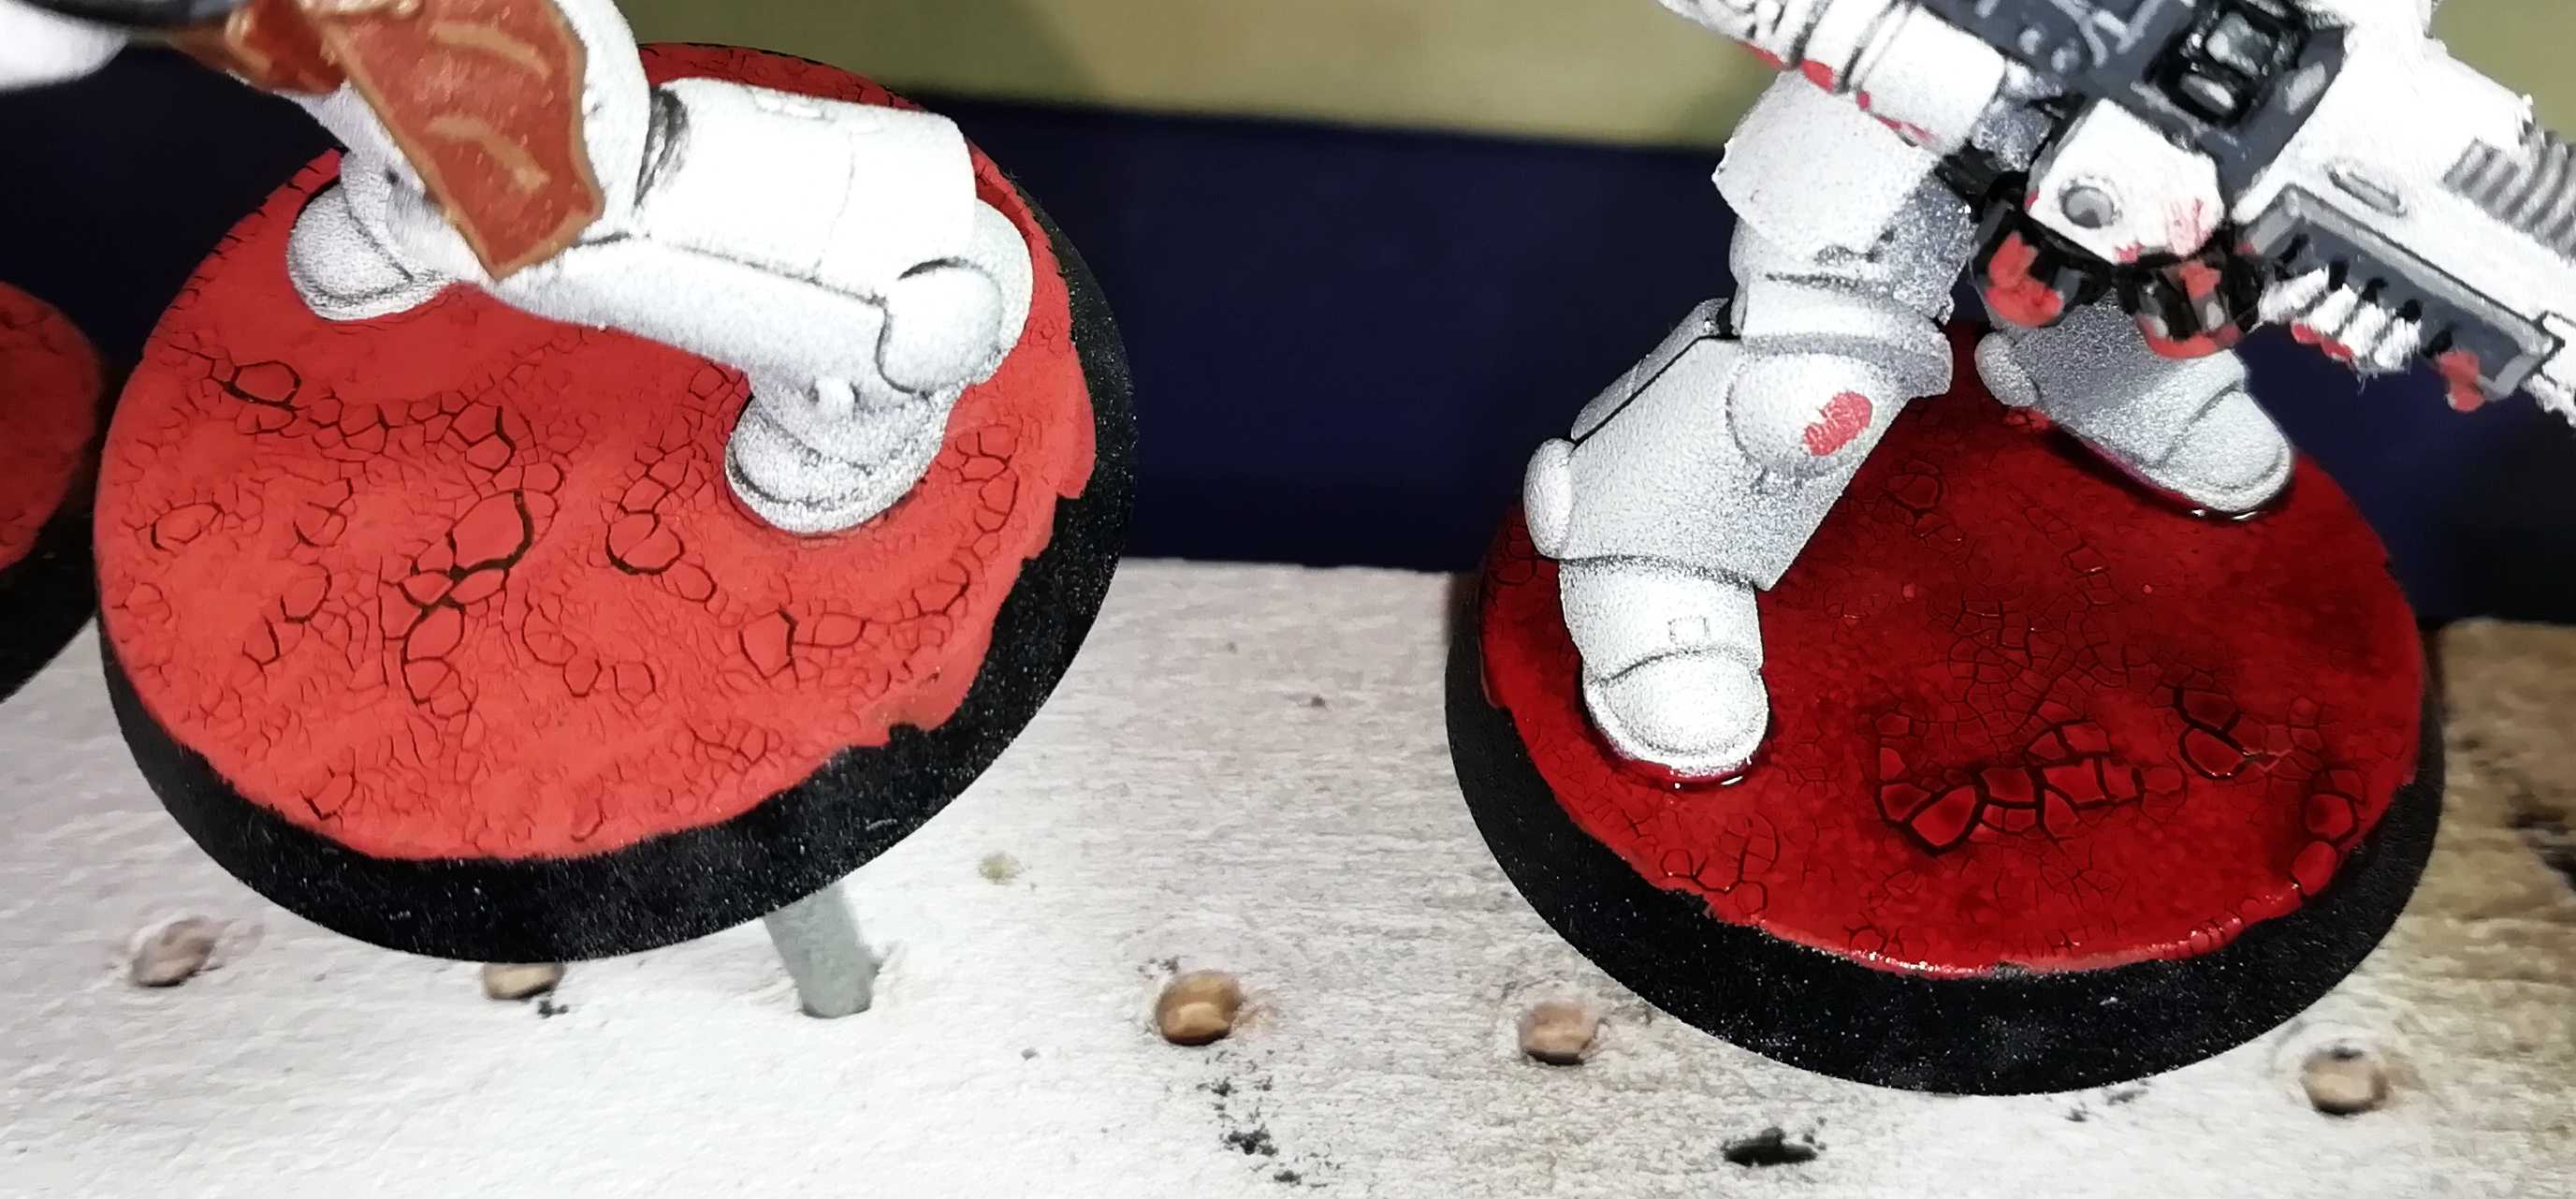 Step 3: GW Carroburg Crimson
Step 3:
Apply GW Carroburg Crimson to the entire base. Don’t worry if it pools in places. This only gives you deeper shadows.
Unfortunately I didn’t took a picture with the wash dried. But the base gets really dark.
 Step 4: Drybrushing
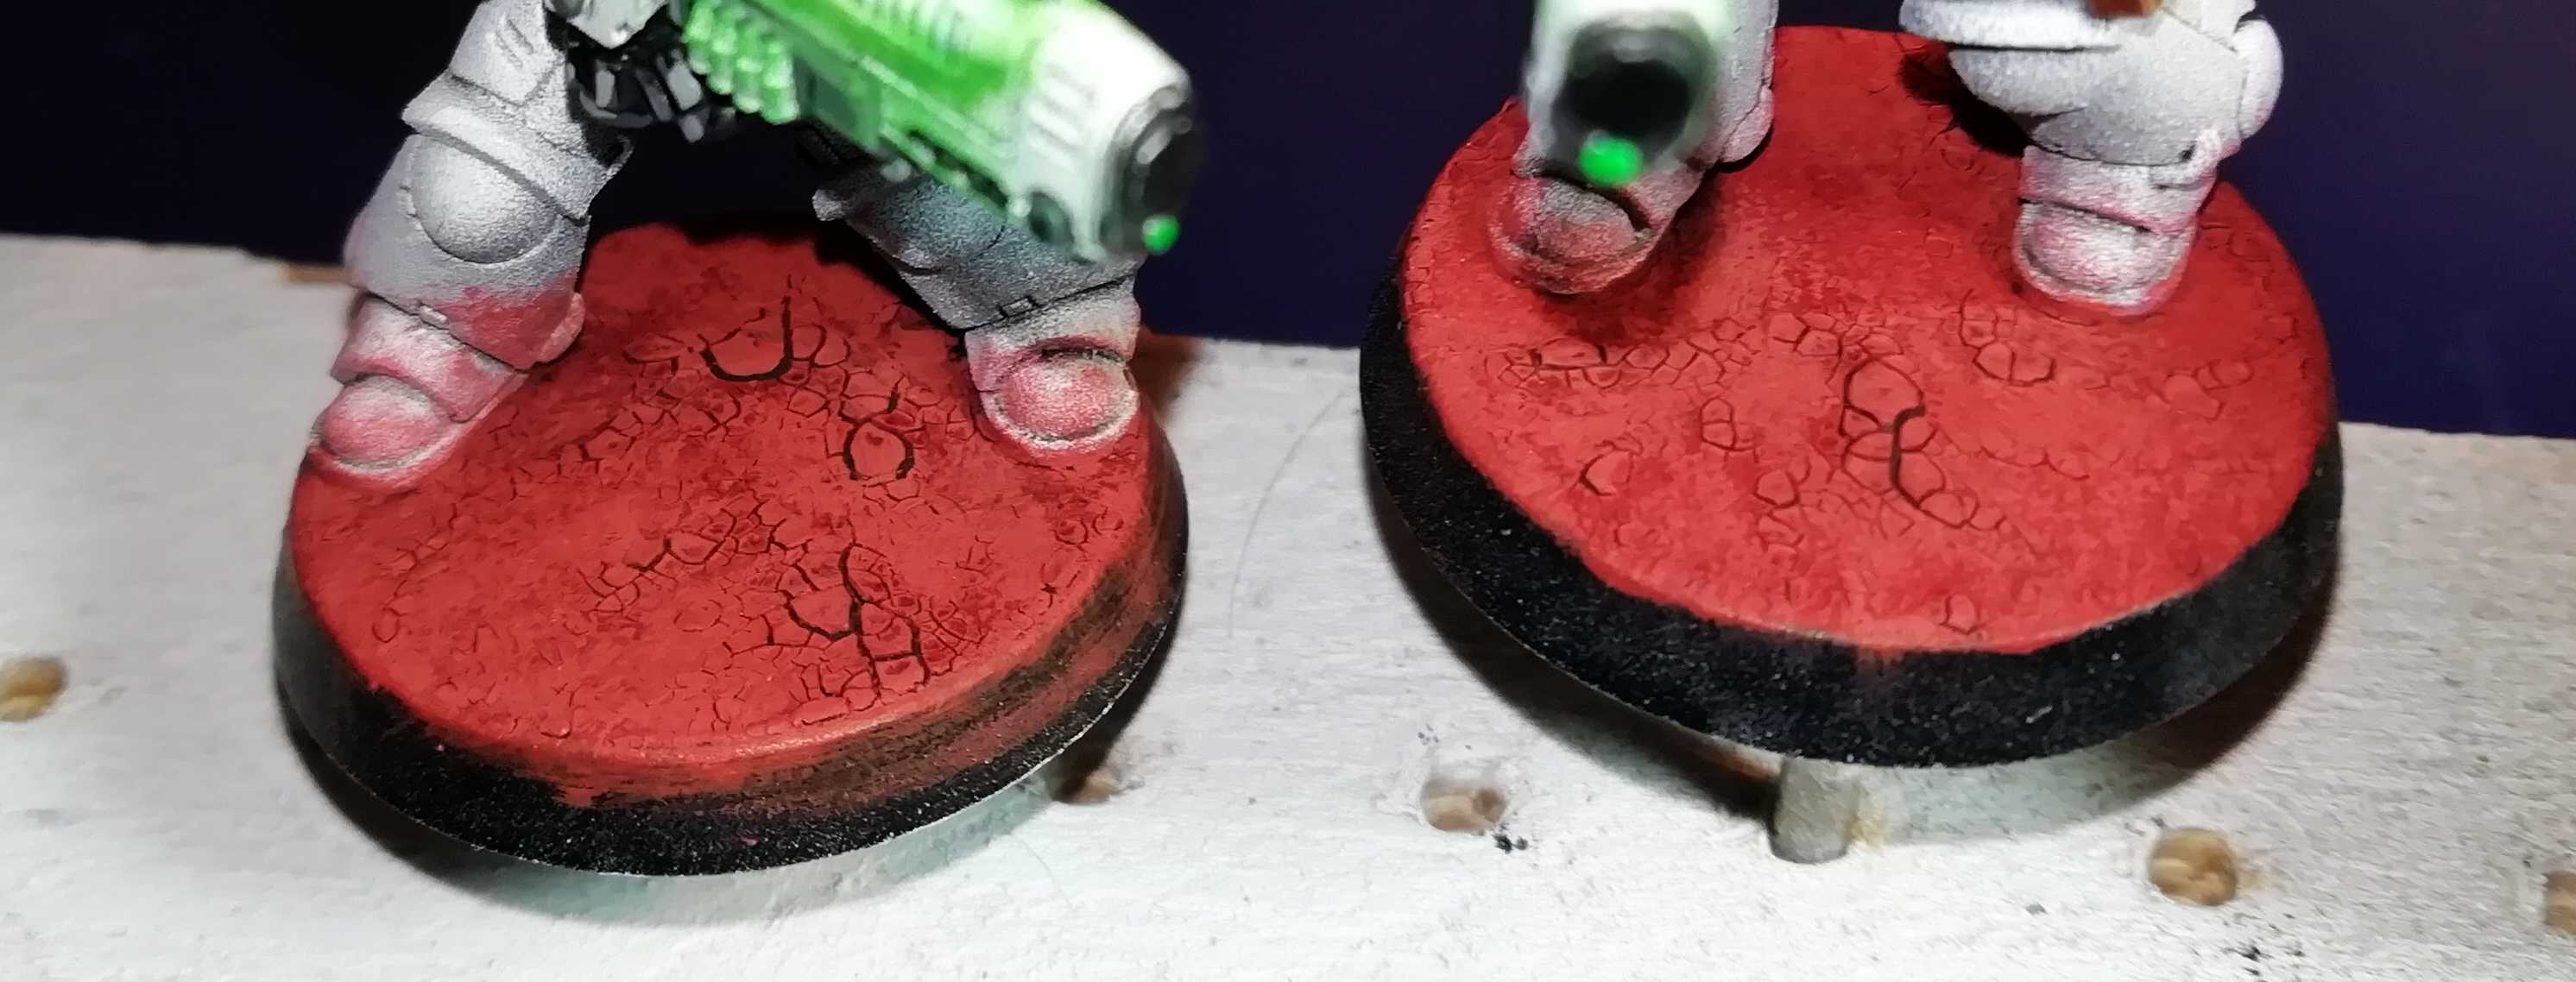
Step 4:
Now you only need to drybrush the base again with GW Martian Ironearth. Don’t be too heavy with the drybrush or you destroy the shadows you created in the step before.
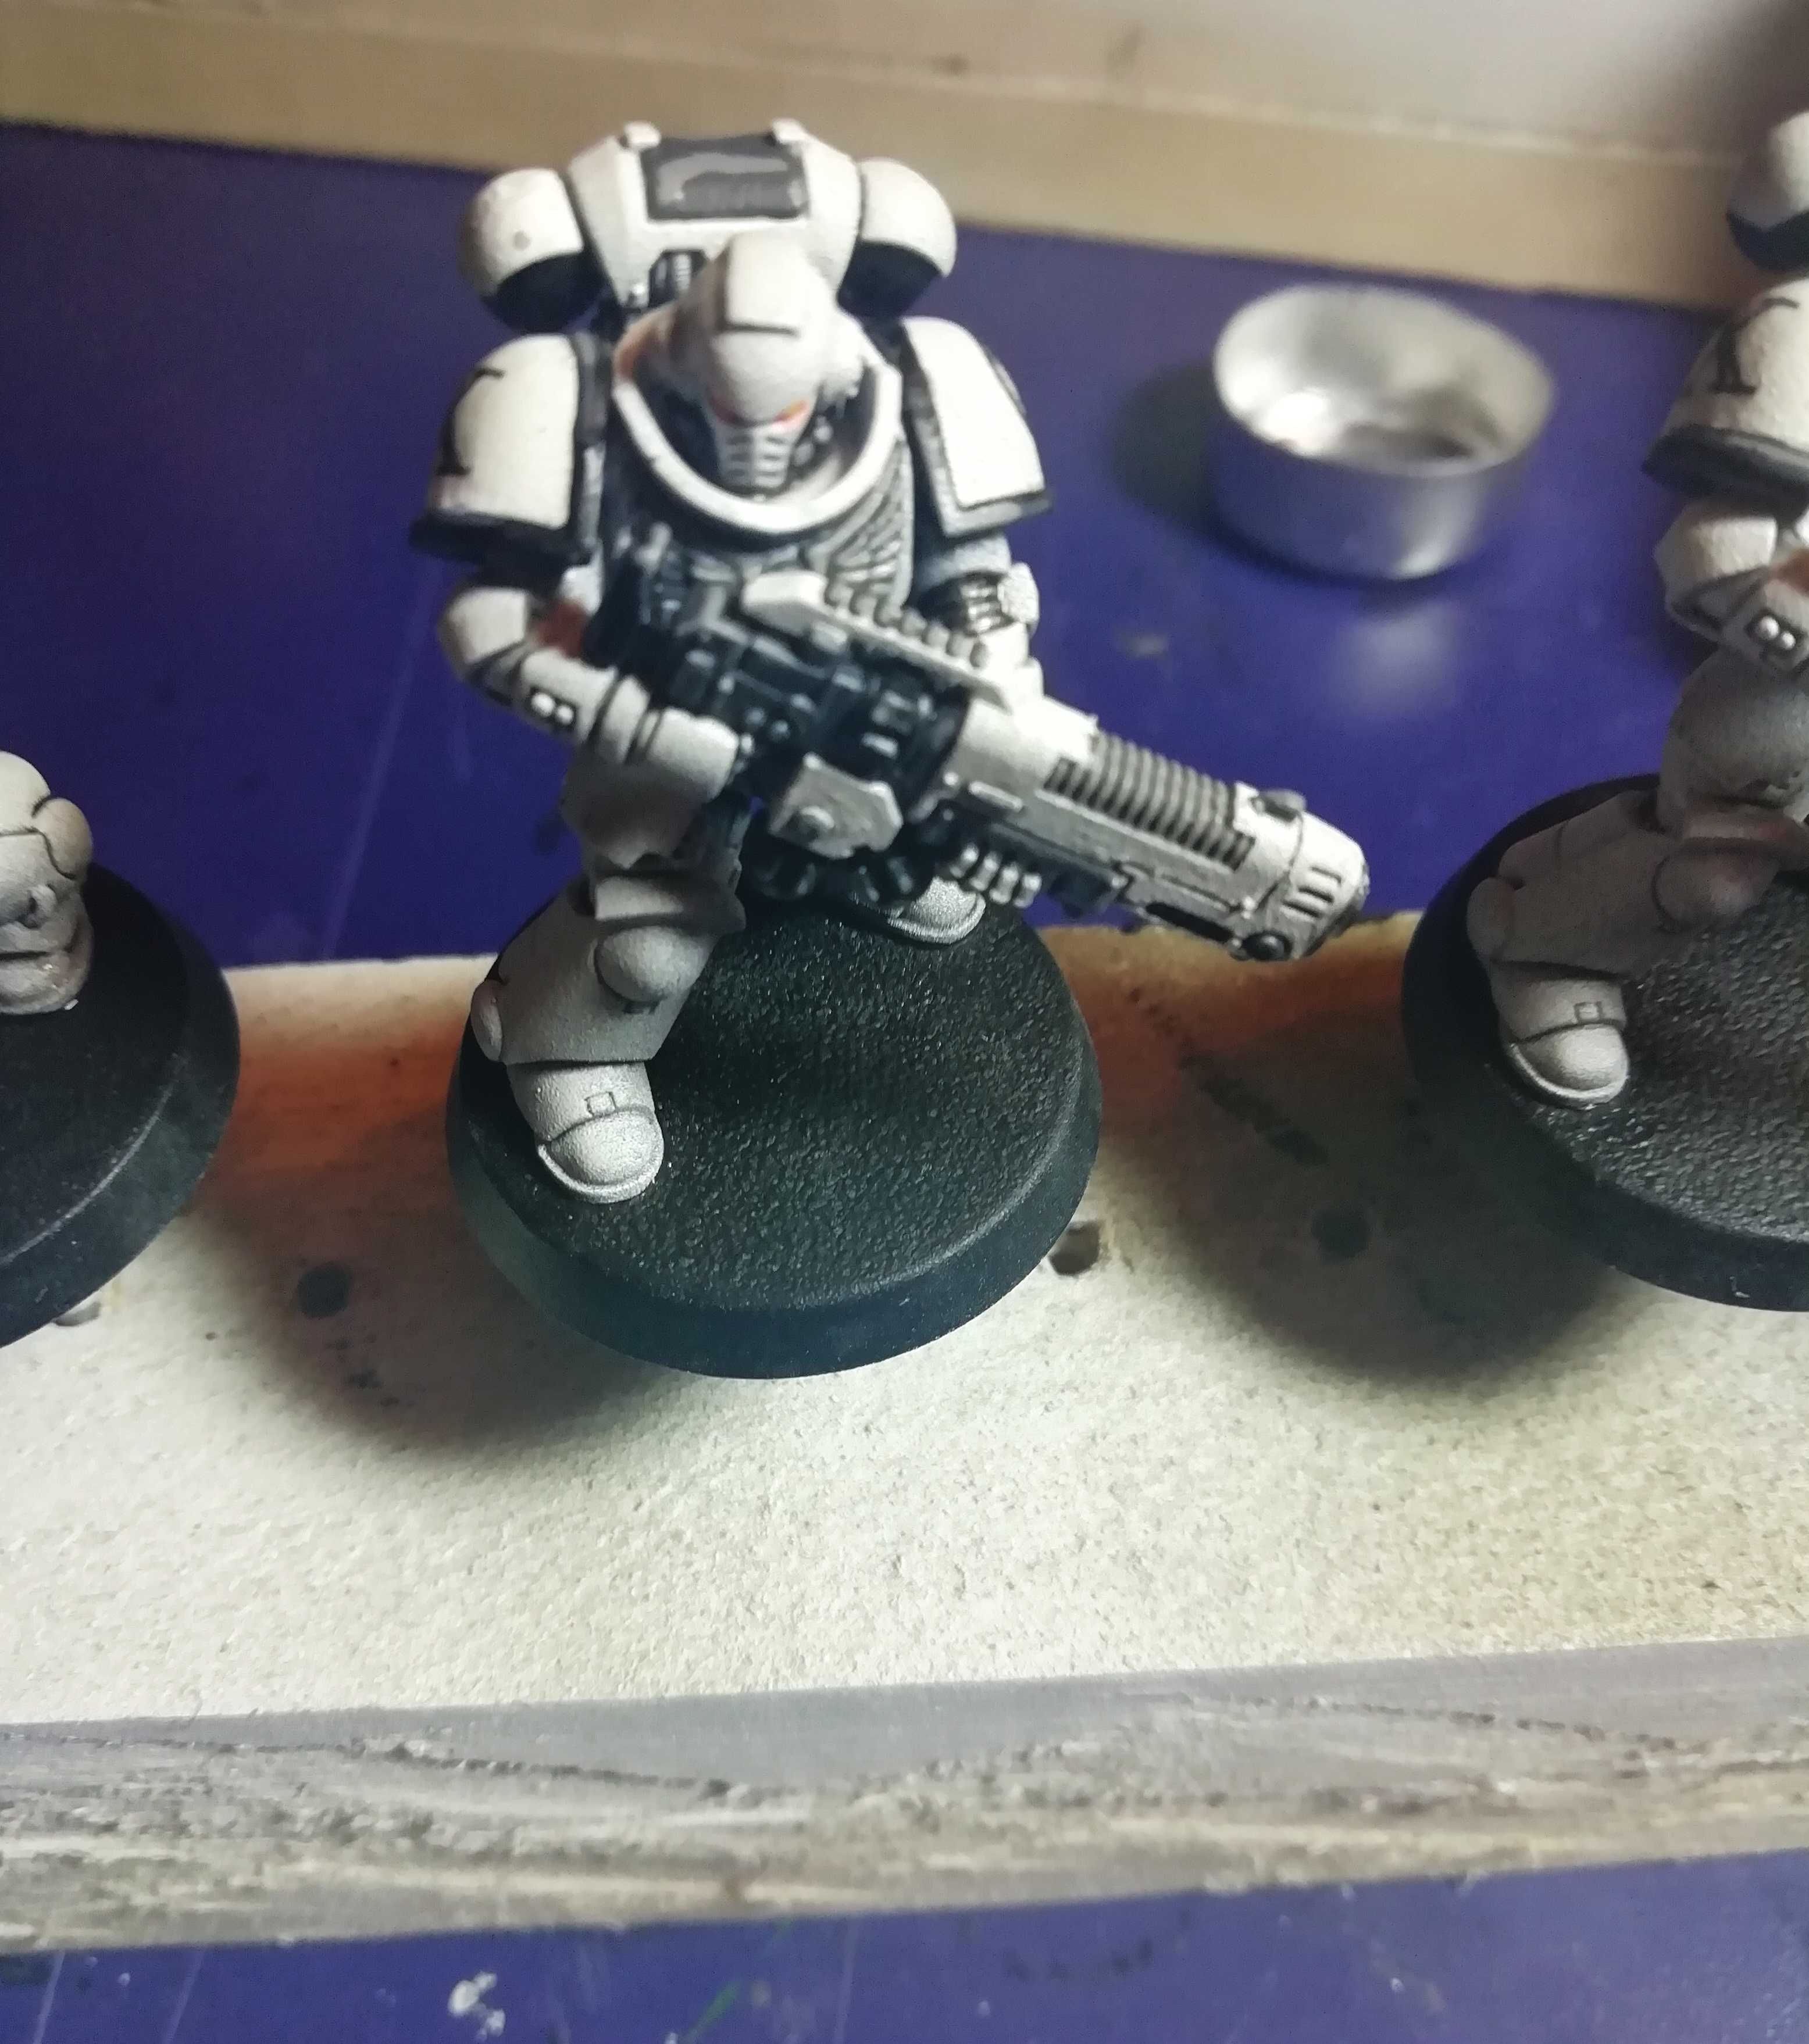
Also in this stage you can drybrush very lightly over the boots/feet of your mini (as I did). This creates the illusion that some of the dust has settle on your mini.
As mentioned before now you can use some mistakes you maybe made earlier to your advantage. If you got some of the Ironearth on you mini, just drybrush over and around it. Make it look like as if the mini was lying in the dust or fell down. Looks especially great on elbows and knees.
 Step 5: Finishing Touches
Step 5:
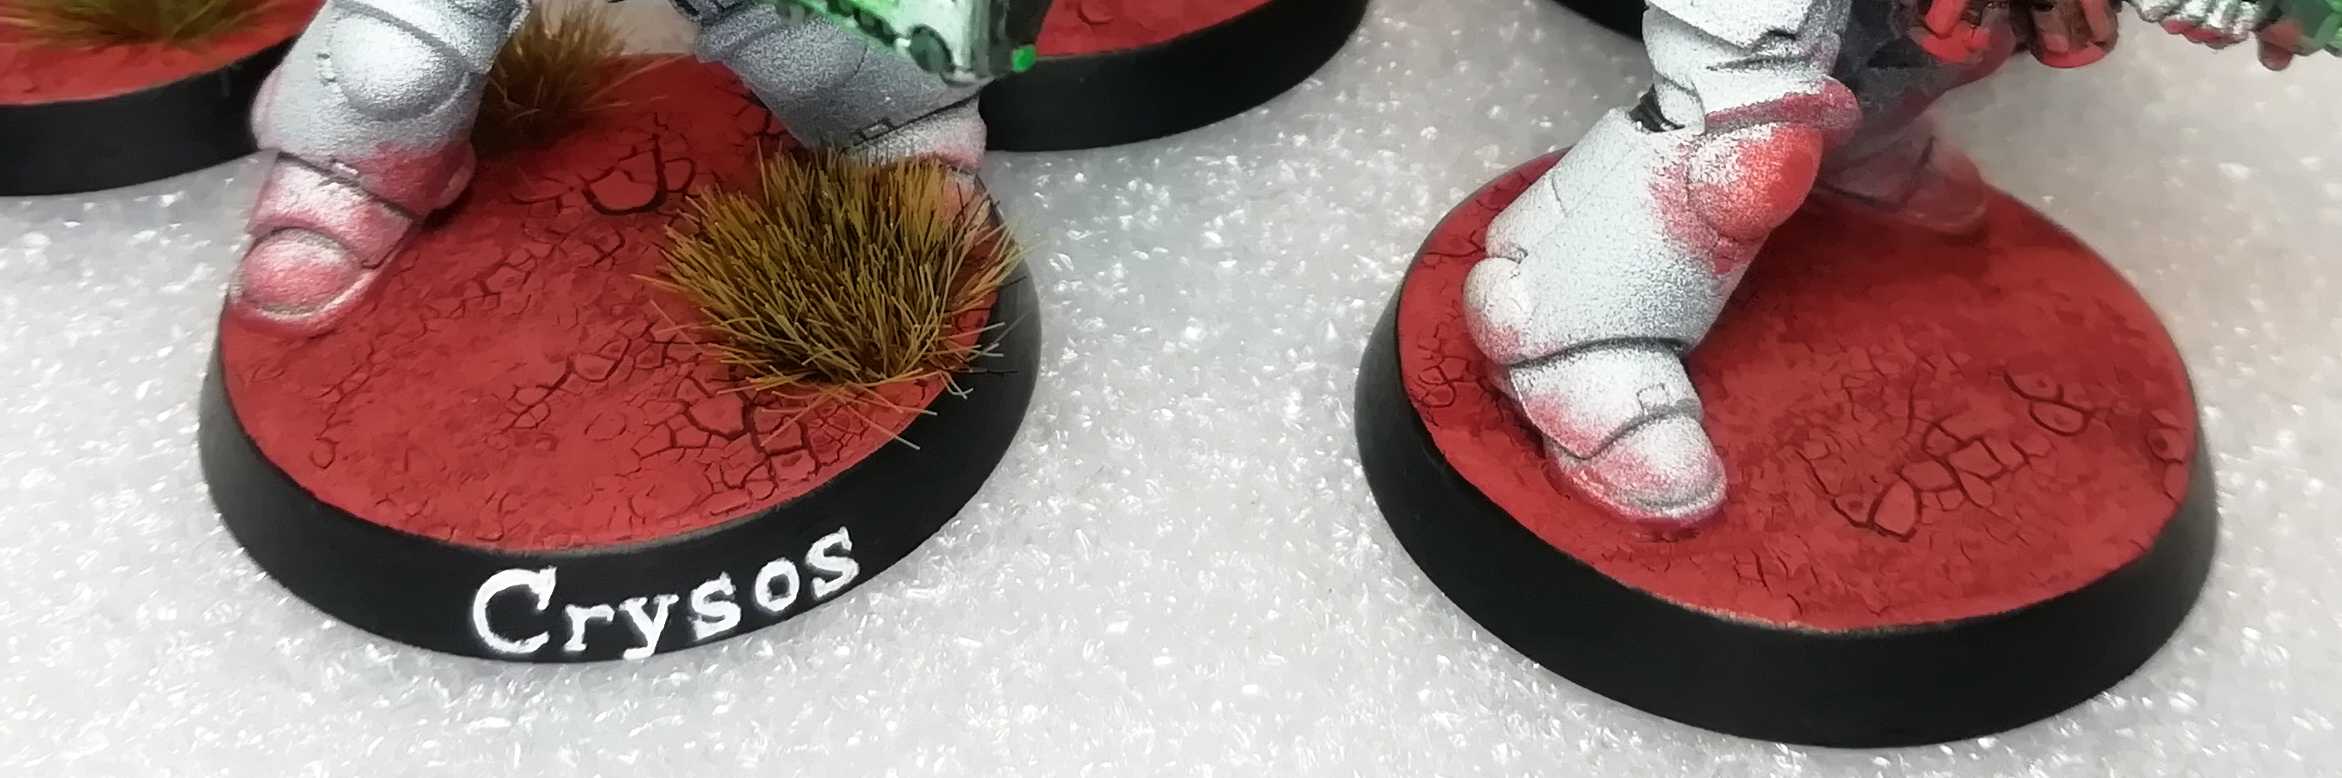
First get your black paint out again and paint the rim of the base black. Be careful not to get anything onto the top area of the base.
Then just glue a tuft/bush here and there and you can be finished. I like to put bushes were I went too heavy with the drybrush to cover that up.
Notice the red knee guard on the right marine. That’s what I was talking about in the step before.
Lastly I like to have name-labels for my Sergeants and other Characters. But this is of course optional and not needed for this base style.
That sums up mostly of how I do my bases. Hope to get another post out tomorrow with the last two characters.


Leave a Reply