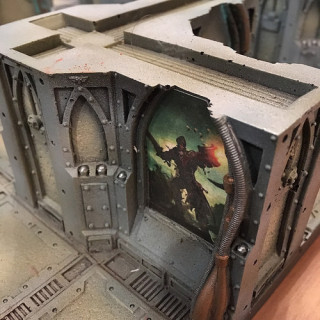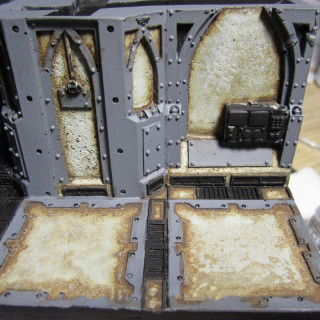
Space Hulk 3D Printed Terrain
Recommendations: 37
About the Project
Like a lot of people, the original Space Hulk was my gateway into the world of miniature wargaming and Games Workshop and is still one of my all time favorite games. The 4th edition of Space Hulk was a great boxed game, but unfortunately didn't include 3d terrain. I have a Creality Ender 3 on the way, and I figured this would be the best time to utilize my 3d modeling skills to create terrain for use with Space Hulk, 40K, and Kill Team.
Related Game: Space Hulk
Related Company: Games Workshop
Related Genre: Science Fiction
This Project is Active
Modeling the Wall and Pillar
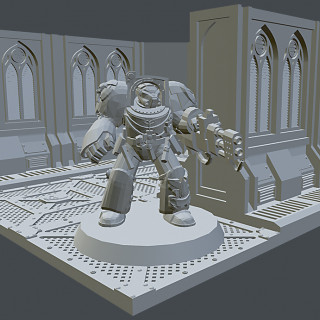
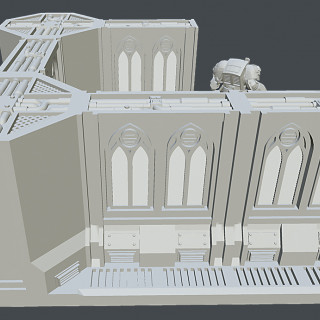
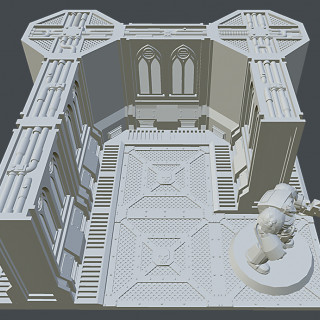
Now that I have the floor finished, I moved on to the wall and pillar. This took me quite a bit longer to do than modeling the floor. When doing final modeling in the video game industry you’re typically working from concept art and a fairly fleshed out gray box level. Here is another great article from 80.lv on how a group of devs were updating the Nintendo classic Contra with modern tech. The article shows the pipeline and how the final look was built from the ground up.
Working from concept art is always the best, but in my case I’m modeling from just a few reference images (which I showed in previous posts) and doing this more off the cuff. I’m no concept artist, so it took a few days of pulling verts, moving stuff around, and trying different approaches. I ended up with a finished wall piece I was really happy with, and a pillar that I like, but it still needs more additional detail on the diagonal part of the wall.
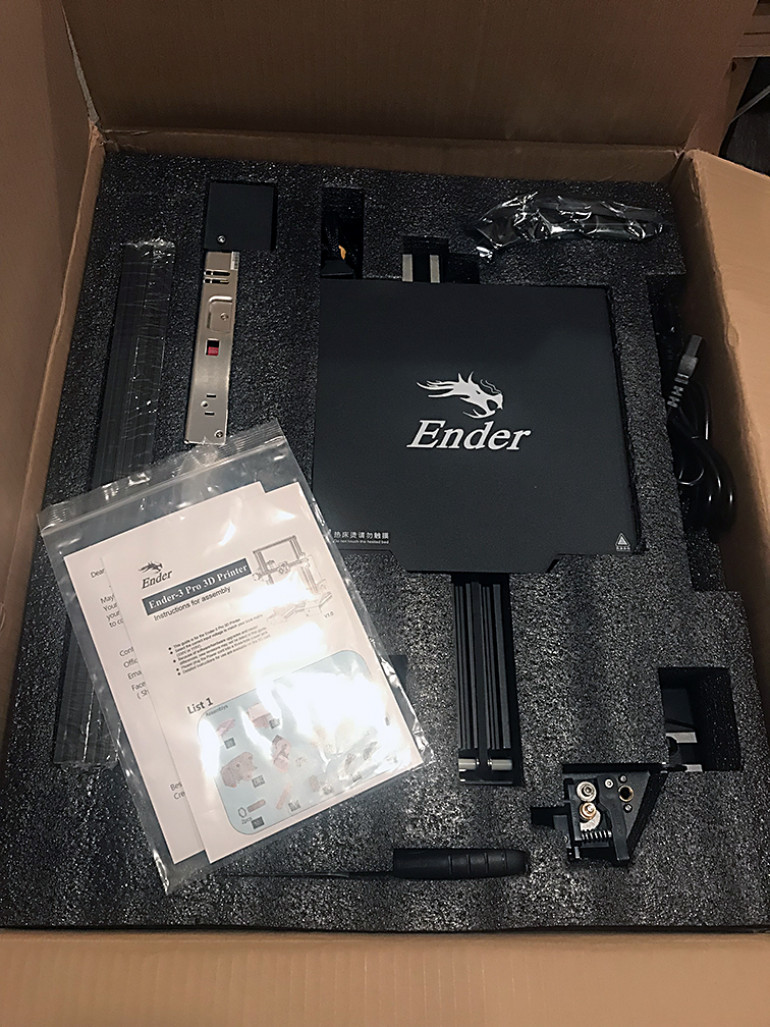
I tried a lot of different approaches to that blank section of the pillar, but nothing I’m happy with yet. I try not to linger too long on one particular element when working on something so I decided to leave it for now. Plus, there was a package delivered that I was eagerly waiting for.
I created a full 3d preview of the scene that you can view here. Be advised, this will take a bit of time to load as it is almost 40 MB. If you click on the “?”, it’ll explain how to navigate the scene.
Next time I’ll work on putting my 3d Printer together and I’ll hopefully have some test prints to share.
Until then,
The Harrower
Modeling the Floor
Alright. So I have my blockout done. I have a reference model in my scene to compare to when modeling and I have my grid set in Maya to help me model at the proper size. The settings were a pain to get right so I’ll go over those quick.
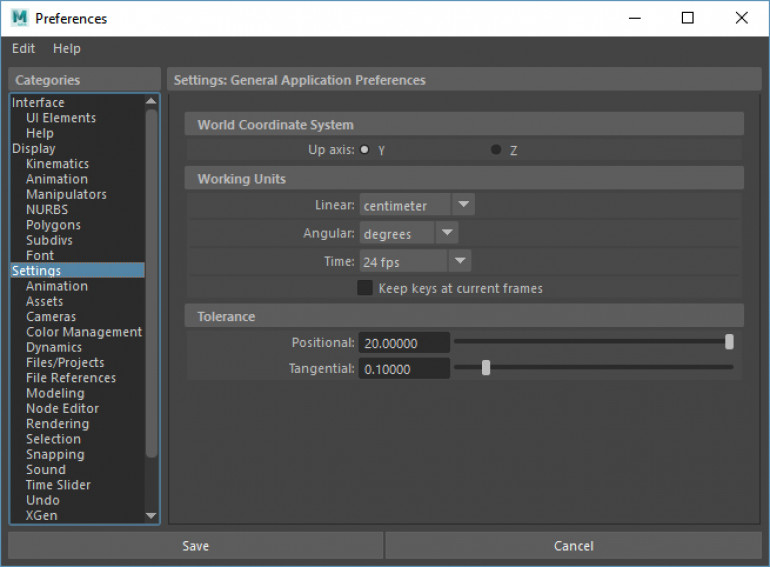
I’m using Maya 2018, but these settings haven’t changed in years and should be the same in most versions of Maya. The first thing you want to do is change your measurements to centimeters. Go to Windows > Settings/Preferences > Preferences. From the categories on the left, click on Settings. Under Working Units set Linear to centimeter. Once complete, click Save at the bottom.
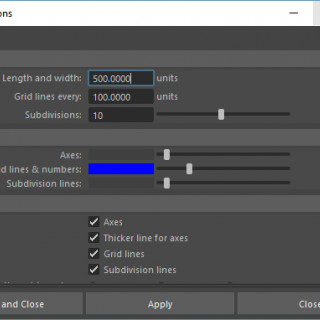
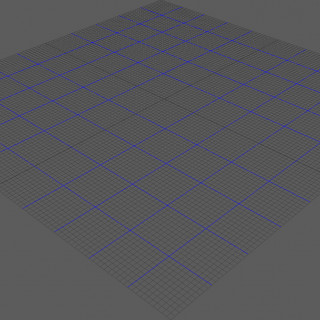
The next thing you want to set your grid in Maya. I wanted mine set for 1 mm squares and I also wanted larger squares at 10 mm (1 cm). This will make it easy to scale and size my terrain. In Maya click on Display and look for Grid. Next to the word Grid there is a box. When you click on the box a dialog menu will open. Set Length and Width to 500, Gridlines to every 100, and Subdivisions to 10. You can also set the color of your Axes, Grid Lines, and Subdivision Lines if you want. Once complete click Apply and Close. You”ll end up with a grid 100 mm x 100 mm with the smaller squares at 1 mm x 1 mm and larger squares at 10 mm x 10 mm. Perfect!
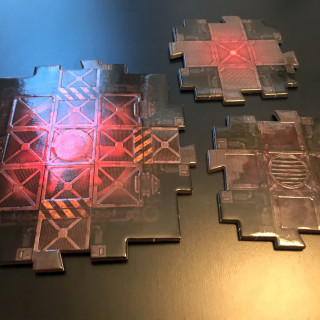
I’m starting with the floor as that is the base that everything is built off of and it should be the easiest to start out with. For reference, I’m using the actual tiles from the Space Hulk board game and some reference shots of Zone Mortalis. I included my reference below.
I wanted to try and do a tutorial on modeling for 3d, but that goes way beyond the scope of these articles. If anyone has any questions, drop them down in the comments. I can point you in the right direction if you are just starting out with modeling.
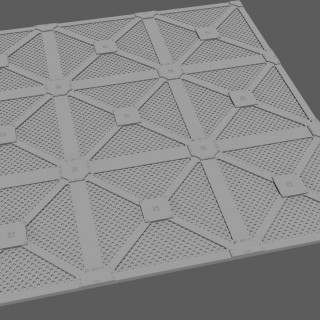
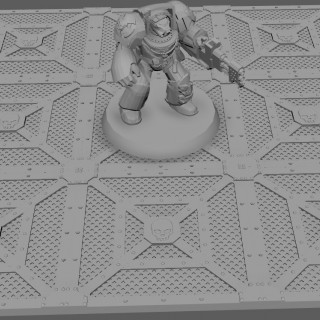
For my first draft, I followed my reference almost exactly. I wasn’t really a fan. It matched the reference, but wasn’t dynamic enough. After staring at it for a few hours I decided to change it up by adding the extra cross pieces. It was close, but not what I wanted. What was I missing? A skull of course! Now I understand why all of the Games Workshop terrain is covered with skulls. They make everything look better!
I’m happy with the second design and decided to leave it there for now. Next time I’ll work on the wall segments.
Until then,
-The Harrower
Creating a Blockout
The first part of doing any type of 3d modeling for me is a blockout. A blockout (or blockin or graybox) is used in the video game industry to determine if a level is playable and fun. Basic shapes (cubes, cylinders, etc.) are used to create a level so game designers can “play it” to get a sense of the space without artists spending a ton of time creating detailed props that won’t be used. This way changes can be made quickly before the final design is locked in. Once the final design is locked in, finished assets are created along with lighting to finish off the level and make it look like it will appear once the final game ships. I’ve only touched on the environment art pipeline briefly. 80 Level has an excellent article on The Stages of Environment Art in Gamedev if you want to learn more.
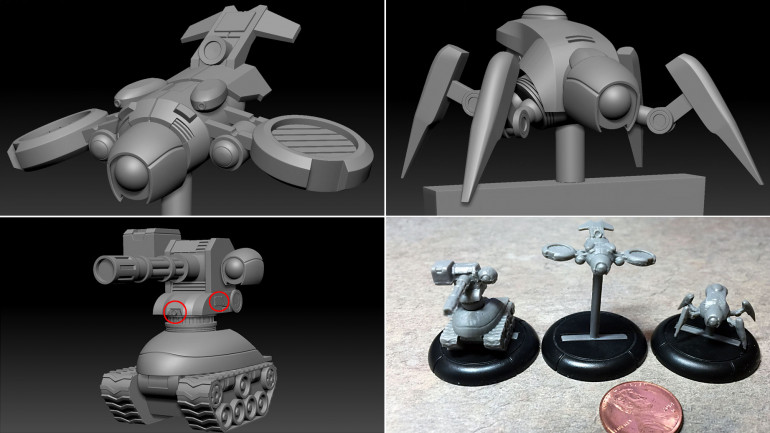
I’ve modeled a few miniatures in 3d for production before, and one of the hardest things to get used to is that what you are looking at on the screen is not representative of how the final miniature will look. Take for example these drone miniatures I sculpted for Megacon Games. And yes, I never cleaned up the mold lines I’m a bad person. Some of the details just don’t read at such a small size. Now that I ‘ll have a 3d printer any day now I’ll be able to avoid a lot of that, but it is worth keeping in mind when sculpting for print at small sizes.
One thing that should help out with sizing issues is a digital caliper I purchased from Amazon. With it I can measure and compare sizes to models in my collection before I print and hopefully avoid some sizing pitfalls. As to the actual size of the terrain itself, I wanted it to match as closely to Zone Mortalis as possible. I did some searches for Zone Mortalis measurements on Google and have a good idea on how big this all needs to be.
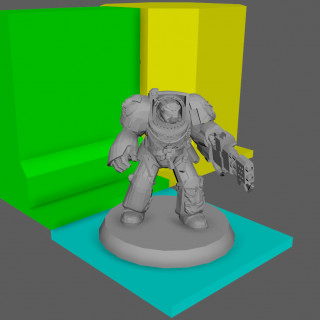
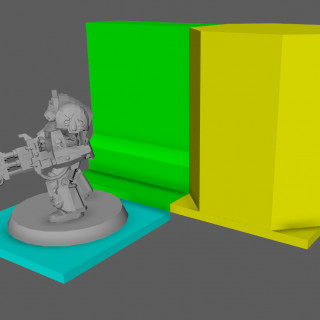
Armed with a caliper, a bunch of reference images on sizes, and an awesome Blood Angels Terminator I found on Thingiverse (for Sanguinius!), I had my first blockout completed.
Kinda anti-climatic, I know. This is all necessary to get it all working properly. Next time I’ll do some real modeling and we’ll tackle the floor piece.
Until then,
The Harrower
Planning
I haven’t done a lot of modeling for 3d printing so I wanted to start with a terrain set that wouldn’t require a lot of pieces to model. I also wanted to focus on just a few pieces so I could get used to my 3d printer and better learn what works and what doesn’t.
When I start on anything I typically do quite a bit of research on Google images. For this project I looked at other terrain kits in the 40K line, similar projects that other people have created, screen grabs from movies, video games, art in comic books, photos of Gothic architecture, etc. For Space Hulk, there is a ton of great reference material available from the Alien movies to the various terrain kits from Games Workshop, to the actual corridor tiles used in the 4th edition of the game itself.
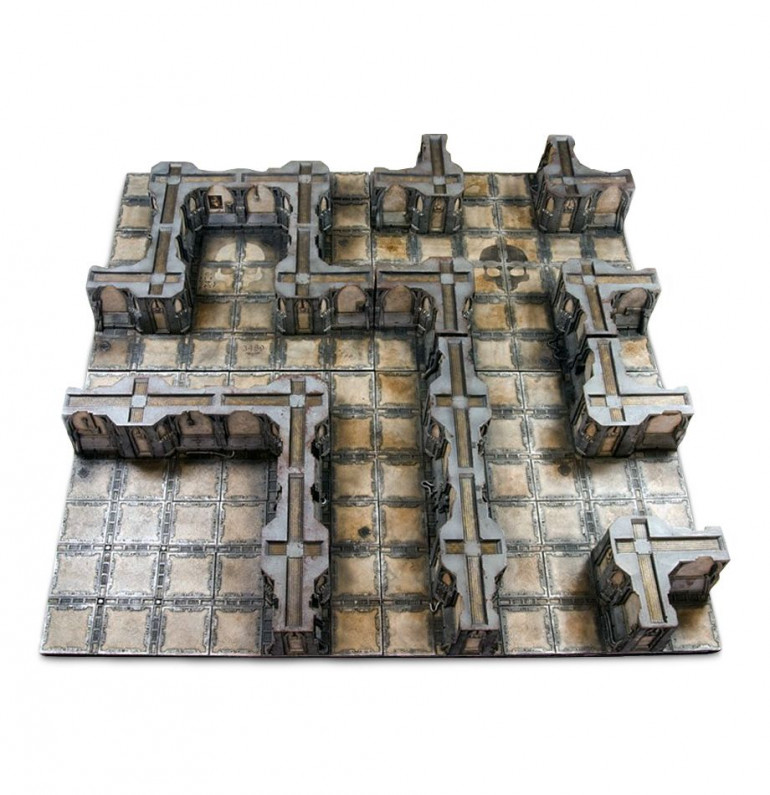
One thing I came across while that I forgot about while researching all of this was the Zone Mortalis Set from Forge World. This was a kit I had wanted to purchase myself, but I wasn’t happy with the fixed positions of the walls on each of the tiles and it was a bit out of my price range. I wanted to create my own Zone Mortalis boards, but like any good wargamer, there are a million projects I want to work on that I never get around to.
As an aside, the majority of my 3d background is rooted in environment design for video games. As I go through this project log, I’ll be referring back to environment design concepts a lot as those ideas and the approach is very relevant to what I’m trying to accomplish here. Plus, I like video games, and it will make these articles more interesting and people can better relate to how I’m approaching this.
Back to Zone Mortalis, what I like about the layout is it only requires 3 pieces to create any of the main board layouts. A floor tile, a wall, and a corner that other wall pieces can connect to. In video games, levels are constructed the same way. Everything is built in modular pieces that can be put together like a LEGO set by game designers to create a finished level. If you are interested in how this applies to video games, there is a great article Understanding Modular Environment Design on the 80 Level website.
Next time, I’ll start putting my ideas to paper (er, pixel) and begin the modeling process. I hope you’ll join me on this journey as I begin to figure out this whole 3d printing thing.
Until then,
The Harrower


