Spring Cleaning in the burrows
Burrows 3: Windows on the world part 1
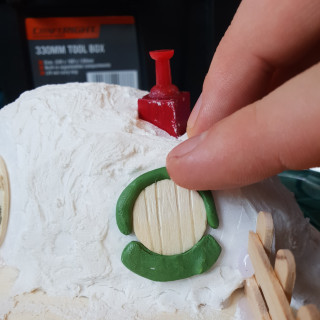
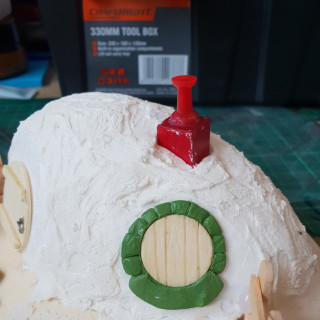
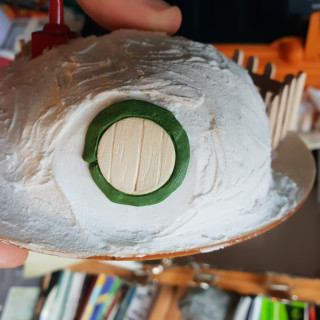
So the detailing on the burrows continues. Today it’s working on some green stuff window ledges and frames to represent simple stone and bricks set into the dirt wall.
I used two different techniques which I’ll explain as I go.
Method 1
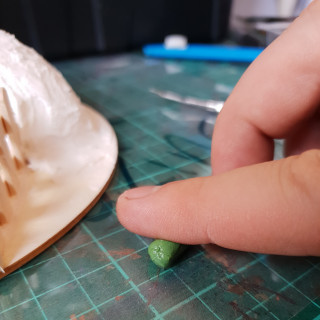
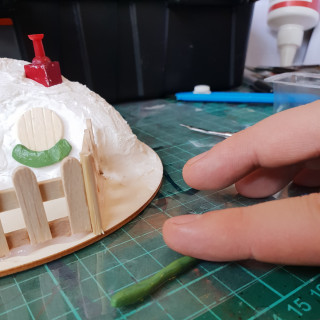
-Roll out a sausage (technical term) of green stuff onto some damp plastic sheet. I use and old overhead projector transparency but a zip lock baggy does just as well. This allows us to peel off (or slice off if you stuff up the dampness like me) the item later to apply it to the model.
-Peel away the green stuff and curl it around the window like a snake, using a damp finger to smooth out any lumps.
-Then wet the blade use a hobby knife to score line in to delineate the bricks. Don’t press to hard or you’ll drag the putty away from the window.
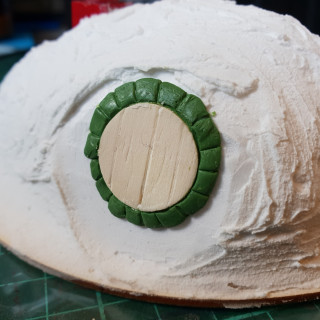
-Next use a sculpting tool to press back towards the window at each join in the bricks to create the impression that they have rounded corners. You can widen the gaps int he bricks and create cracks and chips at this point too.
-Smooth over the whole circle with a damp finger to round off the edges and leave it to set.
I tried out two windows, one with a large curve of stone for a ledge and one that was just all stones of a similar size.
That’s method one, back soon with more.




















If you getting the more informative articles so you visit here how do i pdf convert word online in pdf this is so impressive post and i want say thank you for this shear.