Tallarn Desert Raiders
Recommendations: 53
About the Project
Sitting in a box for many years were a hand full of Tallarn Desert Raiders minis, recently found an old flame is reignited...
Related Game: Warhammer 40,000
Related Company: Games Workshop
Related Genre: Science Fiction
This Project is Active
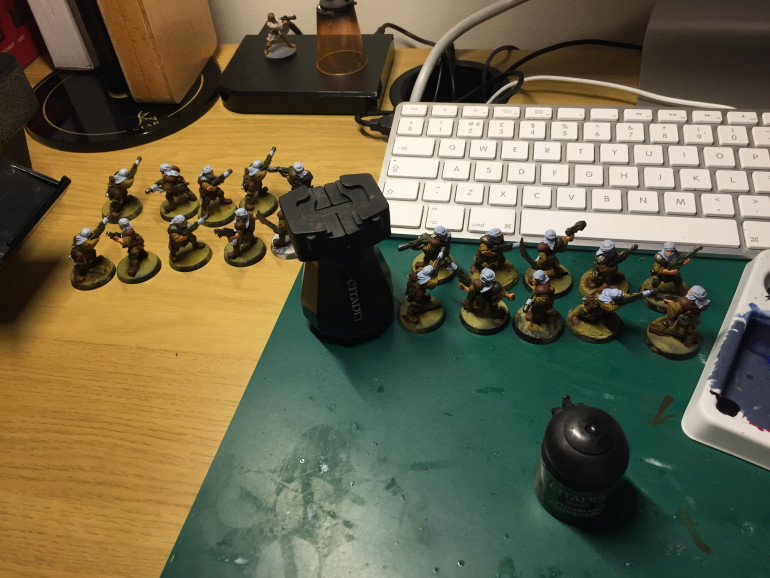
All based up and nowhere to go
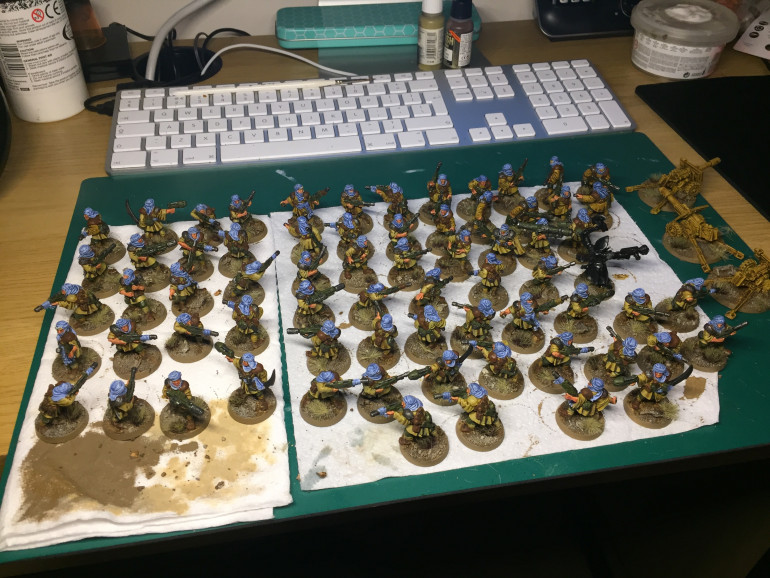
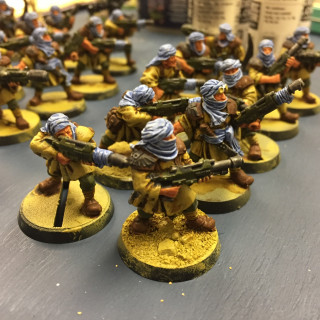
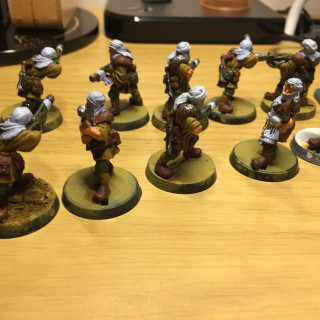
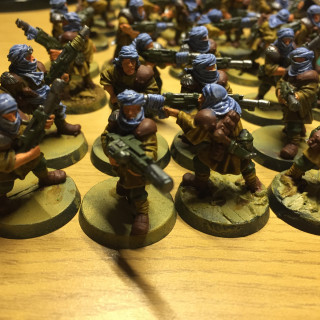
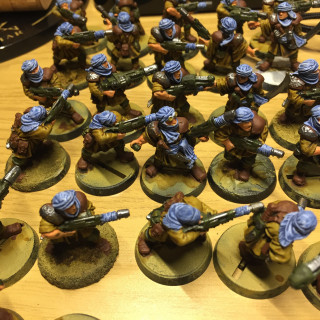
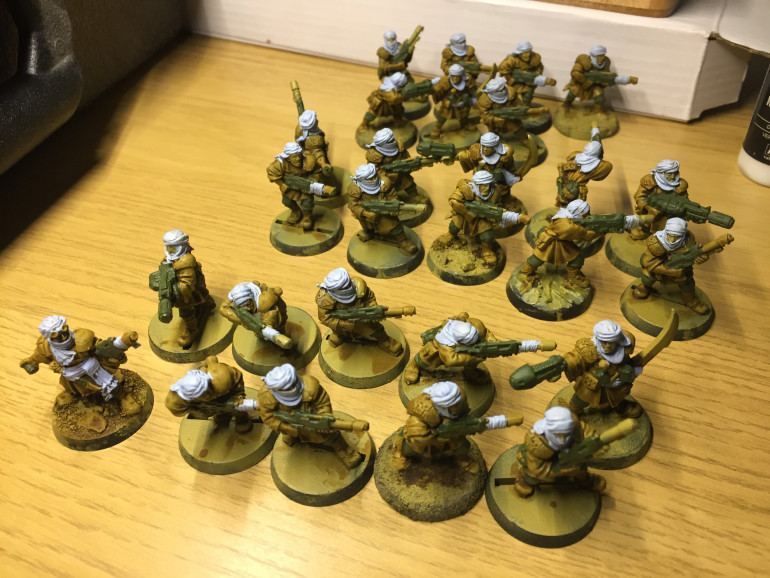
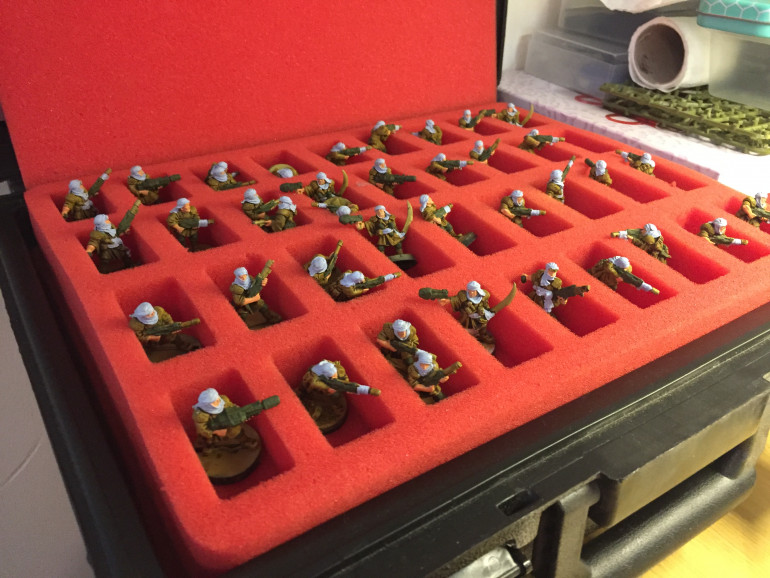
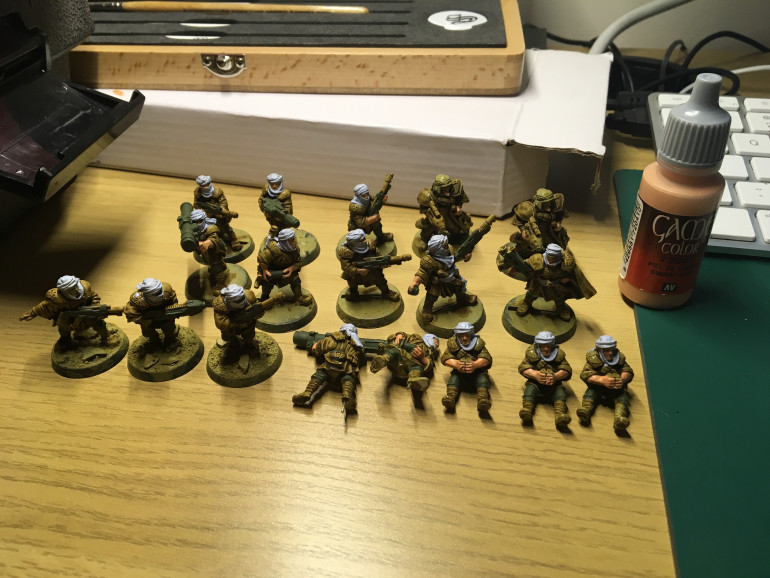
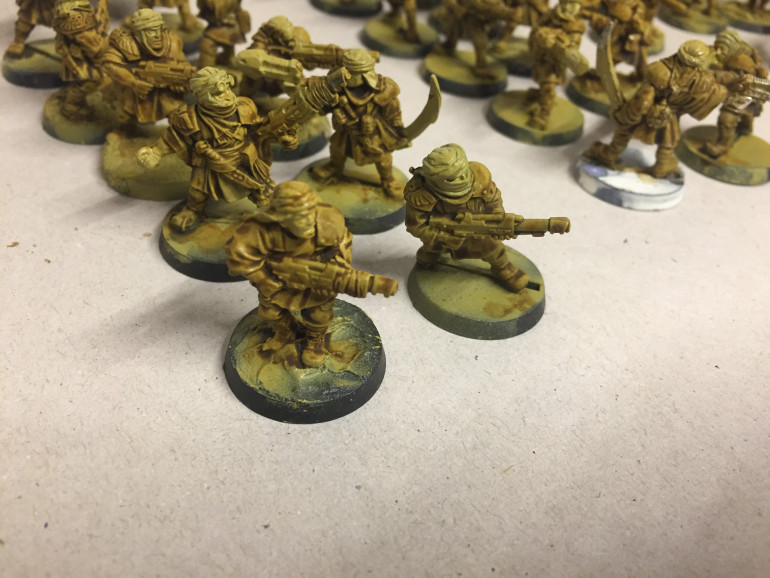
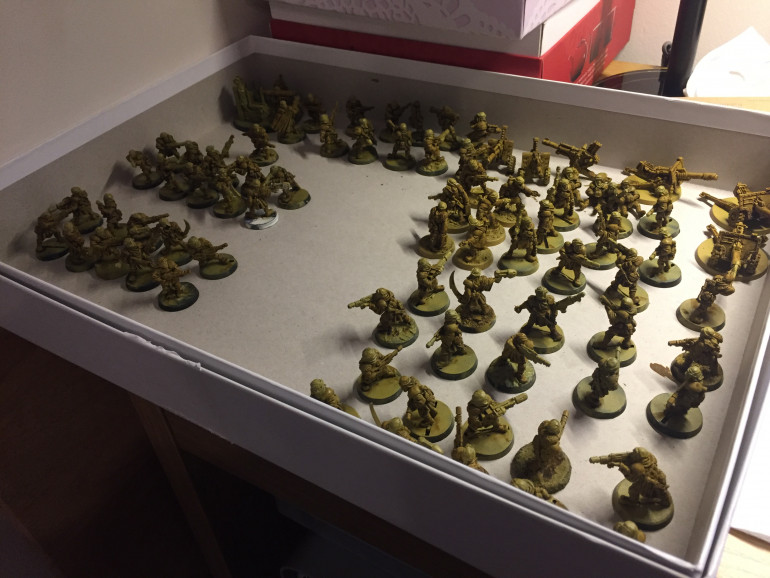
Over the course of this weekend I’ve based up all my Tallarns.
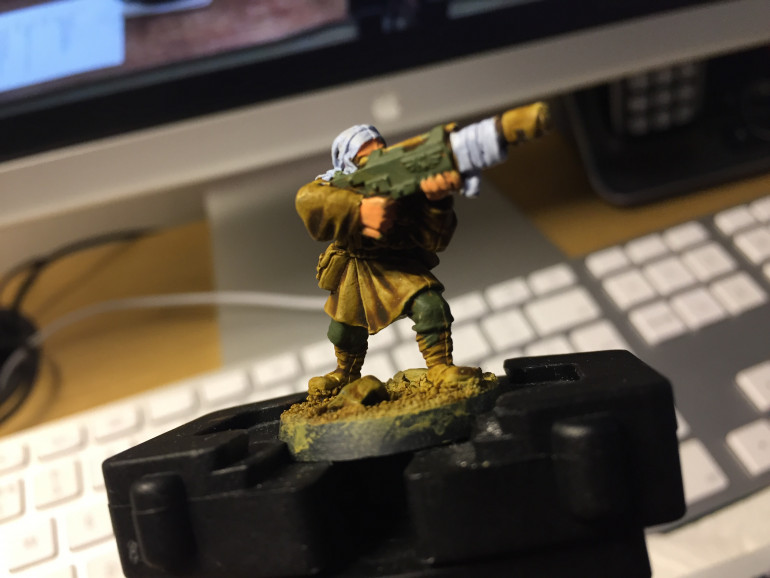
Everything still has a LOT of work left to do on it.
I need to:
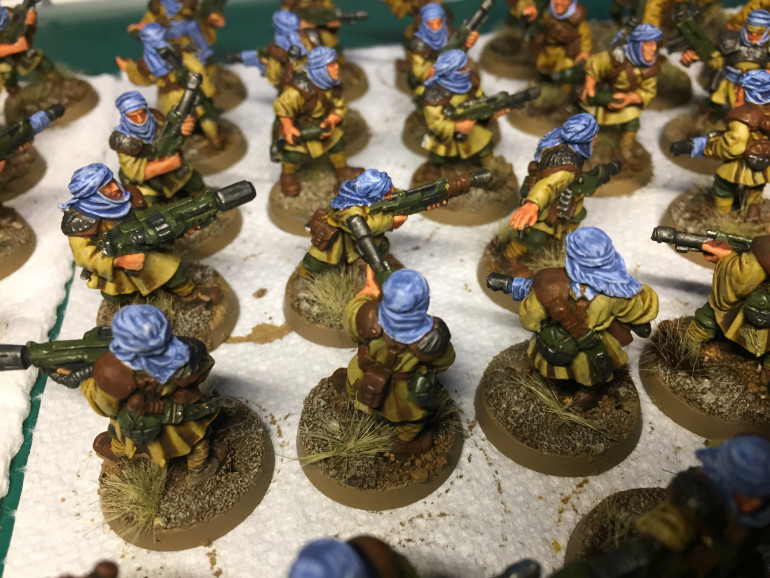
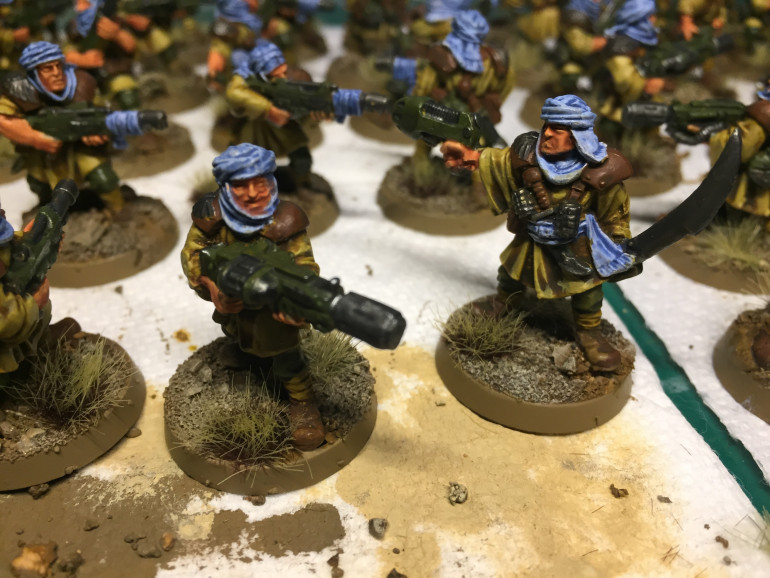
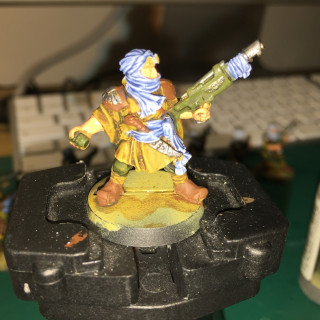
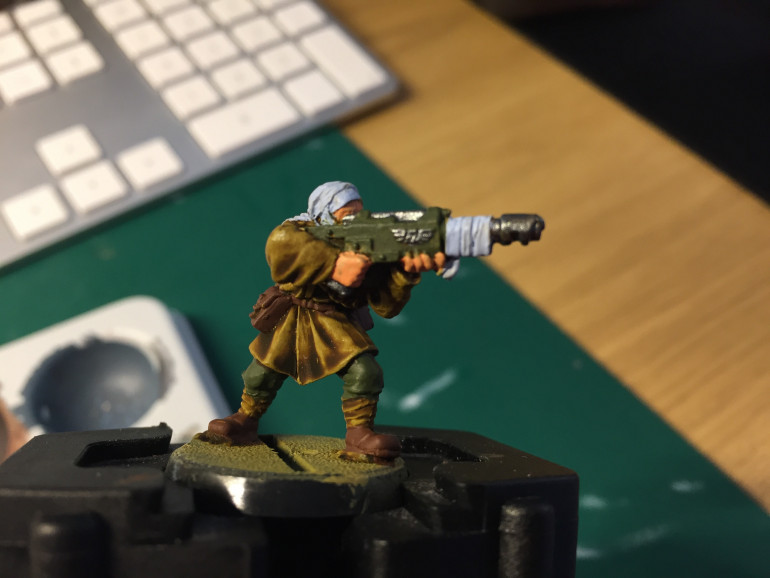
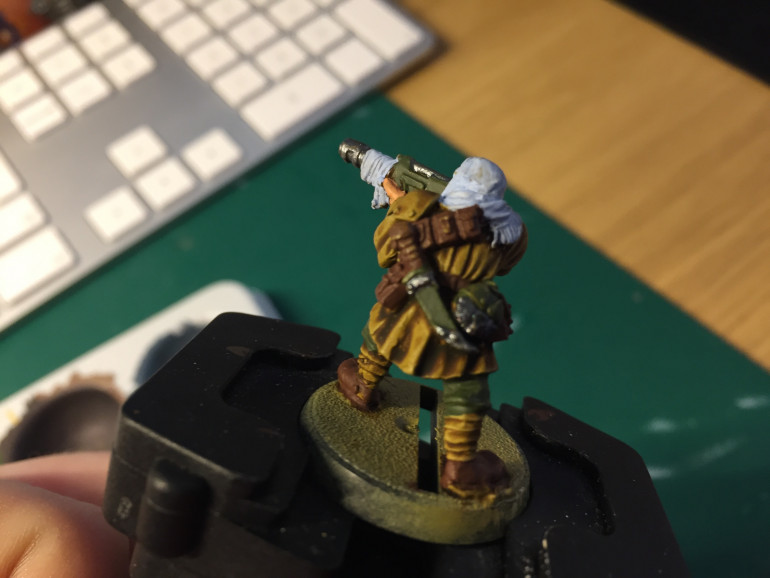
• highlight the flesh (then paint the eyes)
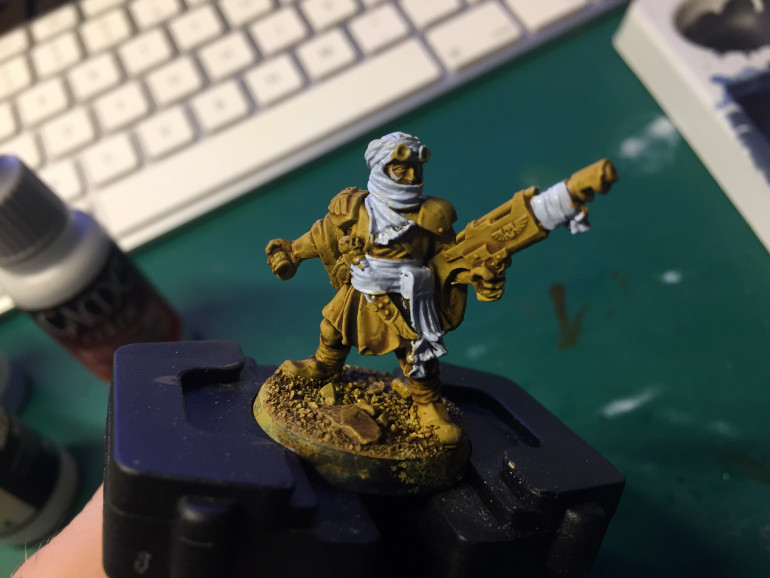
• highlight the Shemagh’s.
• final highlight on the smocks
• highlight the green areas (trousers, weapons, pouches)
• do some camo splodges (then hightlight) on the smocks
This will take ages, and these guys are nowhere near finished.
But right now, I could put these on a tabletop and they’d look alright!
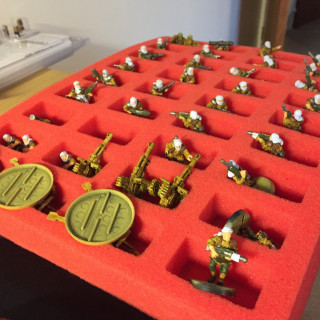
Painting 70+ guys in a single batch is always going to be a chore, but I’ve quite enjoyed these guys so far and I’m fairly happy with the way they’ve turned out.
There’s a few bits of missed flash here and there, and I’m going for speed paining rather than golden demon winning, but I’m still trying to take my time.
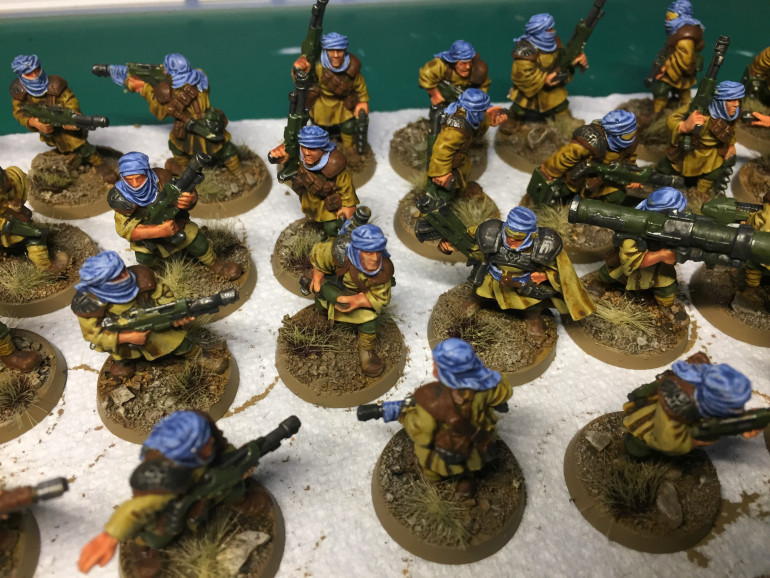
The next stage is going to be the final highlight on the smocks as I think this will be the biggest difference.
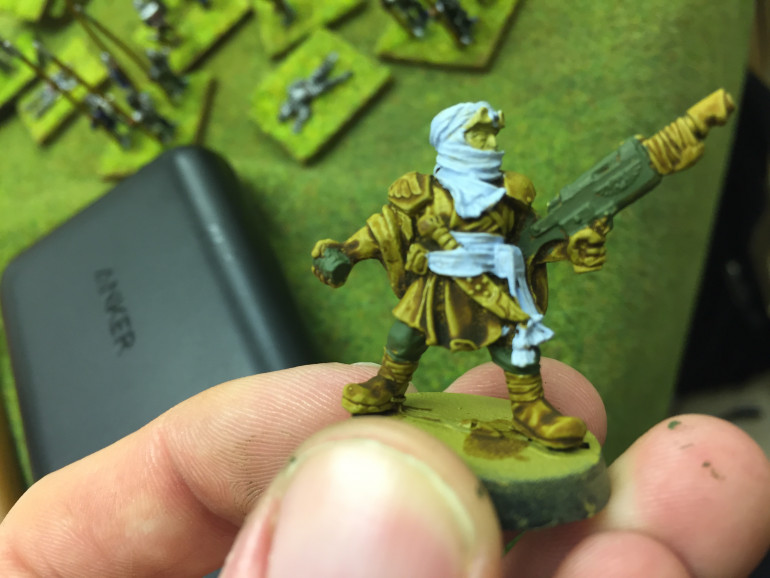
So far the smocks have been primed, washed then highlighted.
This will be my final highlight, and will be with vallejo “buff”.
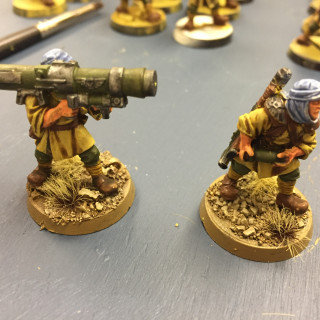
Just to reitterate what I did on the bases.
• I used my rubble mix (gw course sand, basecrafts gravel, cork chips) and PVA’d this to the base.
• painted with US Field Drab
• sepia wash
• drybrush with US field drab
• light drybrush with iraqi sand
• superglued x1 army painter wasteland tuft
• superglued x1 mininatur long tufts
Thats it for now! Another update once I’ve completed another round.
That’s it for now.
I hop
All your base are belong to us
I’ve had an enforced week+ off the tallarn project due to papa nurgle’s plague descending on my house. The boy bore the brunt of it, but since he’s ‘just a bairn’ as they say in my home land he’s been even more hard work than usual!
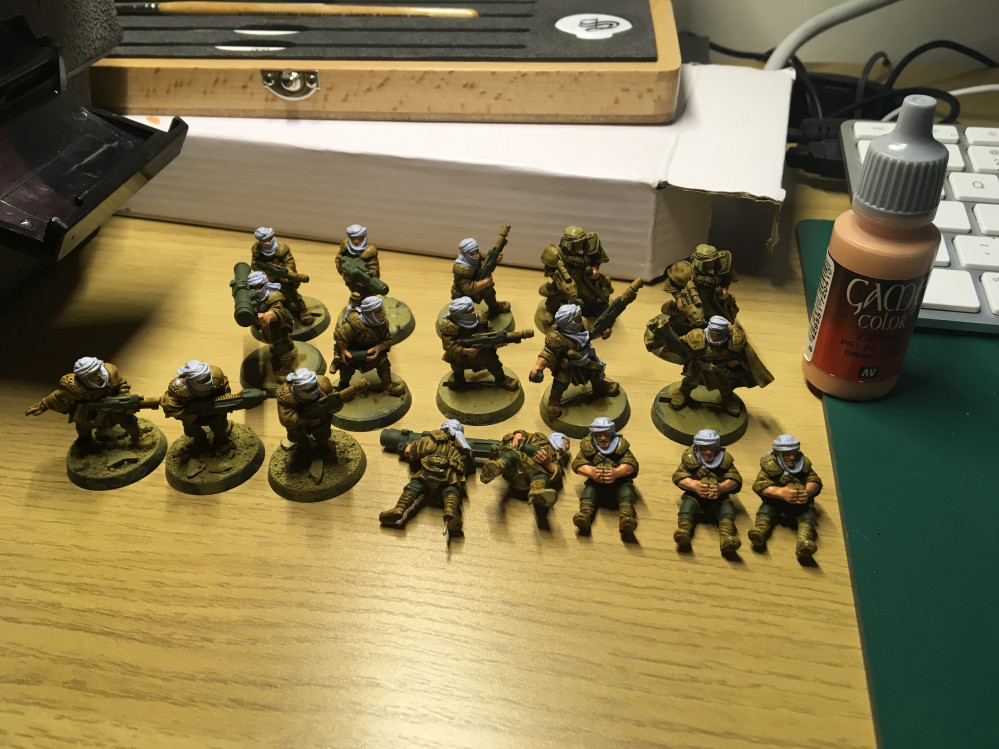
With recovery we’ll on the way ‘daddy’ managed to squeeze in some painting time! It’s now time to start on the highlights, which are slow going. I’ve started on the smocks, going back over the washes area with the base colour before I do a final highlight with a lighter colour.
In the time i’ve Spent on this colour so far, with previous colours I’d be finished everyone. But since the highlights are slower I’m actually only half way though.
Before I sicken myself though, I decided to try some basing.
Like I think I said in the last post, these guys have enough paint on them now where they could be considered done. Only the bases are bare. So i figured if I base them up, they could at least be put on a table (before the enthusiasm in my local club burns out and they move to another gaming system before I’ve even got a game!)
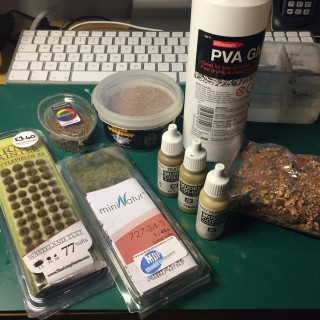
so I pull out my basing kit and have a look at what I’ve got.
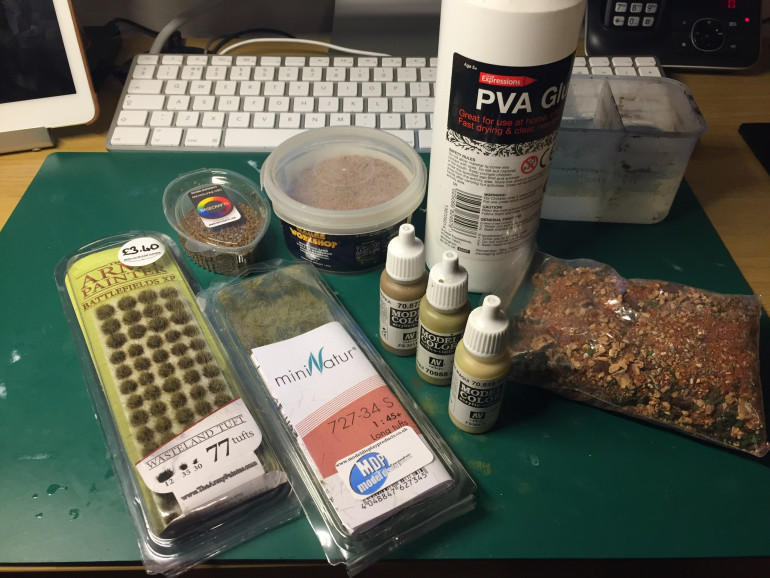
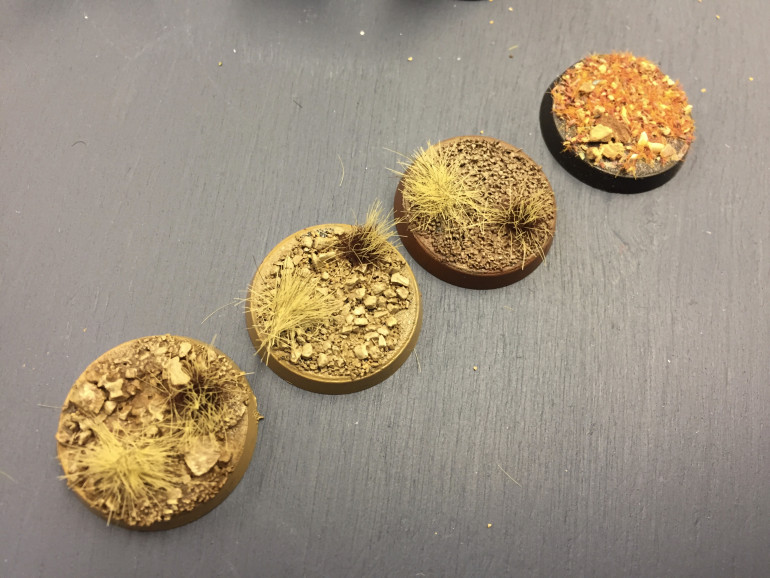
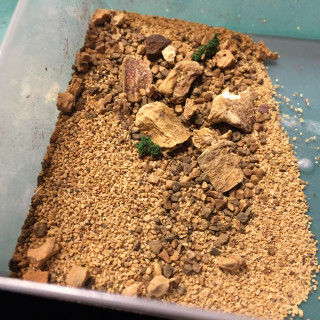
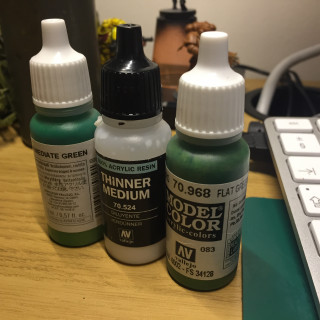
I’ve pulled this stuff out of my basing kit, having never actually done any desert bases before I needed to do some experiments to see what fits best.
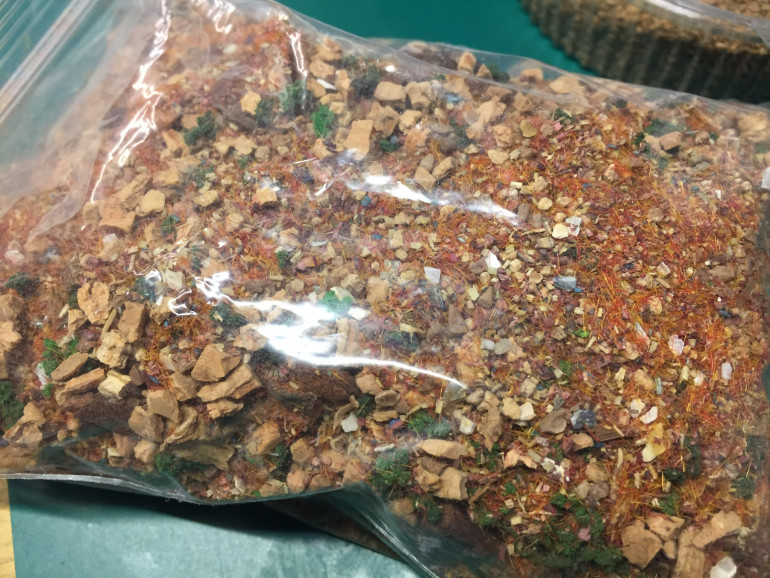
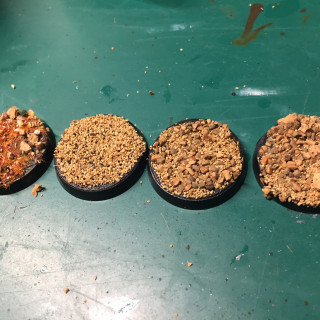
A while back I bought some cheap basing mixes from a seller on eBay, one of them looked quite deserts, so I gave it a try.
The result was quite nice, but nothing like what I actually want for my tallarn bases.
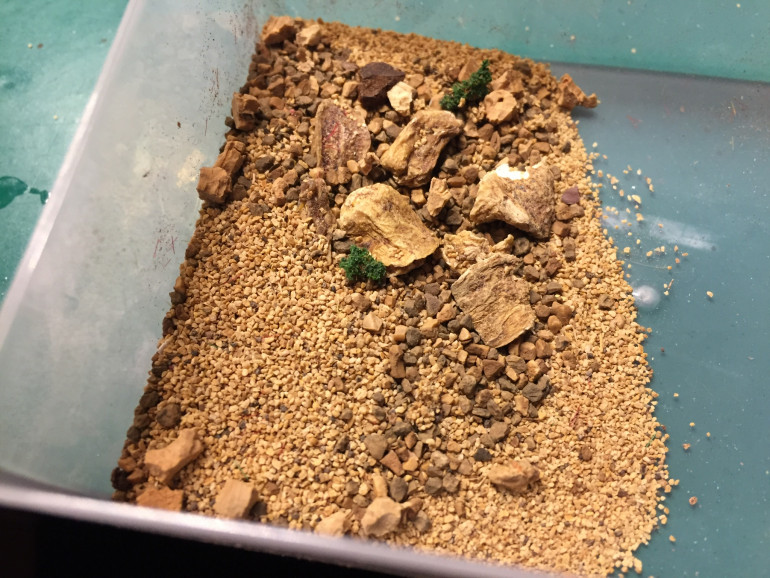
Next experiment was with with some old gw basing course sand, with varying amounts of gravel stuff added in.
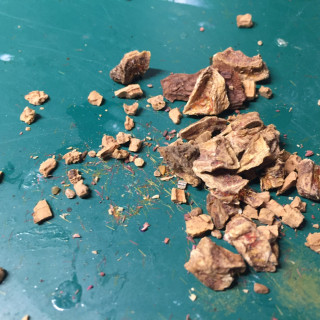
I made are my own mix using cork flecks, and some old ‘basecrafts’ course gravel.
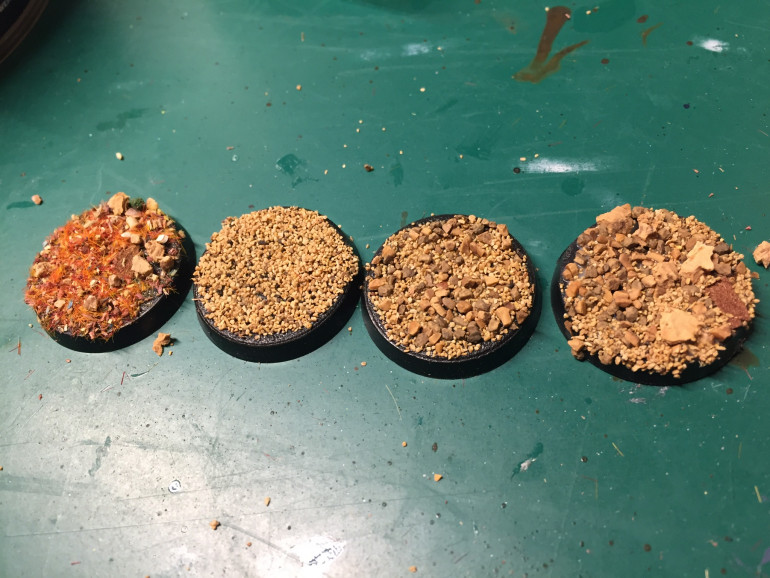
I also didn’t know what colour to paint the bases, so I tried three approaches.
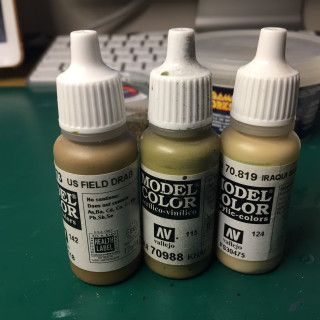
1) Vallejo flat brown base, with a us field drab then Iraqi sand dry brush.
2) us field drab base, sepia wash, Iraqi sand dry brush.
3) us field drab base, khaki then Iraqi sand dry brush.
2 & 3 came out essentially the same, but 2 has slightly more contrast. So i’ll Go with that.
I did these quickly too so the layers didn’t get much time to dry, which meant the wash wasn’t as effective on this test base. When they’re done for real the drying time won’t be a problem.
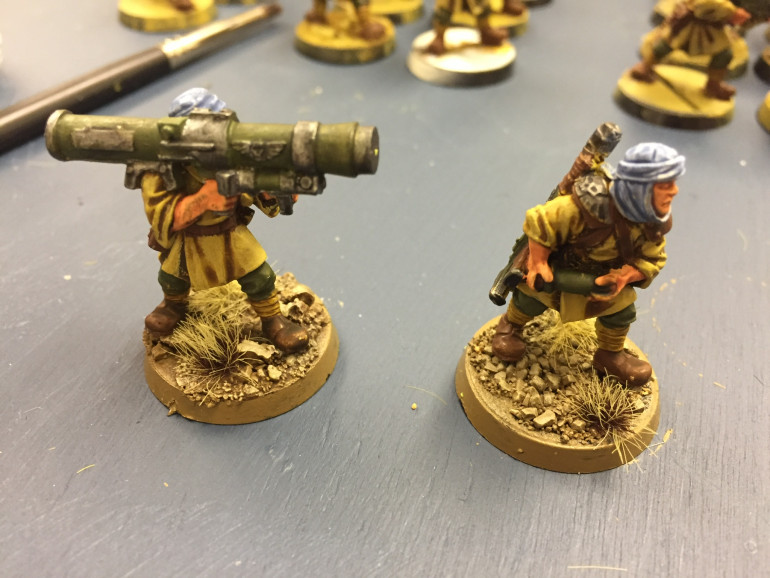
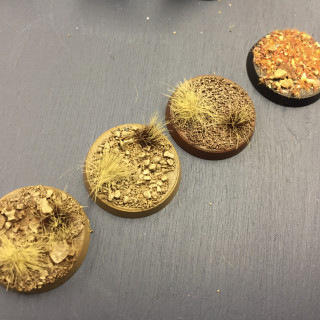
Had a couple of models that were originally mounted to a 60mm base, but I want them on proper bases so I used these test bases to base these up, I’m really pleased with the results!
Oh, nearly forgot. The final stage was to add two different tufts.
The first was from mininatur, purchased from model display products about 3 years ago at the Sheffield Wargames show.
The second was the wasteland tufts from army painter, purchased from ‘Bow And Blade Games’.
So now I’ e decided on basing, I’m going to base all these guys up while doing the highlights on the smocks, by the time we’re done it’ll start looking like a proper army!!
Awash with washes
So far over the past couple of days I’ve managed to finish the silver on the troops and then start the next phase which is the washes!
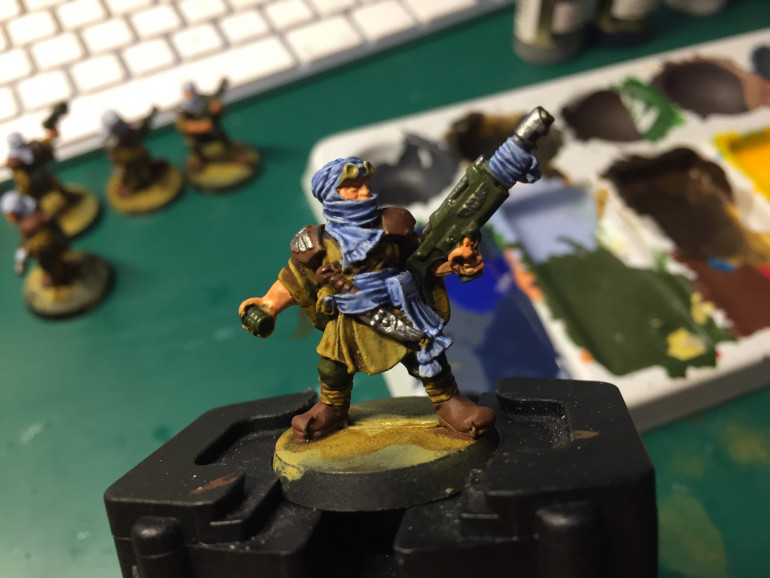
I started with the Green wash, where I used GW’s Athonian Camoshade. I did this over all the green parts of the minis, which includes a few of the pouches, the weapons and the trousers.
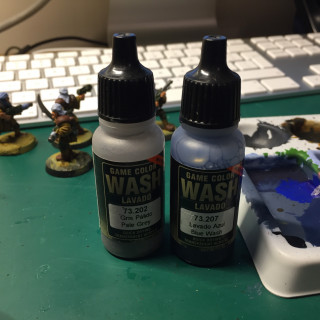
Next I’ve started with the blue/grey wash on the shemaghs. I started with just a Blue wash but it was a bit too dark, so I’ve mixed it with a grey wash to lighten it up a bit and I’m pretty happy with the result! Both of these were from the vallejo Washes range.
I’m about 60% of the way through the blue stage now, next will be the flesh wash, then the sepia wash on the brown bits.
After that its onto the highlights stage!
Starting to come together!
Things are starting to come together with this little lot!
I’ve now completed the Flat brown stage, which is all the pouches, belts, straps, boots & shoulder pads on the mini.
Now I’m working on the metal parts, which are the emblems, parts of the knife & the barrel and sights for the weapon.
This completes the base coating stage for these guys.
Now I’ve done this I can move onto the washes.
I’ve already done a heavy wash on the main part, which in hindsight, I shouldn’t have done until this point. However, I did it, so I now have to do more sepia wash in other places, which is a bit inefficient, but never mind!
The washes I’m planning are going to be:
Metallic parts – black
Green parts (weapon, trousers) – dark green wash
Face – Flesh wash
Shemagh – grey/blue wash
brown bits – sepia wash
This stage shouldn’t take too long to do as the washing can be done a bit faster than regular painting. With this stage complete the minis will really start to look like they’re nearing completion!
After the washes will come the highlights. this will be the most time consuming part, but hopefully the most rewarding.
So far I think I’ve spent about 16 hours on this project so far. I’m looking at another 32 or so more 🙂
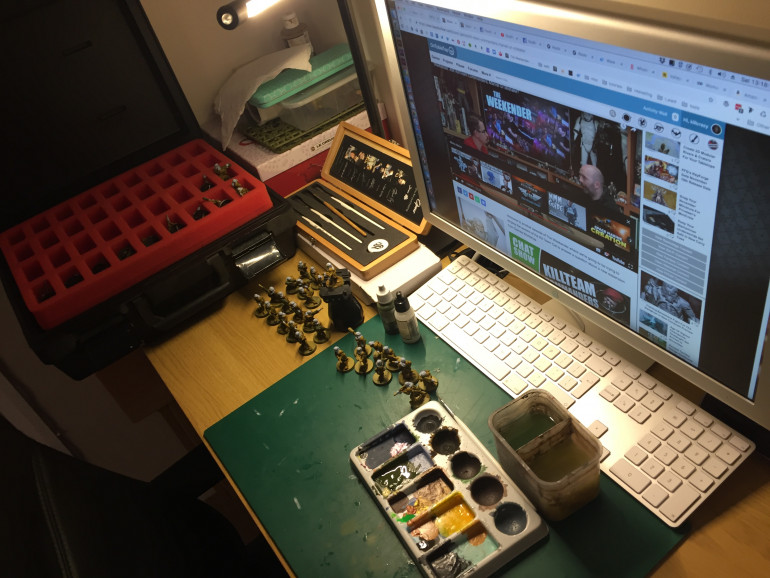
Back at the painting desk
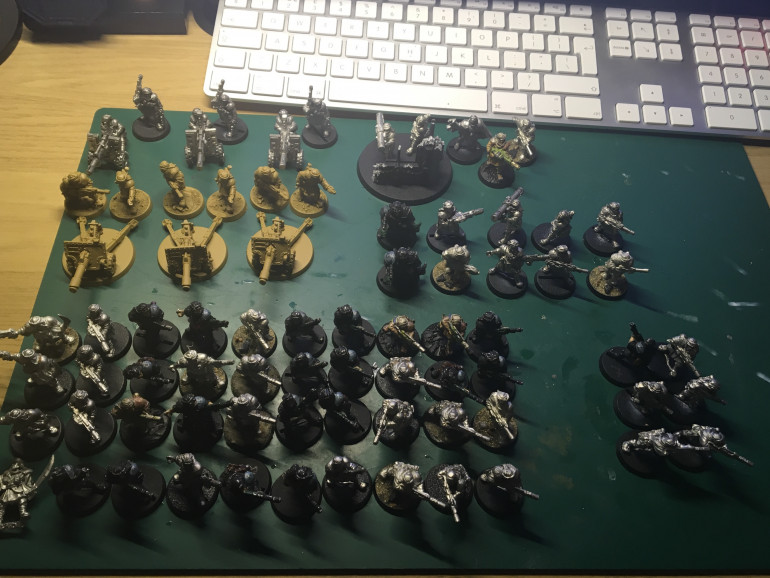
So, I’m cracking on with these tallarns, remember there’s 76 of these guys, and I’m painting them assembly line style, so painting all of one colour before moving onto the next colour.
So far my process has been:
• Undercoat with Vallejo German Dark Yellow Surface primer
• Heavy wash with Vallejo Sepia wash
• Paint the Shemaghs (model color azure, game color ghost grey & thinner mix)
• Paint the Green areas with Vallejo reflective green.
Next up is the basic flesh tone. I’m just doing them all the same (as I’m looking for speed here), so I’ve done everything with Vallejo Game color Dwarf Flesh which is one of my standard flesh tone base coats.
Next up will be the Brown stage. I’m using Vallejo Flat Brown for this,
Here I’m going to be painting the Boots, Straps, Shoulder pads & pouches.
More pictures to follow once I’ve completed this stage!
Progress so far
It feels a little like painting by numbers...
I started this project a couple of weeks ago now, and between work & family life I haven’t had much time to work on this lot, but I’m still quite pleased with the progress I’ve made thus far!
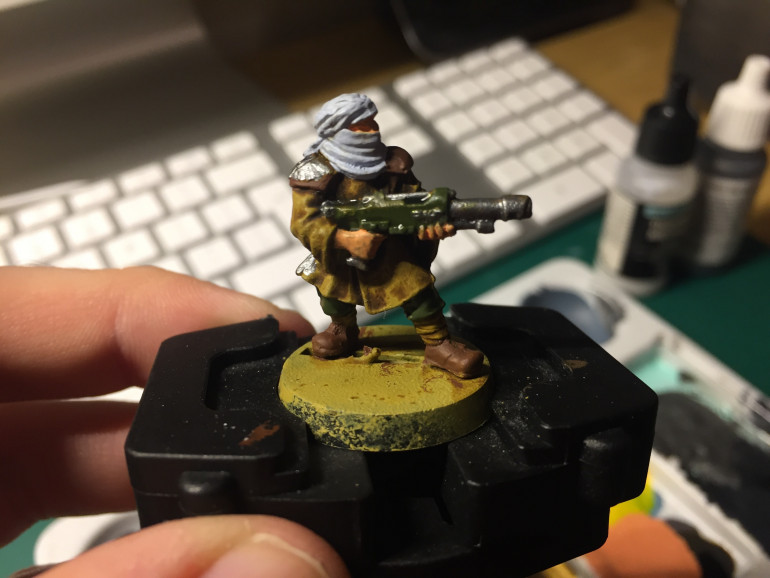
In the last post I’d just started painting the shemaghs, I got these done as you can see below.
The next stage was to do the green, Now, I set myself back a bit here because I did about 20 of them then realised that I didn’t like the colour much at all.
I started with a mix of intermediate green & flat green (vallejo) and while I like the colour it produced, I don’t like it on my tallarns!
So, back to the drawing board (or more precisely, the paint rack) where I picked up “Reflective Green” which I liked a lot more.
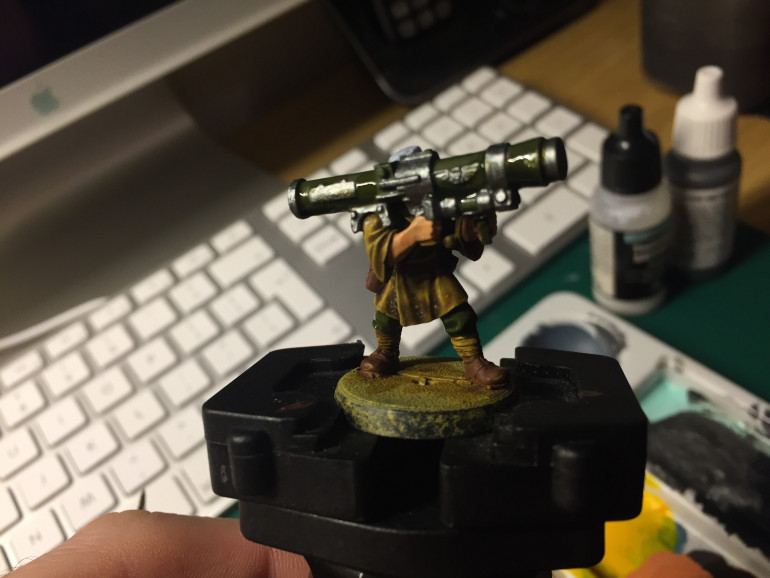
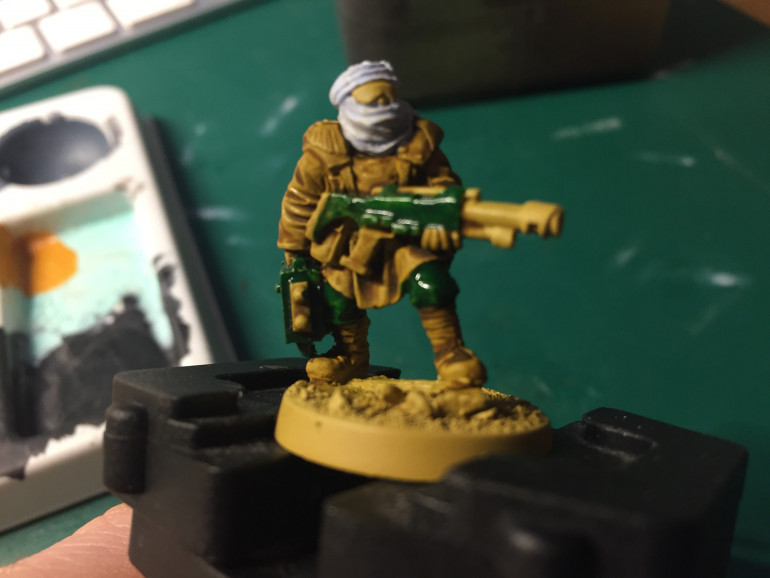
So I’ve picked a green I like, Reflective green by Vallejo, and applied it to the lasguns, as well as grenades, water bottles and part of the knife, then the trousers too.
these guys are actually starting to look like they’ve been painted!
So it begins!
It’s getting to the point now where I have enough minis to actually be an army, not just a box of figures.
It’s probably not a good army, or even a big one, but it’s an army.
So I should probably start to do something with it!
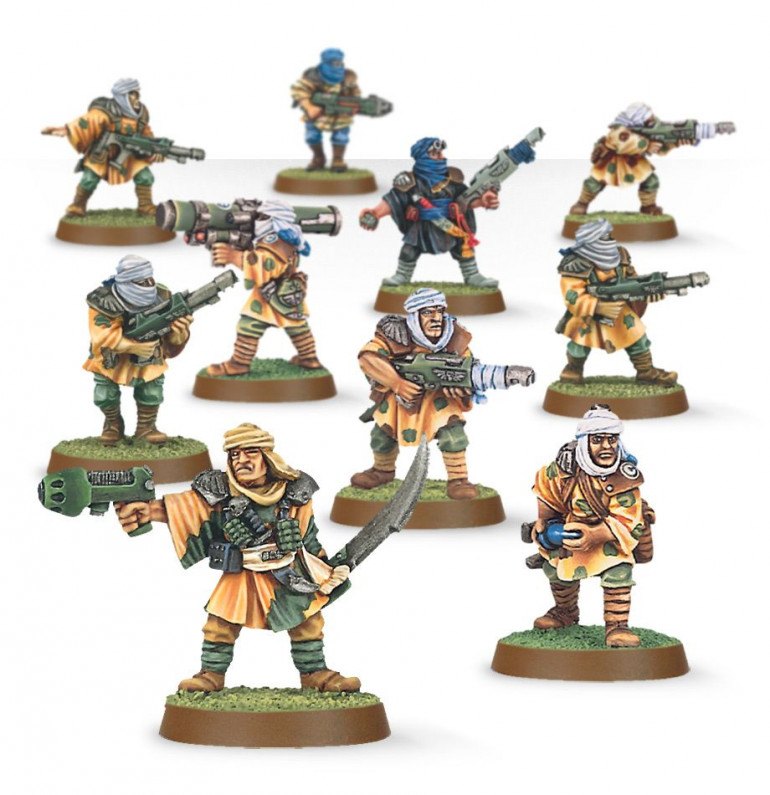
I’ve always loved the Tallarn Desert Raiders from the 2nd Edition codex and it’s this scheme I’m going to go for.
It won’t be exactly the same, but this is what I’m kinda aiming for.
Majority (if not all) of the guides for painting Tallarns also use GW paints, where the majority of mine are Vallejo, so some of the colours are just a best guess to see if they’ll match.
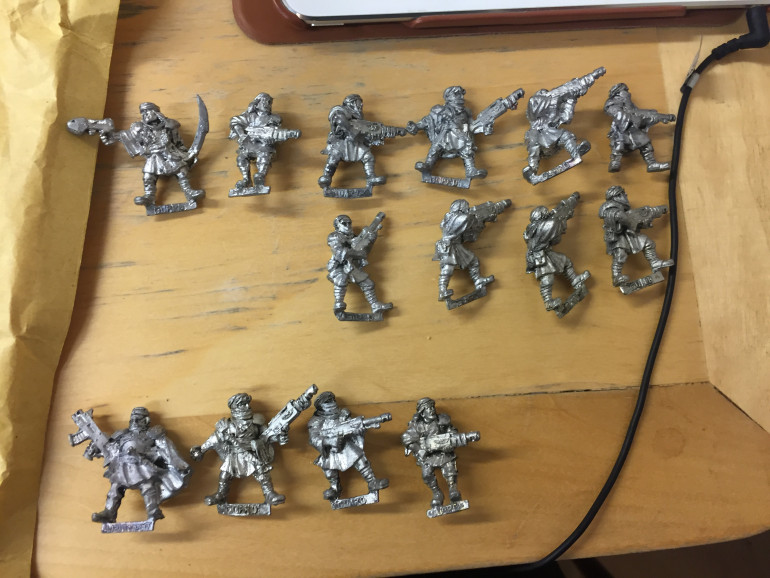
So it would appear that I have 70+ troops now!
it’s time to strip old paint, and get things back to bare metal!
A lot of the minis I’ve purchased are obviously 2nd hand so a lot of them have been pre painted, I have stripped them using wilko paint stripper,
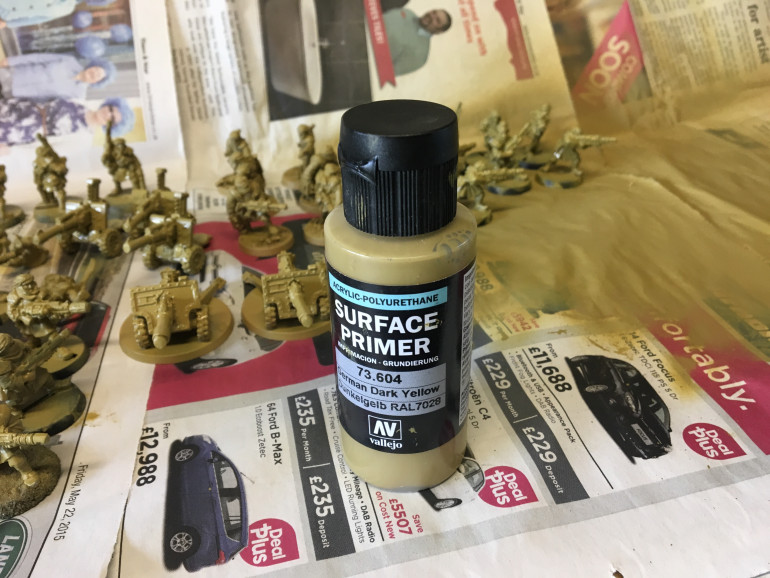
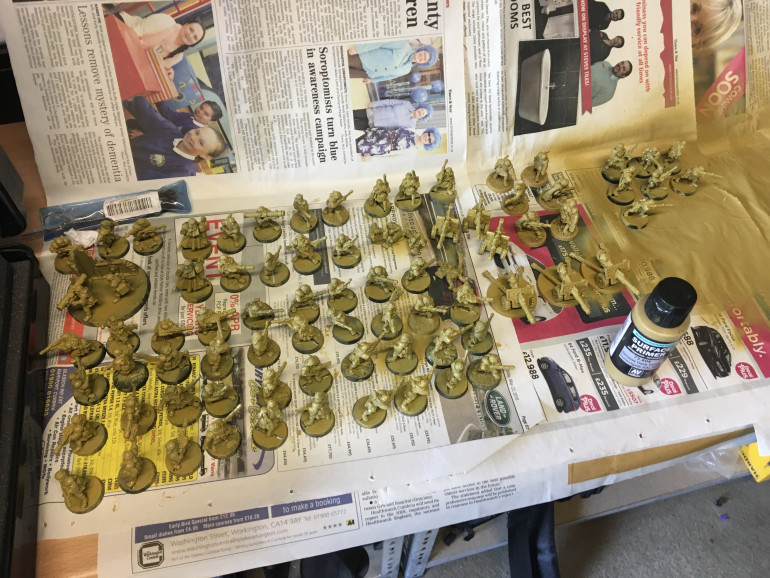
Then I’m priming the minis with my airbrush using Vallejo German Dark Yellow surface primer.
It’s a recent experience for me to use coloured primers, I’ve always been black/white or the occasional grey in the past! But these coloured primers from vallejo are fantastic!
Getting everything together a good couple of hours in the garage with the airbrush and everything is primed with the German dark Yellow.
Next step after priming is to give a heavy wash with Vallejo Sepia Shade.
I could have done this with the airbrush, but I feel a big brush does a better job for this.
So it’s back to the painting desk with a “tank” brush, and start to slap on the sepia shade nice and generously
Right,
The logical next step here is the first highlight on the smocks, sine I’ve done the basecoat then a wash… BUT. I’ve spent hours on this lot now, and doing this highlight won’t feel like (in my mind) to see a step forward.
So I decided to paint the shemaghs. Just so it feels like i’m taking a step forward.
This time I’m going to have to mix some paint,
I’ve painted these with a 1:2:1 mix of thinner, Ghost Grey & Azure all from Vallejo.
Pretty pleased with the resulting colour this has produced.
I tell you what though… painting 70 shemaghs is definitely enough for me!
A long long time ago in a Galaxy far far a-wait a minute... wrong universe.
For many years 40k was my “go to” game, with the only other games I played being GW specialist games, and warhammer fantasy.
Then, for a number of reasons, I fell out of love with the game of 40k, something which led me to sell my beloved Imperial guard army which I had amassed over many years. With the exception of a couple of bits. One of those bits was a Tallarn Desert Raiders Squad which I managed to pick up near the end of my Guard army, but since all my other troops were plastic (horrifically painted) catachans, the tallarns didn’t seem to fit with the theme of the army, so they stayed in a box even though I wanted to use them!
Fast forward a number of years and I find the box with the tallarns in and it reignites an old flame. My love for the Guard, my love for 40k, and my love for these epic middlehammer minis!!
Now I find myself looking on ebay and trading groups to find these chaps for reasonable prices, and over the course of a few months I pick up the odd few, they get added to the box and a small force begins to grow!


