


Delicious Desert table


Step 3. Just deserts
Hello again again.
Now we have all required tools and materials we can start creating.
Firstly I take the three sheets I’ll be using for the playing surface and tape the edges with Gaffer tape.
I did this to help protect the table from damage. Be sure to use a tape with strong adhesion.
Now remember when taping you want it to be as flat as possible, so for long edges tape them in small increments with smaller pieces of tape to have better control.
If you have any flaps of tape or whatnot at the end of it just use Stanley to trim them off. Be careful not to trim your fingers, you’ll need them for this next step.
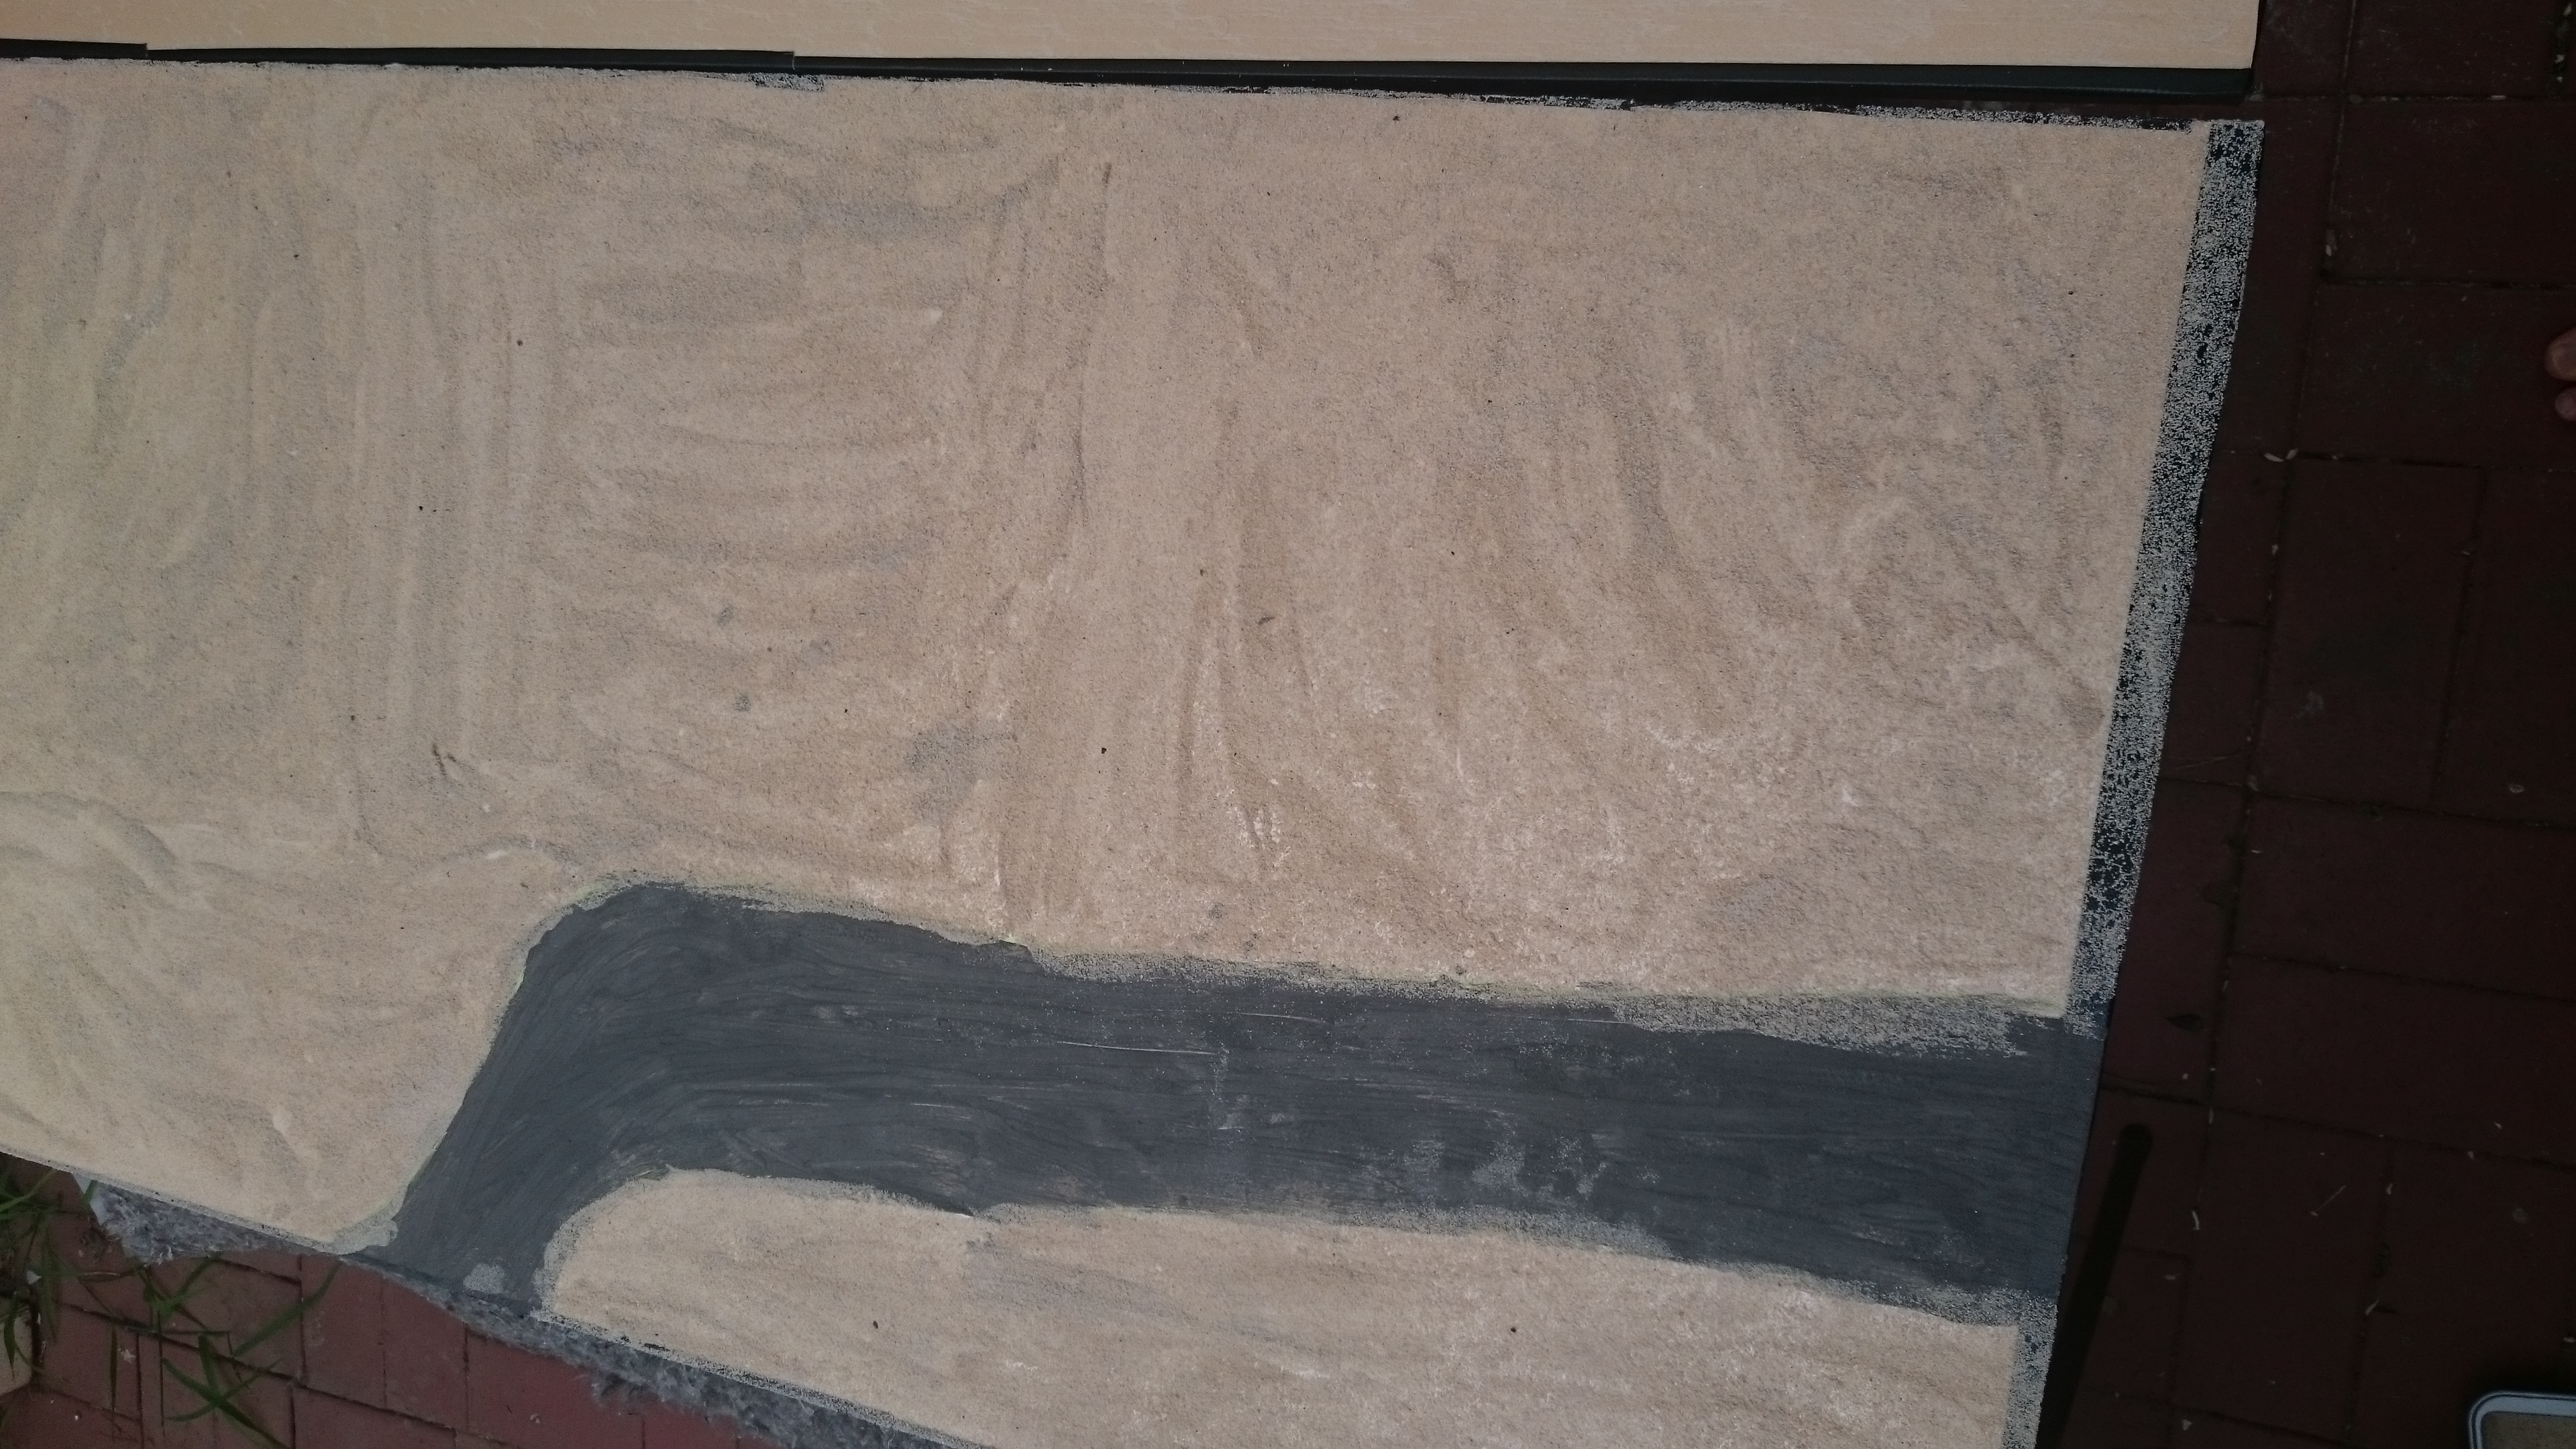
Now on the boards i marked out a rough road/path ensuring they meet up evenly when the two boards are next to each other. To assist I found some old textured house paint and painted the road. This was just to aid when texturing the board. The road will end up being a sand/dirt road, to accomodate different settings and so will not be this dark grey.
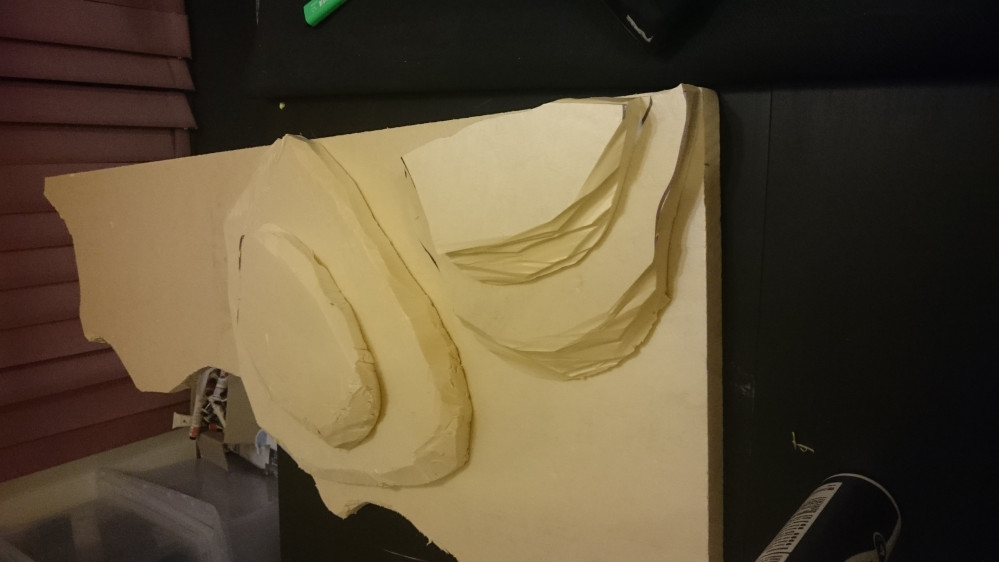
Next, I take the fourth sheet and Mark out some shapes for Hills.
For multi level Hills I make smaller shapes to fit on top. (make sure to leave enough space for minis to fit when creating multi level Hills. )
Then simply cut them out. I started with a hot wire cutter, but it crapped itself half way through, so once again Stanley is the tool for the job.
Once they are cut out I glue the tops onto the base of the hill using PVA.

Once the glue has set we can add some texture the the edges of the hills. Especially those that were cut using the wire cutter as they have a very smooth texture at this point.
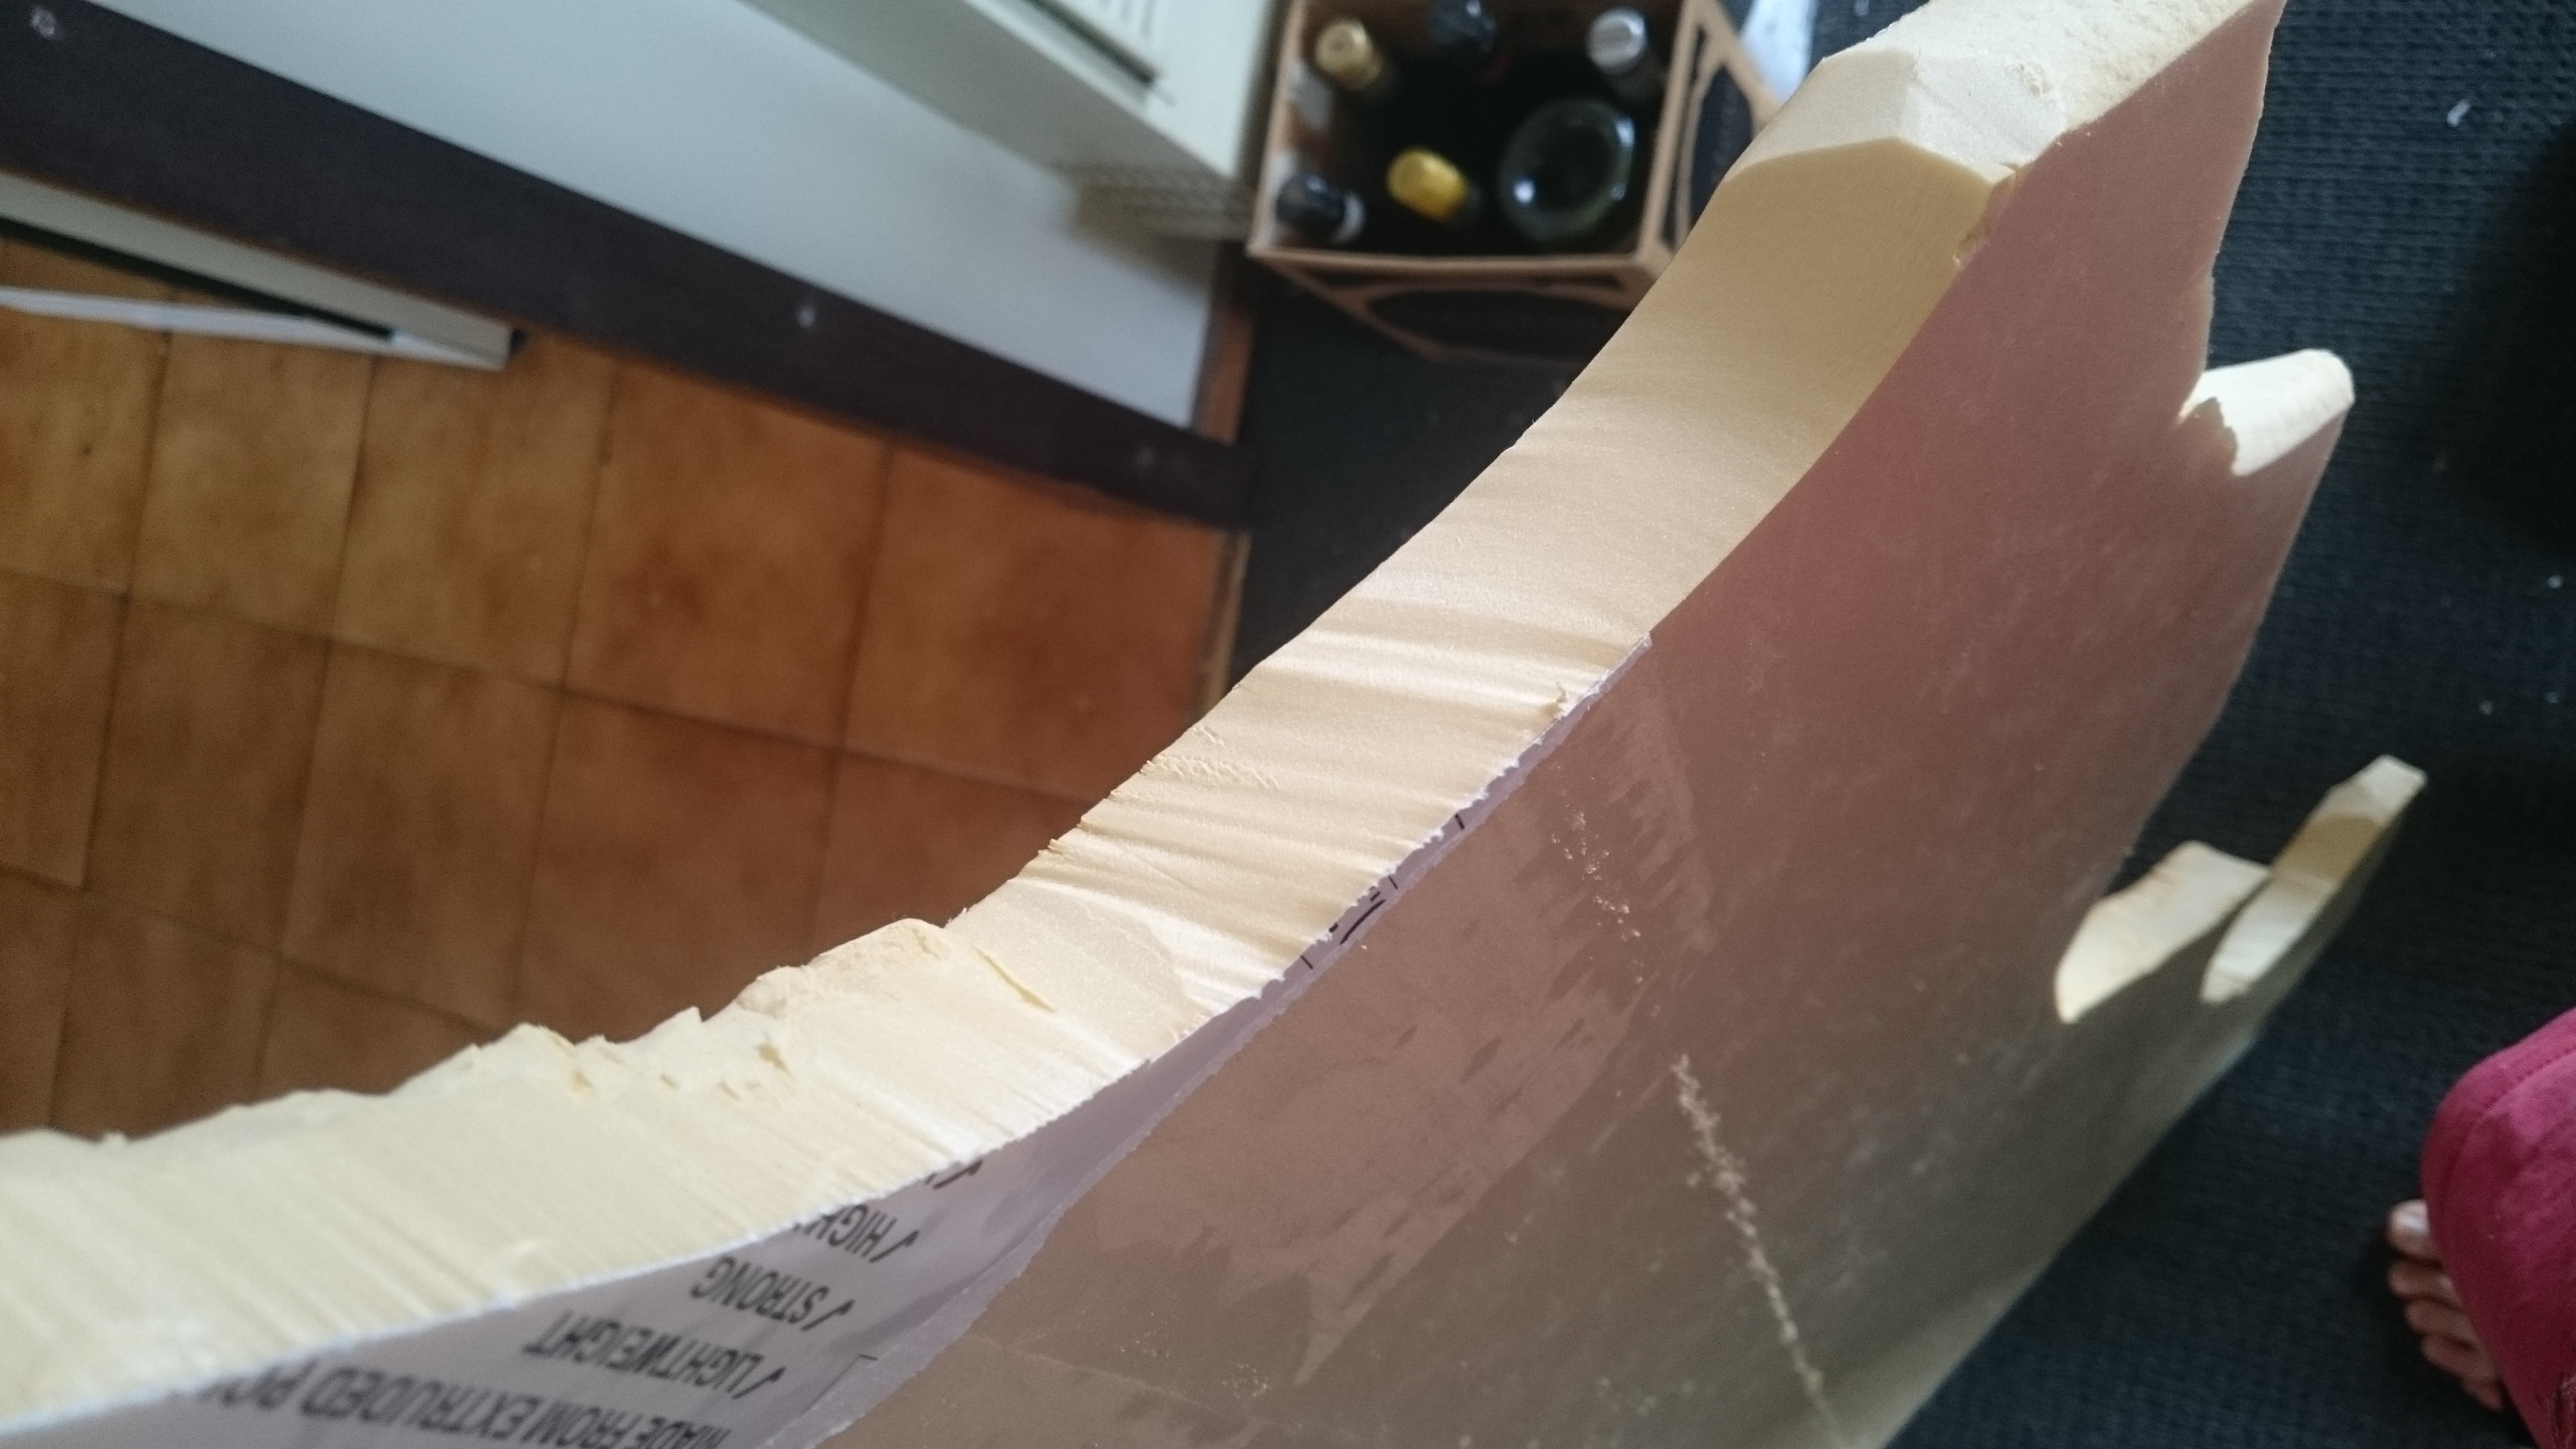
Texturing involves using the metal ruler and running it over the outside edges.
Grab the ruler like a sword, and run it along the edges. If you want deeper texture/gouges apply more pressure.
Think of the motion as shaving a hairy coconut.
Don’t use Stanley for this, as its very easy to chop your cheesle holders.

Keep shaving with the ruler until you are happy with the look.
Then to hide the gaps between top and bottom crack out the Spack filler (stuff you use to fill holes in walls that you made with your elbows….. ?
You can even use it in thin layers on the hill surfaces to create some pre-texture texture.
Now have that coffee and we’ll be back for the messy bit!


Leave a Reply