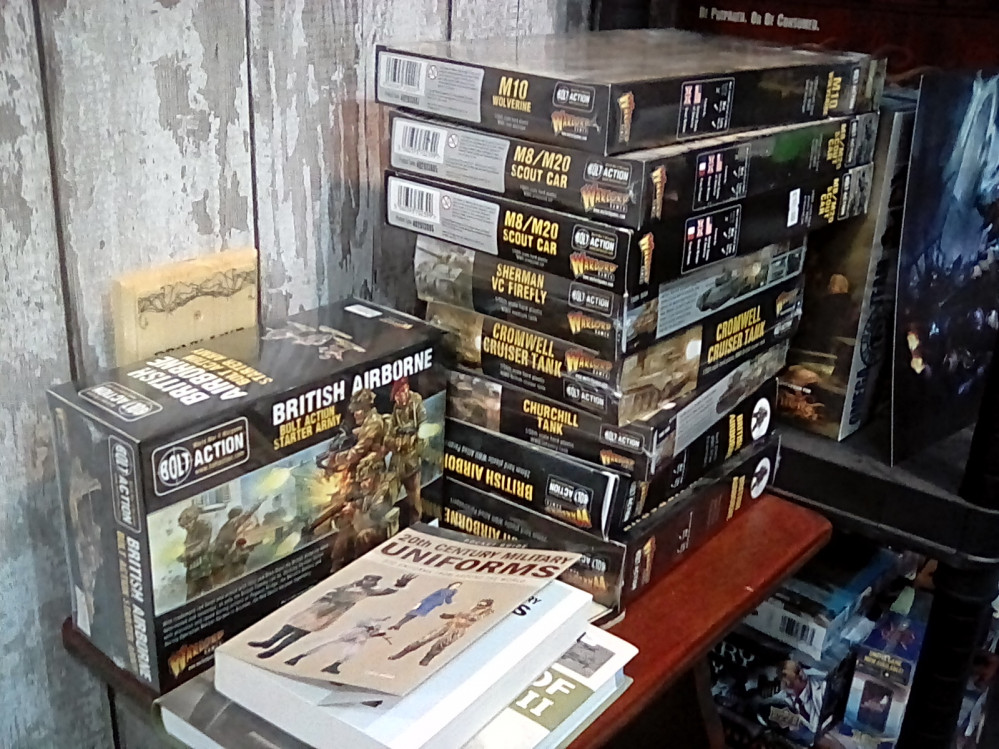
British Bolt Action Army
Sandbags
This is something of a leap into the unknown for me, as I’ve never used this technique before… Let’s hope it doesn’t turn into a “what not to do guide”.
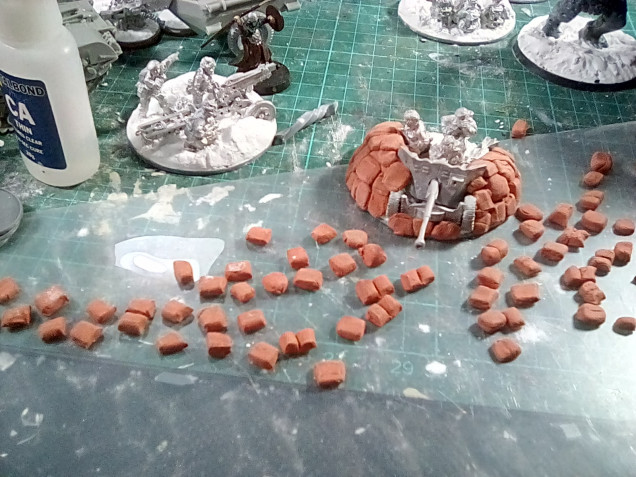
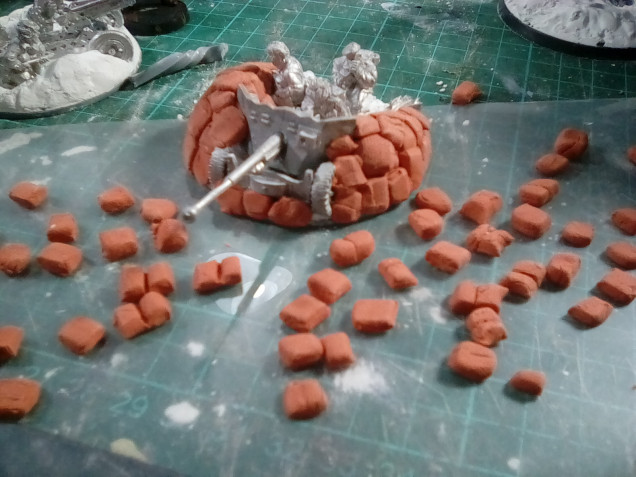
After talking to friends, I decided to use air drying clay for the sandbags around my boot action gun emplacements. There’s not much to show about making the individual sandbags, just cut off some clay and roll a sausage of it to about the width you want, then flatten it – I found using a wood file have a nice texture a bit like the Hessian real sandbags would be made of. Then cut off oblongs about the right size, squeeze them to shape with your fingers, and if you want score seams in them with a sharp knife. All fidley stuff it’s hard to show in a photo…. Plus I didn’t want to get clay all over my tablet 🙂
Looking at reference photos, and thinking about what I would want it someone was shooting at me, I decided to build up the sandbags quite high, but hopefully not so high I can’t paint the soldiers. But I tend to think of I can’t get a paint brush into an area, it probably should be left as dark shadow anyway. I like to paint on a highten ed reality style with lots of deep dark shadows contrasting with bright colours – maybe not entirely historically accurate but striking on the tabletop.
I abandoned my original idea of letting the sandbags harden overnight before fixing them in place, as I realised I wanted to be able to mould their shapes as if the sand was settling in the bags. I also found that the base layer did not stick particularly well to the base, so resorted to using superglue to stick the bottom layer of sandbags down. I’ve tried moulding more clay sandbags on top of these without glue – I’ll have to leave things now to harden and see how well they have bonded together by morning. Hopefully the clay won’t crack while drying!
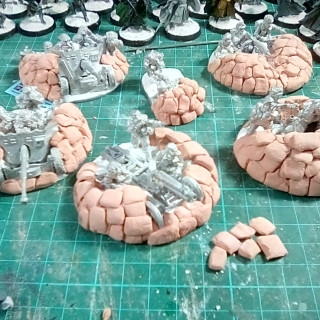
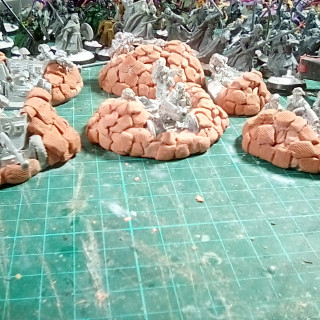
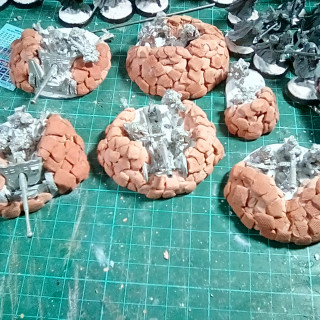
….it’s now actually more than a week later, due to illness and having to fix bits of my house. In a way that worked out well for the project, as after one day the sandbags seemed to be fine, but now problems have appeared that might have ruined any detailed painting. As the clay has slowly hardened it must have shrunk slightly, and the top layers of sandbags have come loose. The lower layers glued to the filler with superglue are fine, but the ones on top of this and just pushed together “wet clay to wet clay” just pop off if touched. I just want a few more sand bags, flopping over the edges to make the piles seem less regular, so I’ll make a few more more detailed clay sandbags and fix those in place with glue.
While watching this week’s weekends (so around a hour and a half) I suoe r glued on another layer of clay sandbags, trying to get the m to fool at the edges . I am imagine these being loose sandbags being quickly thrown over mounds of earth, so not as regular as sandbags would be off the front line. I am not sure if you can see this in the 2 pics above, but the new sandbags are a darker colour than kas t weeks ones that are now hard. In retrospect, it is better to make the bags individually and blue them in place while they are still soft and mouldable so you can shape the bags easily with your fingers.




Leave a Reply