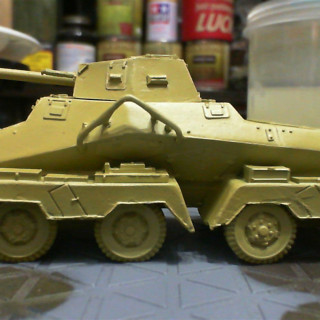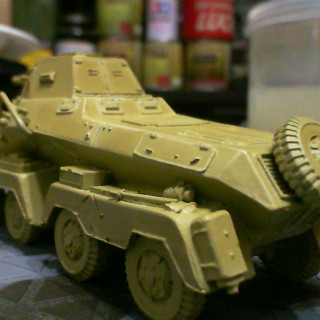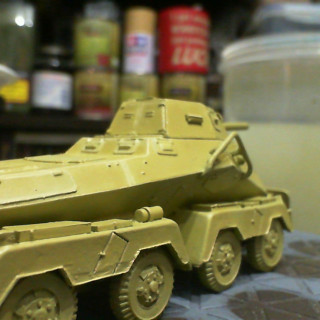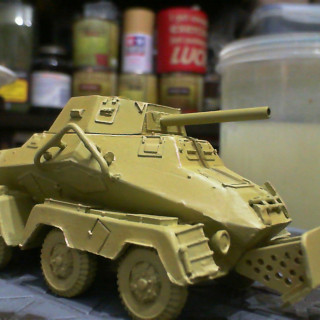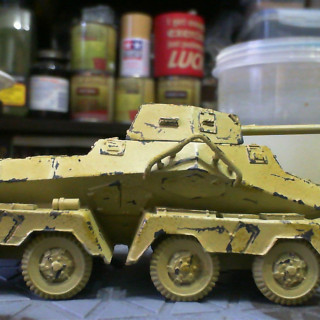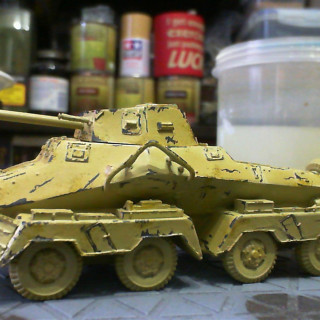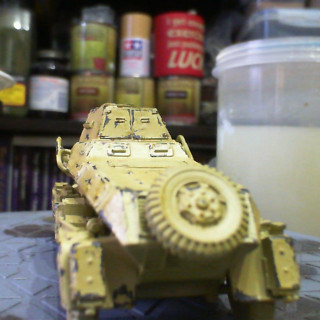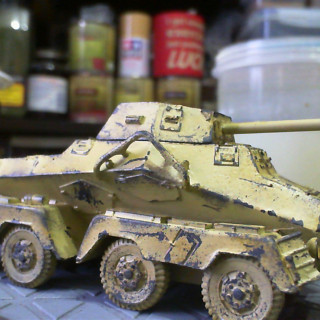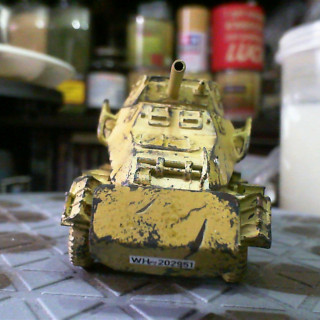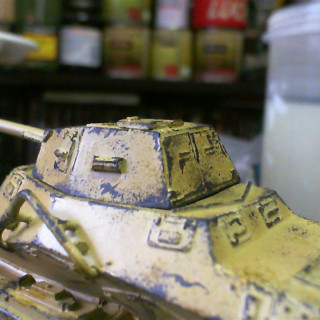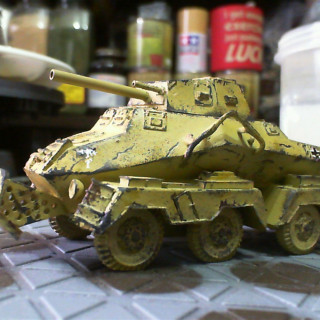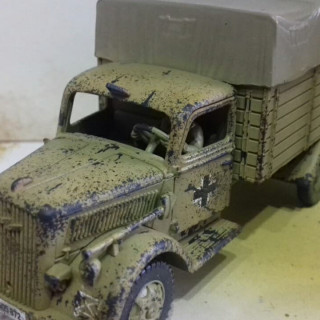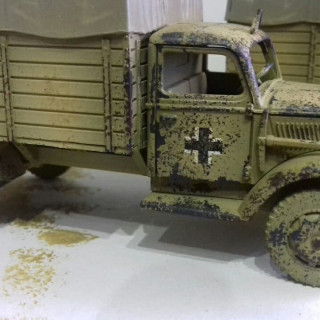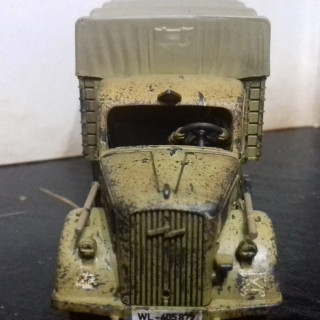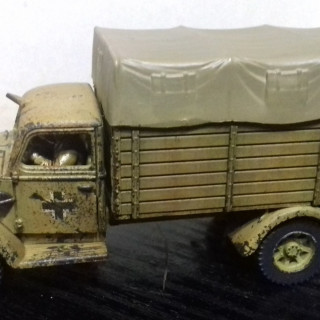
Avernos, the Desert Squirrel.
Recommendations: 594
About the Project
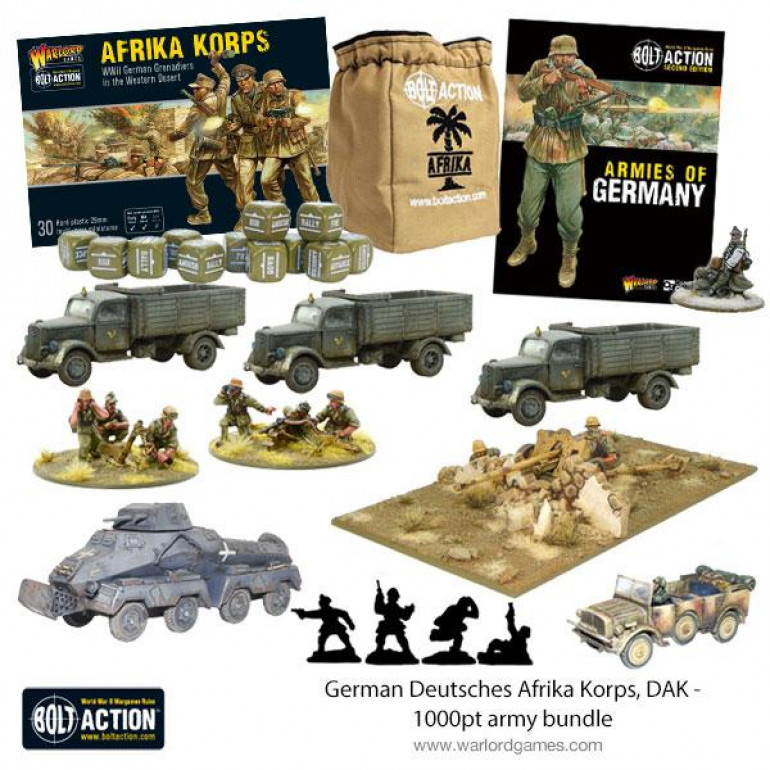
Following a weekend of building, helping, quavers and teaching people how to play Bolt Action, I figured that it was time to finish my own build and get them painted. The nice thing is that we all got the 1000pt army from Warlord Games, so if you decide to take the plunge this can be used as a basis for your own build or to help you steer clear of any pitfalls in the build.
Related Game: Bolt Action
Related Company: Warlord Games
Related Genre: Historical
Related Contest: Bolt Action: Western Desert Boot Camp
This Project is Active
Totally 8-Rad, dude!
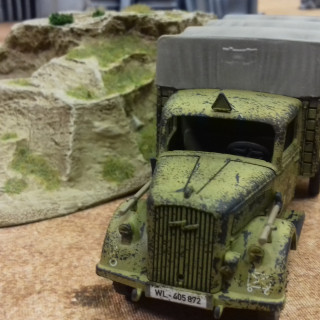
so I’ve started with a base coat of green ochre and highlighted with dark sand before doing an edge highlight on the panels with pure dark sand
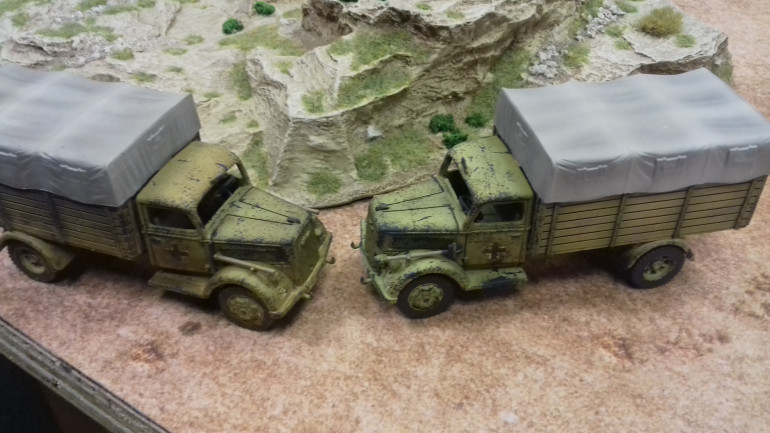
Starting the weathering, before anything else I take the base colour, green ochre in this case and add some sponge chipping just to give depth to the weathering. Then using a thinned down dark grey, I’ve used German Grey from Vallejo to add chips where I imagine they would occur with a brush. Letting it wiggle and dance to get random patterns, but take your time and work in small areas otherwise it looks too unrealistic.
Once that is dry I go back to sponge chipping with the dark grey, focusing on areas that would see a lot of wear, like hatches or places that would be used to access them like rails. Then the whole thing gets a satin varnish to seal and protect it and get ready for the next stage pin washes and tints. Which will be coming next
canvas and dust
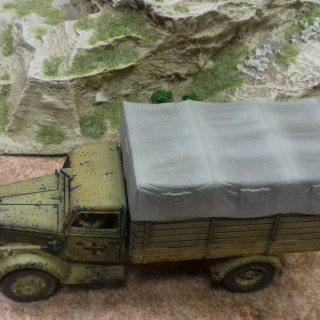
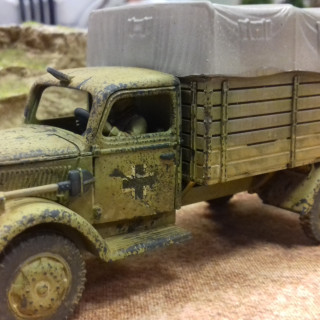
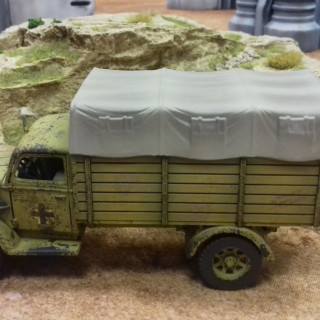
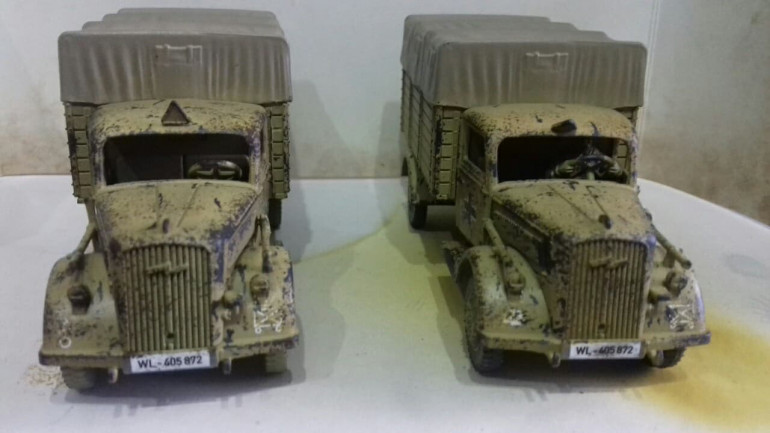
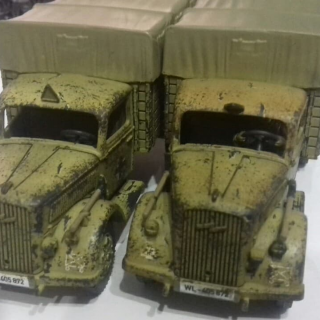
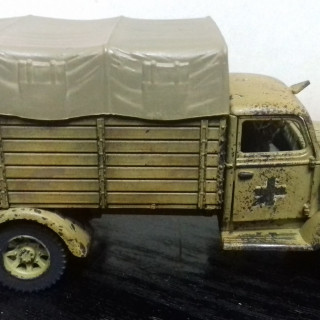
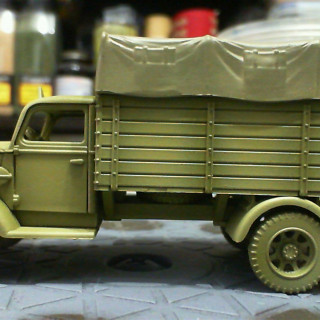
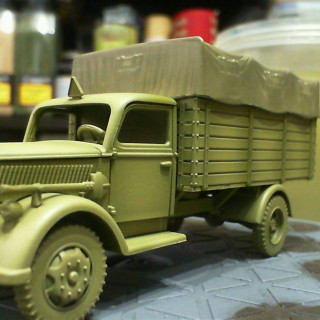
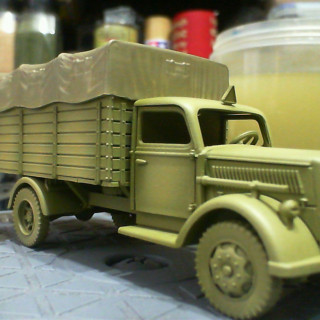
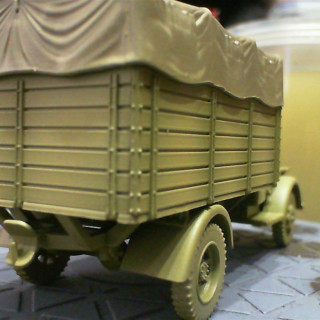
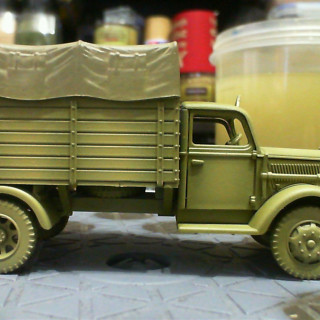
So I now have one truck with a tint and weathering pigments on it and one without. The canvas has been airbrushed on, in places it’s spotty bit I’m slowly getting the hang of this technological wizardry. A pin wash to pick out the flaps awaits then I’m calling them done.
Chip Vans
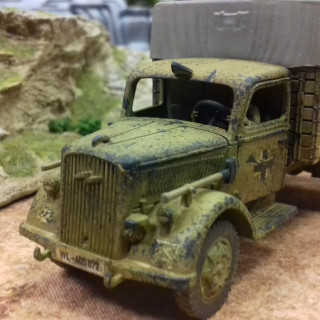
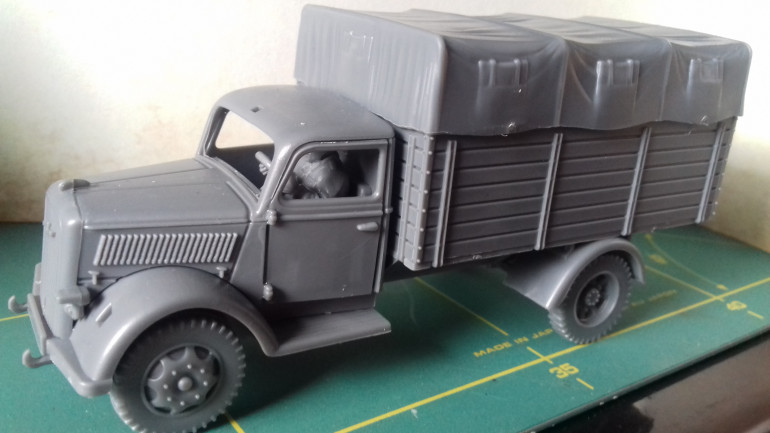
so I’ve been working on my two Opel Blitz to practice techniques I’ll be using on the 8-Rad, and I’m fairly happy with the results.
I’ll do a full tutorial on colours and the like when I am working on the car but for now here are some wip photos of the lorries pretty much done. I’ve the canvas tarp to paint and then pigments for sand and dust to add.
I've been dying for a truck all week!
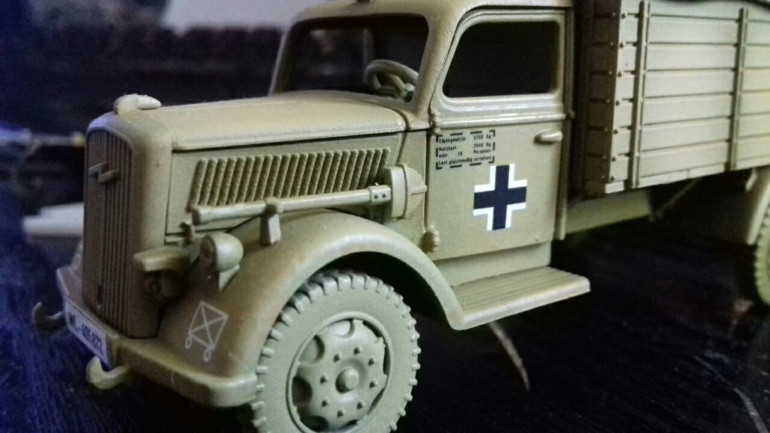
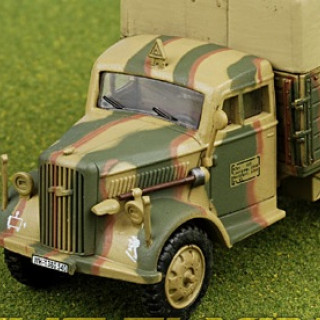
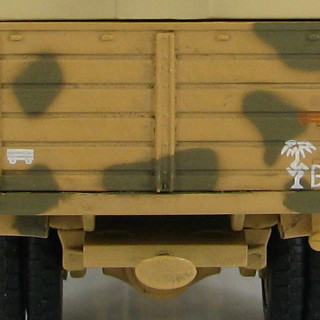
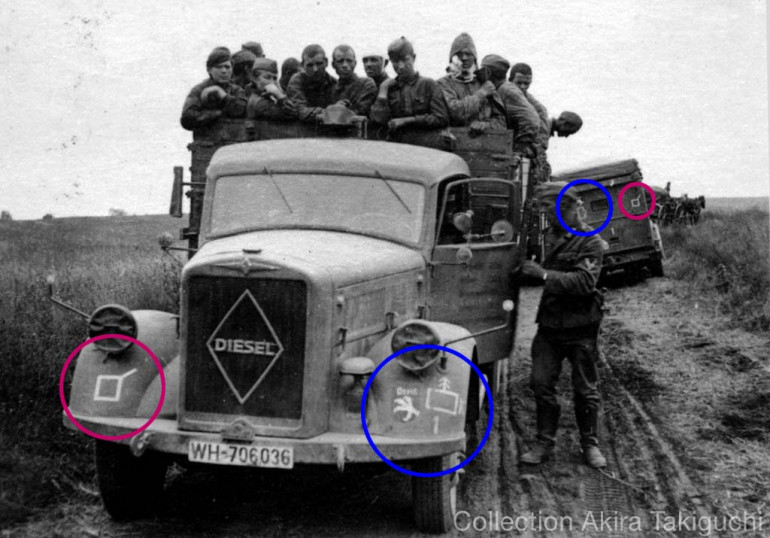
As I am planning on using my trucks for both my Afrika Korps and a late war SS force I’ve chosen to use generic balkenkreuz and symbols. Placement of these can varied massively across units.
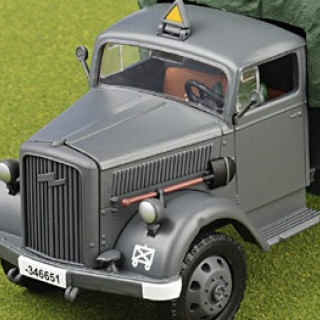
The front fenders often held the tactical symbols and/or unit symbols.
The vehicles technical specifications would be found on the doors.
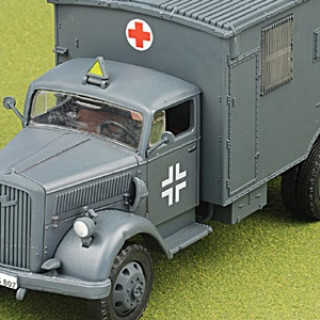
Symbols such as Divisional, Balkenkreuz, the Red Cross could be placed on doors, the side of the rear or even the canvas cover.
The rear tailgate again could hold tactical or unit symbols.
There are no hard and fast rules and I’ve found countless examples of all or none of these being applied, so don’t worry too much about accuracy.
Divisional Decals!
There are a lot of divisional symbols scattered around the sheet so I’ll try to break them down as simply as possible.
from left to right
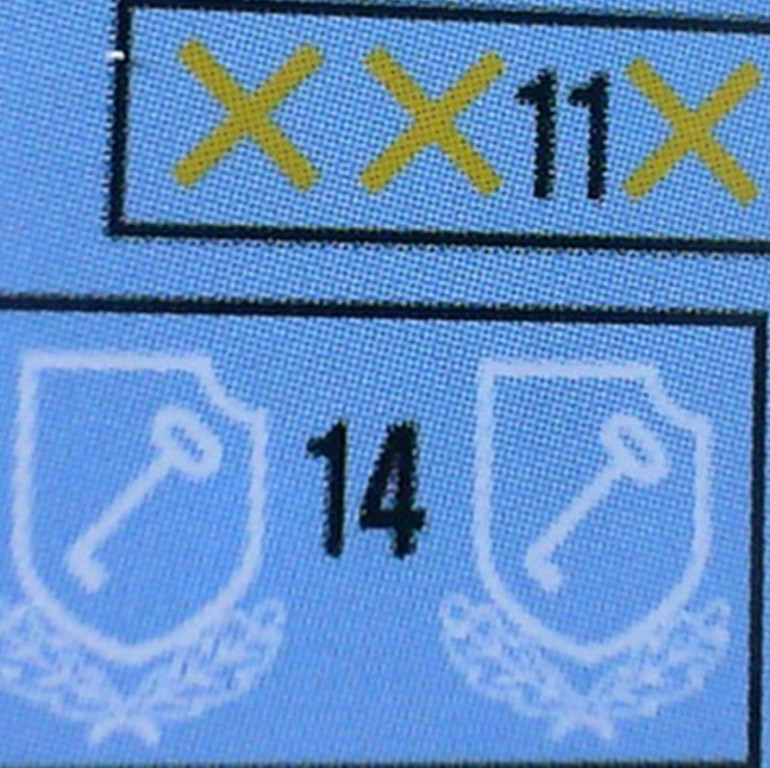
2nd Panzer Division 1944 onwards
11th Infantry Division
71st Infantry Division
15th Panzer Division (Part of Panzer Army Africa) from 1941-43
90th Light Infantry Division (Part of Panzer Army Africa) from 1941-43, reformed in Italy in 1943 and continued to ’45
from left to right
21st Panzer Division (Part of Panzer Army Africa) from 1941-43
10th Panzer Division (Part of Panzer Army Africa) from 1942-43
this is two pairs of decals but they can be used to represent 3 Divisions.
the pair of yellow crosses are the 6th Panzer Division from 1941 onwards
a single cross could be cut from this to represent the 5th Panzer Division
the Shield with Key and Oak Leaves 1st SS, originally this had no oak leaves, they were added after Sepp Dietrich received his and so they began being added in 42/43? it’s hard to pinpoint an accurate date, but mid war.
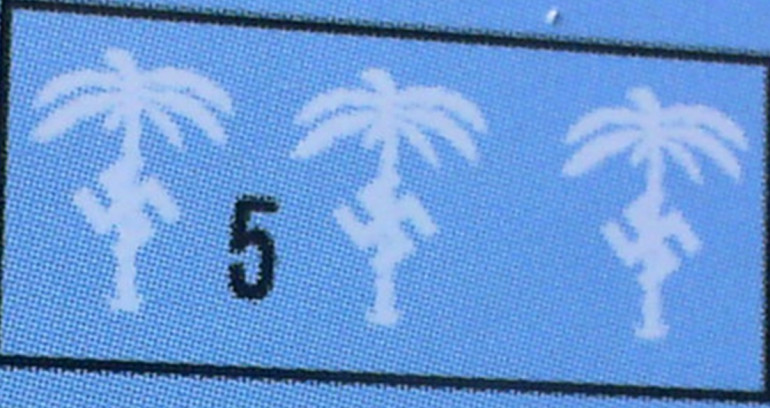
not a divisonal symbol, but the seal of the Afrika Korps was used across the divisions that comprised panzer army Africa.
The Devil's in the Decal!
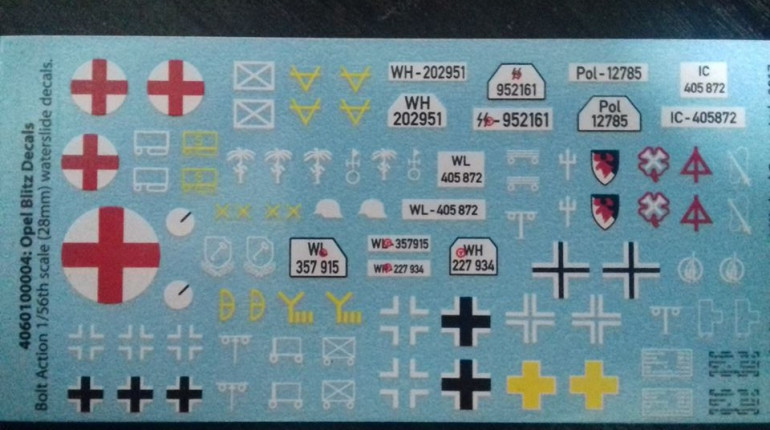
there is a lot going on with this sheet and if you’re new to WW2 it looks like madness. So I shall try to break down what is on there. First off there are a couple of symbols I can’t track down so if you see something I haven’t mentioned it’s because I don’t know it, on that note if you know something I haven’t mentioned please point it out and I can update this. Secondly the big red crosses are for medics and as such need no introduction. So enough chat what’s what?
so as you can see we have different versions, the plain white cross is more typical of mid to late war, the white outline with black fill is early to mid and the thick yellow cross is from the polish campaign once they realised a big white cross made an excellent target.
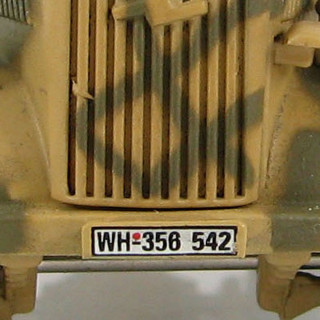
the sheet includes various pairs of plates,
WH is for the army
WL is the airforce
SS is for the SS (I know you’re shocked)
Pol is for Police
WM (not on the sheet) is Navy in case you were wondering.
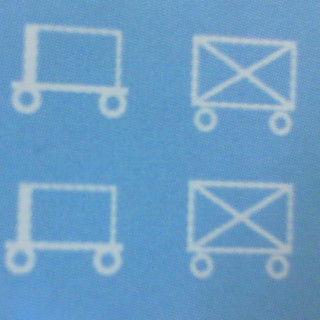
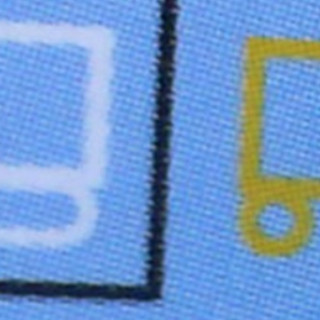
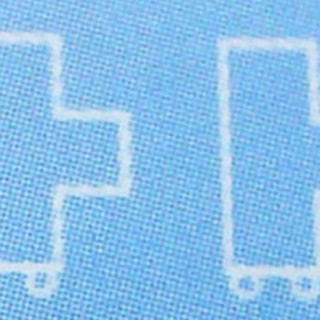
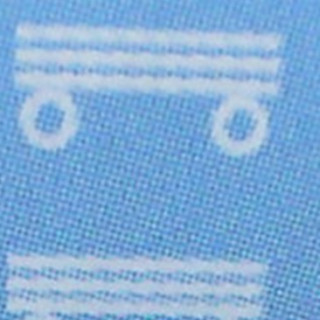
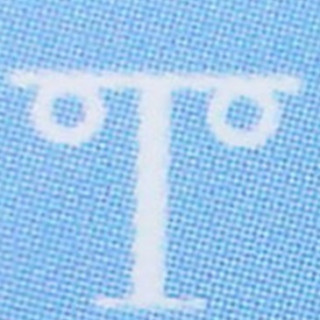
tactical symbols, these are some of the most confusing. These are combined with other symbols to describe the function
So to break it down, if there is a line with two circles below it, it means it is motorised. The rectangles mean infantry, whether crossed or “empty”
So if they have 2 circles below it, it stands for motorised infantry. A single circle and an oval means it’s a halftrack for the Maultier.
the Tetris like T piece with circles below it means it is part of a motorised signal battalion.
Finally the “motorised” symbol can have multiple lines above it to show it is part of a supply column, or it can rest on top of a vertical line or arrow to show that they are towing various guns.
Lastly there are two sets of vehicle specs depending on the base colour of the vehicle either white or black would be used.
Trucks and Guns
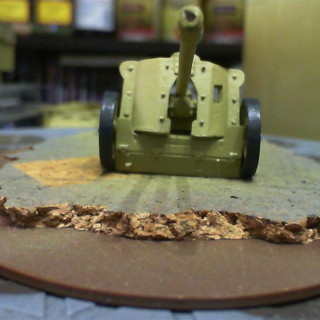
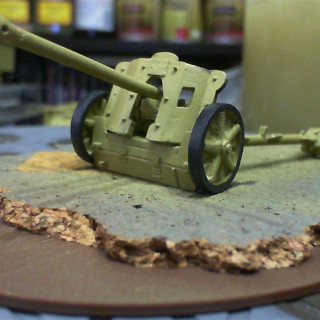
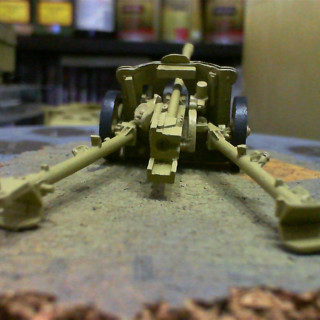
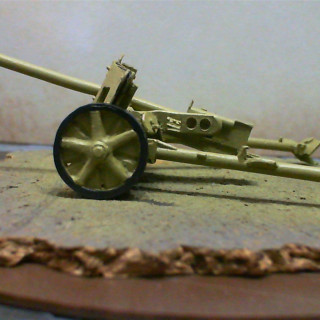
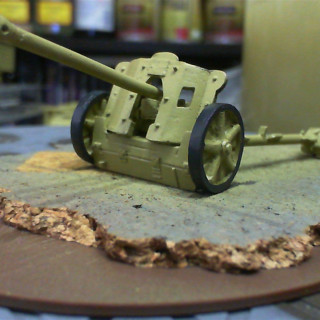
Time to start playing with the big toys. This was also a chance to practice more with my airbrush, little baby steps. If you don’t have an airbrush this can be done with a regular brush.
I’ve just airbrushed the Green Ochre 914 and highlighted with Dark Sand 847, and started to block in the wheels with Dark Rubber 306. So I’ve got the base down and a basic highlight done so I’m at a stage where I can start highlighting and weathering.
Now In Glorious Technicolour
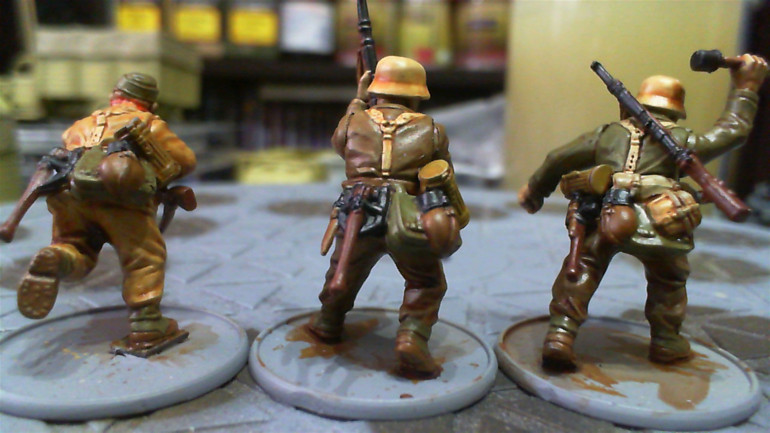
With the base colours on and a wash done all they now need is some sand and they’re table ready. I’ll be doing a little highlighting and applying some weathering and decals but I thought this was a good point to show what goes where, especially with the various types of kit.
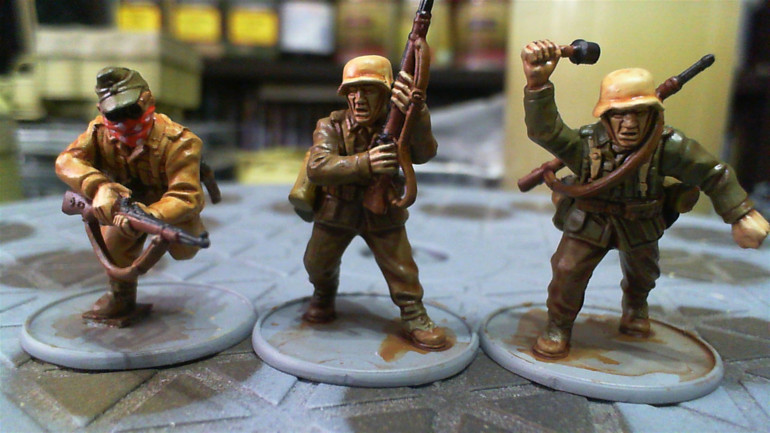
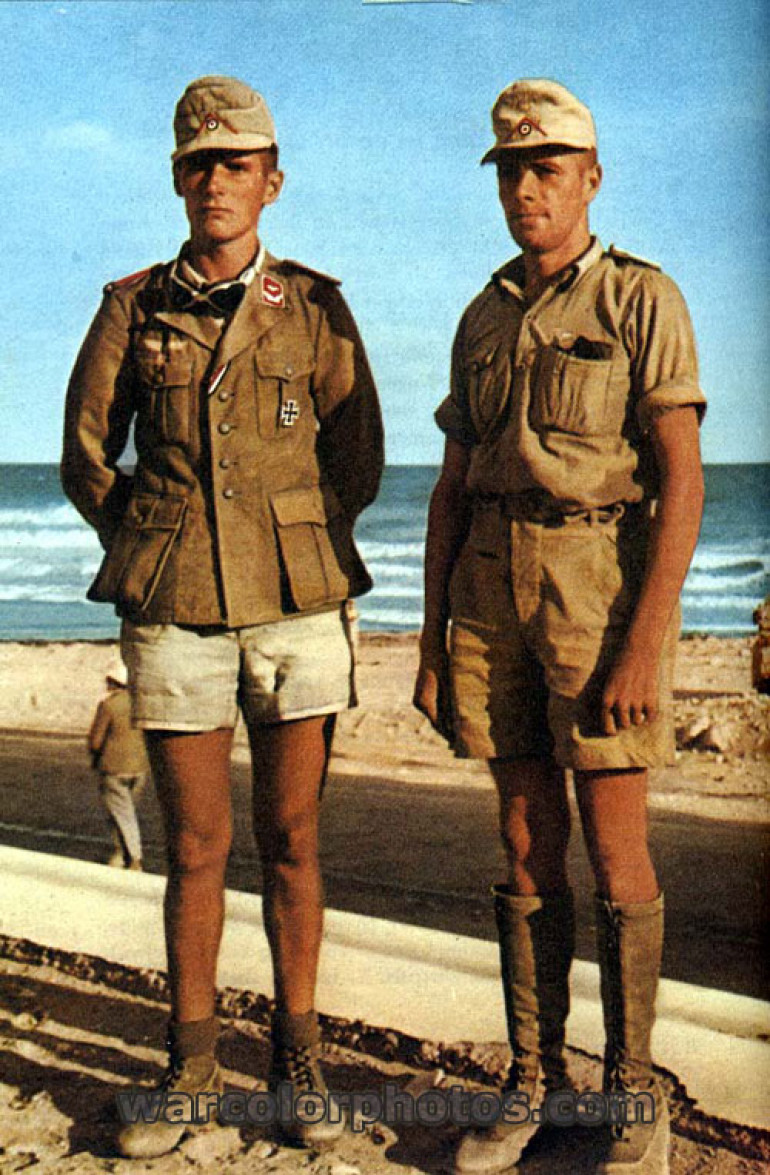
You can see the three colours of fabric clearly here, the new Khaki, faded Khaki and the olive green, and I’ve mixed and matched these throughout the force. I used the green mostly on the tunics as the trousers had a different pattern and shouldn’t be as baggy as the later style. But I did still include a few to break up the uniforms more.
Sorry for the glare they’ve just been hit with a satin varnish 🙂
Painting Guide
I’ll be ignoring the usual flesh, metallics, wood for guns. Instead I’ll be focusing on the options for the uniforms and equipment common to the German forces.
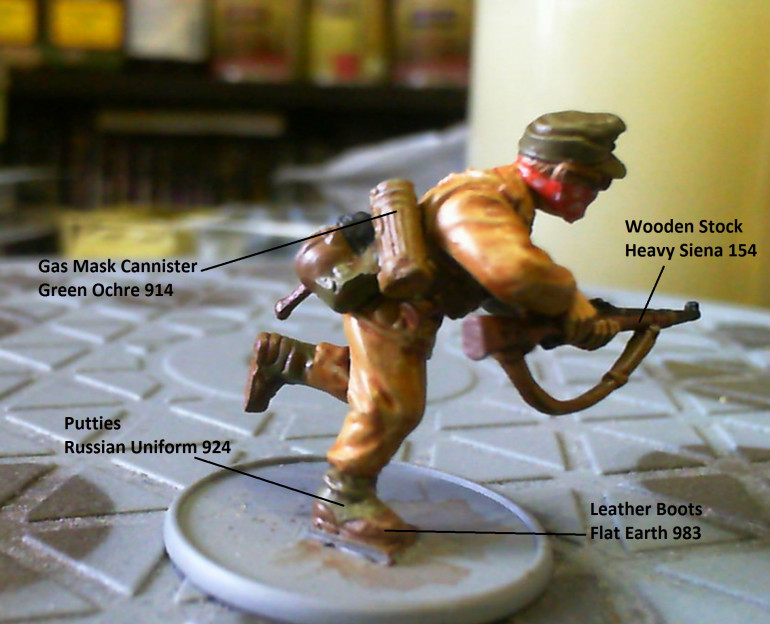
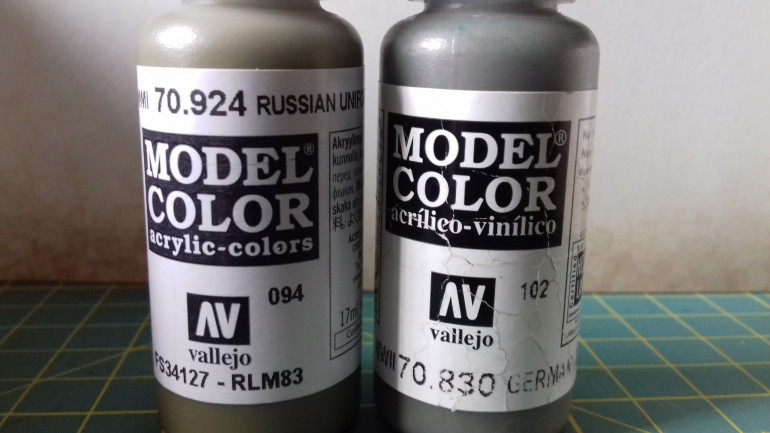
As you can see there’s a bit of variation in the cloth, none really show the green khaki but the canvas on the boots of all uniforms match this colour, I prefer to use Vallejo Russian Uniform 924, but German Field Grey 830 can also work when lightened with an ivory. Occasionally standard German uniform from Northern Europe was also issued, it was not uncommon for later tunic or trousers to appear in field grey so it’s a handy colour to have to hand anyway.
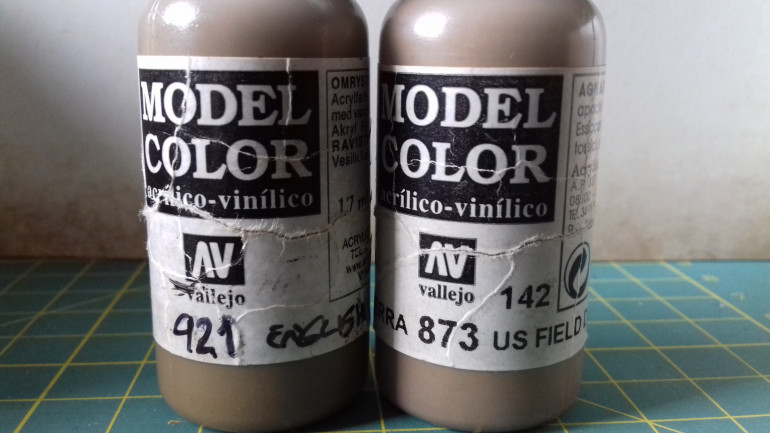
After the Tropical Clothing that turned out to be unfit for purpose in the desert a lighter cotton version of the European uniform was issued in khaki brown. There are a couple of options here shade wise, US field drab 873 or English Uniform 921 both work, if you’re going for a spray primer there’s an excellent British Uniform Spray available. In fact during the siege of Tobruk vast quanities of British fatigues were captured and used to supplement the Germans own.
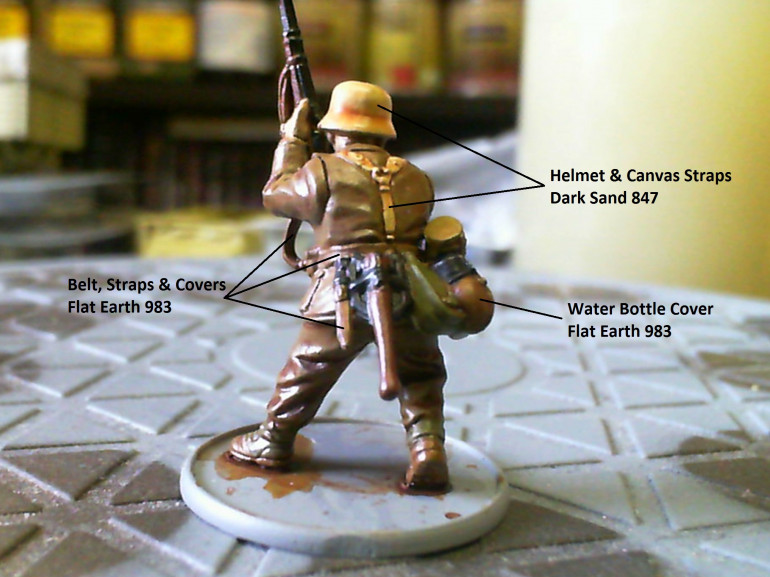
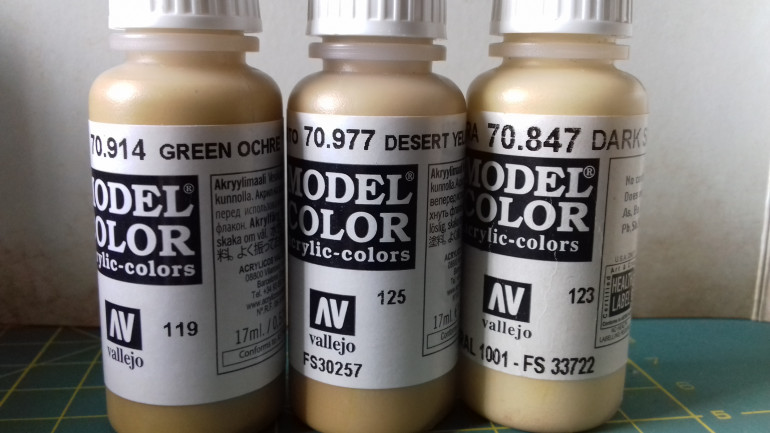
Now we get into the later sunbleached versions of the uniform, I’ve selected three colours but realistically you only one of the two dark shades. My favourite is Desert Yellow 977, but Green Ochre 914 will also work. What I plan to do is use the Ochre on the steelhelms and keep the desert yellow for the cloth. The third colour Dark Sand 847 can be used for shirts as well as extremely bleached fatigues.
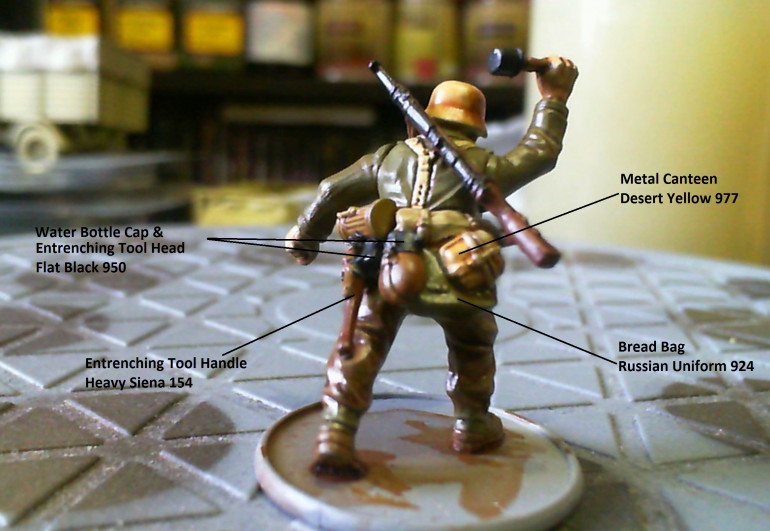
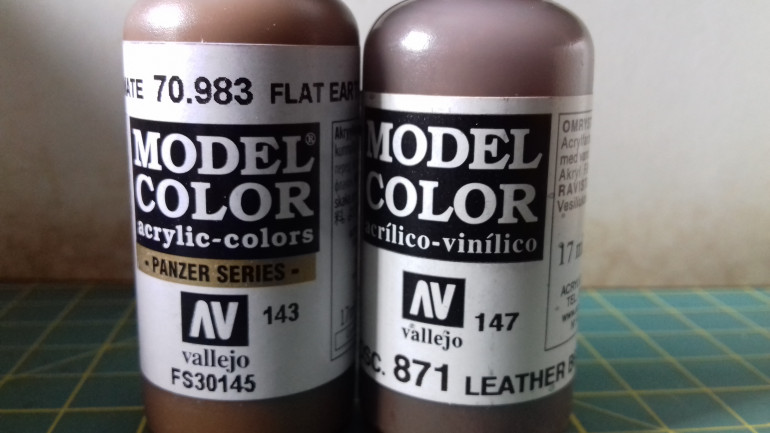
For leather pouches,straps, boots and the water bottle cover either Leather Brown 871, or Flat Earth 983 will do the job. I prefer the flat earth but if you’re planning on going for a new tropical uniform force I find it’s a little too similar to the english uniform. In which case the darker leather brown gives a better contrast.
All that’s left to do is to is some detail work.
Canvas webbing can be painted using the Dark Sand.
Bread bag with Russian Uniform.
Water bottle lid with Black.
Throw in an occasional splash of colour in red or blue on the neckerchiefs that were used as dust masks, and don’t be afraid to make them as filthy as possible. Water supplies were rationed heavily and unkempt, unwashed and unshaven was often the order of the day for the Wehrmacht in North Africa.
Colour in the Desert
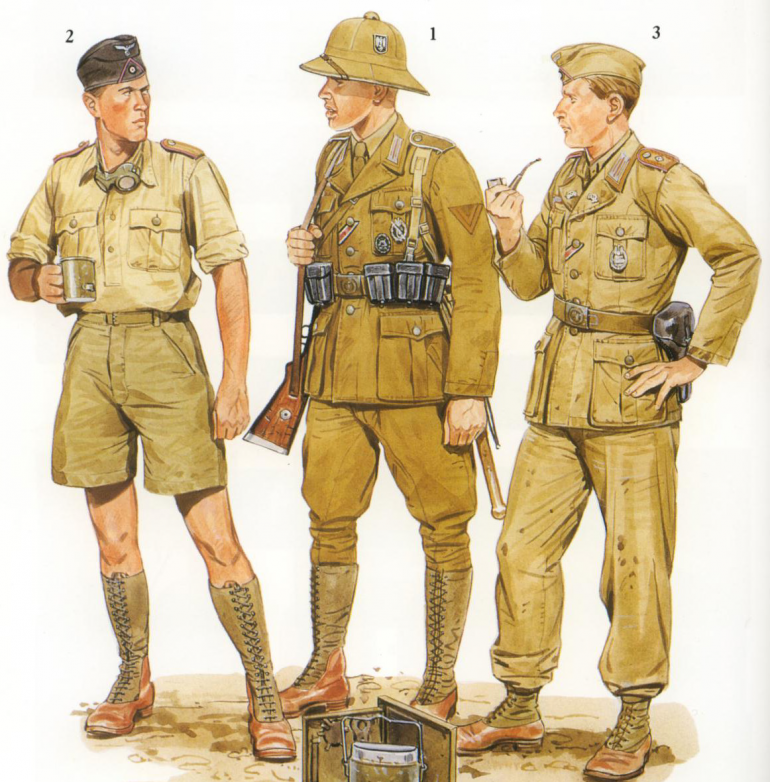
The German army in Africa throws up another of those quirks where the uniform was in no way uniform. Originally they were issued with a green khaki tropical uniform and pith helmet, these were in no way fit for purpose and were phased out for a looser cut of uniform that came in a khaki brown colour that faded over time to a yellow cream.
Because of this your units can be as mixed as you would like them to be, stick to one colour throughout the force, or mix and match squads or even individual bits of clothes among the squads to create a really hodge podge veteran look.
Recce is Key
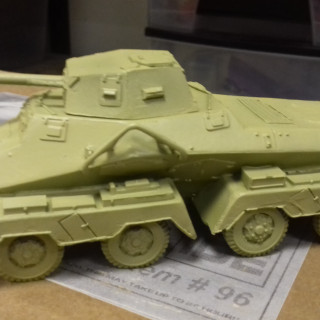
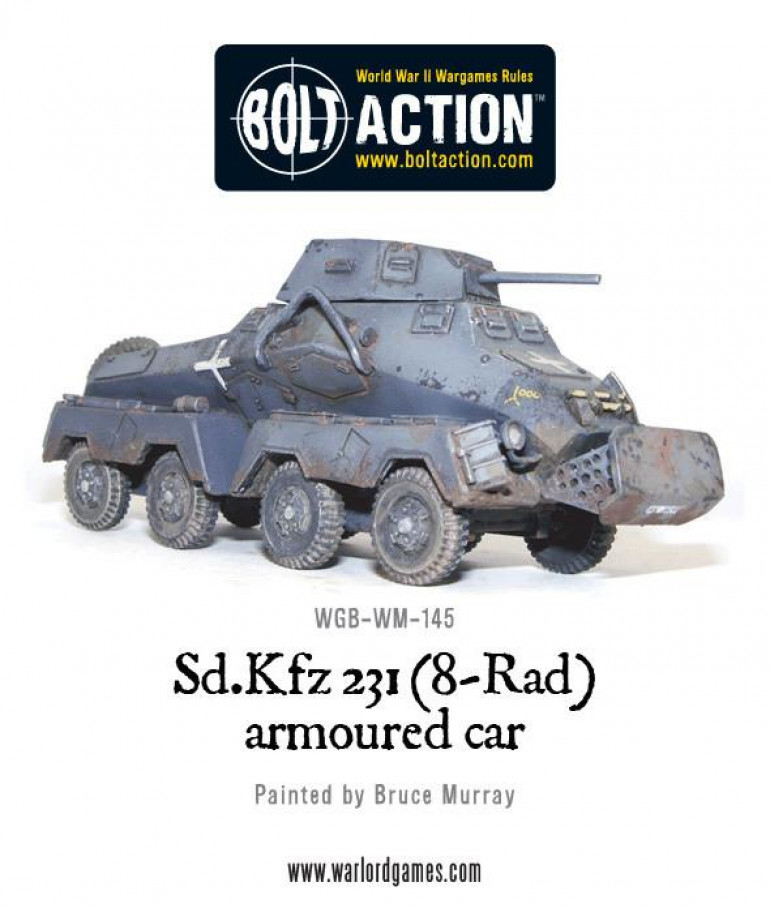
our final entry, for 100 points is a regular armoured reconnaissance car. It comes equipped with a medium machine gun and a light autocannon. That is a lot of anti infantry power and, if you’re very lucky, a chance in the rear of some tanks if you’re brave enough to get in close behind them.
The other useful thing is that like all recce vehicles they have a greater range for spotting hidden enemies in scenarios and, because of the dual steering set up, if they haven’t acted when they are fired on they can escape at a run move as if they were driving forward rather than reversing at half speed. That tactic can keep your precious car alive much longer, no need to throw it away needlessly.
That concludes the basic list and comes to 1001 points for a 12 command dice list. Any questions let me know below.
Next Up I’m going to finish cleaning and painting them before I move on to adding to the force.
Anti-Tank
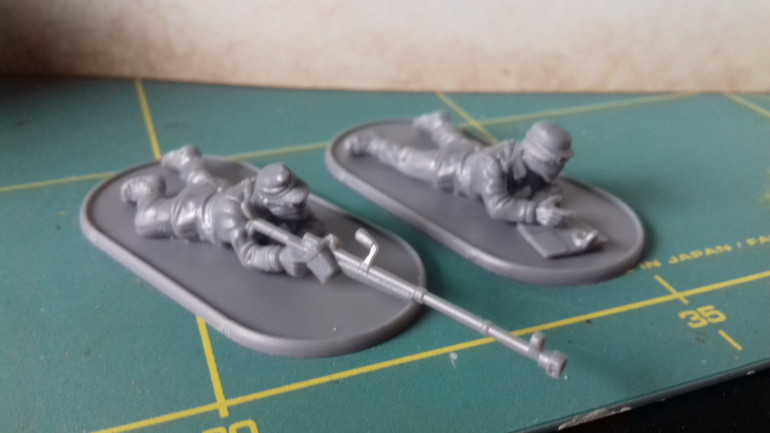
For early war the anti-tank rifle was king, but in the escalation of arms it was quickly rendered obsolete. Here in the Western Desert though a 39 point veteran weapon team will take out transports with ease, those pesky Bren carriers will be less likely to barrel forwards and smaller tankettes may think twice. For the infantry tanks though you’ll need to go bigger.
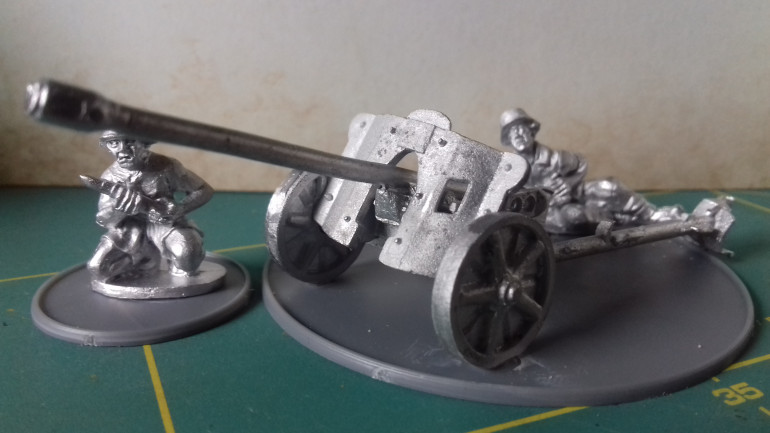
the 5cm PAK 38, weighing in at 90 points for a veteran team that price will get you an anti tank gun that even the heavily armoured British infantry tanks will tip toe around. With a 60″ range you’ll out-range opposing tanks, deploy last if you can and tuck into a corner, to make full use of your range. Engage the tanks on your terms, while you have a gun shield to offer some protection to the crew I find it better to protect a flank with some form of terrain, a building or large rock. If you can don’t give them a clear line of sight to you.
Infantry Support
Time to start adding in some of the important things. Infantry squads are good at taking objectives, but they often need help. To that end we have two of the finest, a medium machine gun and a medium mortar.
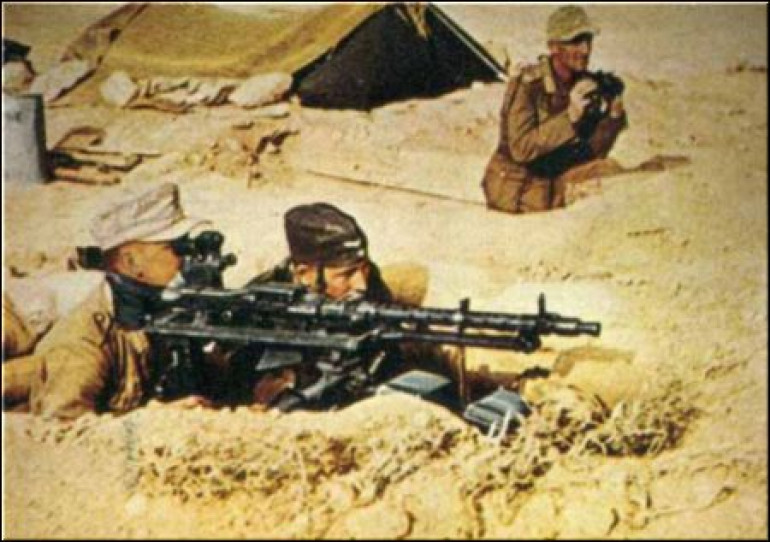
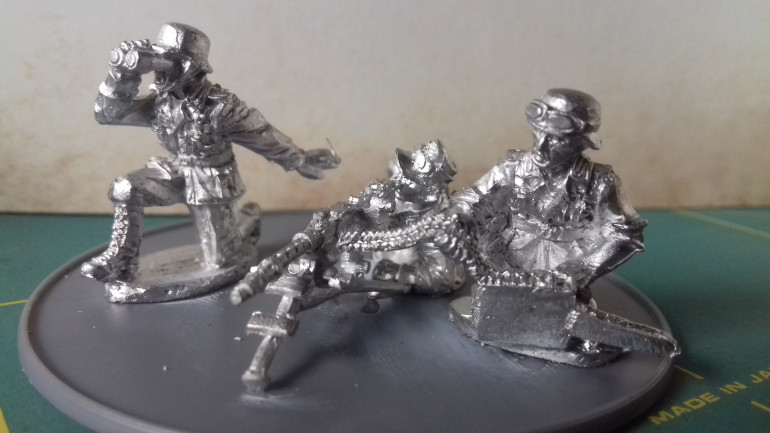
for 65 points we’ll be adding in a veteran medium machine gun. With Germany’s national rule that’s 6 dice of fire from a fixed mount. Fixed means you have a limited field of fire, and if you need to turn it will cost you an additional -1 modifier to your shooting, but at 36″ range it can suppress and support. Additionally in the western campaign book you can take it as a fixed LMG instead, you lose a die of fire (down from 6 shots to 5) but can pay 5 points to have it mounted on an anti aircraft mount. If you’re playing British it may be worth the points but you’ll have to find them somewhere else.
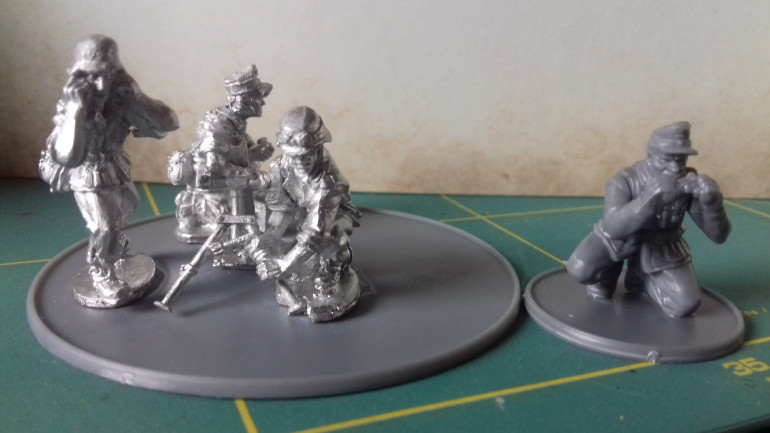
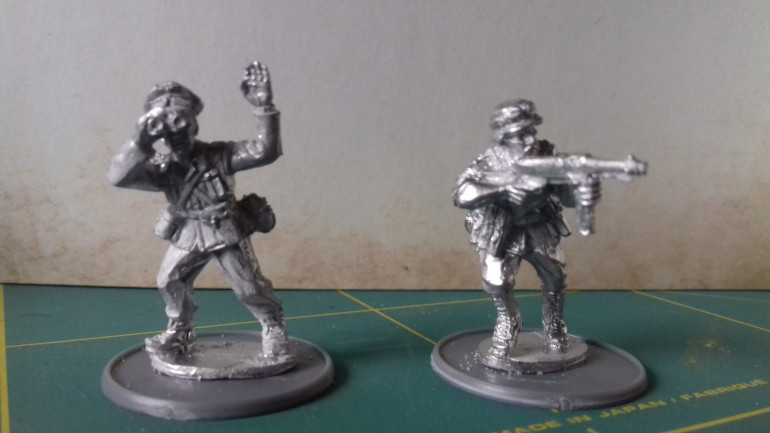
Next up we’re going to add the 81mm medium mortar, another 65 points for the metal team, but we’re going to go ahead and make a spotter from one of our spare plastic infantrymen it will cost us another 10 points and well worth it.
With the mortar we’ve got an indirect fire weapon 12″-60″ that range is devastating, and the mortar can dig infantry and weapon teams out of pretty much anything, and if push comes to shove you may even be able to take out smaller armour, but don’t make them your priority. Chances of hitting increase turn by turn as long as neither you or your target move, meaning once you’ve selected a target stick with it, force your opponent to decide if they want to stay and get hit with a 2″ blast and the additional pins that come with it, or get up and move from that prime piece of real estate they set up in.
The spotter doesn’t generate a command die, but at the same time he doesn’t have to be deployed near the mortar team. Instead when activating you can chose to use either the team itself or the spotter to draw line of sight. This means you can hide the weapon out of the way and send the spotter off to call in the strikes.
Transports
Trucks can be used as transports or tows for some weapons. In this case I’ve bought 2 regular trucks for 39 points each as infantry transports. These are not assault vehicles merely delivery systems, for up to 12 men, which can be made up of any number of teams. If it ends up closer to the enemy than a friendly unit they are destroyed.
But that’s not the only reason to bring a battle taxi, personally I bring mine along for two command dice they generate. More dice in the bag, more chance I will get them when I need them. On the other hand if I pull a die early when I don’t want to activate something, they can be used to put the trucks Down and hopefully force my opponent into moving earlier than they would like. Offense and Defense in one 4 wheeled truck.
Infantry Squads
With the HQ choices out of the way, we can move onto the fleisch and kartoffeln of the Afrika Korp the infantry.
When building any list I like to try and build in some redundancy and to that end I’ve made the three squads practically identical.
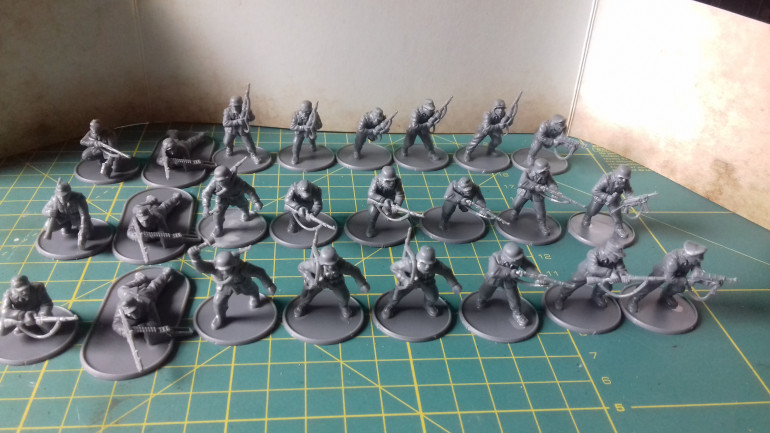
Each veteran squad contains a NCO with a SMG, five rifle men and a LMG team consisting of firer and loader. That’s 127 points per squad, but for my two compulsory choices I upgraded them both to have anti tank grenades. It’s never a good idea to assault a tank with infantry, but I’d rather have them and not need them, than need them and not have them.
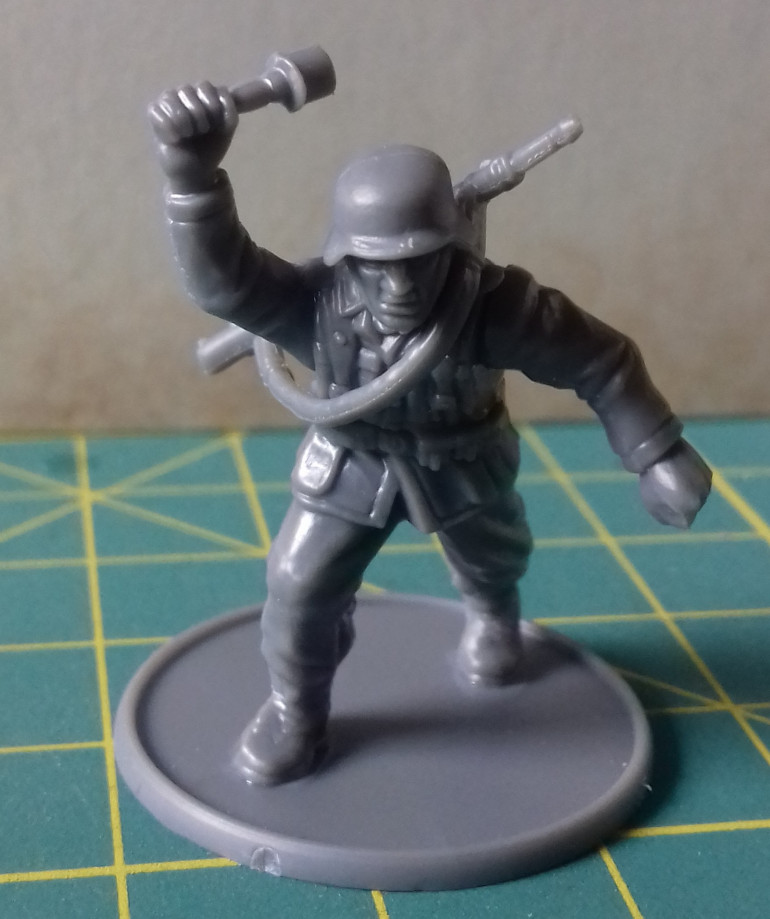
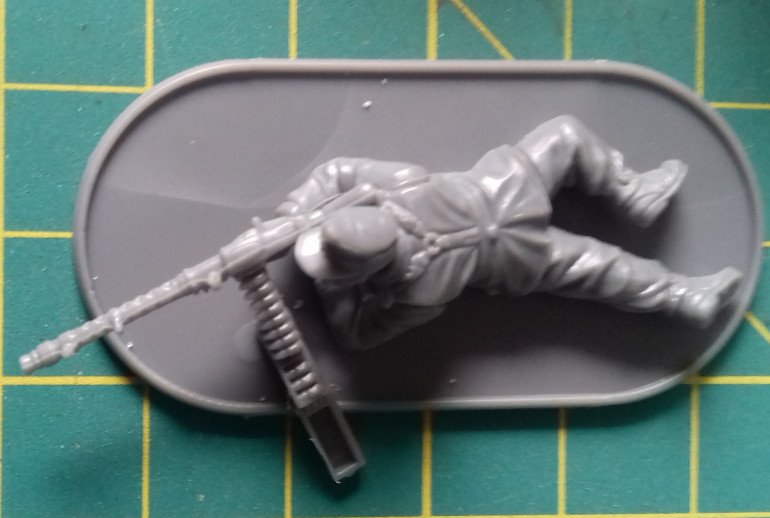
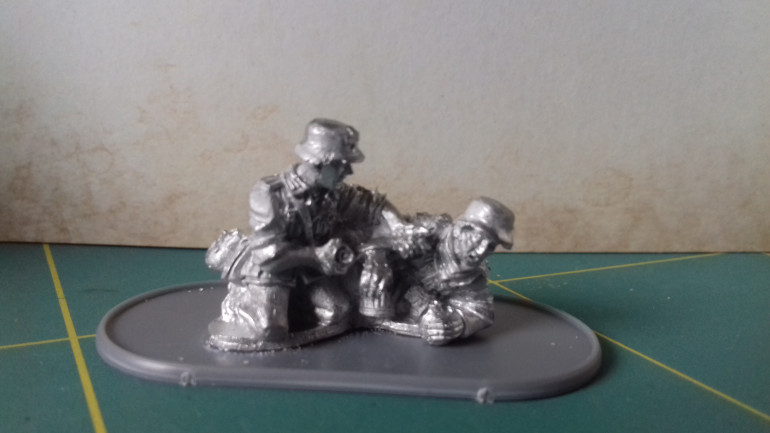
When building the compulsory squads I added one rifleman to each with a grenade so I could easily identify which units I had upgraded with anti tank grenades. It’s also worth noting now that when placing the prone firing figure I glued the body to the base and then attached the arms, this turned out to be a mistake the posing of the model makes the gun fire off at an angle and more annoyingly the ammo box barely sits on. When building wait until it’s assembled and dry before you glue it down, you’ll thank me later.
Medic
38 points will get you a Medic, with a stretcher bearer. Another two man team, because as Bob Ross said, “everybody needs a friend”.
These are god sends for infantry based armies, any damage caused by small arms within 6″ can be ignored on a d6 roll of a 6.
For 38pts, I mean why wouldn’t you?
Headquarters
the HQ is one of three compulsory choices in building your reinforced platoon, for my list I’ve chosen a veteran First Lieutenant, with an additional veteran to accompany him. That rocks in at 103 points. He has a +2 morale modifier for units within 6″ and can pull three order die with “snap to action” (two standard dice and a bonus for the German Blitzkrieg). They tend to be my default choice.
I’ve chosen a veteran because if/when he gets hit it’s harder to polish him off, also he has the option to have up to two additional soldiers with him. Don’t do that, a two man team counts as a small team and has an additional -1 to hit them. Adding a third means you have no such modifier, and while he gains two meat shields they will suffer many more hits.
Weapons for the HQ are as modeled, from available infantry small arms (no light machine guns @Limburger 😛 )with no points cost, so feel free to go nuts.
Deutsches Afrika Korps
knowing what we were getting, and how limited time can be for the build itself, I decided to work out a list in advance of the bootcamp itself so I could get straight into the assembly. As I didn’t have the new campaign book I based the list on Rommel Triumphant from the Armies of Germany book, but since getting the book I’ve found it can be run as a 1941 DAK Light Divison. So with that in mind what have we got in the box?
So the army contains 30 plastic infantry, 3 boxes of Opel Blitz/Maultiers, a metal command blister, metal 81mm mortar, metal 50cm Pak 38, metal MG34, Resin 8-rad and a resin horch. That is a chunky bunch of tiny fighting men and surplus to requirements if we only need to get to 1000 points.
So for the purposes of this we shan’t be needing the Horch, one of the trucks the spotter and 3 of the plastic infantry. The rest will give us a decent 1001 pt list.


![How To Paint Moonstone’s Nanny | Goblin King Games [7 Days Early Access]](https://images.beastsofwar.com/2024/12/3CU-Gobin-King-Games-Moonstone-Shades-Nanny-coverimage-225-127.jpg)


