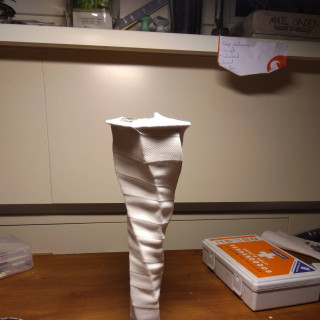
A woolly tornado
Recommendations: 61
About the Project
On the Dropzone Commander Community FB group, someone asked if there where any models for tornado’s, as there’s rules for those in Reconquest: Phase 2, in the environmental section. I took this as a challenge, as I knew there weren’t any and made one from scratch. Tornado’s apparently need sharks too these day’s. So I made a shark.(My first sculpt) People wanted to know how I made it. So here’s the project step by step. Cheers, Michel
Related Game: Dropzone Commander
Related Company: TTCombat
Related Genre: Game Aid
This Project is Completed
Base structure
So the rules state it’s a large blast marker, moving around destroying stuff it hits.I looked around and found some nice strong cardboard that was black to booth.
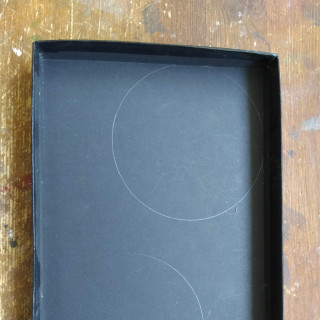
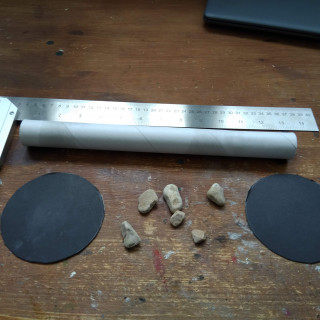
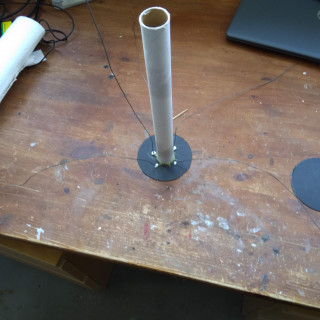
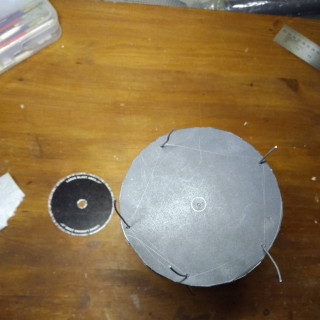
Used the large blast marker to draw 2 circle’s and cut these out with good scissors! (Then marked the centre points, as I forgot about that little detail…)
I also needed a strong centre core, for which I used a cardboard centre from a roll of aluminium. Some rocks to weigh it all done, because this thing was going to be tall.
I glued the roll into the centre with some hot glue, making a view vertical lines for stability.
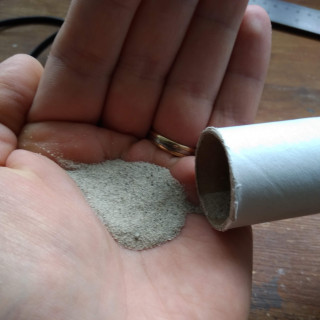
Letting the rocks fall to the bottom dripping super glue on top of that. And then putting in a hand full of sand for extra weight between the gaps of the rocks and some tinned down PVA to glue keep it in place. ( A joke of a professor, a hugh glass jar,tennis balls, marbles, sand and 2 beers jumps to mind)
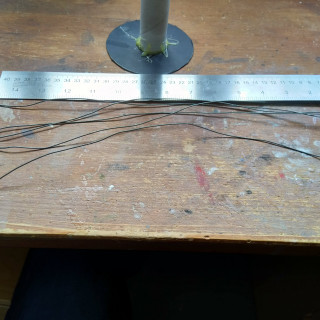
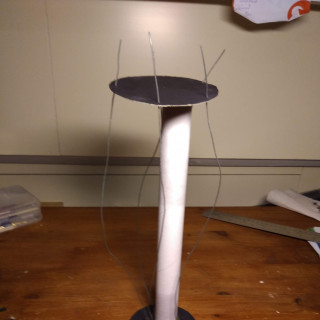
After that I cut 5 metal 1.1 mm wires to 15 inch and a bit as I would be turning them around the core. Would have been better to cut them before I hot glued the core as I had to drill hole into the hot glue now and rewarm the hot glue gun( But kids…. and time)
Substructure level up.
(Mind you this is all a first time thing for me)
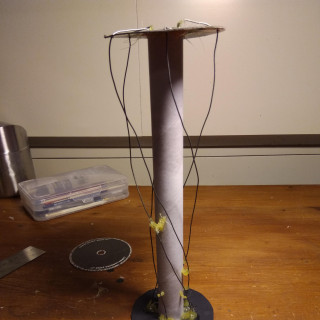
So I left the top of for a day so the glue could dry properly. I “drilled” 5 holes roughly evenly spaced in to top circle which would be the to of the tornado. I planned to use this to help me twist the wires evenly around the core. I DID NOT GLUE THE WIRE TO THE TOP!!!! VERY IMPORTANT Which was a lot harder than I thought it would be… I ended up just gluing it in place with hot glue, with the top wire bending slightly to the left. And finishing the prober aliment by hand. As I had not glues them just in case, this was still an option. When I was happy I finally did. I pushed the remaining wire to the centre. Which I had carefully open up a bit… Just in case I needed to put more sand down there.
Some hot glue helped to with keeping an even-ish spacing. (note to selve: don’t use thumb. use pieces of wood)
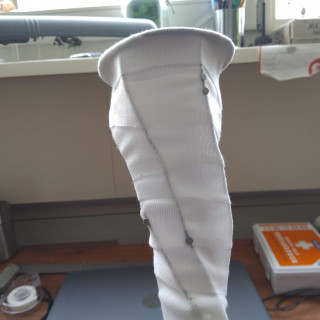
The metal wire was there to give me a rough idea of a twisting tornado. And also something that would take magnets. I had just bought a new first aid kit, as the old one was no longer sterile. Terrain doesn’t need to be. So I used an elastic bandage to cover the wires bottom to top. Using its elasticity to let it grip the bottom. The top piece I pushed into the top hole which was gripped by the wires. Some liquid super glued made sure it never moved again.
Still not happy. I tinned some PVA down, used my dishwater solution to wet a few spots on top and dripped the PVA on those spots.
The next day I decided to glue some magnets to the wires just to make sure everting I wanted the tornado to hold in the air, would stay in the air. (Yes I did make sure they where all pointing the same way)
Some eye candy
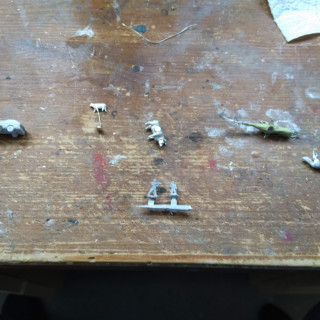
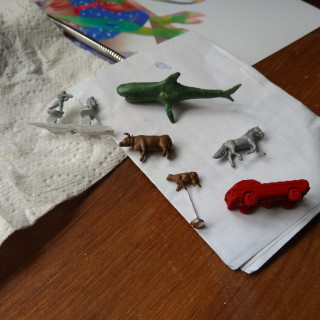
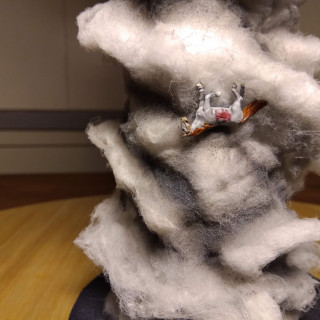
So what do I want to put on the magnets? Well, cows and horses sprang to mind. As I have seen Twister a few times… Those I had bought from Van Dyck Models and Figurines Nice guys I met at Impact Eindhoven a few years ago. Same models as I used before btw.(See my avatar) Also a crapy eBay N-scale plastic cow, which I am using as a calf.
Also wanted to get some DZC flavour in. So I picked a civilian car to put a magnet on. I was tempted to put military vehicles on there… Just time… again… because…. Sharks.
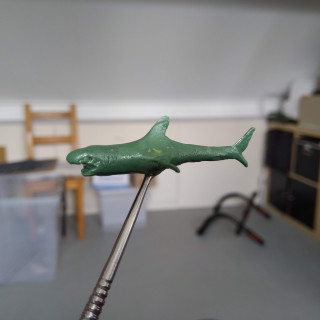
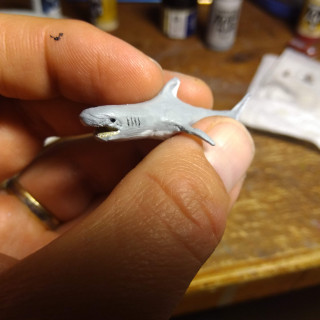
Sharknado. People hearing of my idea and seeing my WIP pictures kept saying, it needs sharks. So I made a shark. Did find some sharks online, just the shipping costs kept changing from €4 to €16… So didn’t seem very trustworthy. So I decide to go crazy and sculpt a shark. (WHAAA, my first miniature sculpt ever)
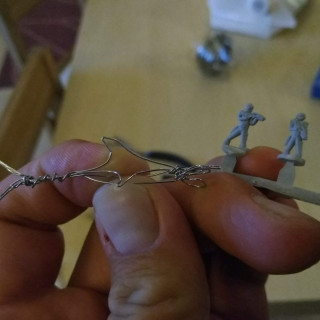
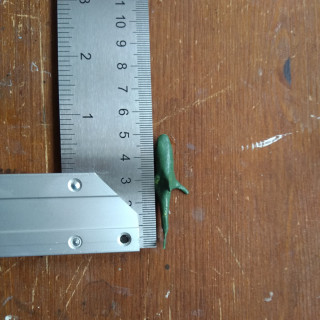
Made a structure from 0.8mm wire, starting with the JAWS, ending with the tailfins. This structure I filled the core with Milliput(See the group picture) letting it cure for a night. Before covering it with Greenstuff, I did this in 2 layers because I didn’t want it to be too thick. And only have a small amount of Greenstuff left. After it dried I tried to sand away my fingerprints the best I could and dared. And voila! It’s a 23 feet shark!
Woolly cotton
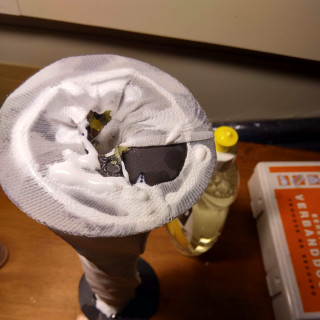
So now it was time to add the cotton wool I thought would make good swirling “wind”. I sprayed my dishwater solution top to bottom on the bandage. (This lets gravity help a bit) I poured some out and added PVA to get a milky looking solution (Thank you TTT!!) started shaking. And shaking some more just to be sure. Applied this thickly. Before I got the cotton wool, I made sure my fingers where clean and dry.
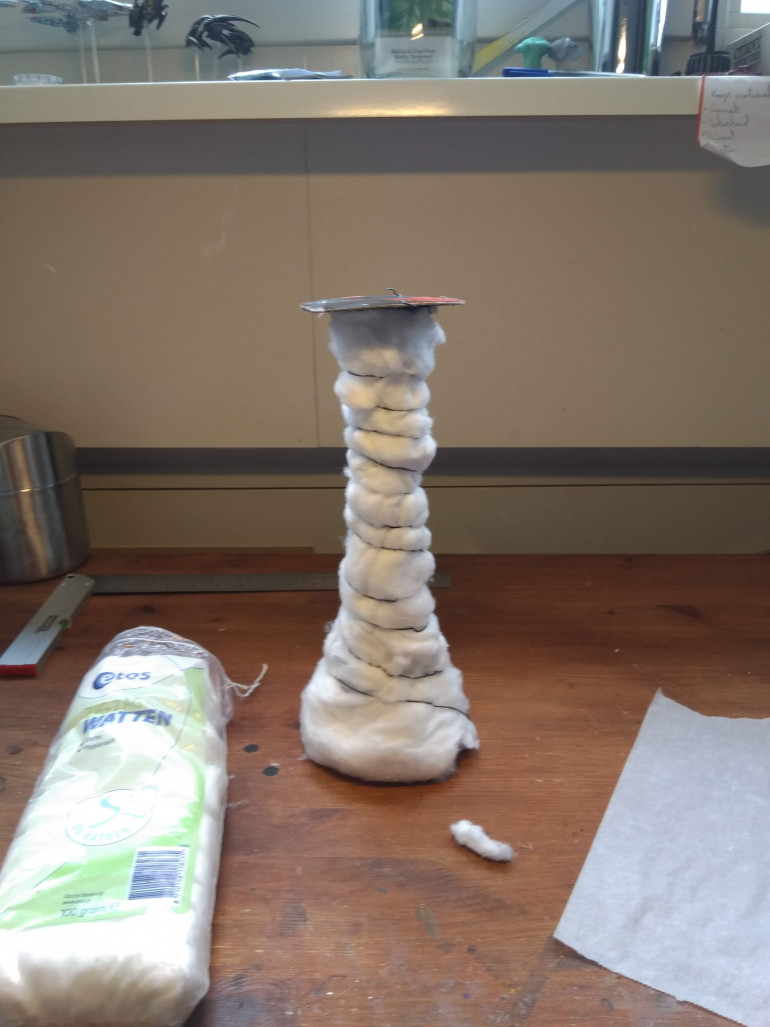
Got about half the pack out, folded this open to roughly a 1.5cm thick strip of 5cm wide. (1/2inch thick and 2 inch wide). As it was compacted I knew it would be more than enough for what I had in mind.I started at the bottom and wrapped my way up, fixing it in place with garden wire( the one coated in plastic) And put is upside down to fix the edges. I let it dry over a few days.
Next step was removing the wire and filling any gaps with cotton wool. Water and PVA in a dropper this time as I didn’t want to wet the surrounding wool.This needed to dry to…..
Steps before the video
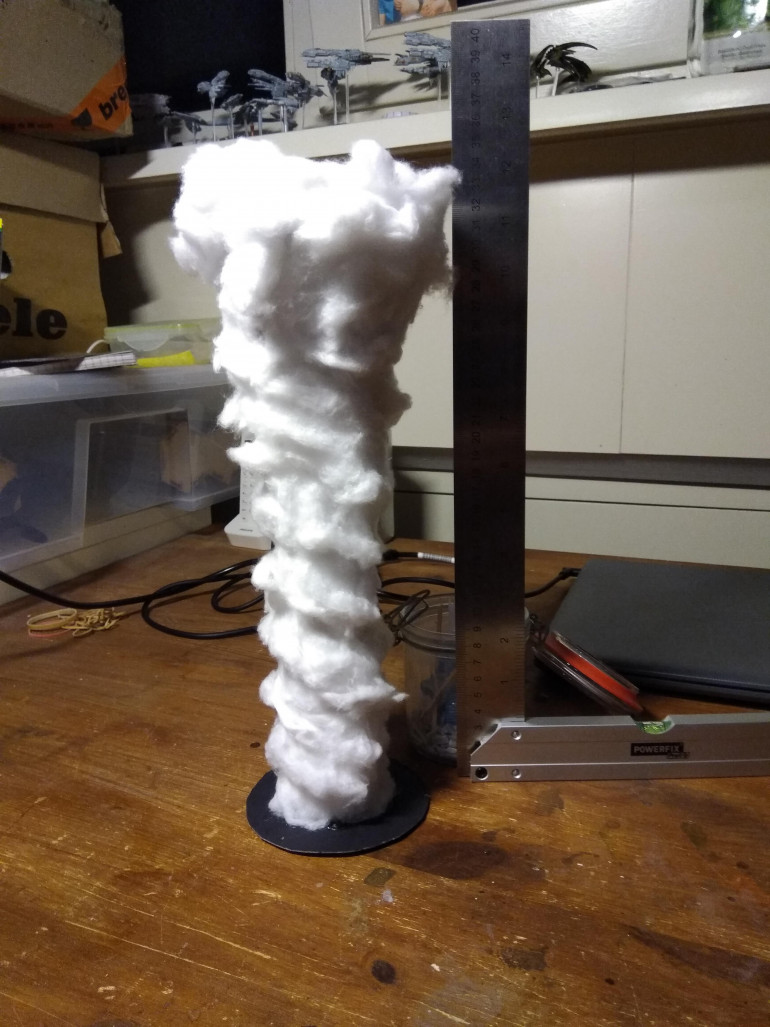
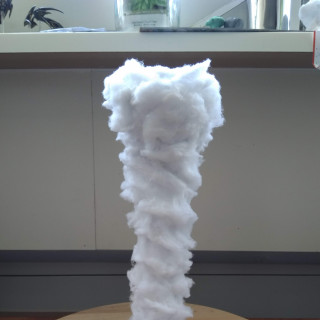
Next up was shaping the “twisting wind” into the cotton. I started at the bottom and worked my why up at an angle. Slight turning it as I went. I stuck it to a breakfast turntable with poster tag for that to help. Turned out some parts didn’t properly stick to the bandage… Not wanting to wait a night. I risked using super glue. It worked. Just glad didn’t do that with the complete tornado.
When I was at the top, it felt a bit… blend there. So I added a circle of cotton on top to bulk it out.
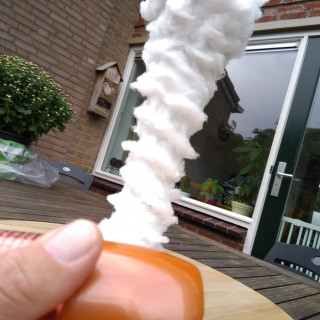
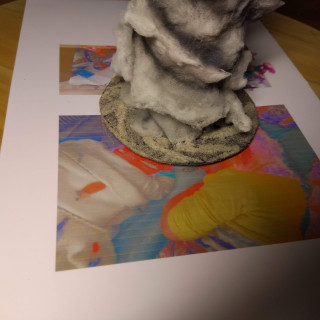
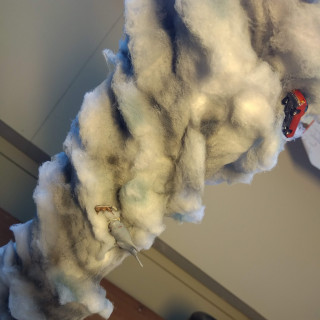
Now the difficult part came. I have done some small things out of cotton wool. But didn’t really know how to stiffen this up properly so it would stand up to play, transport, etc. I asked around on Facebook with the photo above.
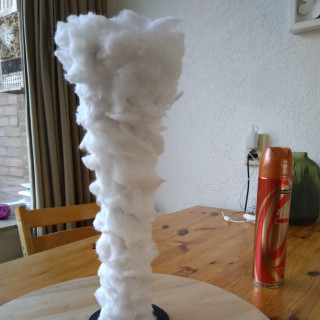
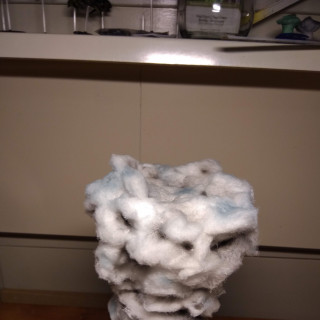
First is sprayed hairspray, starting from below. As I wanted the rims up, not down. Then I used very VERY thinned down coats of PVA through a airbrush. I followed the paths I had made at about 0.6 /0.8Bar and distance spraying at 1 bar. Any less and my mixture of PVA was just to heavy, even with flow aids.
After that I went into quick clean mode after each layer. As I still wanted to use my airbrush! Plenty of luck warm water, with a bit of dishwater and even some cleaner. ( 4 times I did this)
It had worked and now it was on to painting! I had been watching YouTube videos. But couldn’t decide between, mude/sand, grey/blueish or fire tornado as they all looked dangerous! I went for a bit of a mixture.
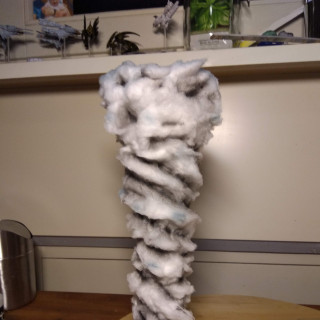
I used Vallejo wash Grey as a base colour in the paths to darken them up, airbrush of course.(0.5 bar ish) Followed by a thin line of black wash (0.2 Bars). Also spotted these colours into any crevasses.
I picked a few spots to do with bluegrey, representing the blue of the sky reflecting of the tornado. And finished with a very thinned down Vallejo grey primer, trying to let some white remain on the outer edges.
Only thing left was to texture up the base. I used liquid super glue for that to “draw” lines in a pattern. Which I then applied fine grained sand on. Where needed I repeated this to increase the height. (There are smarter ways…) A bit of watered down PVA in between the lines and some more sand to finish the base texture of.
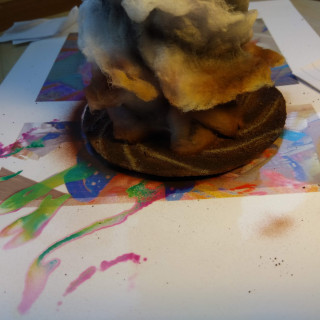
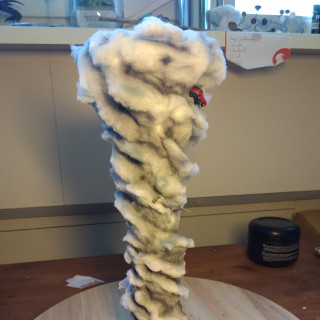
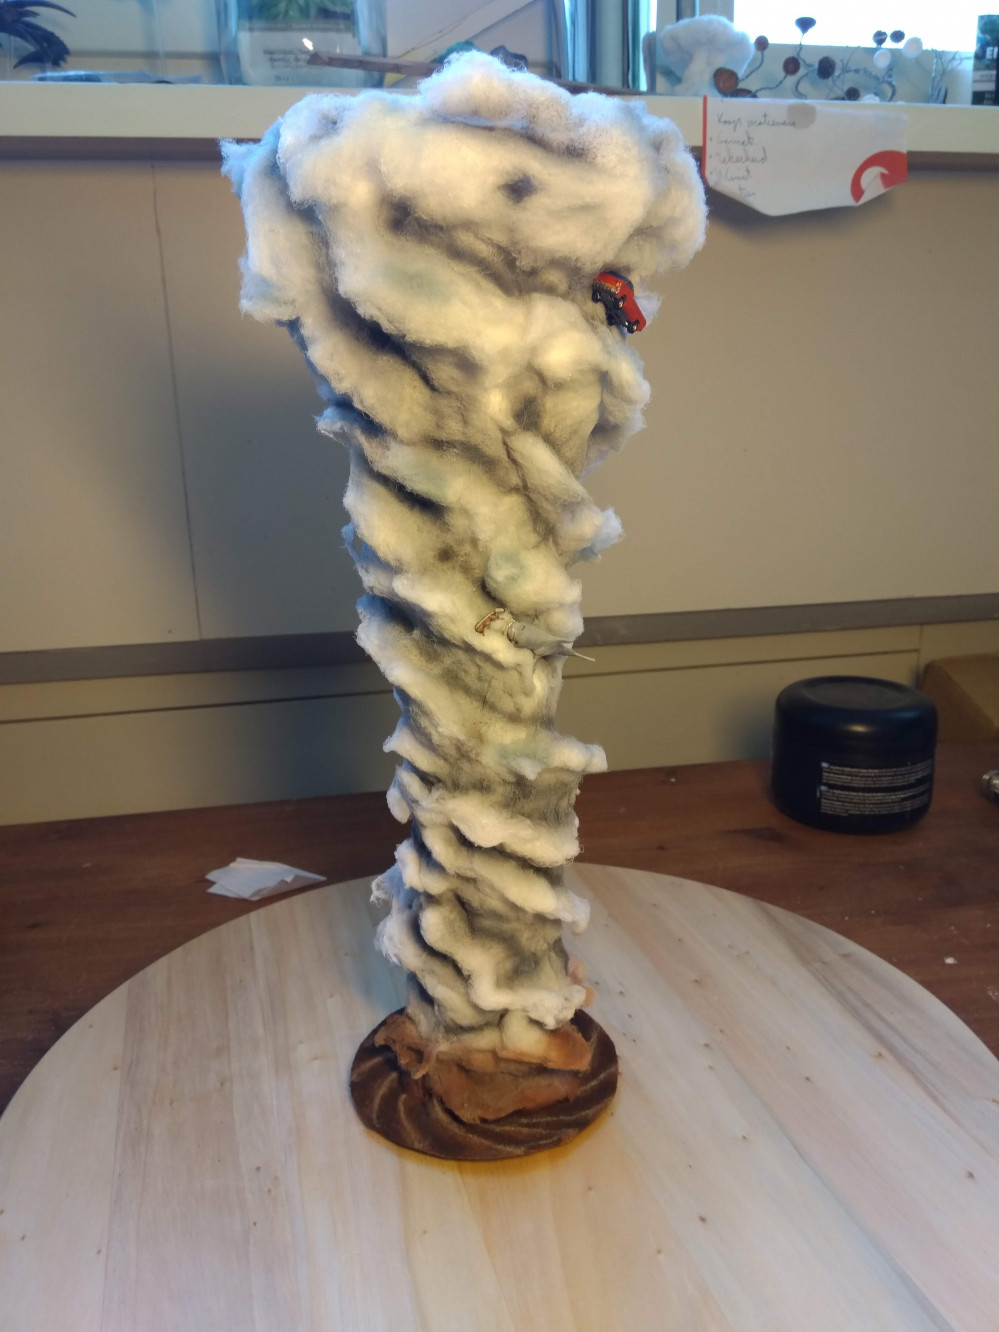
Next day I grabbed the airbrush and based the base in armour brown. Colouring the wind ridges in; sand brown and sand yellow. All these colours also went into the bottom of the tornado, as you can see. Now it’s done!


