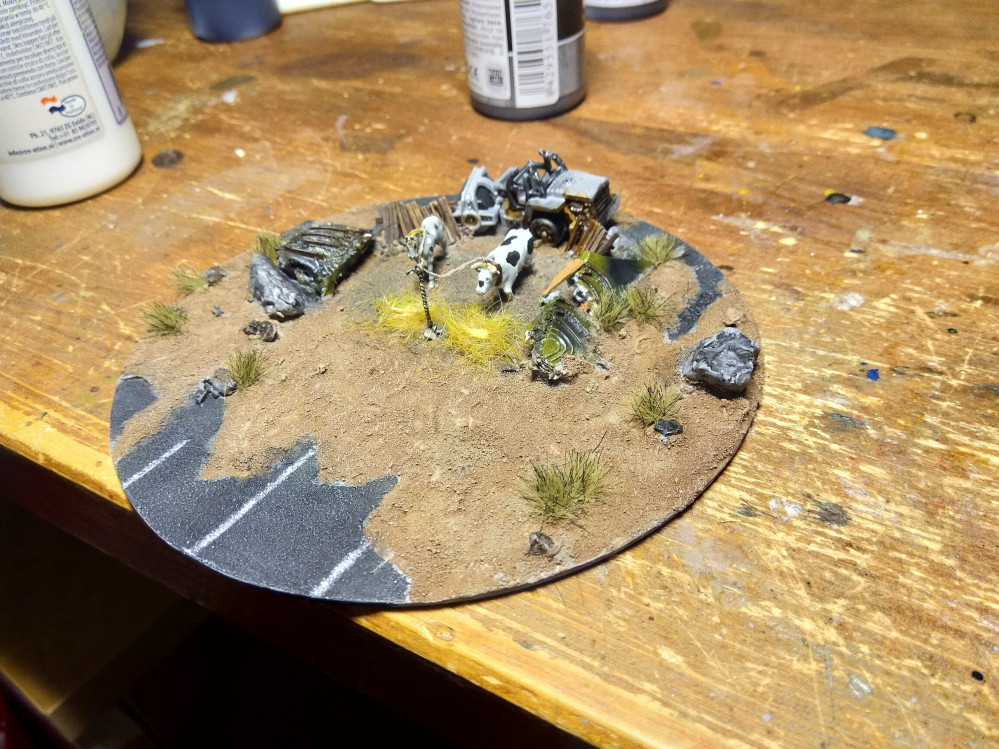
TERRAIN CHALLENGE – THE END IS NIGH: Dropzone Commander Alpha Bait / 10 mm farm penn.
Recommendations: 53
About the Project
Hi Folks, I was making this for the Dropzone Facebook group and listingen to BoW and TTT during the making of this. So I thought I'd share it here too. I was taking photo's anway. So Enjoy! Cheers, Michel
Related Game: Dropzone Commander
Related Company: TTCombat
Related Genre: Science Fiction
This Project is Completed
The Start
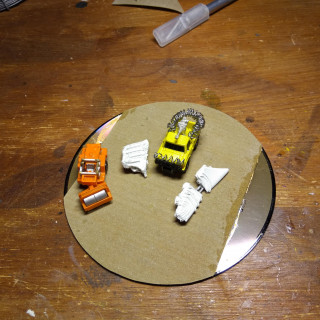
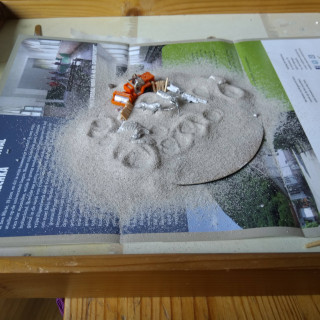
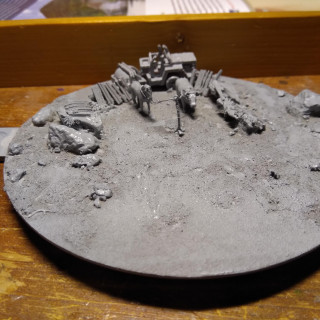
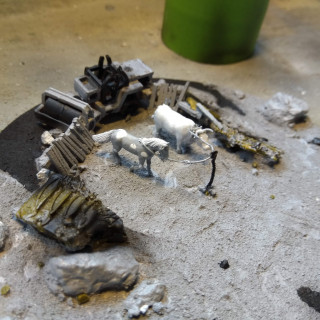
I used a CD as base, to which I glued sanding paper and the sides not covered by that I put wall filler on.
During the drying time I broke up a miscast part of a Scourge Dropship and played around with the layout. Also made a extra Resistance Techincal, but didn’t use it in the end.
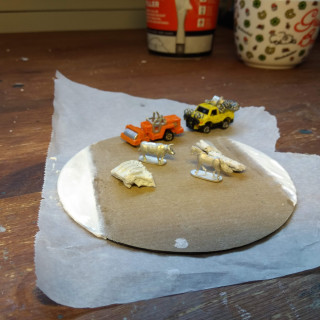
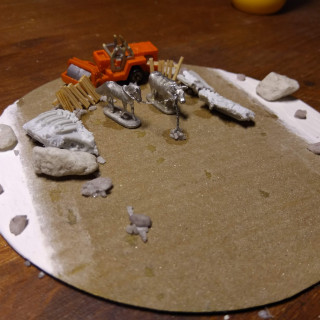
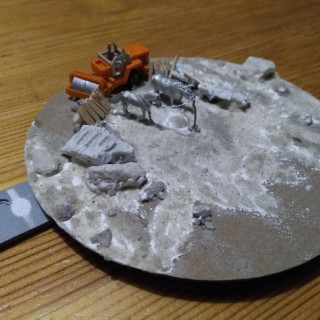
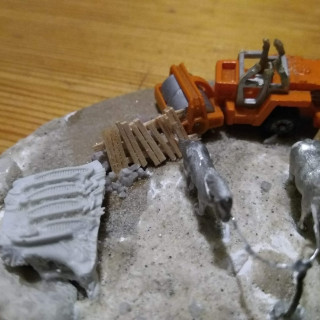
I twisted a .8mm wire together leaving a hole at the top and “feet” bottom, to make the pole. This I than pushed through a small holl in the sandpaper, using the CD centre as a guide. Bit of super glue to keep it in place. “Feet” under the CD. Then covered the “feet” with some filler, placing it flat in baking paper. I then glued down the crashed wing, the steamroller, rocks and cut up a coffee stick to get even-ish high planking and a match stick.
Got a bit of normal sewing thread, tied this to the hole in the pole. With help of tweezers I tied the other ends to the cows neck and horses lead with a flat knot, and a small drop of super glue. Only then did I glue the horse and cow in place.
Blending it in!
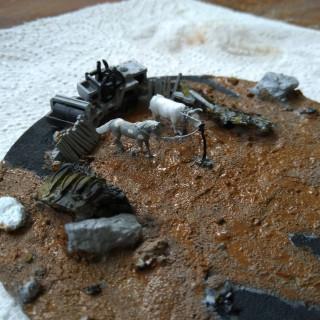
Next up, I used more filler to hide the bases and bled the rocks in to the terrain. I don’t have a picture of that. Cause I did it will crafting with my daughter. That’s also the reason for covering the base completely in fine sand. It’s faster that way. AND it lets my daughter help.
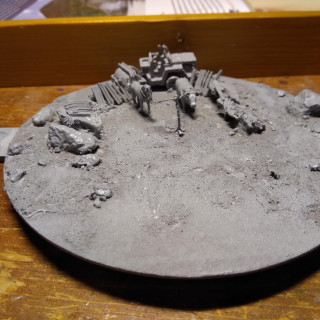
Finished that day with a grey primer coat. Grey so I can go both directions, lighter and darker with any follow up colours.
If you never used filler before here’s tips I used from Mel, the one and only TTT:
- Use a wet finger to smooth it out, if you feel drag, wet it again. That way it won’t stick.
- Put it in the middle and work to edges.
Adding the first colours
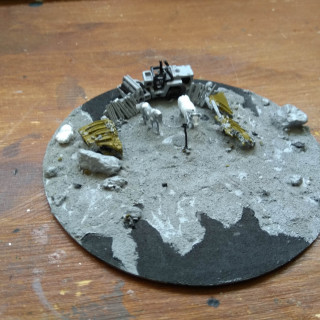
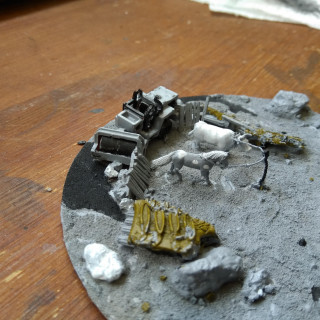
I started by doing the Scourge wing in my armies base colour. Vallejo Earth Green. Also picked out a few small rocks, to indicate debris. Most got covered later again with dry brushing. Which was kinda my point. (Doesn’t show well in the end photo’s though.)
The road got a cheap, thinned down black on it. As did a few rocks.
Did white on the cow, as I’m Dutch, I want it to be black and white. Horse is getting spots.
Also a few rocks got some leftover white. Just as with the black, this makes a difference when they get their next colour. Grey is “neutral”.
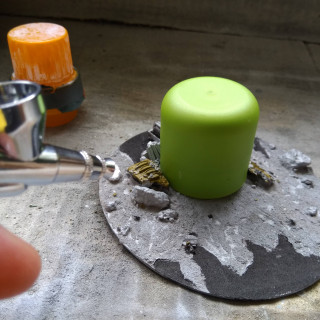
Now I got my airbrush to get my camo on the Scourge parts. Used a quick cover trick. Caps. Just be careful you don’t damage anything (like I did with 1 fence)
I used the remains of the airbrush paint to the steamrollers parts. The circle on the ground is covered by the brown then went on next.
Detailing and Traps ready!
So this last bit took the most time, which I knew it would. So I used as few colours as possible. This I did by using the same colour for different parts.
I started with Armor Brown on the Scourge wing, then the neck-yoke of the cow, spots on the horse, most of the fences and finally some of the rocks. Metal was up next. Scourge, pole, steamroller(roughly). Mud brown; for details on the scourge, parts of the fences and ropes to the pole.(I think)
A quick & careful dark green wash over the Scourge wing, brown on the fence’s and rust effects on the steamroller and the metal parts of the Scourge. A little bit of brown I put on the noses the animals and the ropes.
While that was drying a bright yellow for the hairs of both animals, just from what was outside of the bottle. Grey dry brush over the road, and mix white in with the brown I used to drybrush the earth after. Any spill over of this dry brush being “dust”.
I had a stencil already made for the road markings. (You can use a tile from the cityscape kit for instance.) For this I used a Army Painter Stippling Brush. As I did want them to stand out, but not be to crisp.
Almost done now; I put the drybrush mix of the earth the horse’s hairs as the yellow was to bright. After that it was washes. The animals got light grey, the roller black, the road grey and the lines black to get soften the whiteness, as did the rocks.
EDIT: I mixed all the washes together, with a drop of green, to get the dirty look on the grond where the animals are standing.
I mixed a bit of light grey in with the drybrush of the earth and put this on the horse’s hairs as the yellow was to bright.
To finish of quickly I used self-adherent winter tuft’s from Army painter, which I pushed done with a cocktail stick. And gave the animals some feed. You don’t know how long you need to wait for that ALPA to show up now do you ?


