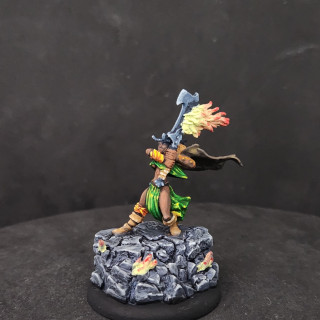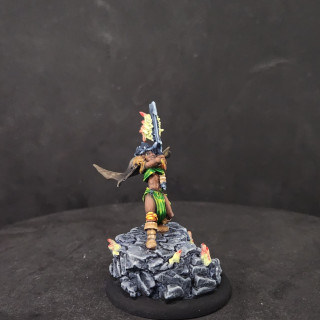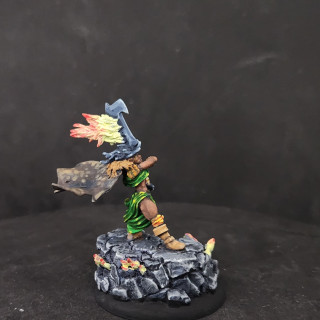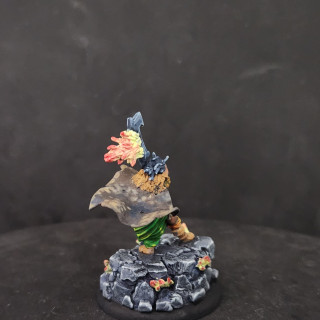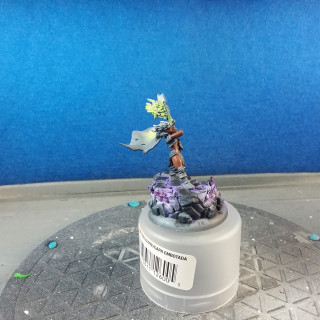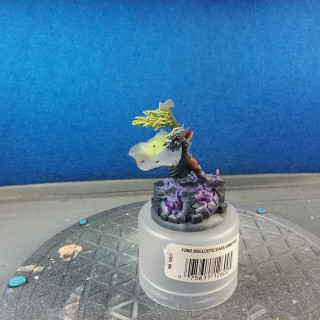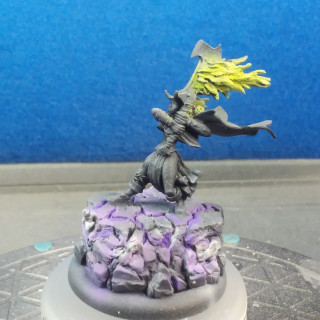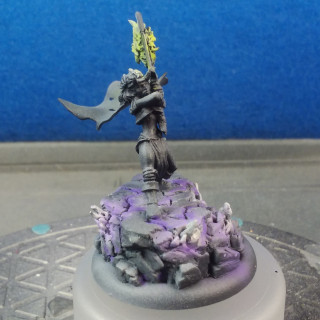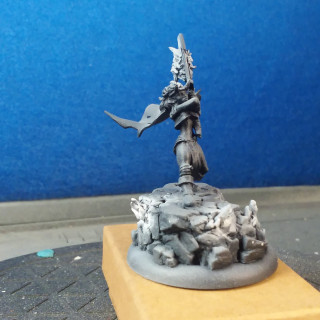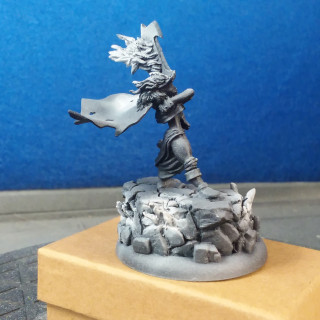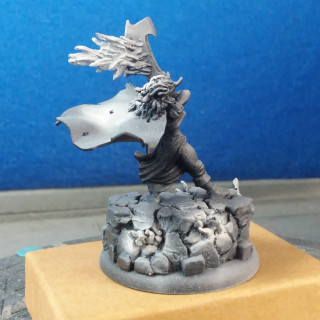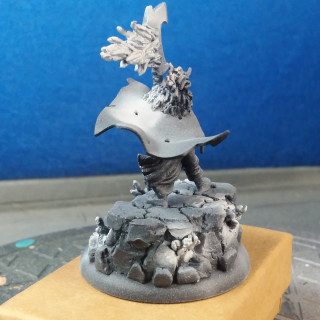
Deenah… again… but different
Recommendations: 124
About the Project
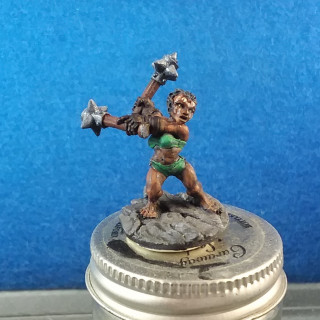
I'm revisiting the original Reaper miniature Deenah barbarian in metal. I've already done a few others before with one that was featured in an early Hobby Hangout. This mini is a favorite from my early days of slapping figures with paint. I wanted to show off the progress of this latest iteration as preparation for a short blurb on basing and preparation of figures to levels of painting.
Related Company: Reaper Miniatures
Related Genre: Fantasy
This Project is On Hold
Restart and completion
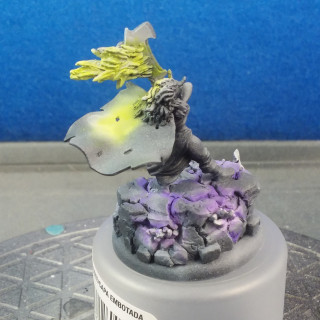
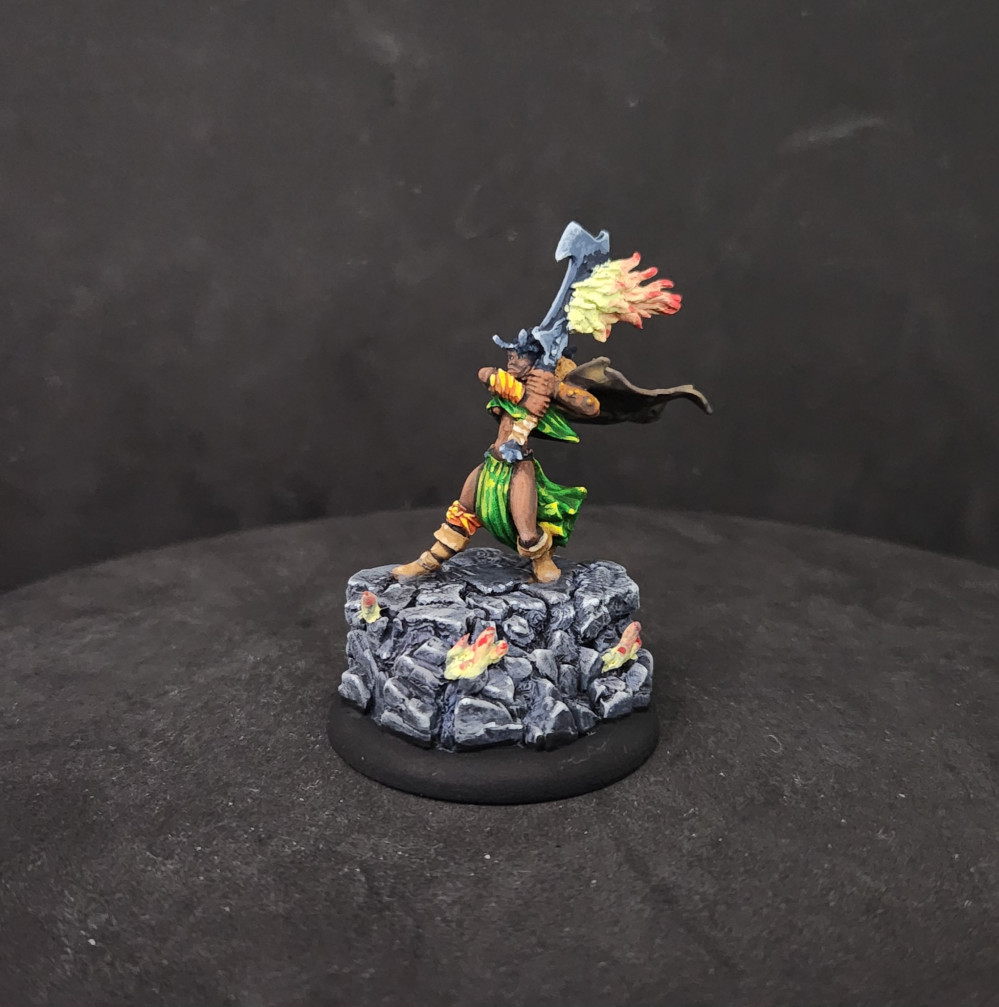
I tested out Cuttlefish for lighter skintones on a separate copy of Deenah and now I take the previously shown model and repaint darker tones. It’s sad to restart the whole process but this is exploration and testing the boundaries of my patience and limits of my skill with a new product. So far so good and I am not displeased with my decision.
My finding an ease of use continues. I believe that the difference between Vallejo and Cuttlefish is the carrier medium. The pigments are wonderful for both. I think I might just need to pick up some of the base colors from Cuttlefish. It does make me think that perhaps I’m just being lazy in not exploring further. I might very well get the same results out of any paint if I just used more medium and learned the binders better. For the moment I think I’ll be glad to use a product that eases a little bit of my hobby science project and allows me to imagine I’m painting better.
Just like other hobbies there is a learning curve to the information versus practical experience.
On a separate note using AK’s Ultra Matte Varnish has yielded beautiful results and I’ll keep using this. I like the Testor’s matte Clearkote but it gets dusty if I get it a bit thicker than it should be. The benefit of the acrylic over the lacquer is forgiveness in the drying time.
From here I’ve ordered a few of the last remaining copies of this figure that I can readily find and will continue to show my love for a wonderful figure.
Skin, a quick study
Apologies for the wait on this latest project update. I thought about how to paint darker skin and took a slight hiatus to essentially do some color splash sketching. I decided to try this on another figure to get some variety into my painting lineup. The lucky model this time was a dwarf barbarian, Azrin (03108) feom Reaper.
I also went with trying to build up the green clothing but not into the neon extreme. The face paint was just a fun thing to play with visually but I won’t be adding it to the fourth Deenah. I’ll go and finish the dwaf model and give to a friend as the general tones work.
The cloak is started and I find that the Wetting Agent from Golden seems to work something akin to flow improver of other brands. I forget the price I paid but its 8 times the amount of regular dropper bottles. It might even be the same kind of formula that you can find on YouTube under the channel for Luke’s Affordable Painting Service (Luke’s APS?). All in all a very good product I’d say as the cloak came out smooth.
Barbarian brouhaha
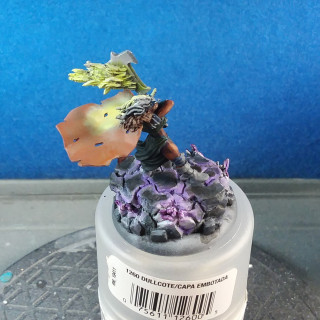
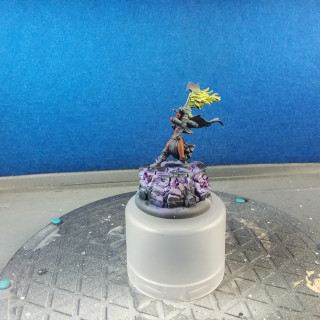
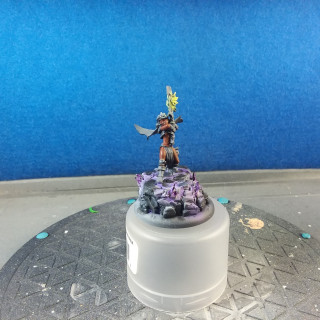
I took up the project again and I’ve found the lighting to be a pain. I didn’t want to end up with glowing from the flames being like every bad 80s music video that featured neon lights. I can best describe the harsh light glow I want to avoid best as the Vader/Skywalker duel in The Empire Strikes Back. I will need to highlight the rocks more in order ro draw them out but it seems harder when the flames are the lights if there’s no zenithal.
On a related note, after watching Conan the Destroyer, I thought that rehashing Grace Jones’s barbarian character would be appropriate to the title of the project. So here I have gone with a black barbarian, though a little more clothed and definitely more hair. I’m not sure where to go with the clothing as far as colors from here on out. I’m not feeling like going crazy with Wakanda fever in designs as it wouldn’t be conducive to my health in trying to put all that detail in. In thinking more about it the ostentatious outfit would kill the focus in the figure by drawing the view away from light sources. What kind of simple scheme or design I’ll hammer out later.
An aside about the airbrush
Buying an airbrush is a big investment. The cost of the brush, hose, compressor and liquid material is daunting. I started with borrowing a friend’s Badger 150 that he hadn’t used for about 20 years. I got used to the idea of being able to spray large numbers of figures without the use of a rattle can or select areas of a model with precision.
My first airbrush was a Badger Patriot 105 and its a good all around machine that I use for my priming, some basecoat work and large flat panel stuff that brush strokes would show up with. Definitely something I recommend to begin with as it can get smaller detail work with practice and provide the larger area coverage quickly.
Through a comedic misplacement of my first airbrush with Badger when I sent it in for some work I ordered a second 105. I had been looking at a higher end machine for a bit and decided on a Sotar 20/20 as I was already doing business directly while I had them on the phone.
The difference in performance has been incredible for this project. I’ve honestly been intimidated by the machine as I felt I would screw it up since it was more expensive. I am happy to report that I think I might be a real mini painter now. Well, the next purchase is an ultrasonic cleaner for my two 105s (one for priming and enamels/lacquer clearcoats the other for acrylics) so probably a committed hobbyist.
The only drawback I find with it is that the front of the Sotar is shorter than the 105s so it doesn’t sit snugly in the discharge pot for cleaning. Anyone using an Iwata or Harder Steenbeck having this kind of issue?
Outside of all that I hope to inspire others reading this to look into getting a setup for larger models and mass painting of large forces.
Let there be light
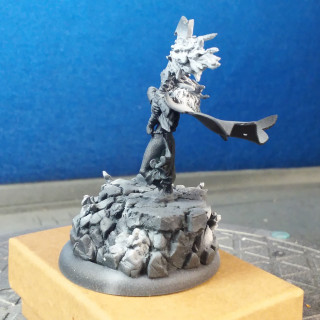
I have finished the basic colors for the OSL. I thought I would soil myself when I was breaking out my lateset purchase in airbrushes. The detail level was better than I achieve with my regular brush and I am very glad for the purchase. The area between the rocks and the tight spaces of spraying were the places where it showed off its strengh. Now, time to unwind and get ready for work.
Lights! Airbrush! OSL!
In watching a video on YouTube by Vince Venturella on the use of Badger’s ghost tints with white highlights and catching a blog entry on how to do OSL for the interior glow of blasters in 40k I decided to try OSL on the flames of the base and sword.
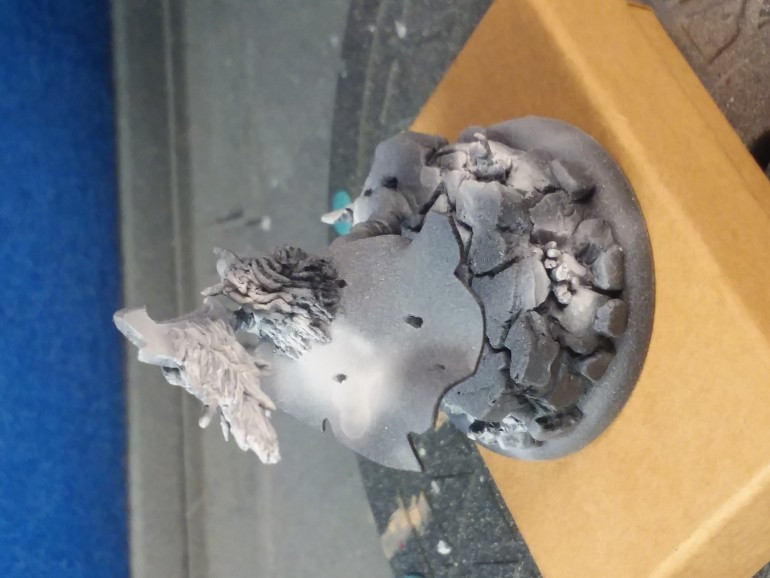
Starting with my usual routine of zenithal highlighting I began with a black primer. I then lightly dusted the mini with grey primer. To finish out my priming I hit all the flames on the base and sword white with areas around them to produce a “glow”. I was very pleased with the hair and cloak despite a slight mishap during this process.
I hope to finish out the base with a few pure white lines between the stones, under the figure, to make it appear as thout there is a glow from within the rocks. This glow would be tinted the same as the flames around the base to tie it all together.
No gif this time as the detail gets lost from compression. Not too shabby from a cellphone when I look at them on the pc all blown up on a real monitor.
And more work was done
More sculpting done at work over a dead holiday weekend without anyone to bother me. I’m surprised that I was able to finish the sculpting on the details for both figure and base. I am quite tired of sculpting for the moment and look forward to painting and then putting the next project out.
Looking at it again all I can think of is the big feathered hair of every 80s fantasy adventure film (both Conan films and Red Sonja seem to stick out first). It will have a break from the forehead/face due to the horned headband.
The base seems to lose the detail of flames coming up from the rocks as well but that will definitely be remedied with the paint job I have in mind.
A quicker update
After an evening constitutional and making the command decision to work on the mini more I took off the head and amused myself with how ridiculous it looked.
At work I put on a new head and modified with some horns. This head is the second attempt as the first proved that Chaos spikey bits demand blood for the Blood God. I’d rather have random daemonette floozies stop by but you can only get so much. Here is the start of the sword effects that will also be built up before the cloak and hair work is done.
A bit after the beginning... by a lot
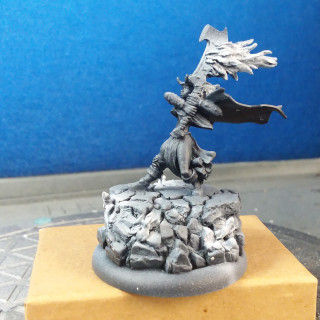
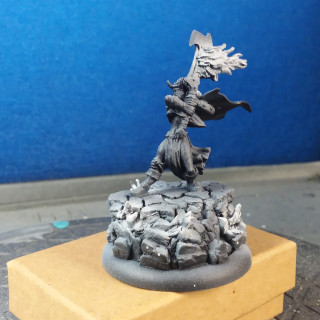
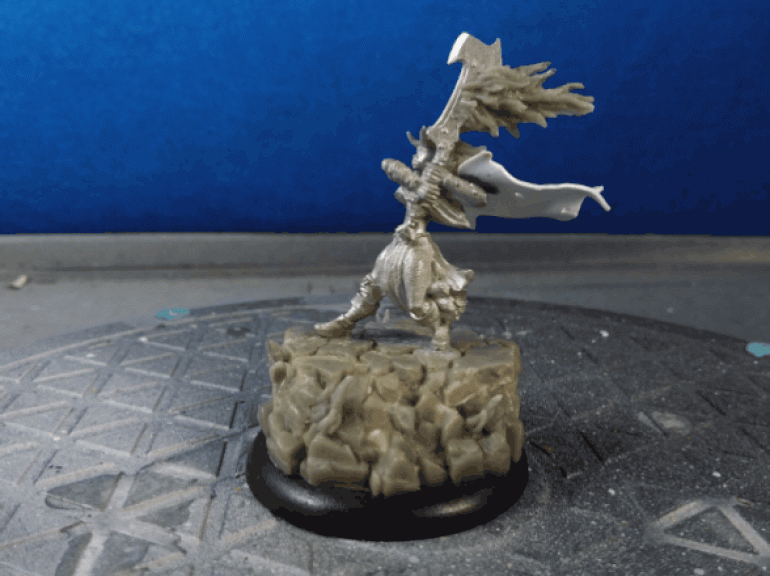
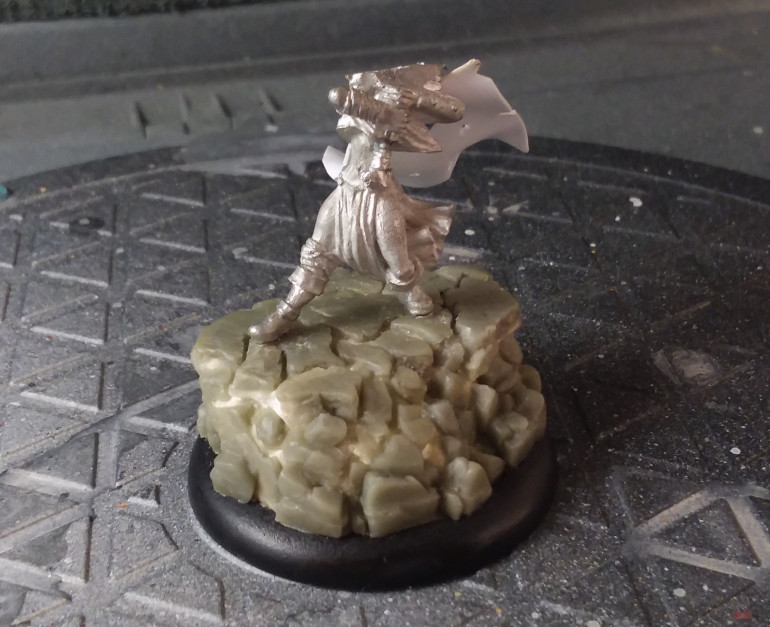
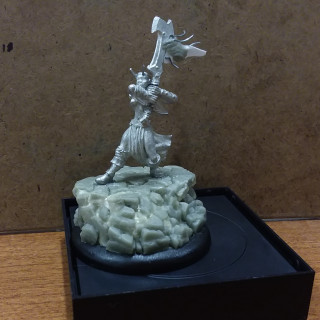
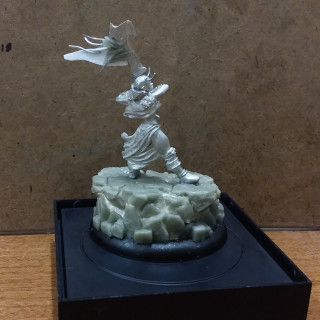
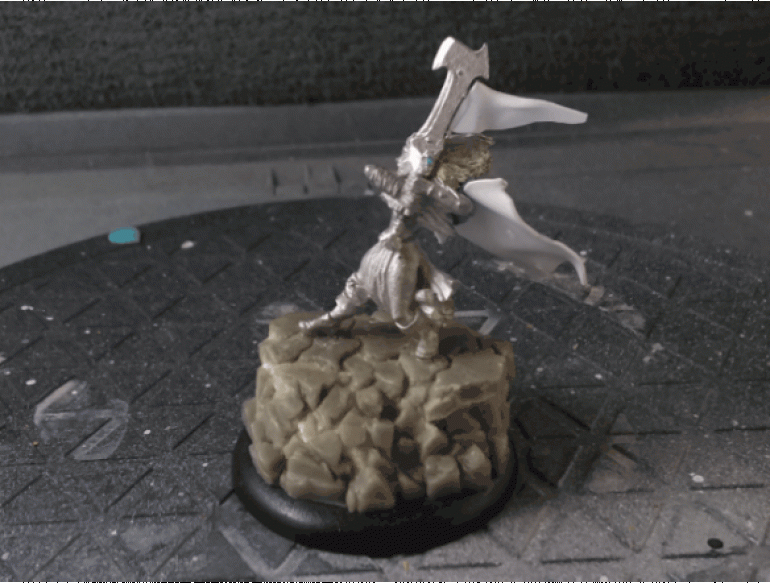
Ok, so as you can see there has been quite a bit of work done already on the barbarian Deenah (02518) from Reaper. The mini has been cleaned of minor mold lines and there’s kitbashing going on all over. I wanted to give a quick 360 gif of the figure for reference since this already has been in progress without documenting it.
To start the broccoli base the figure was cast with has been sawn off and added to the extra metal hoard that I really should get melted to make a few figures. A scratchbuilt base that it is now pinned to was built upon a plain plastic 40mm slotta using pressed cardboard, which was glued together, salvaged out of an IKEA box. The rocky texture was sculpted using Apoxie Sculpt.
The figure initially had a plain two handed broadsword that has been replaced with one of the Overlord weapons in Reaper’s conversion sprue collection. The hilt and blade have both been removed and both replacement parts pinned to attach to the figure. The sword’s blade has yet to be set to allow removal for work on the head. As an aside I think the huge cleaver makes her look all that more menacing so I ran with it.
The next obvious addition is the use of plastic. I’ve used very thin plasticard to form a cloak on her back and what will be a magic effect coming off the sword. The planned sword effect has already been glued on and should hold better after sculpting detail to the form. The cloak has been given some wear holes but has yet to be set and is being held on with poster tack for reference overall. It will be finished with a pin and likely have a hood sculpted to hide/hold it.
The head/hair will be sawn in half to remove the face and set in a replacement from Statuesque minis and then resculpt hair as was done with the last copy of this figure.
I’m debating on additional modification to the base and figure but I’ll get to that once I’ve done my other mods. So… here’s the mini.


