Manda’s (Amachan) Experiments
Recommendations: 60
About the Project
This project will be a collation of hobby experiments I have performed. These are experiments I'm doing outside of any other projects I'm doing. I thought I'd post them so they can maybe help others out as well.
Related Genre: Puzzle
This Project is Completed
Photography
This project came forth from @Lancorz photography project, which you can find here: https://www.beastsofwar.com/project/1242204/
I’m trying to figure out which camera settings work well for me and get me a good result. Normally I’d use the automatic settings within the limits that I set up on my camera and that worked well, but now I’m trying to find some improvement. Before you ask, I can’t at any point in the near future change any of the stuff I use to make my pictures and thus I’ll have to make do with what I have.
For this experiment I’m not overly concerned with my shutter speed, the camera is on a stable platform and has physical lens stabilization. The camera I’m using is the Canon PowerShot SX160 IS.
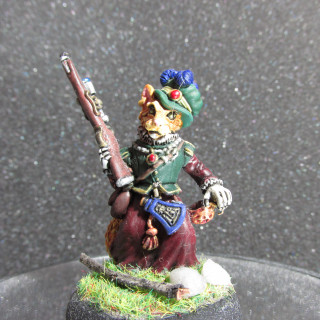
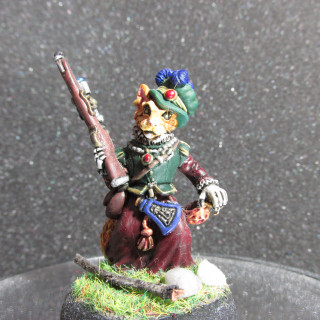
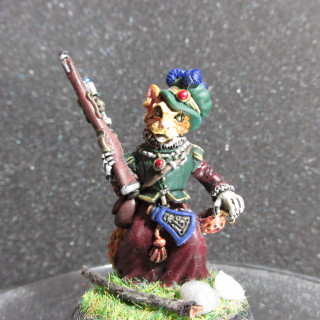
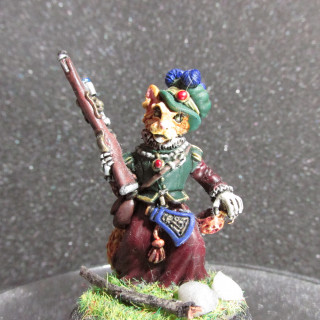
So here is the first array of photographs. I list the aperture for each series and they’ll be going up in ISO value from left to right or first to last, not sure how you’ll see it on your device.
*f4.0 means an aperture of 4.0.
f3.5 ISO 100-200-400-800
f4.0 ISO 100-200-400-800
f5.0 ISO 100-200-400-800
f7.1 ISO 100-200-400-800
Having looked at all of the pictures an aperture of 4.0 gives me a good depth, although the difference isn’t very well visible. Even though I said shutter speed isn’t overly important to me, when using an aperture of 7.1 it gives me a bit too much of a chance things will still blur due to the very low shutter speed it then needs.
I do clearly see the difference between the ISO values and lower is definitely better, but also slows the shutter speed.
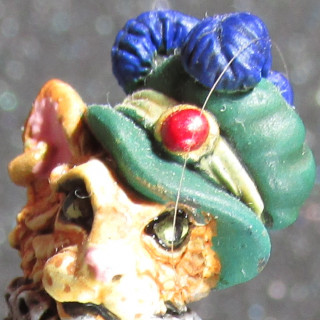
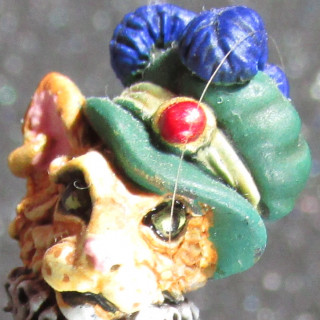
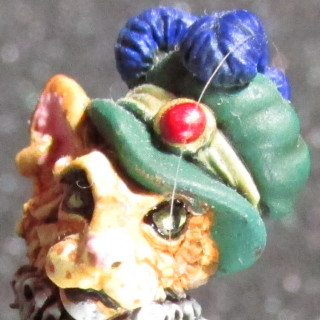
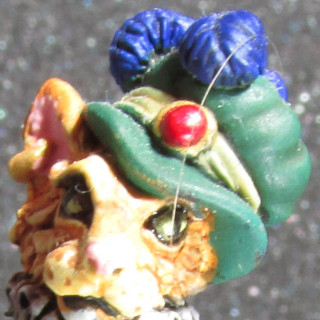
Here is an array of picture cuts. These are cuts from the pictures above to show the zoomed in detail more clearly. You can just zoom in on every picture to see the exact same. From first to last or left to right however you’re looking at it.
- f4.0 ISO 100
- f4.0 ISO 200
- f4.0 ISO 800
- f7.1 ISO 100
In the end I decided to go with f4.0 and an ISO of 100. The shutter speed of 1/5 at this stage is acceptable for me in my situation.
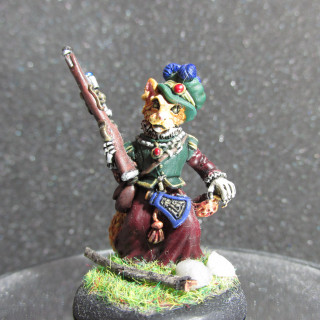
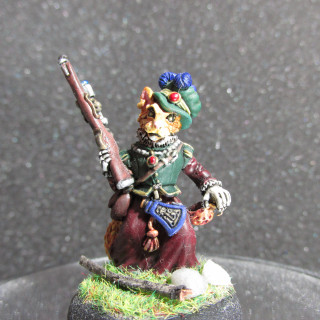
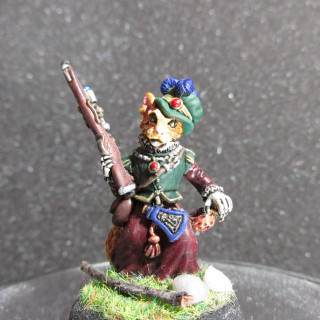
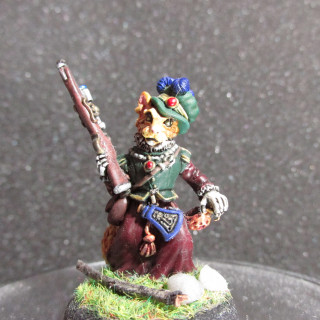
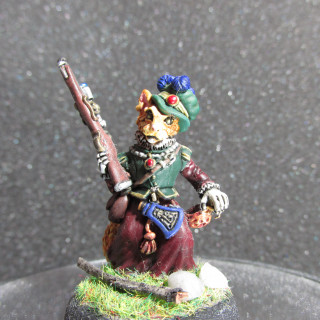
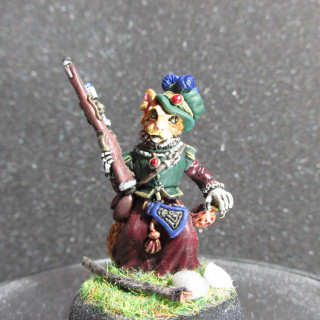
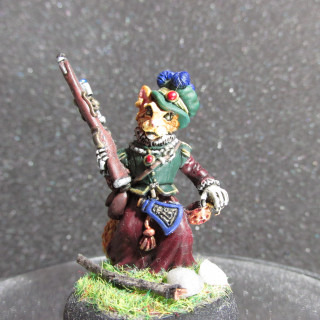
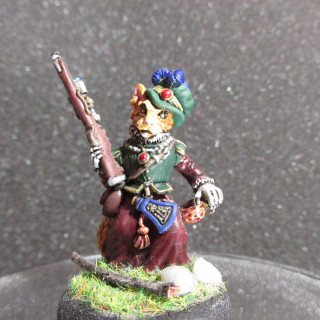
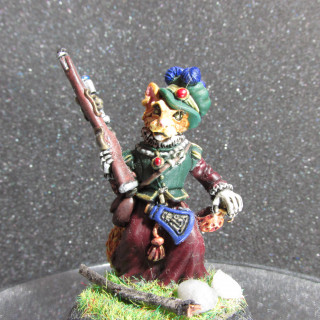
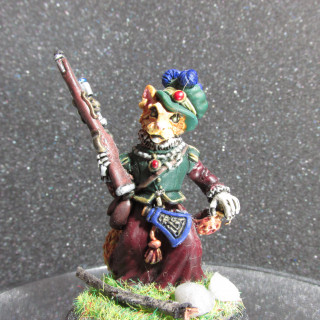
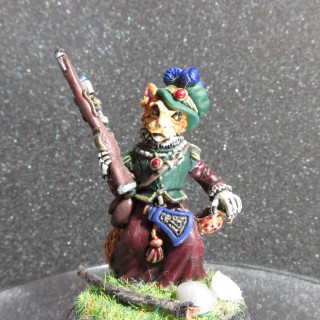
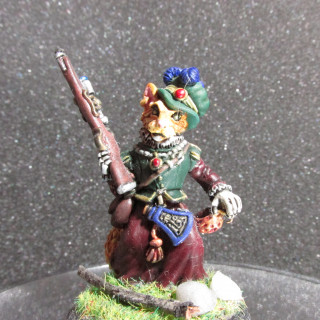
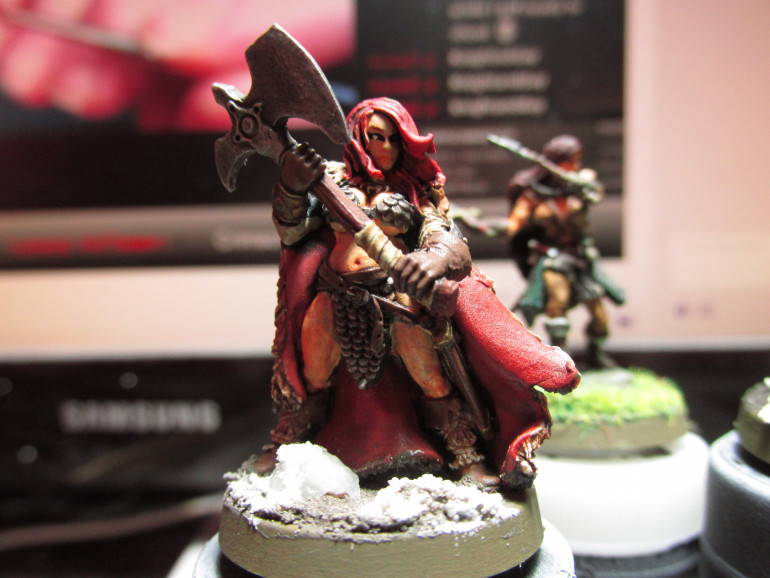
The miniature used is the Cat Huntress from Oathsworn Miniatures.
Greenstuff World Colour Shifting Paints & Varnish
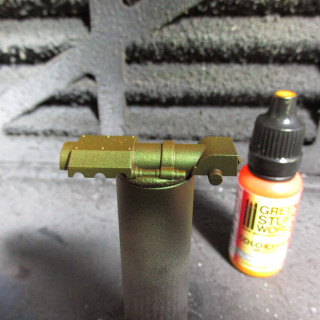
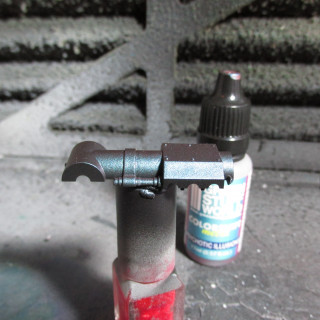
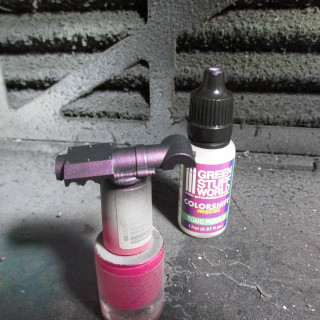
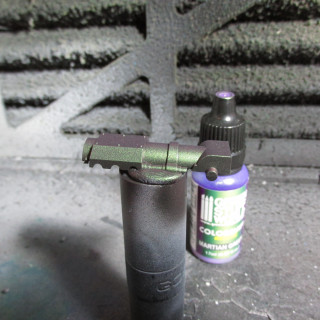
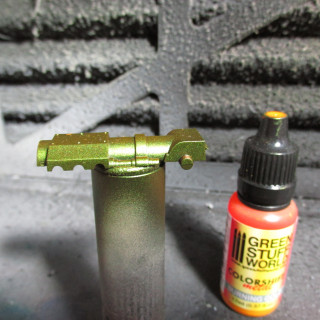
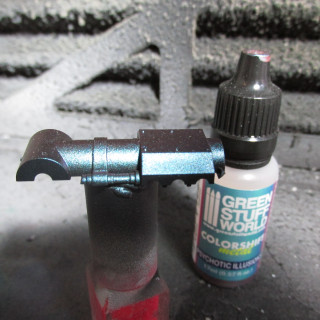
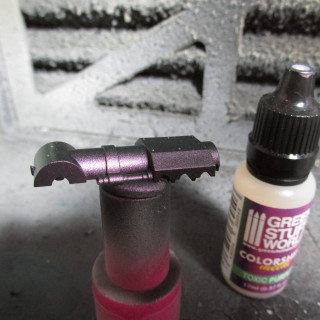
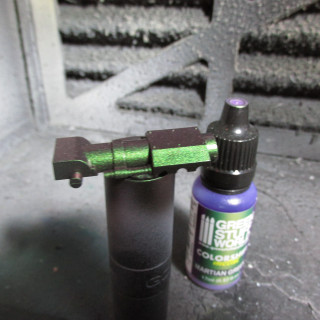
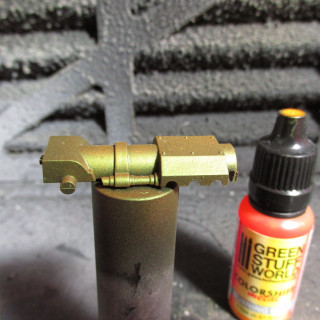
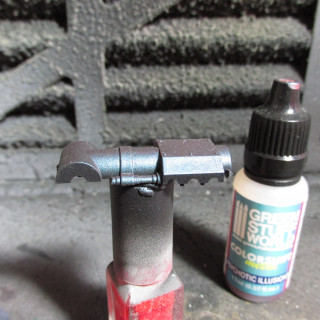
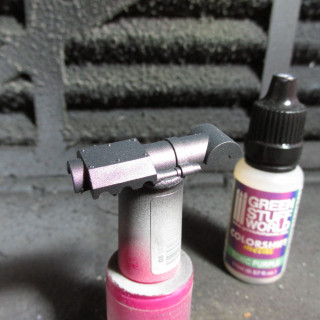
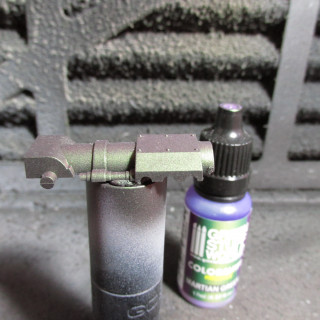
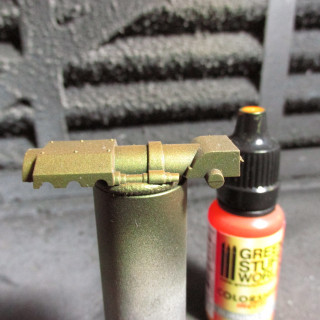
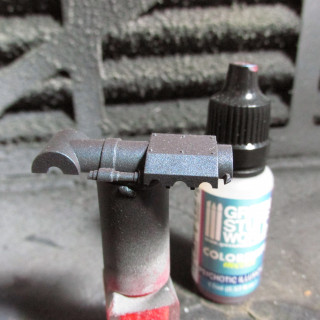
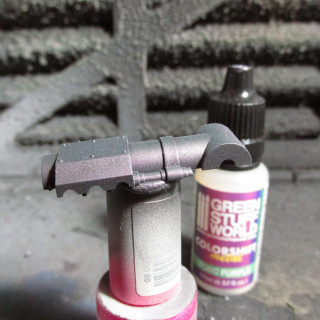
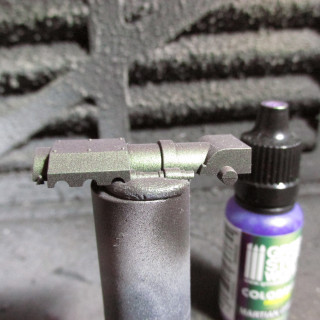
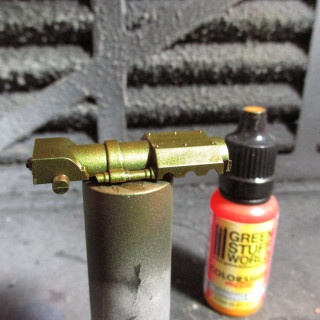
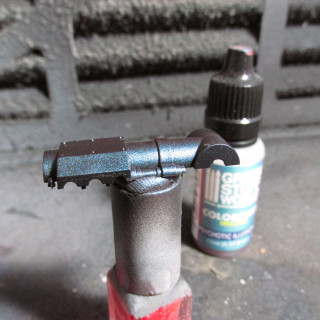
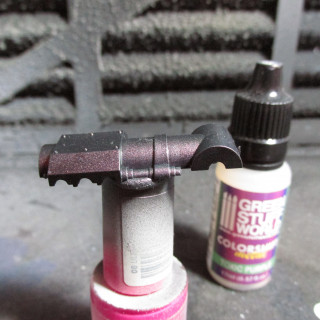
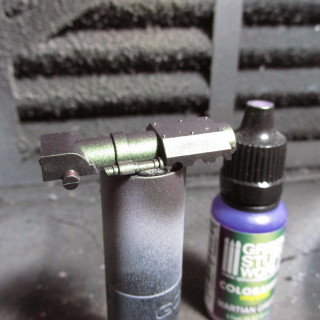
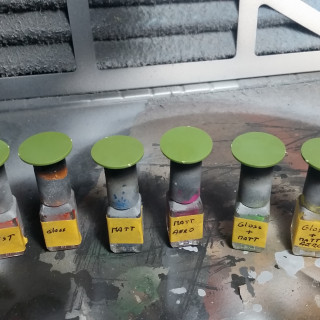
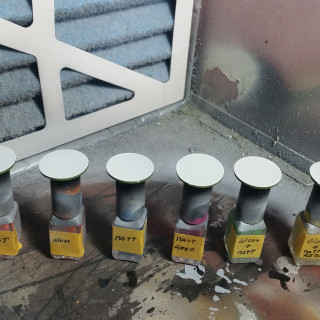
I bought a set and 1 more bottle of the Greenstuff World colour shifting paints. I was curious how these paints were going to react to varnishes. So I got 4 gun bits from the Leman Russ Battle Tank from my bits box, I think these are the Eradicator Nova Cannons. I primed each half of the cannon with Vallejo Surface Primer Gloss Black (74.660). I chose 4 of the colour shift paints that I wanted to test and sprayed a half of a cannon in each colour.
- Burning Gold
- Psychotic Illusions
- Toxic Purple
- Martian Green
I then applied the first layer of varnish for my normal varnishing track. I used Vallejo Gloss Acrylic Varnish (28.517) for this.
Then for my second coat of varnish is Vallejo Polyurethane Matt Varnish (27.651).
Then as is normal for me I add a second coat of the same matt varnish as before. 1 coat just doesn’t always cover up the gloss as well as I want to.
Most of the colour shifting was gone unfortunately. So in order to fix that I used a bit of Vallejo Acrylic Polyurethane Gloss Varnish (62.064) by brush. I often do this to finish up models and add shine to places that I want to shine, like lenses, visors and the like. Do note that this is a different gloss varnish than that I used before.
I’m happy to see that that has return the colour shifting effect to the paint and thus this will be my go for varnishing layers for the colour shift paints from Greenstuff World.
*All paints and varnishes were applied by airbrush unless stated otherwise and I left each layer of paint or varnish to cure for at least 24 hours before applying the next.
Varnish
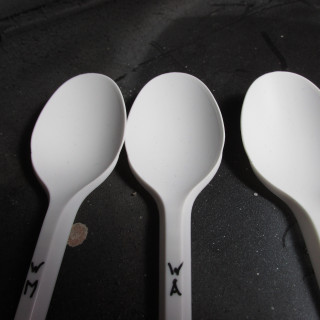
I really started to get annoyed by the frosting issues and other issues I had with my current varnish. I used to use Vallejo Polyurethane Matt Varnish (27.651). So I bought a different varnish and thought I’d run a test. I have a bottle of Army Painters Anti-Shine as well so let’s test it as well. I got some plastic spoons and prepared the for testing. I used these three different surfaces to test on:
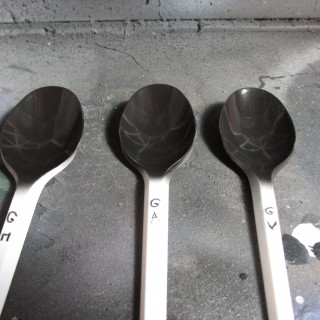
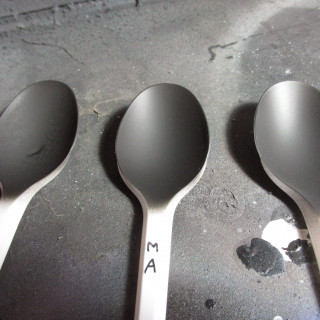
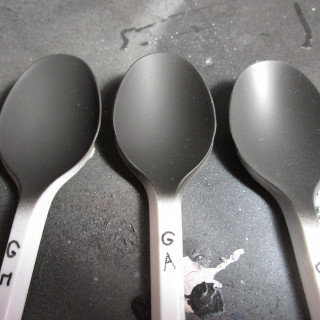
- Vallejo Surface Primer Gloss Black (74.660) marked by a G as the first letter.
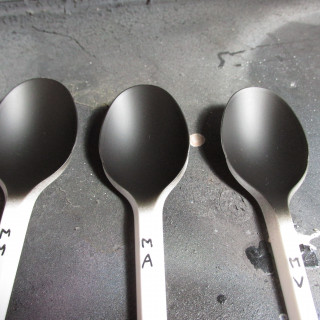
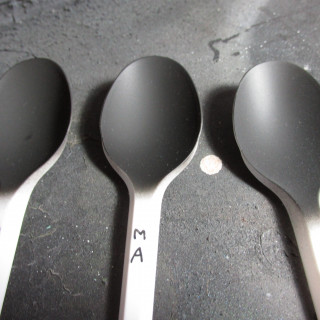
- Vallejo Surface Primer Black (74.602) marked by an M as the first letter.
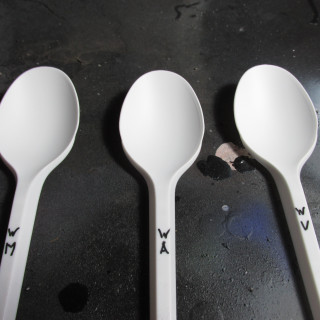
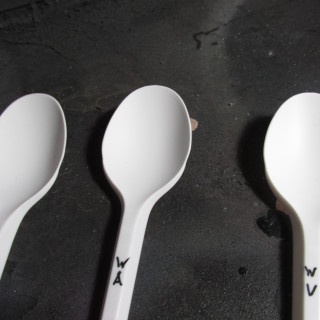
- Vallejo Surface Primer White (74.600) marked by a W as the first letter.
The three varnishes I’m testing are:
- Vallejo Polyurethane Matt Varnish (27.651) marked by a V as the second letter.
- The Army Painter Anti-Shine Matt Varnish (WP1103) marked by an A as the second letter.
- Mig Ultra-Matt Lucky Varnish (A.MIG-2050) marked by an M as the second letter.
The Vallejo varnish is diluted with some Vallejo Airbrush Flow Improver (71.562) because it’s way too goopy and clogs up the airbrush if I don’t, while the Army Painter and the Mig are used undiluted. The Army painter is a bit thick undiluted but goes through the airbrush well. The Mig is already really thin and airbrush ready.
So here are the prepared spoons without any varnish:
I applied the first layer of varnish. The Mig varnish is very thin and flows quickly when applied too much as is shown on the matte Mig varnish spoon (MM).
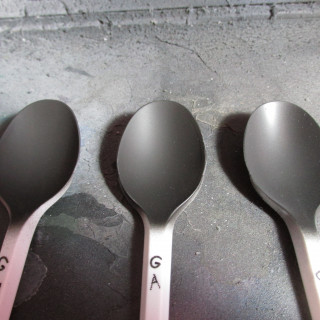
And now for a second coat, this used to be kind of necessary with the old varnish. Do note that I cover my miniatures with a gloss varnish for protection first so shine removal is essential for me.
I’m very happy with the results of the Mig varnish and think that the Army Painter one kind of comes in the middle.
I now tried the Mig on a miniature to see what it’s like and I thought one coat might be enough to cover the gloss, but looking back at it later I think a second coat would be better.
For more pictures of this mini, please see the entry in my Hasslefree Project.
Why varnish your models?
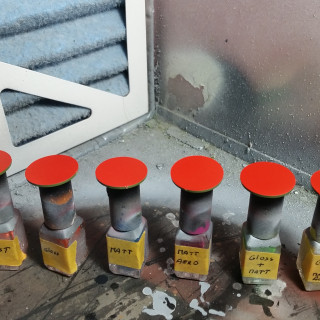
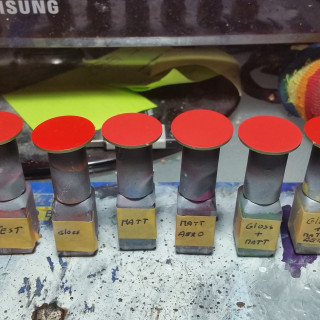
So plenty of people have been arguing about whether you should gloss coat first and then matt coat, just a matt coat or not use any varnish at all. Thus I have decided I am going to do a series of tests to see what and why. To start with I have 6 green bases, they are all primed with Vallejo Surface Primer Grey (74.601) and then basecoated with Vallejo Model Air Red RLM23 (71.003).
The Varnishes:
For the gloss varnish I am using Vallejo Gloss Acrylic Varnish (28.517), for the matt I use AK Interactive Ultra Matte Varnish (AK 183) and for the aerosol matt varnish I used The Army Painter Anti Shine Matt Varnish (Aerosol Can).
The Tools:
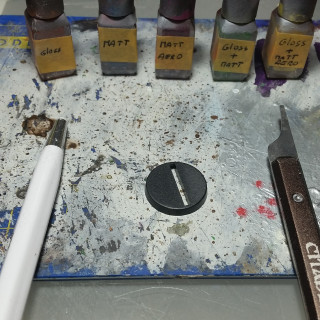
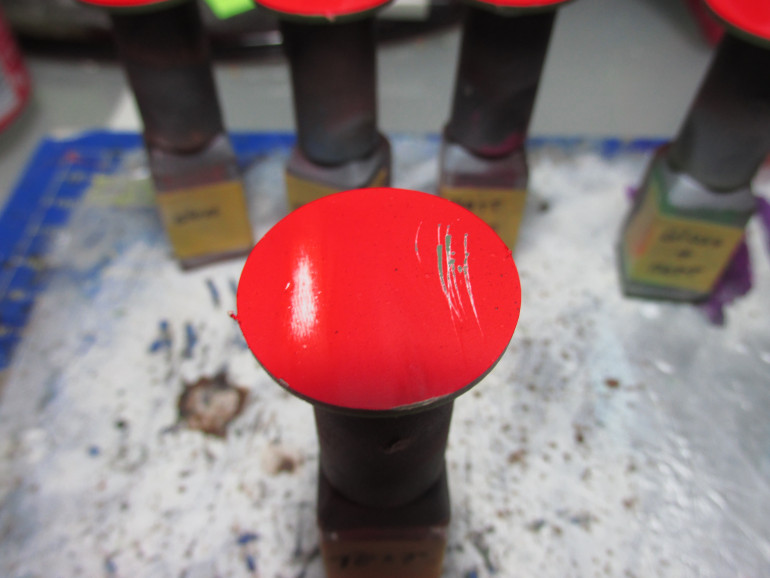
Now for the tools of testing, rubbing my finger over the unvarnished paint, did do anything, neither did my nails. So I am using a fibreglass brush, a plastic base and the GW mould line remover which has finally found use after laying in my tool tray for years.
The Tests:
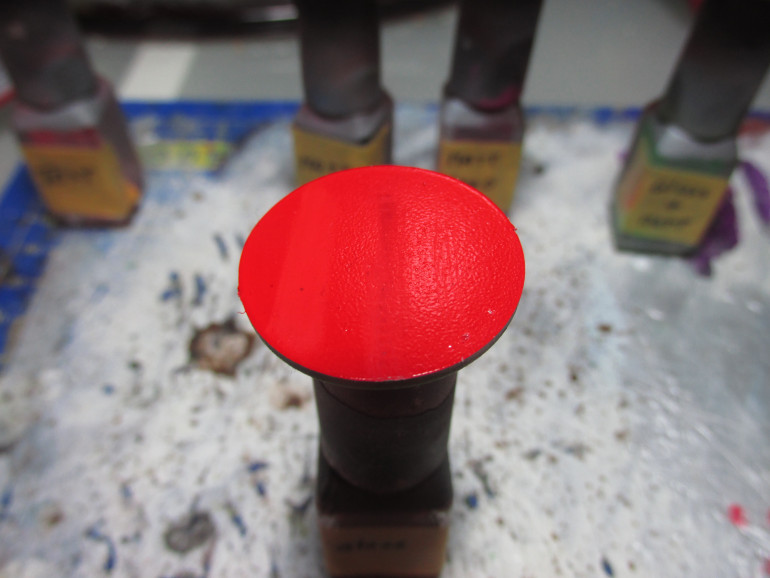 This was just the gloss varnish. The gloss varnish started to matt at the points that where hit, but no damage to the paint as far as I can see.
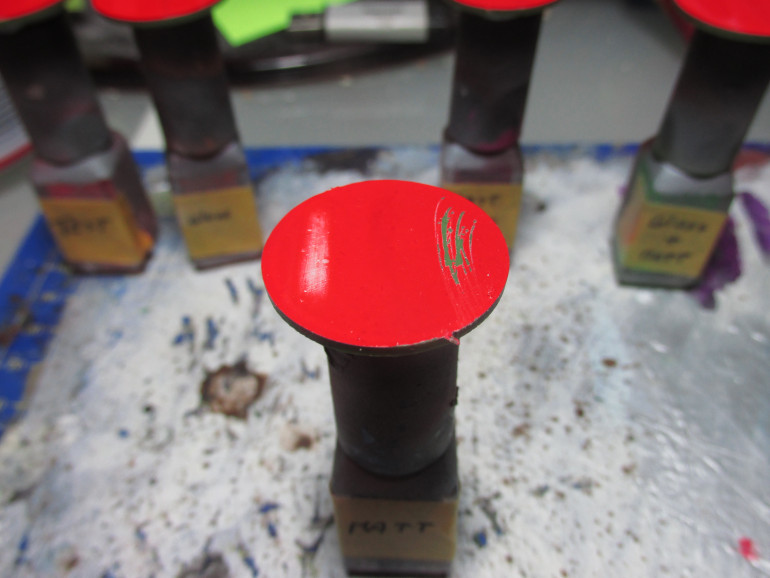 This is the pure matt varnish. It felt that the texture of this varnish made it easier for the tools to grip and thus easier to damage the paint. The varnish itself is nowhere near strong enough to resist the damage.
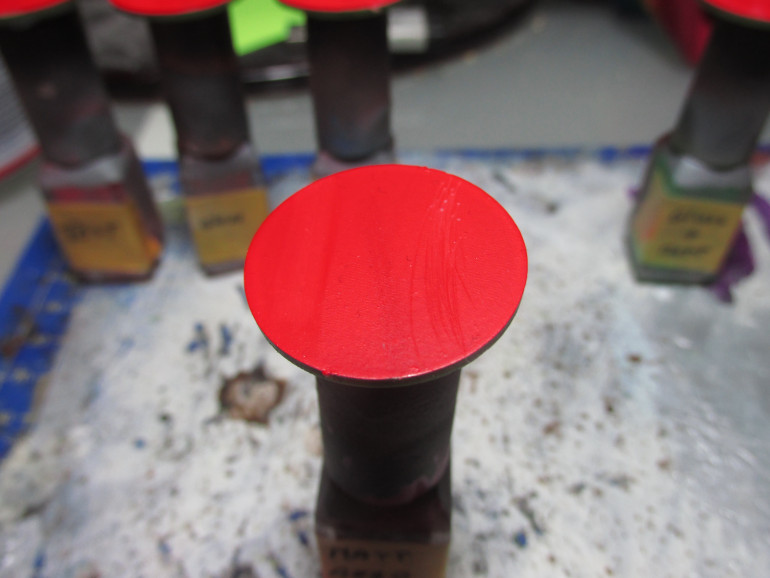 I had a feeling aerosol varnishes would react somewhat different to airbrush ones. While the anti shine is nowhere near as matt as the ultra matt varnish, the varnish is a lot tougher. Probably due to the texture being smoother and it not being an acrylic.
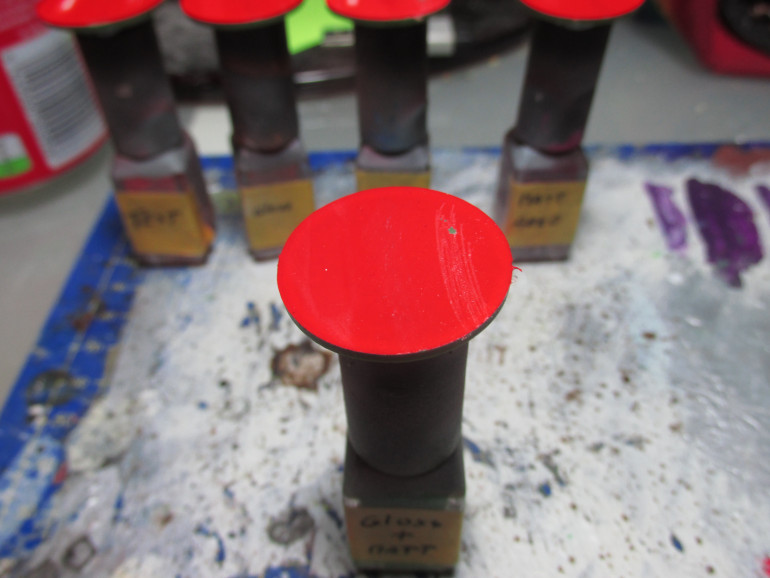 Gloss + matt varnish. This seems to agree with my earlier conclusions. The matt makes thing easier to grip and easier to damage, however the gloss coat under it does protect the paint a lot better than the ultra matte does on its own.
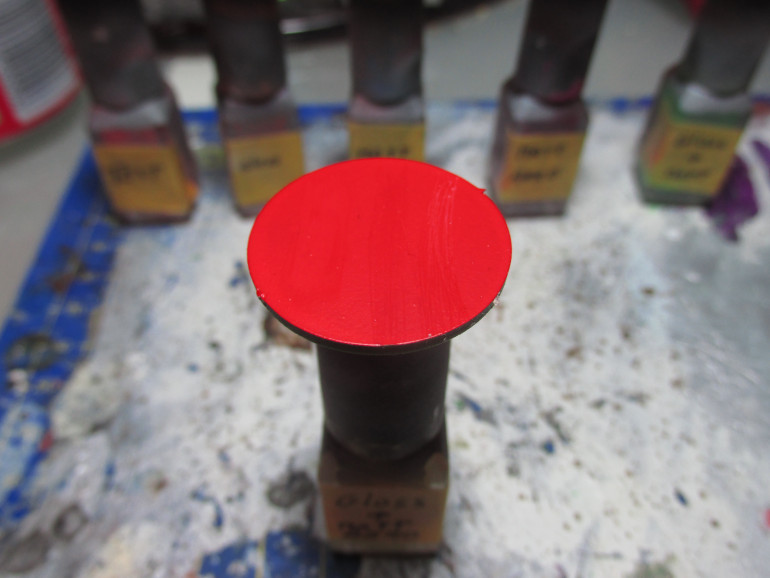 Gloss coat and then an aerosol varnish. Very similar results to the normal aerosol test, although there is a minuscule difference in that the gloss protects it a little better. The difference in negligible in my opinion.
The Conclusion:
Not varnishing is an option when all you have is an airbrush matt varnish, however investing in a gloss and matt combo is the way to go for an airbrush only combination. Now the overal winner here is The Army Painter Anti Shine Matt Varnish (Aerosol Can) whether applied with a gloss or not it will protect your mini’s the best, but you are having to deal with the environment and the vapours of an aerosol.
Other brands of varnishes are available and I have only tested what I had to hand, but I think it gives a good idea of what varnishes do.
All paints and varnishes apart from the aerosol varnish were applied with the airbush.


