Adventures in Airbrushing
Washes and airbrushing are perfect partners
So, the last entry showed my stormtrooper squad after they had been sprayed. I liked the result, but decied i wanted the overall finish to be darker, a blue/grey finish rather than just a contrasty white.
To do this, I used washes. The thing with washes, as anyone who has used them will now, is that they can dry a bit patchy if you use them on a large flat surface. As I wanted to colour the whole model for each stormtrooper, this would be a problem. So my first step was to varnish them.
I use Klear floor polish, because its dirt cheap compared to acrylic varnish in paint bottles, despite being more or less the same thing, but any gloss varnish will do. The reason for the gloss varnish is it reduces the surface tension of the wash when applied and lets it run evenly all over the model, much better than the paint itself could do.
I mixed black and blue washes together until I got the colour I was after, and then added flow improver to make it an even thinner paint mix. Then, simply brushed it on and left it to dry.
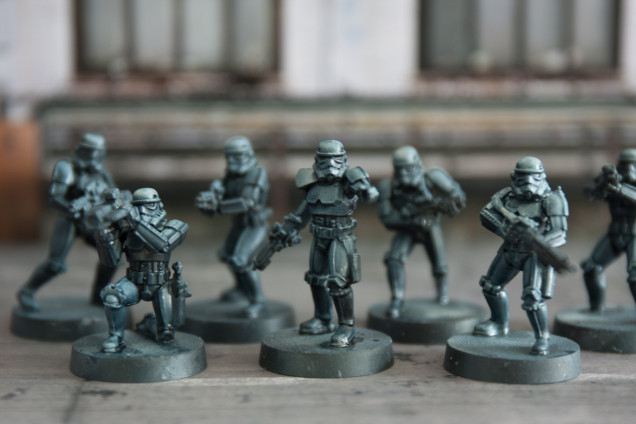
That left me with this:
They dried nicely, giving an overall colour effect without losing the high and low lights the airbrush created.
Next,Brushwork. I added small highlights all over the model, using the sickly skin colour from P3. Once done, I was unsure about weapon colours, so used a red ink to tint all the weapons to see what it looked like.
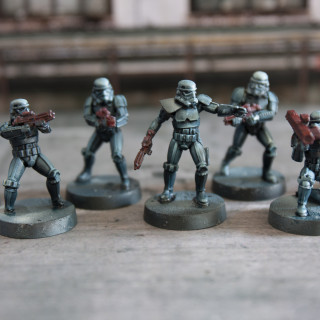
After that we have this:
Finally basing. I used one of the vallejo texture paints and some plaster pieces to create concrete debris. I then used army painter military shader on the plaster pieces to give the blasted, wornm look for the copncrete.
At this point, I was still unsure of the red weapons, but I added the same military shader to the weapons, dulling them down and creating more definition, and I think they look good at that.
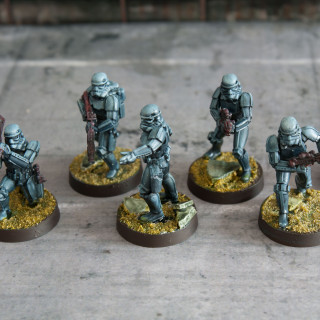
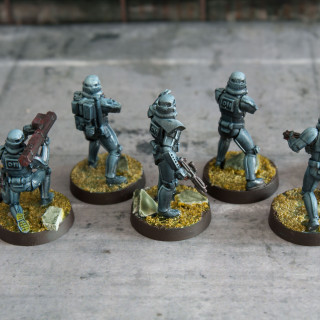
Finally, I used a mix of yellow and brown ink to create the colour on the base texture. The idea is its an urban scheme, and this would be the dust and debris from some firefight on an alien world. The colour contrasts well with the armour, which is good for bases, but also looks alien and different.
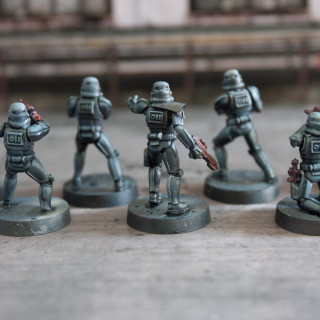
When done, the completed models look like this:
Airbrushing gives you the basic light structure on a model, and really helps you create an entire colour scheme, including highlights and shades, just with a wash.
If you have any questions, please ask, always here to help.


![How To Paint Moonstone’s Nanny | Goblin King Games [7 Days Early Access]](https://images.beastsofwar.com/2024/12/3CU-Gobin-King-Games-Moonstone-Shades-Nanny-coverimage-225-127.jpg)




Leave a Reply