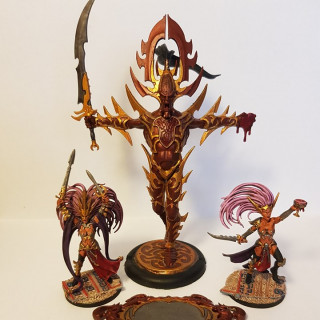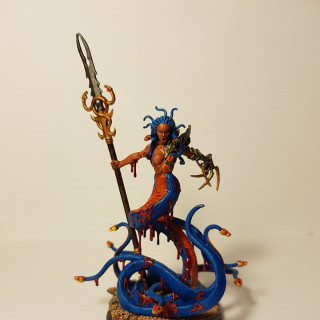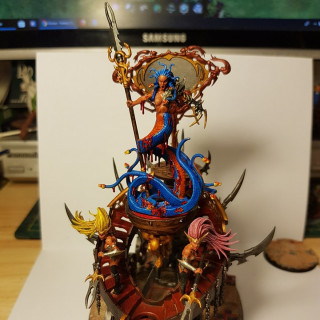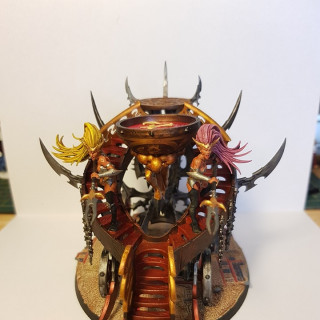
AOS and Warcry Daughters of Khaine
Recommendations: 94
About the Project
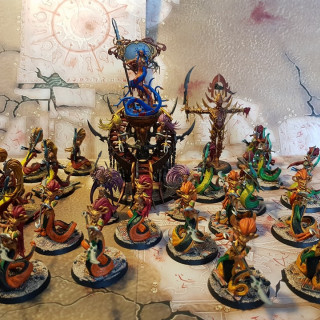
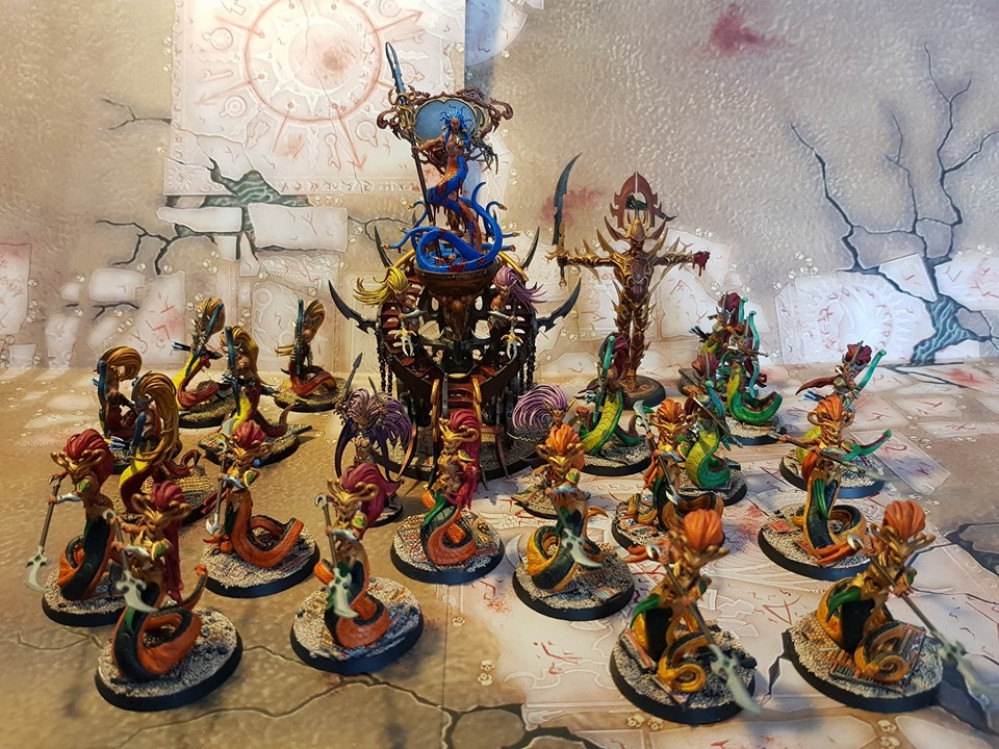
This Project is to chart my work on the Daughters of Khaine by Games Workshop. Covering the building of my Temple Nest warscroll Battalion and any other units that I get. It has now been expanded to cover a Warcry warband.
Related Game: Warhammer Age of Sigmar
Related Company: Games Workshop
Related Genre: Fantasy
This Project is Active
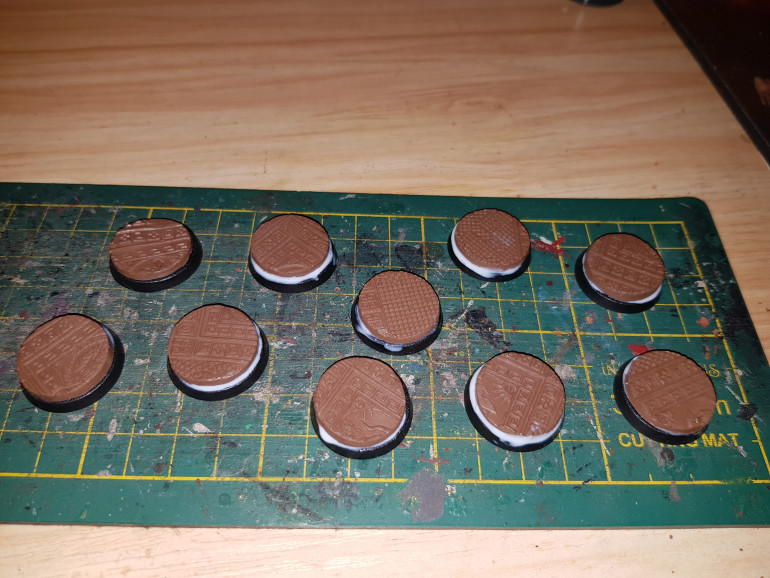
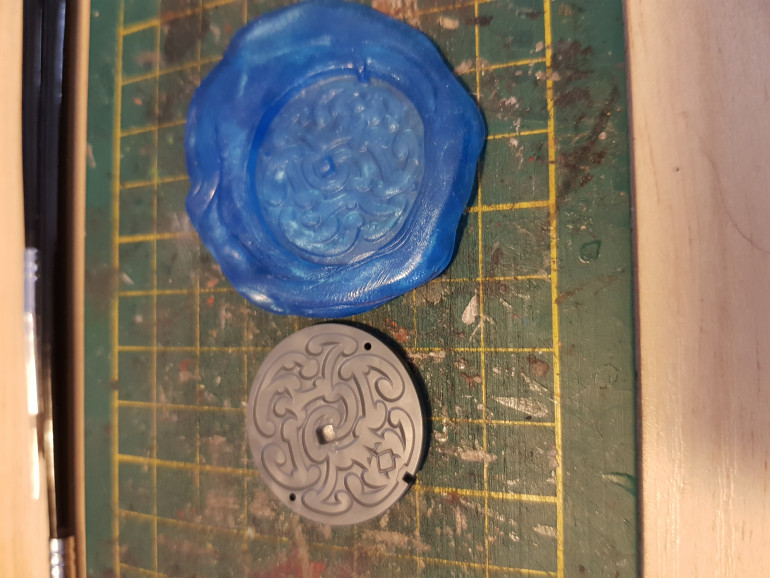
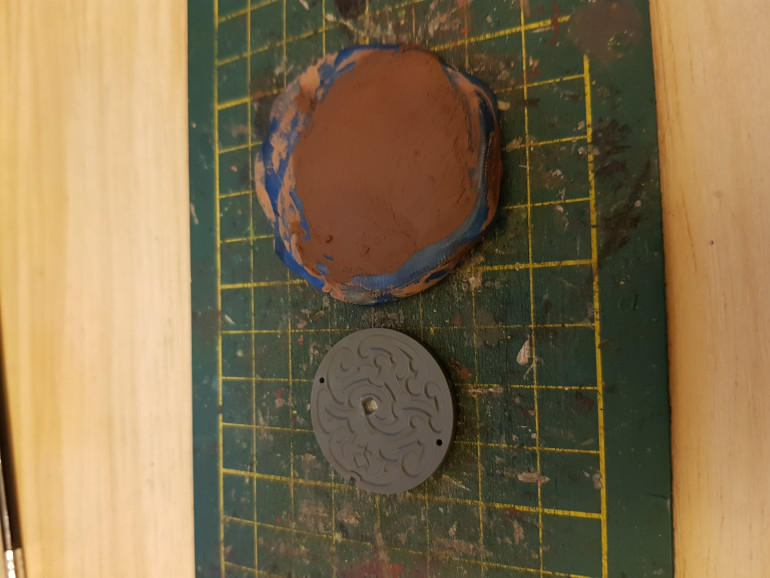
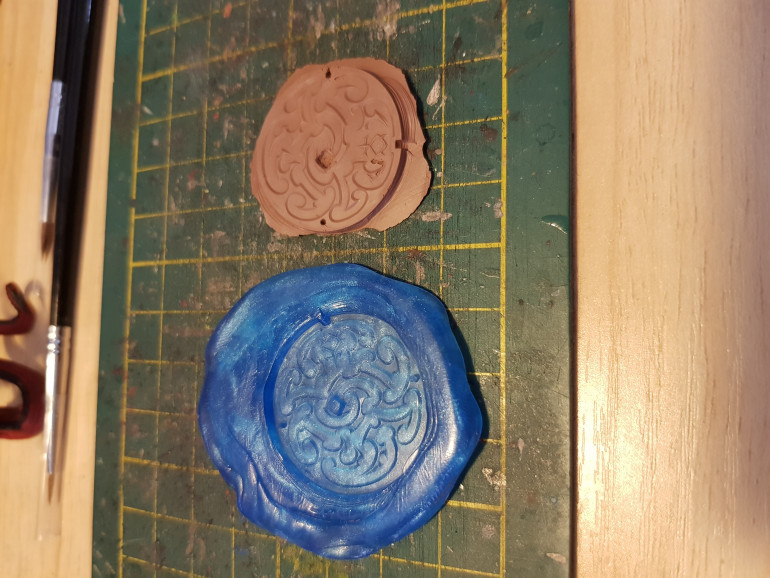
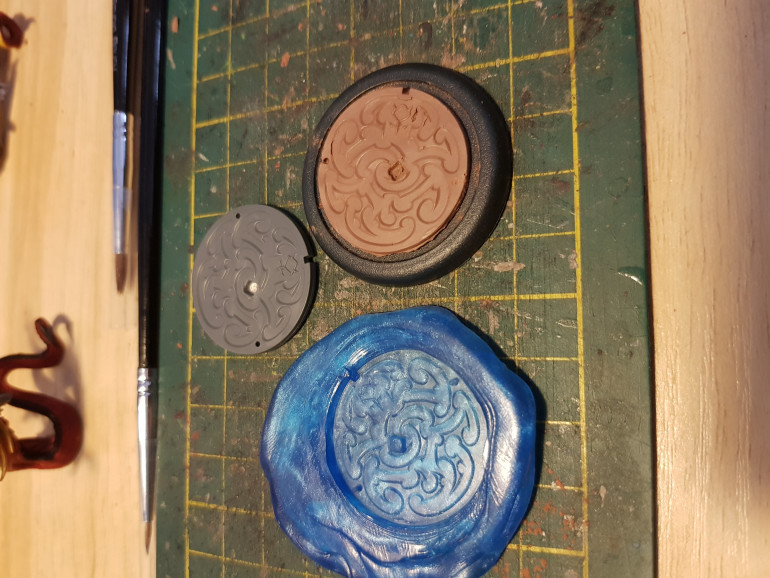
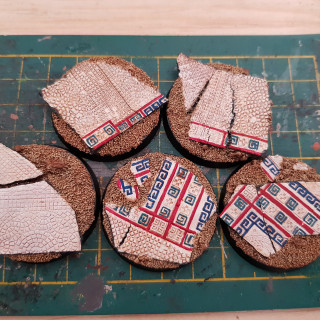
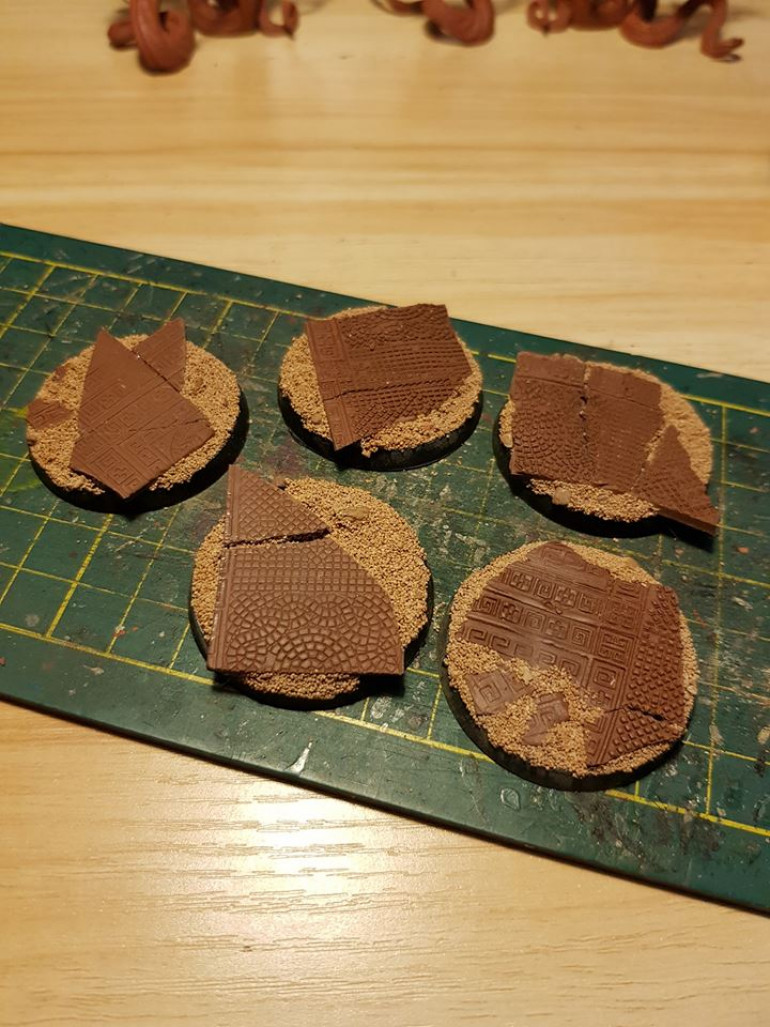
Started work on the new bases
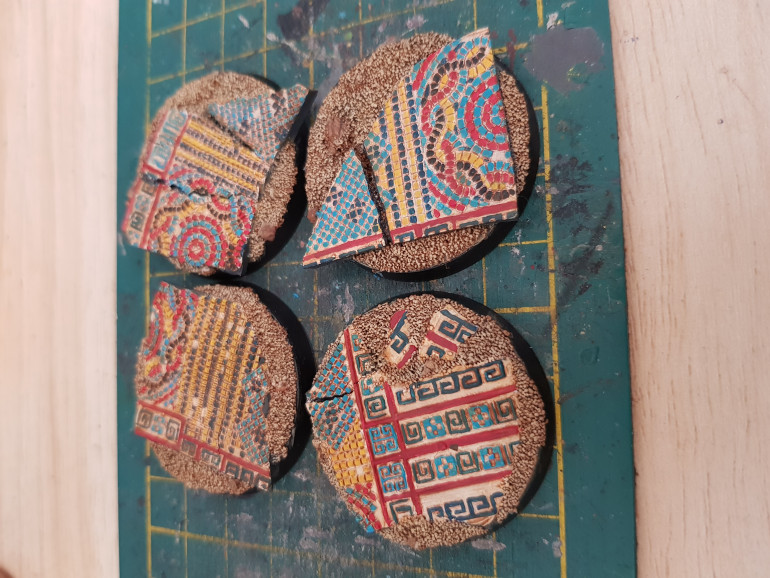
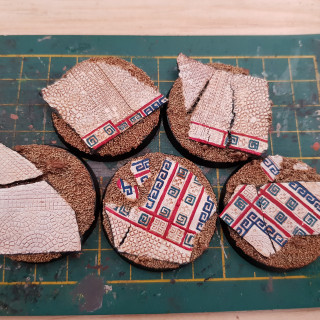
After taking advantage of green stuff world’s things being in the OnTableTop store. Work has now started on the bases for the Witch Aelves.
Temple Nest Finished
That’s the Temple Nest finished.
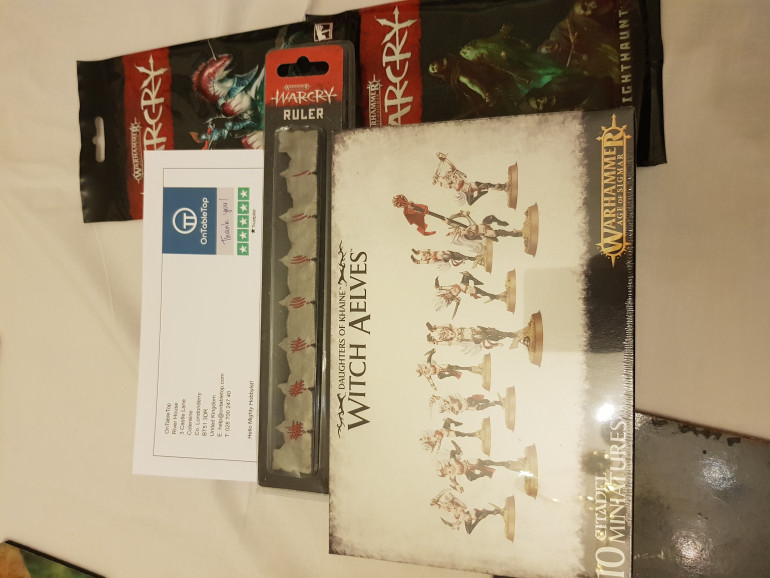
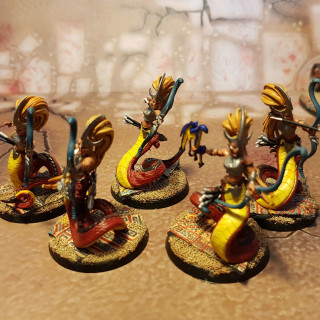
I will now be expanding them to better make Warcry warbands. Starting with some infantry bought from OTT 🙂
(this is also my 3rd attempt to do a update)
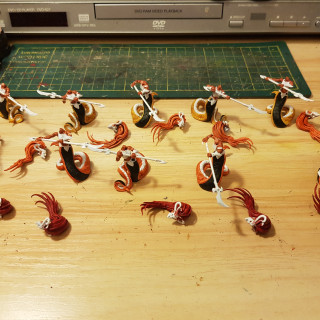
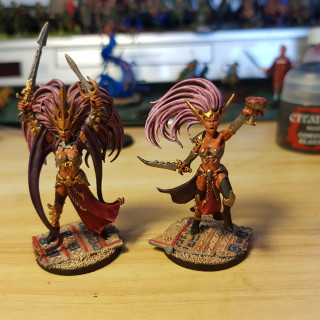
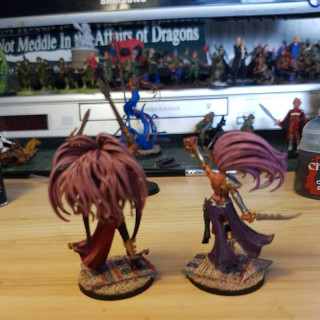
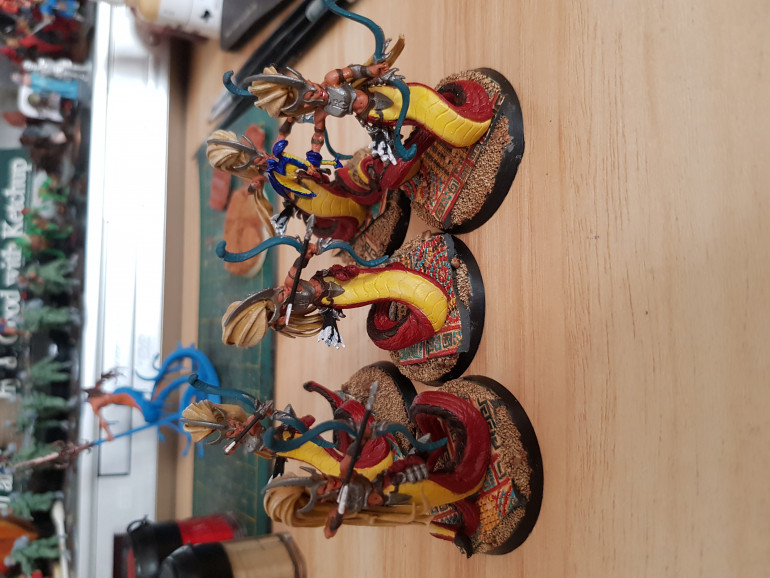
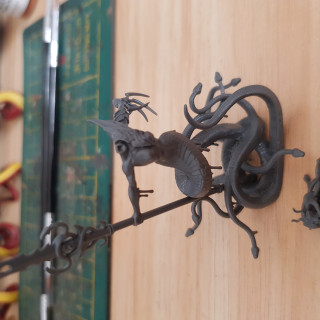
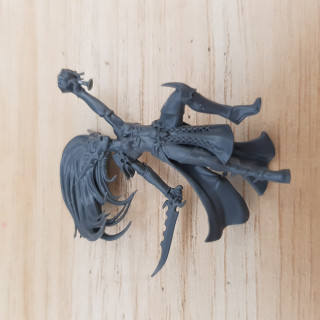
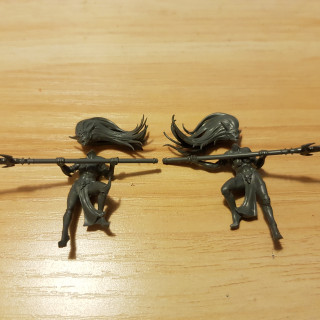
Finishing the Blood Sisters
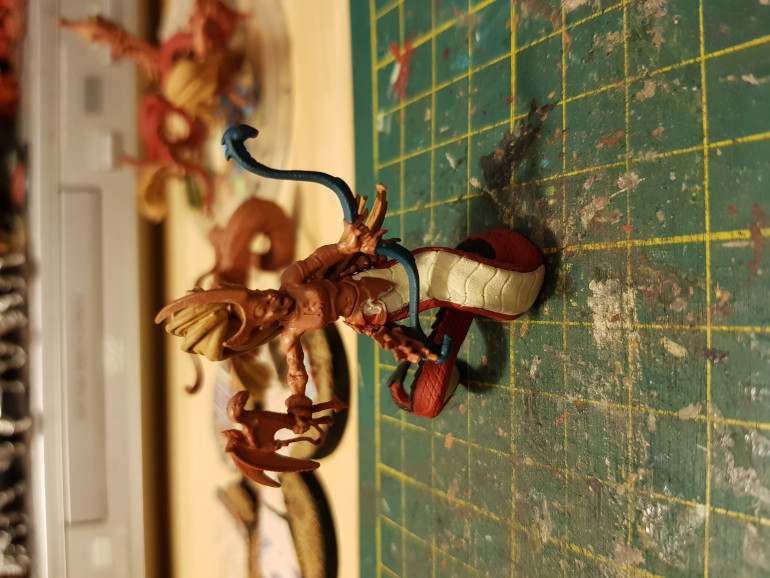
I decided to use the contrast paints on the Blood Sisters. I am quite happy with the way they came out. I did do 2 coats, as just 1 gave inconsistency across the full body.
I did paint them with the armour plates off and the heads off.
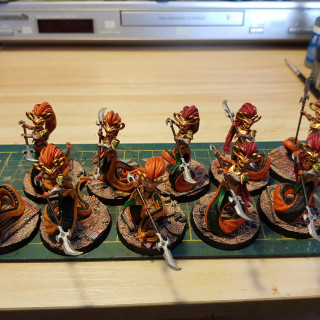
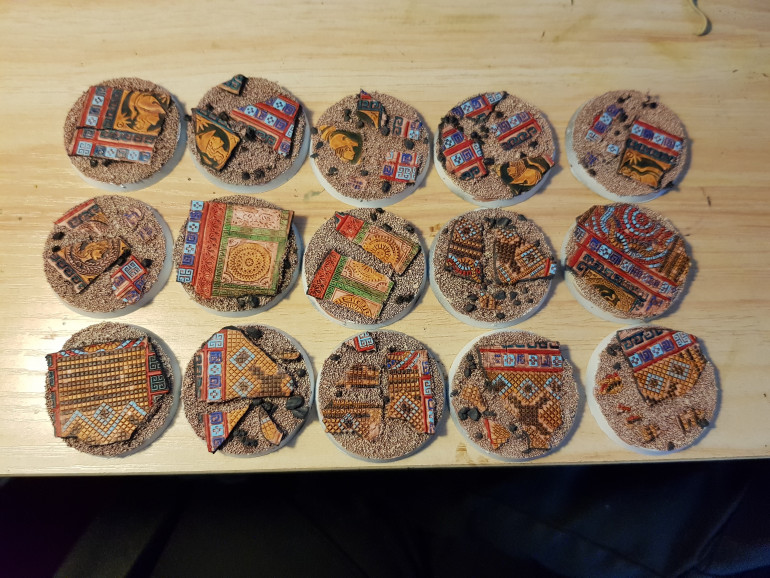
Bases finished
That’s all the bases finished for now. Originally I had not planned to get anymore Daughters of Khaine, as they are for a medusa project, but with Warcry coming out I will now be adding a few more units.
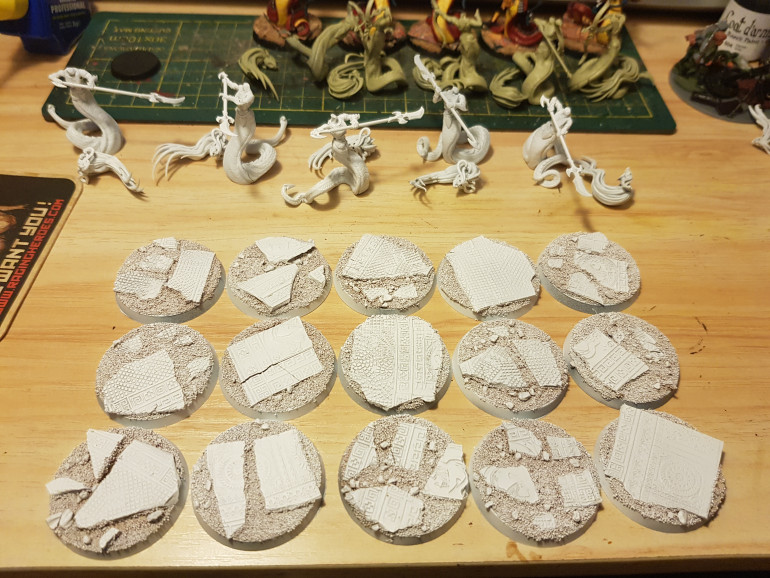
Next set of bases
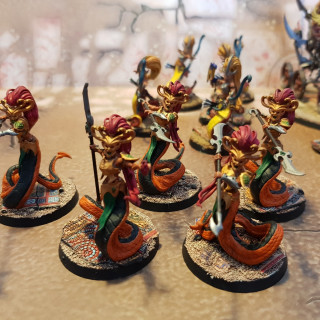
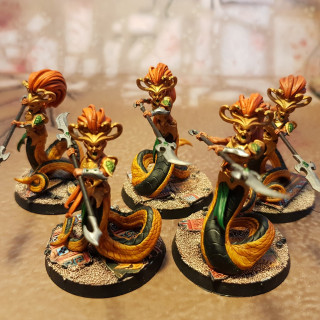
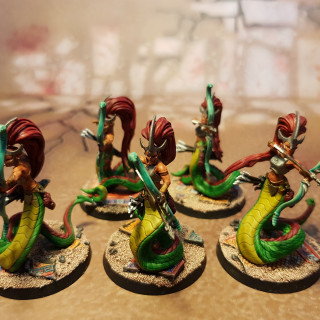
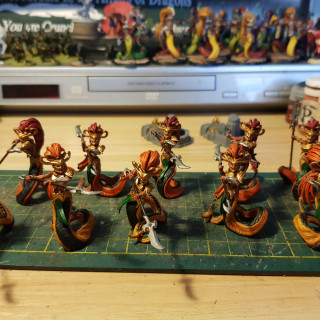
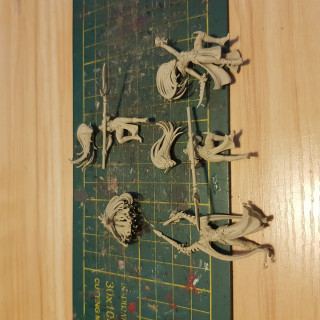
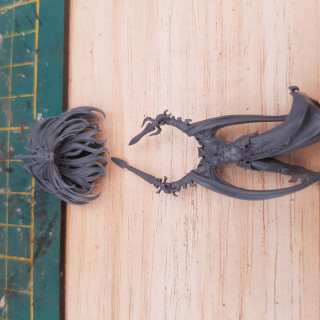
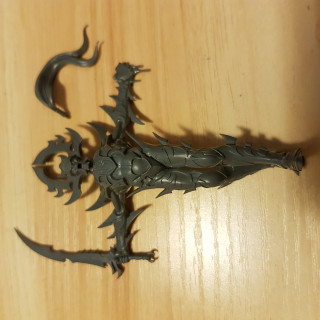
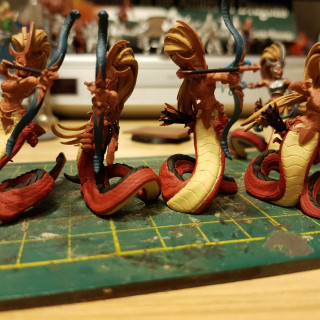
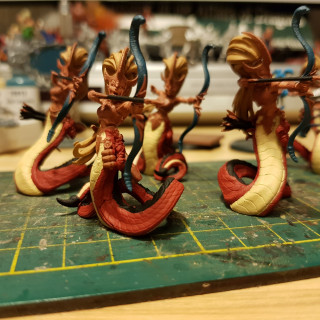
Work has started on the 15 bases for the rest of the Melusai.
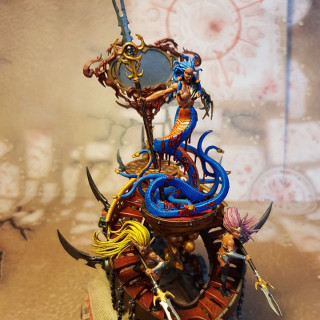
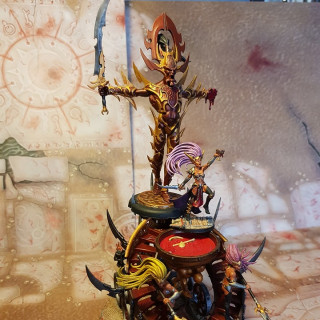
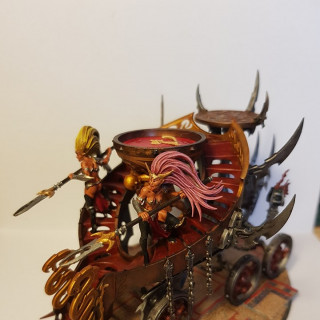
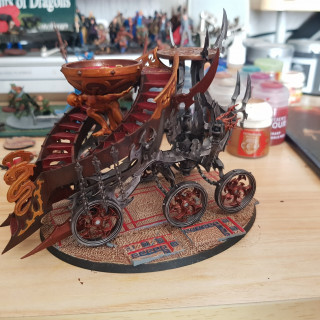
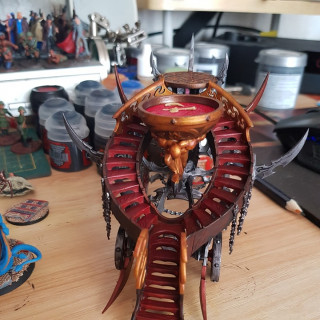
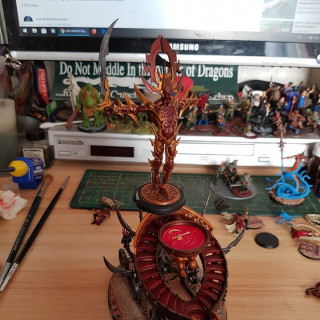
Cauldron of Blood all finished
All told, going for a Table top standard with using contrast paints it took about 5-6 hours to finish the Cauldron of Blood.
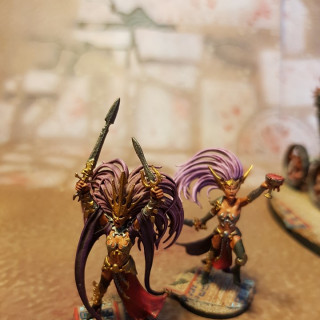
Time to finish the crew for the Cauldron of Blood
On to the crew
Finishing the Cauldron of Blood
Before starting to put together the rest of the Melusai, I thought it was best to finish the Cauldron of Blood. This will also be the 1st project were Contrast paints have been used with other paints.
I did try to do a update from my phone like the previous one but it did not like adding the photo’s :3
Body of the Cauldron of Blood
Then on to the rest of the parts
Out of the packing boxes
This project got packed away along with the rest of my computer/painting room, when we had some internal building work done. While the computers and paints came back out of the boxes the temple nest did not. Then the list of Warcry warbands was released showing that Daughters of Khaine will get cards.
So this project is back.
Slowed down on the painting
This project has slowed down a lot! So I am now going for a table top finish. With the plan to come back at a later date and add more details.
Cauldron of blood part 2
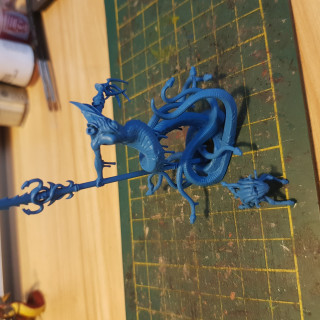
I have got the base colours on to the cauldron of blood and started with the details
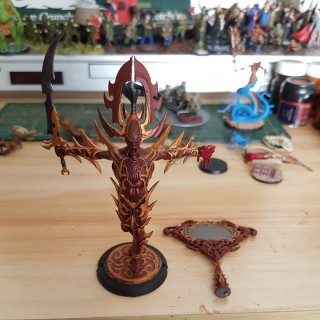
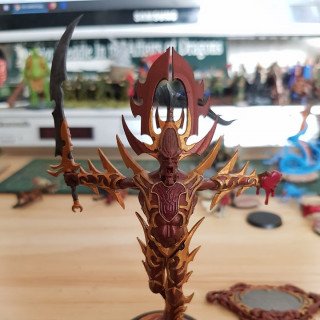
Going for the blue and red look for the boss
Cauldron of blood
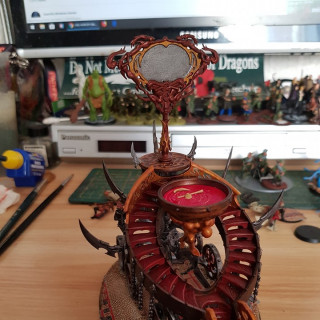
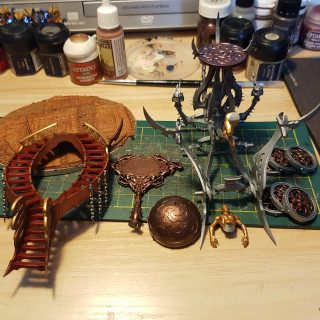
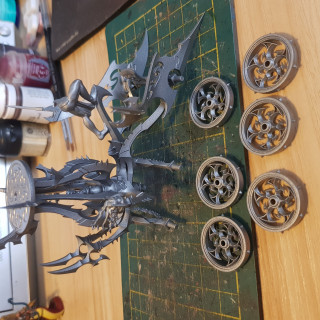
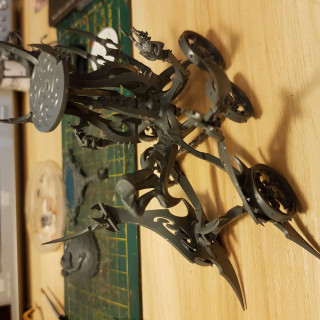
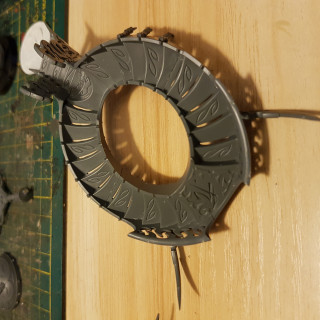
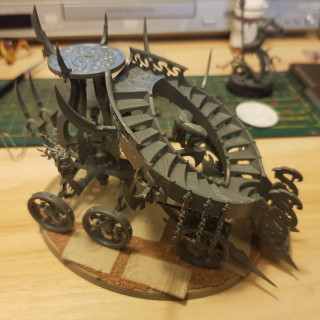
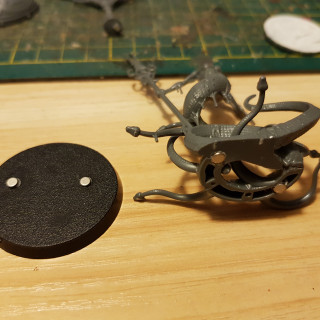
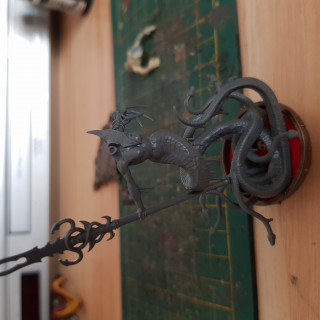
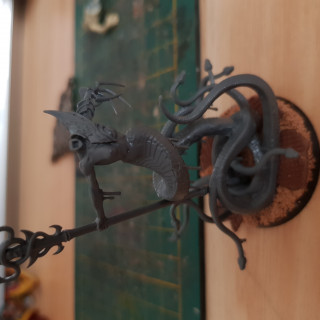
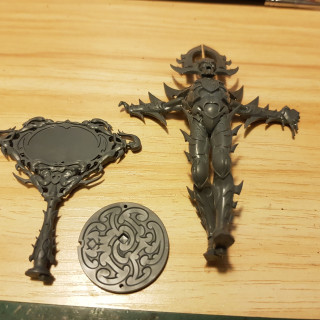
I have been working on putting together the cauldron of blood to a point were it can be painted. I do plan on painting it in parts. I have also used magnets on the blood and a base so that the bloodwrack can be on or off the cauldron of blood
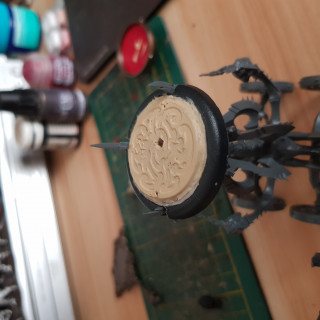
I have also modified the avatars base to fit.
Progress 22nd-8
Painting progress has been slow this week because of planning out how the build and paint the cauldron of blood.
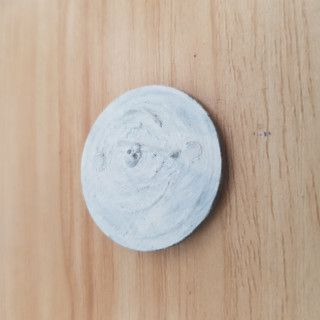
The original plan for the cauldron of blood was to use magnets but the Avatar is too big, with small contact points for the magnets. So I have made a base topper that is the same as the cauldron top.
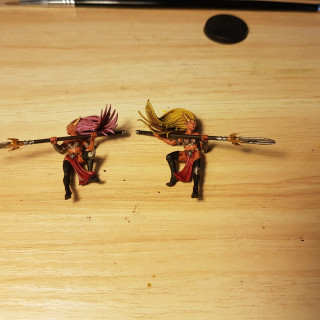
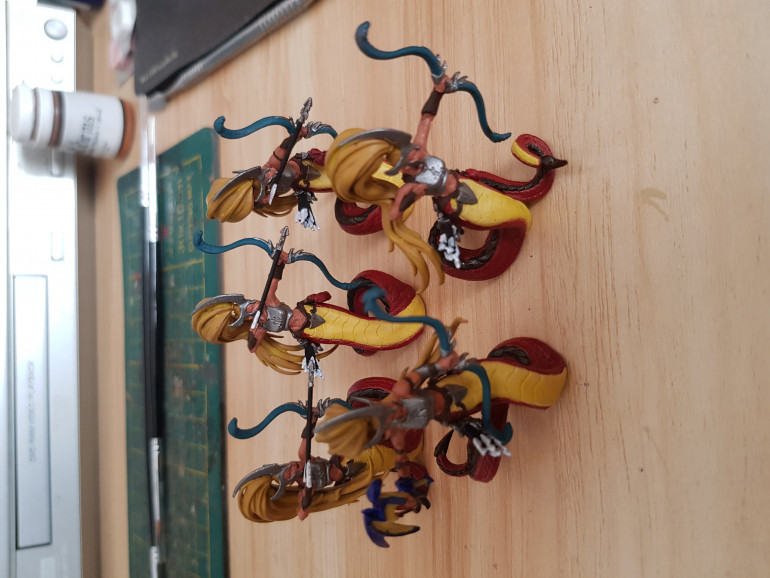
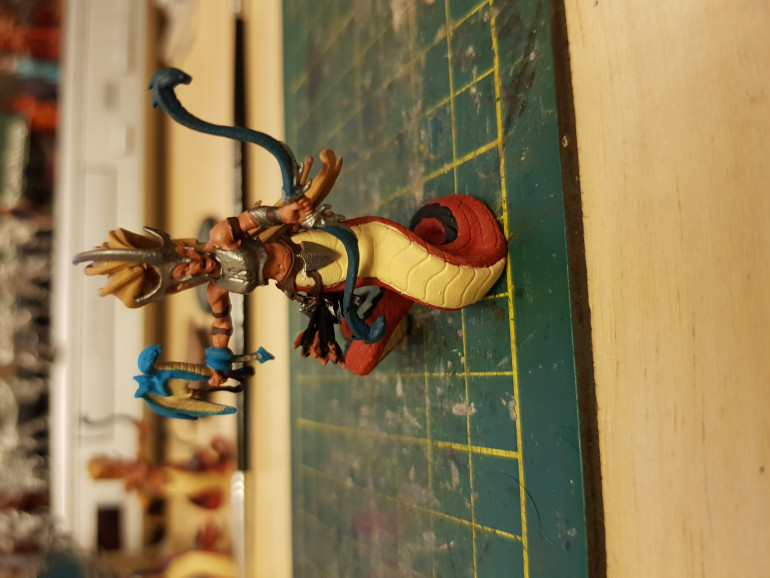
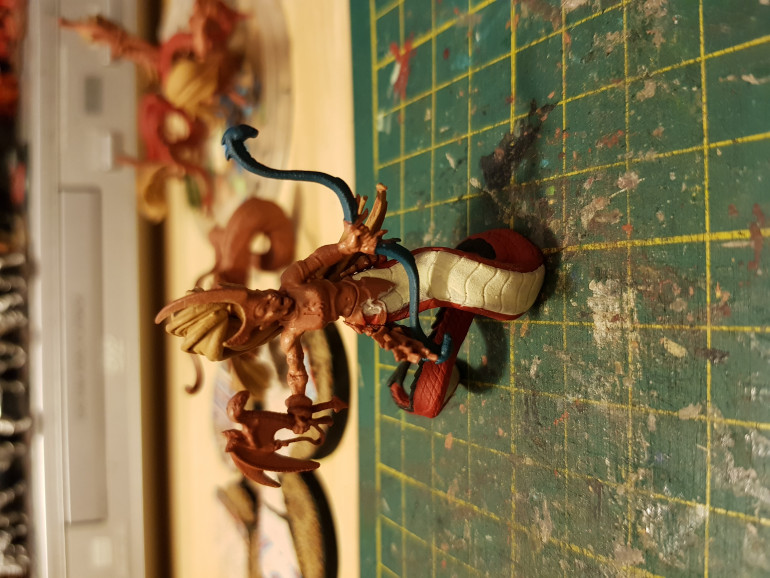
I have also been working on the other models with the cauldron of blood. After working on the Melusai and the problems painting the under side of the hair I will be painting the heads separately on most of them.
Last 3 figures are now finished
Started the Melusai
Progress has been a bit slow this week. With just the test model’s block colour being finished.
I have started looking at putting together the cauldron of blood, by working on the base and magnets for the 2 types.
Basing part 3
The heat has slowed down painting fine details. So one the test base has been finished but I have started block colours one the test Melusai.
Basing part 2
The heat has slowed down painting fine details. So one the test base has been finished but I have started block colours one the test Melusai.
Basing part 2
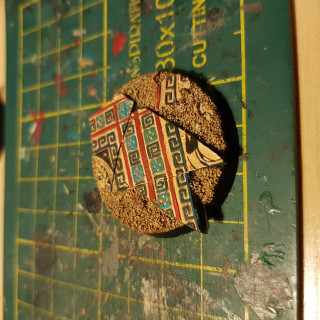
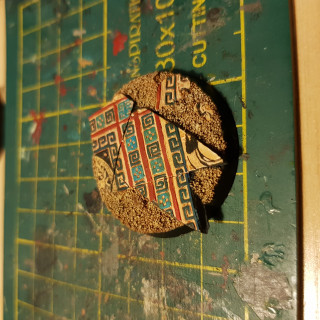
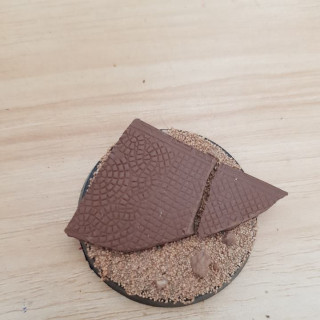
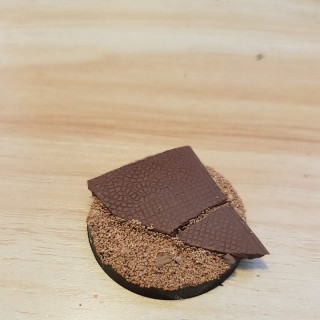
1st test base done.
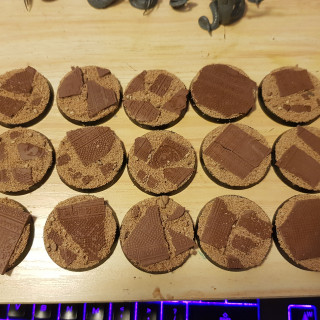
I have not used sand for basing for some time. Usually I use texture paint, but for this project I wanted a more sandy look.
Starting work on the bases
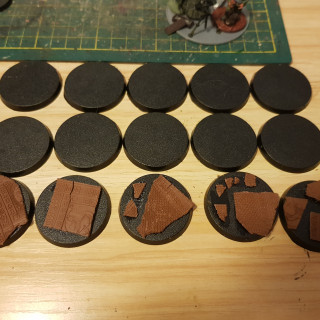
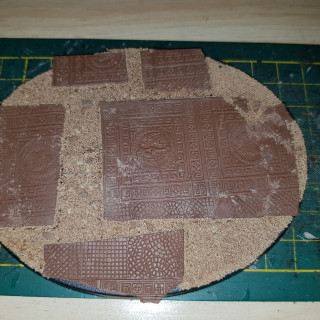
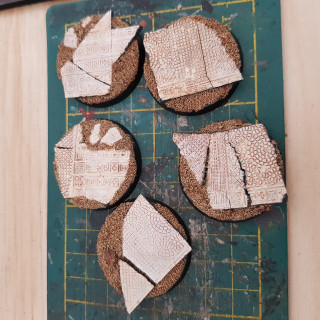
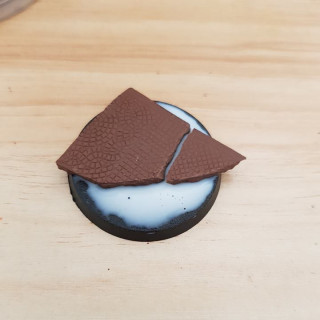
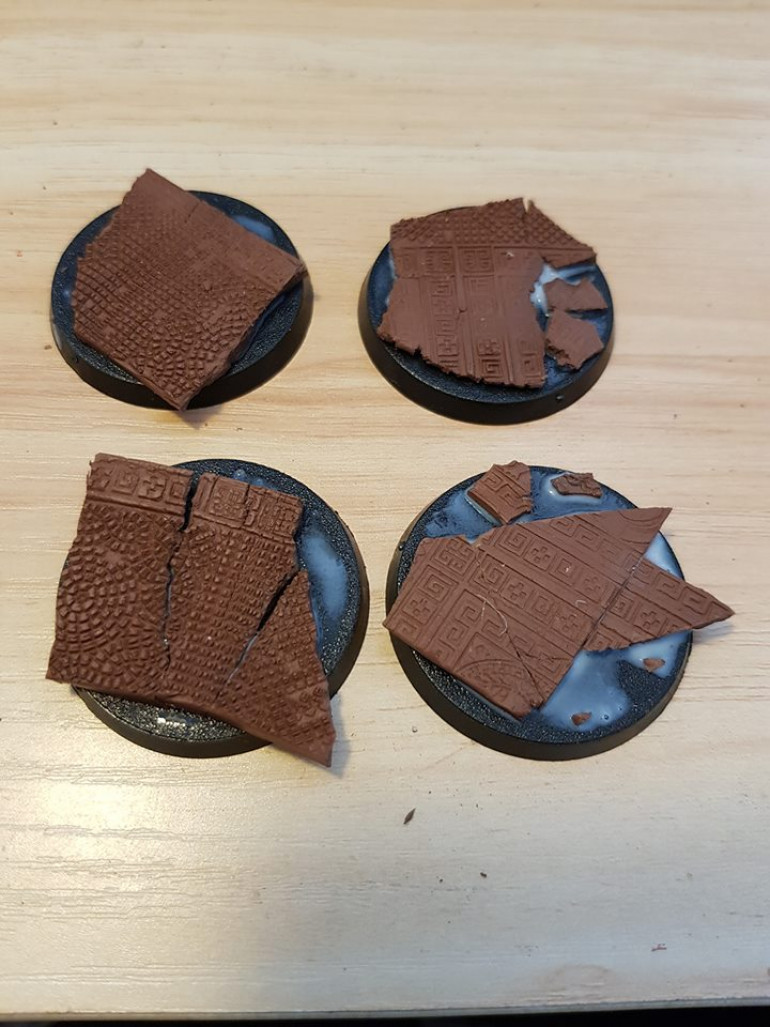
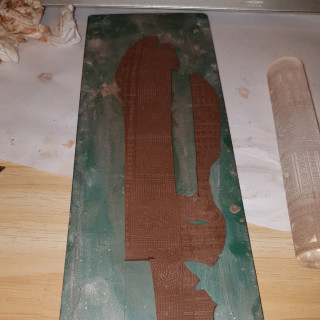
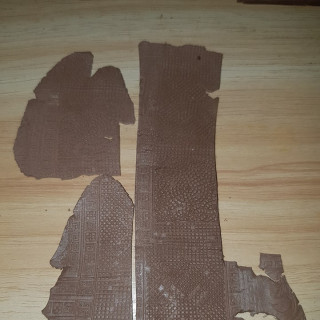
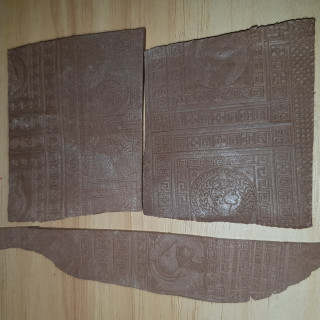
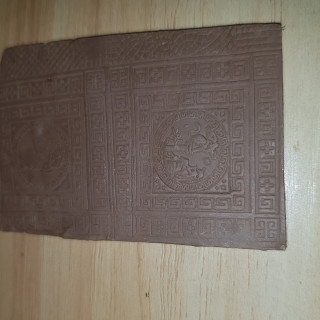
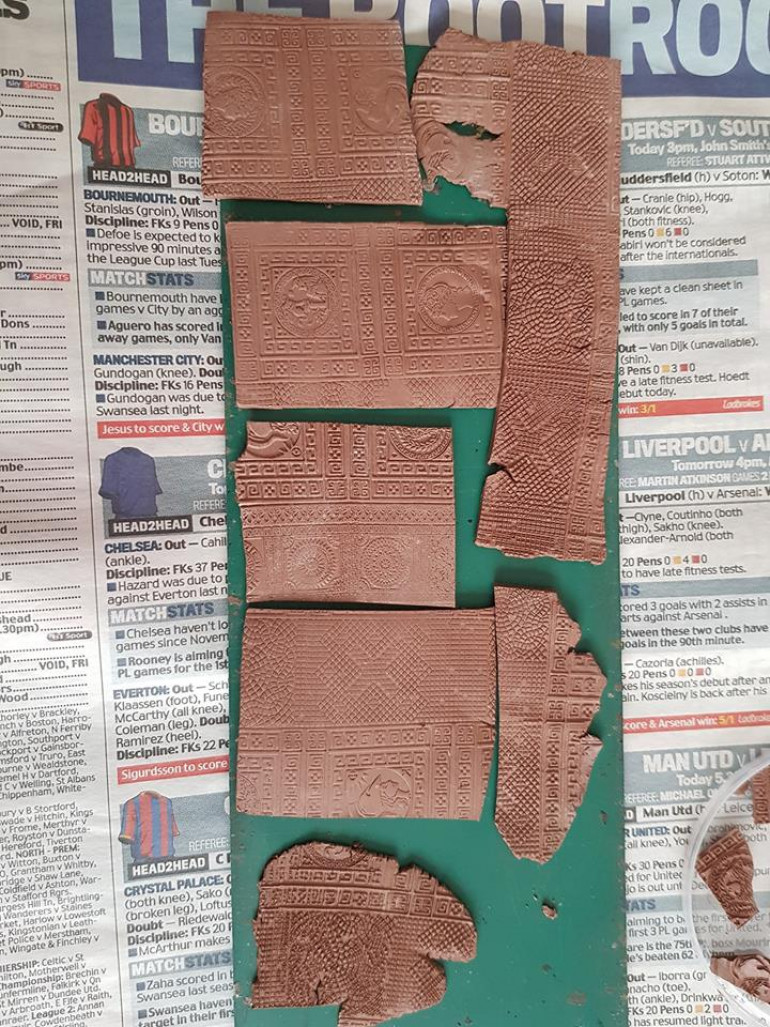
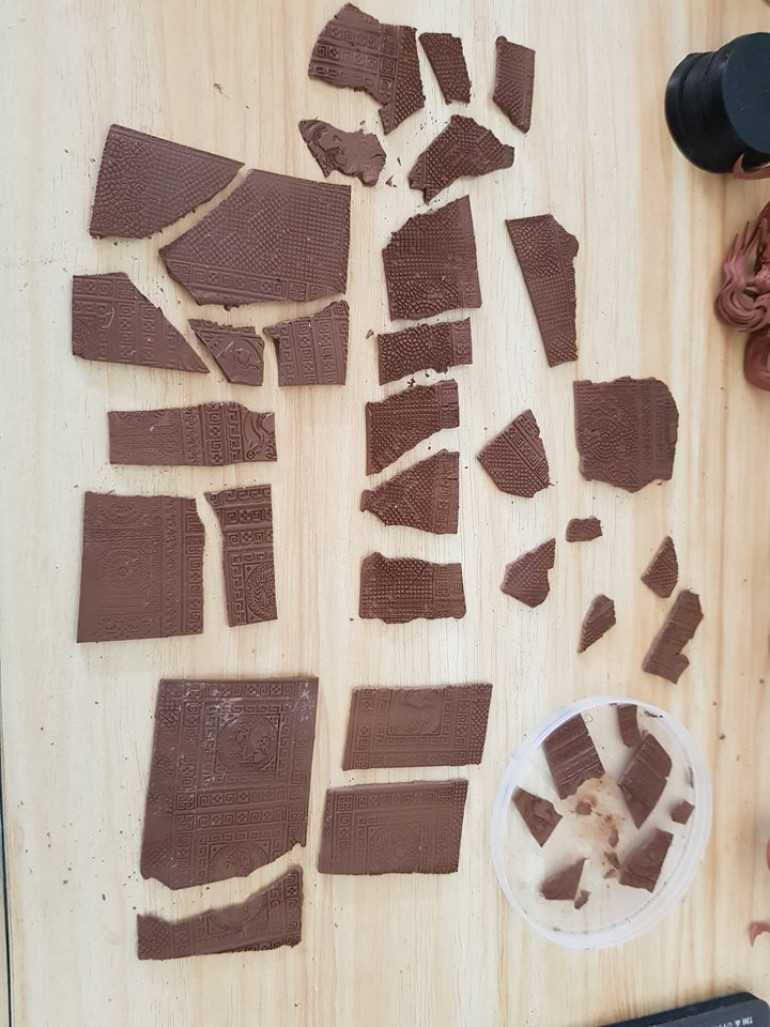
When I have used Green Stuff’s rollers before I have used them for all the base, but this time I wanted a more ruined look. So planed to make sheets to break up.
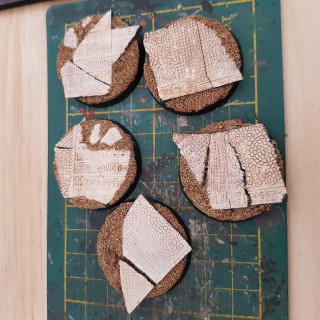
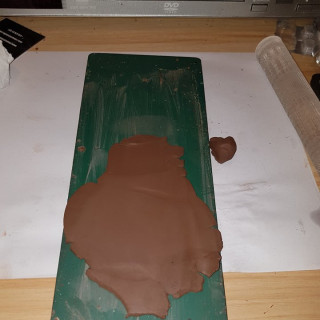
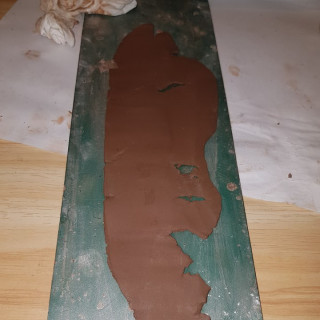
I also when with different thickness of sheets. Some with square edges and some with rough edges. Because of this I am using air dry clay.
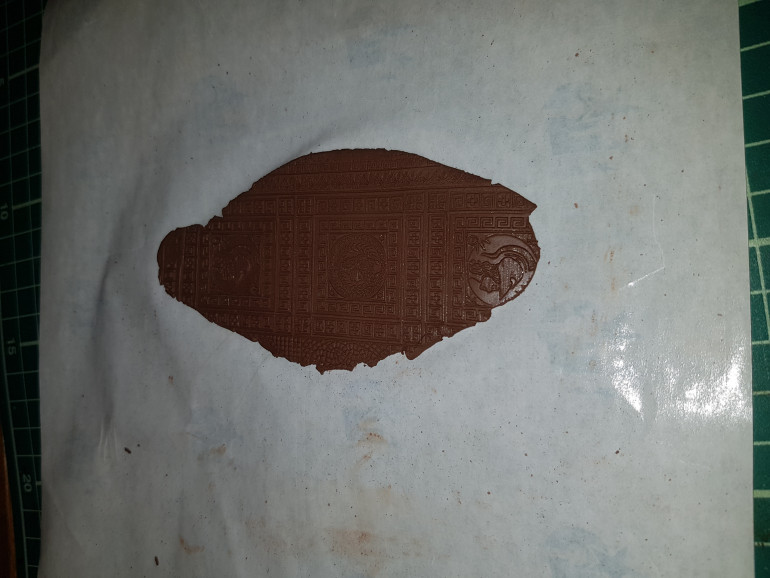
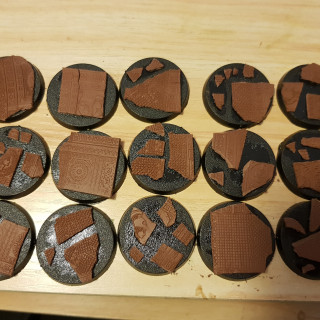
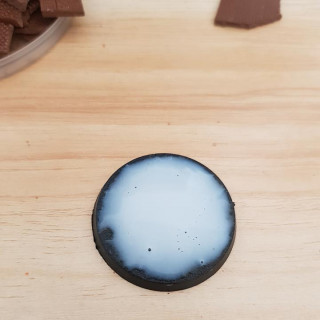
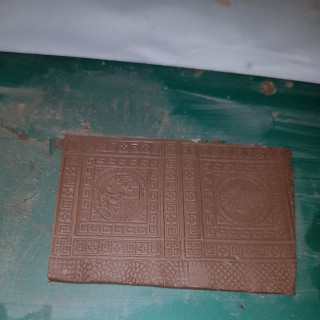
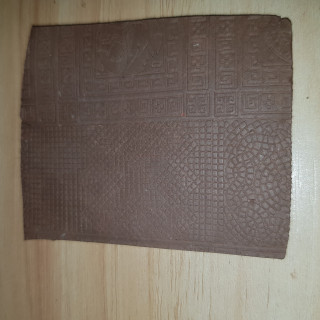
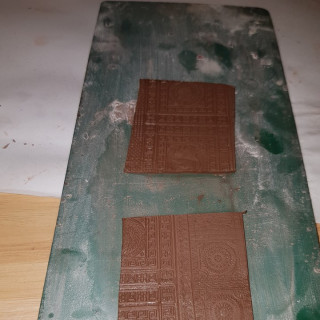
1st bit rollered and cut square
This one had section that were thinner than others so I cut out the bit that did not have a inprint. Making sure the sheet is all of the same thickness is important.
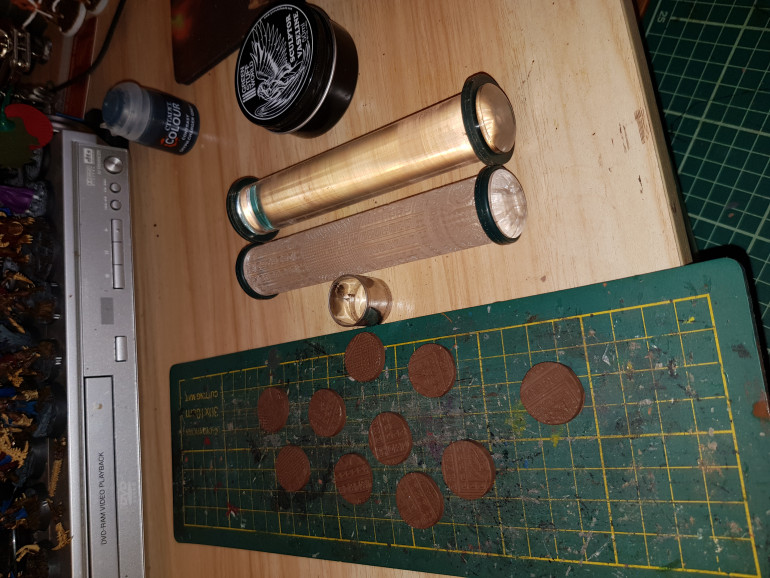
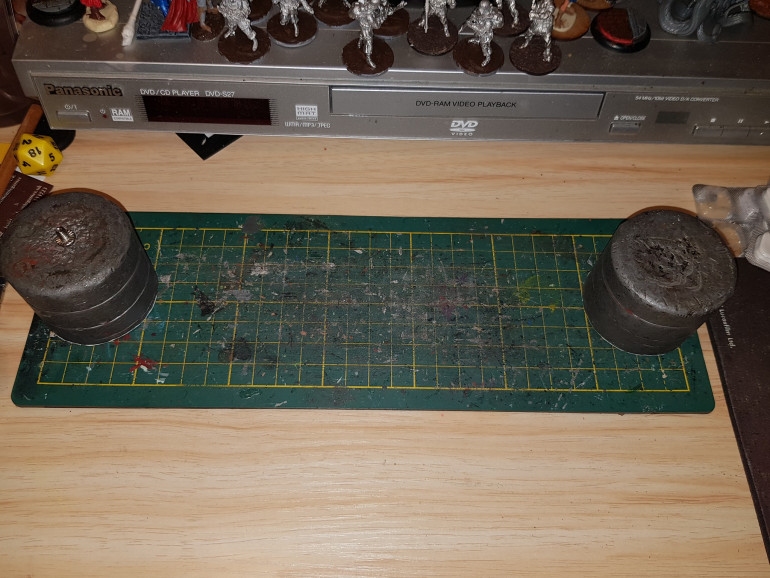
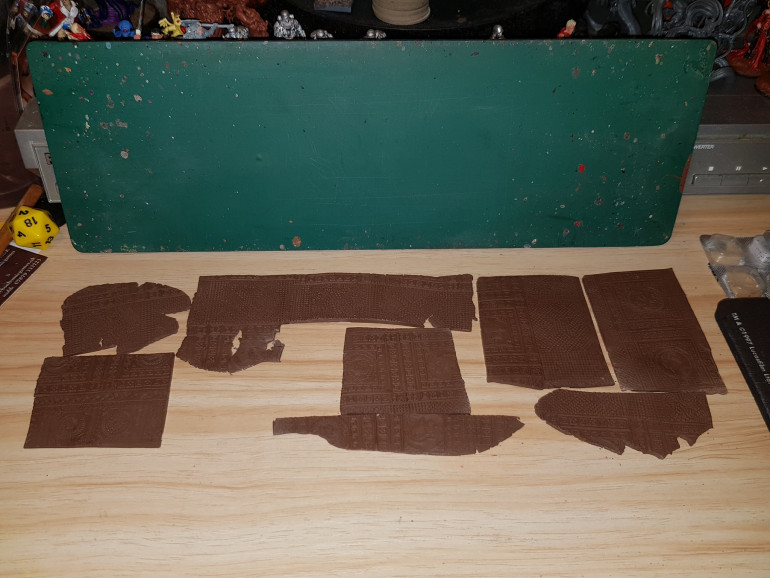 Next is letting them dry. I have found that air dry clay will carl as it dry due to the top drying faster than the bottom. To stop this i use weights.


