Rainbow6’s Dr Who minis
Recommendations: 5
About the Project
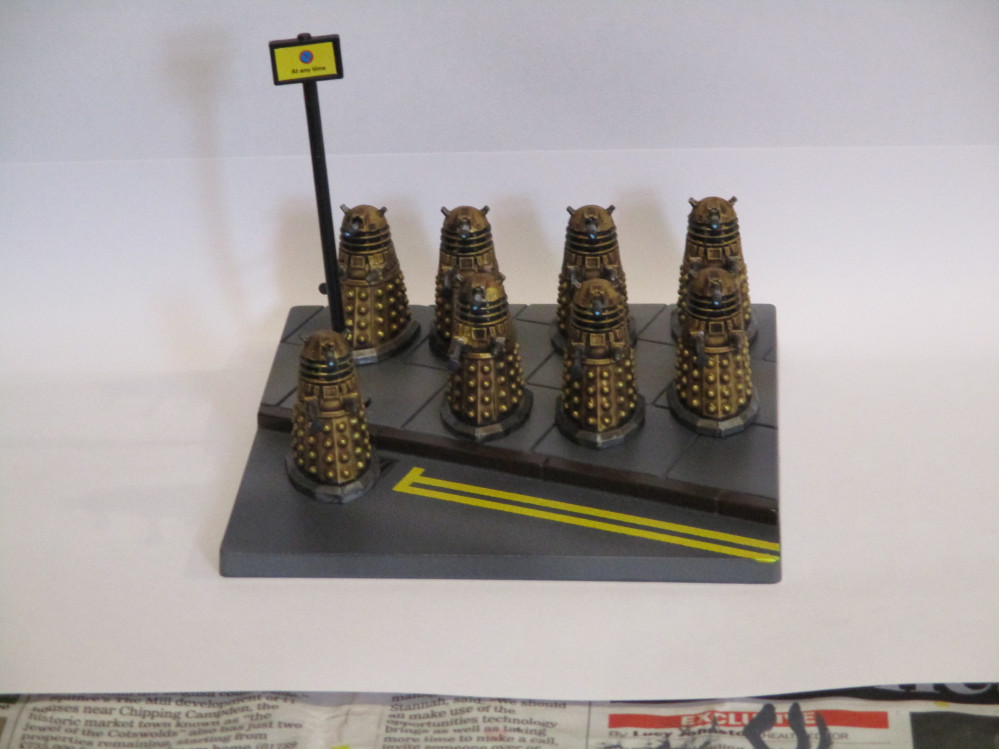
Quick! Hide behind the sofa! This is my collection of Dr who minis from warlord games. This is going to be an ongoing project as warlord release more models. Some of my collection will be just pics of the painted models as I didn't take notes, but I shall be starting with my guide for Sontarans.
Related Game: Doctor Who Miniatures Game
Related Company: Warlord Games
Related Genre: Science Fiction
This Project is Active
You will be upgraded!
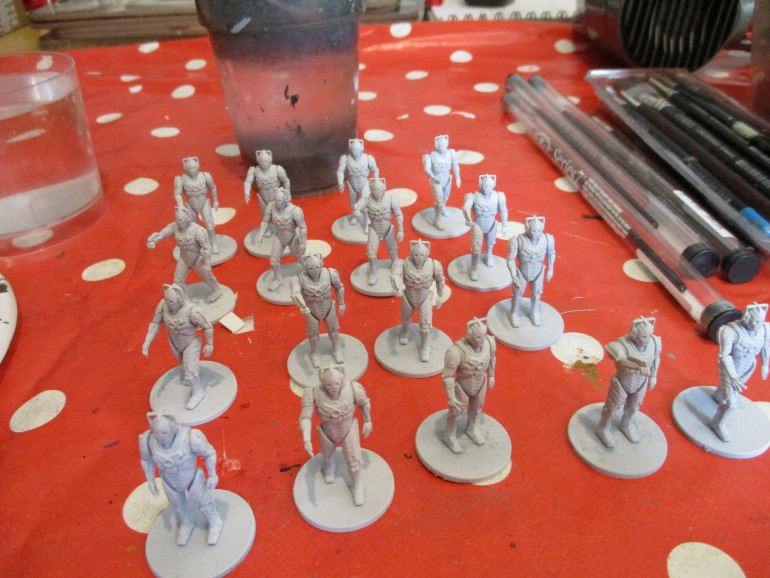
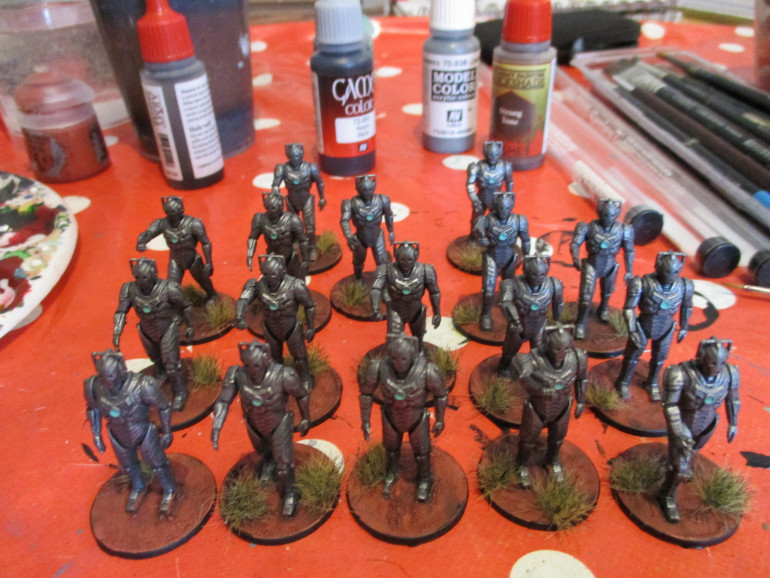
Today I have been mostly painting Cybermen. These metallic fiends are rather easy to paint, being mostly silver. So on with the project
Models Used: Warlord Games Cyber men
Undercoat: GW white
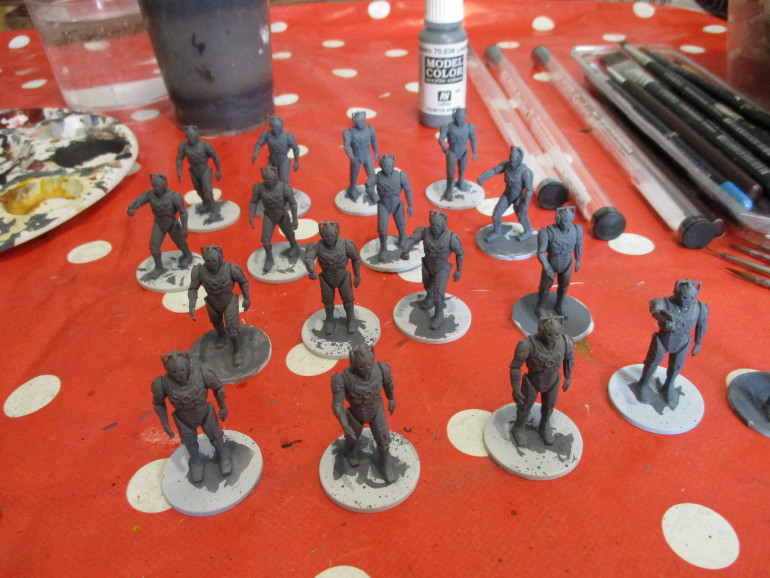
Step One Base Coast
Paint Used: Vallejo Model Colour London Grey
The entire model was base coated with VMC London Grey
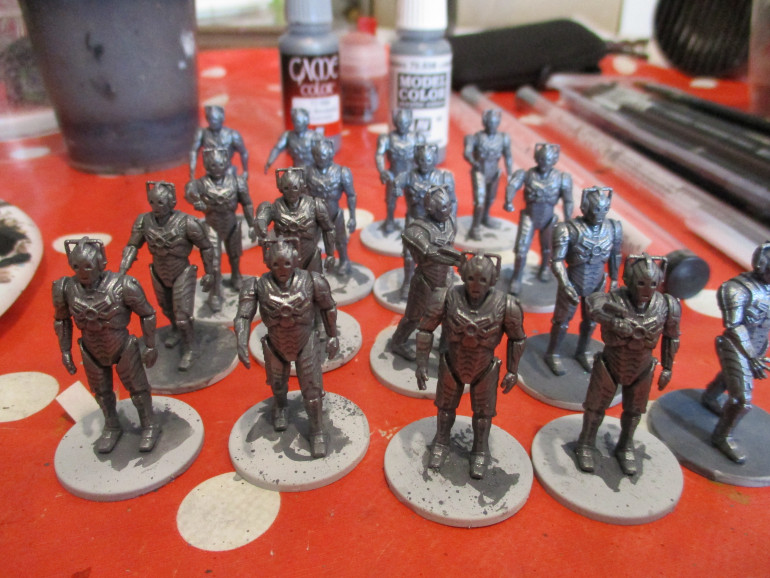
Step Two: Drybrush
Paint Used: Vallejo Game Colour Gun metal
The model is given a heavy drybrush with VGC Gun metal
Step Three: Wash
Paint Used: Army Painter Dark Tone
The entire model is given a heavy wash with AP Dark Tone
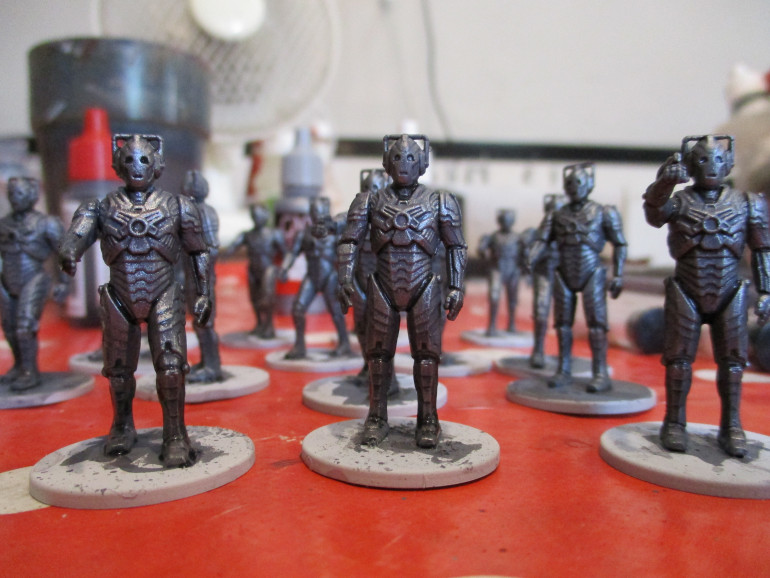
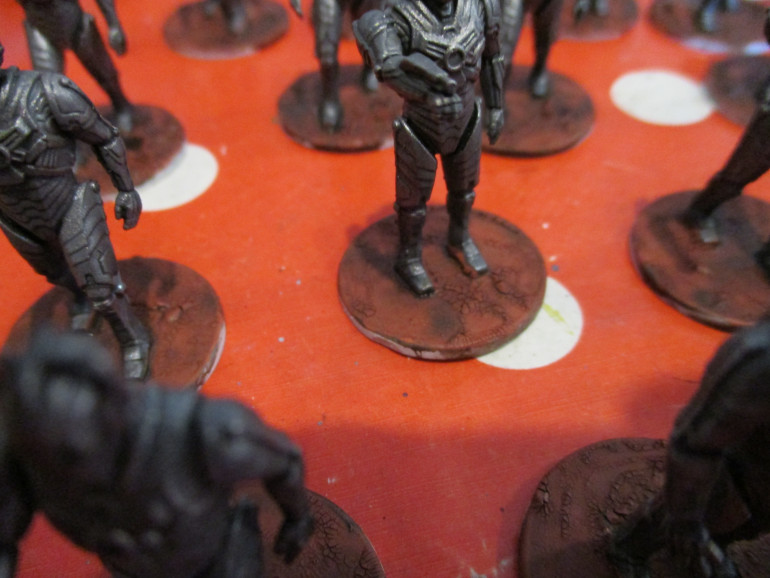
Step Four. Once : Base
Paints used: Vallejo Game Colour Scorched Brown, Citadel Technical Martian Iron Earth, Army Painter Strong Tone
The base was given a base coat of VGC Scorched brown. Once dry a good layer of Martian Iron earth was applied. Once this paint dries it gives a nice dry, cracked earth look, it’s just a bit of a pig to apply. Once the Martian Iron earth has dried a layer of AP Strong Tone was applied
And with that all that is left to do is use Citadel Technical Nihilakh oxide to pick out the glowing bit in the centre of the chest and apply my favourite Army Painter Winter Tufts to the base.
Rainbow Six out!
Silence will fall!
I painted these models ages ago so the following painting guide has no pictures and my memory is not the best so….
Silence
Paints used (I think): Vallejo model Colour German grey, Vallejo model Colour London grey, Vallejo Model Colour Buff (I think), Vallejo Model Colour Ivory, Army Painter Dark Tone, Army Painter Soft Tone, Vallejo Game Colour Cold Grey (Maybe).
Step 1: White Shirts- Base coat VMC Buff. Layer with a mix of VMC Buff and VMC Ivory, play around until you get the shirt white-ish. Dilute some AP Soft tone, you want a really weak mix, apply to the shirt to give it a tiny hint of the soft tone.
Step Two: Suits- Paint the suits with VMC German Grey, when dry give it a light dry brush with VMC London Grey. Wash with AP Dark Tone.
Step Three: Heads + hands- This is where my memory fails me, I think I painted the heads and hands with VGC Cold grey and washed it with AP Dark Tone. I think that’s what I did, so todays Top Tip is take notes!
Step Four: Bases- For the bases see Sontarans Part 2
Rainbow Six out!
Sontarans Part Two
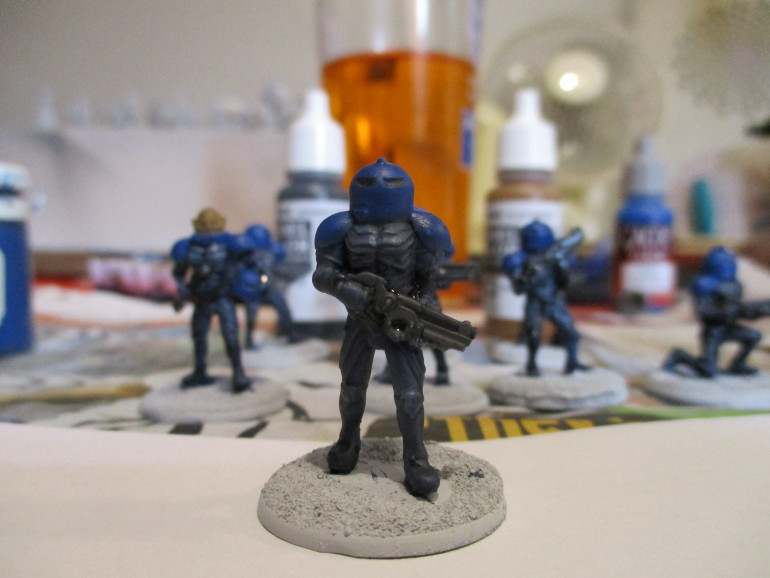
Step Five: Guns and Belts.
Paints Used: Vallejo Model Colour London Grey, Vallejo Model Colour German Grey.
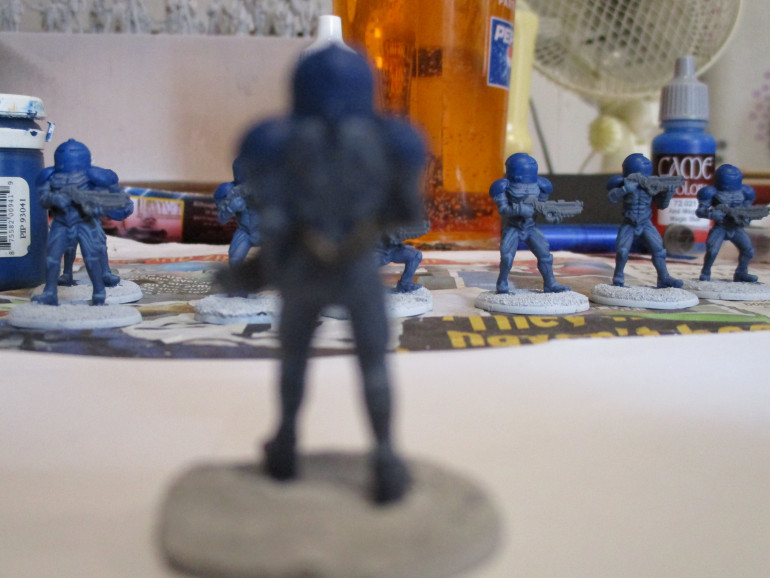
The guns were painted London grey and the belts German Grey. Not much to say here except to apologise for the picture, didn’t realise that i’d focused on the back row rather than My prototype but you can still see the guns well enough!
Top Tip: Make sure to take multiple pics of each step in case one goes pear shaped!
Step Six: Wash
Paints used: Army Painter Dark Tone
Give it a coat of dark tone, ’nuff said.
Washes, I use them to cover many, many painting sins!
Step Seven Skin and Base base coat.
Paints Used Vallejo Model Colour Flat Earth, Vallejo Model Colour US Field Drab, Vallejo Model Colour Burnt Umber, Army Painter Strong Tone
Skin: Sontaran General Staal has the honour of going to battle helmetless. His skin is a 50:50 mix of Flat Earth and US Field drab. Once dry a coat of Strong tone is applied. Now I don’t have any pictures of this step because i’m a moron.
Base: The base is painted with Burnt Umber, once dry a coat of Strong tone is applied.
Step Eight: Base finishing touches
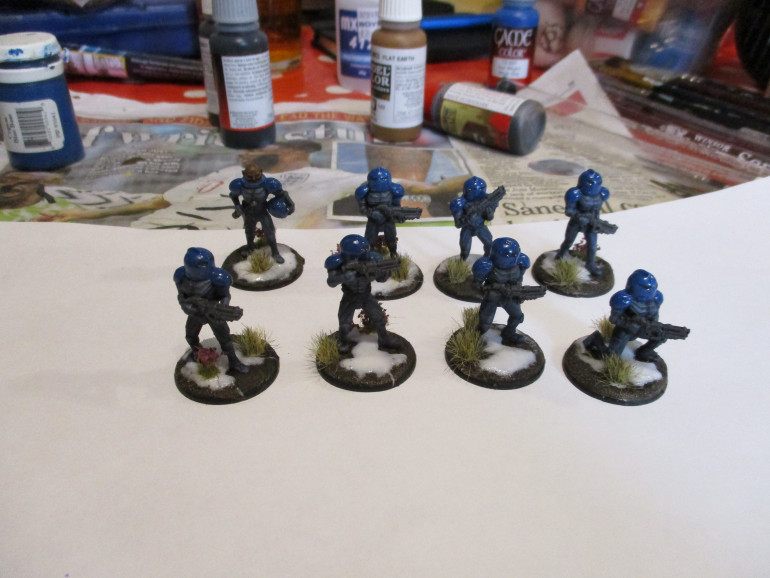
Snow: To make my snow I use some old GW Snow (Using snow to make snow, what will he think of next) and mix it with a load of PVA glue. This mix is then applied to the base. Once dry a coat of gloss varnish is used to make it look wet. Then I added some Army Painter Winter Tufts and Gamers Grass Lavender flower tufts. The base rim was then painted black
Sontarans
Models used: Sontaran Squad and Sontaran General Staal
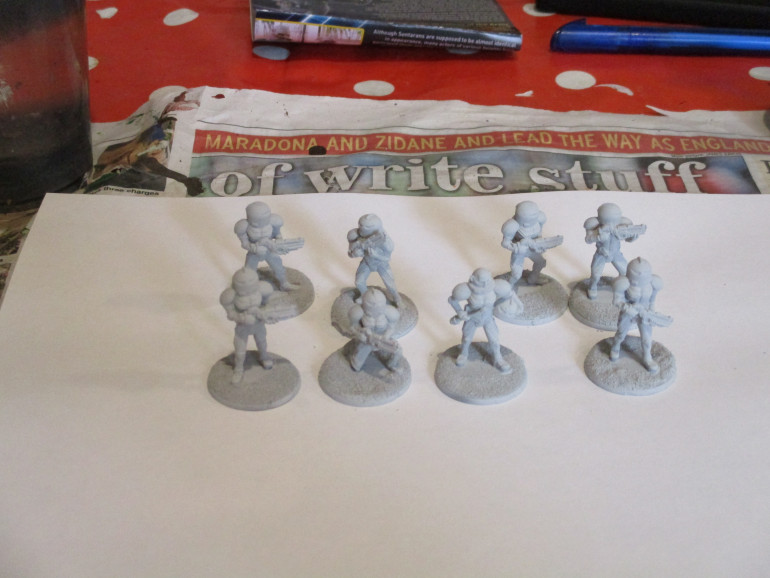
Step One: The models were cleaned up using my standard hobby knife, just the usual to remove any flash and the like. These are great models but the do have an annoying integral oval base at the feet. You could possibly remove it with some kind of razor saw but I suck at that part of the hobby, so I use the superglue + bicarbonate of soda basing technique I learnt right here on Beasts of War. For those who don’t know this technique you put a decent amount of super glue on your base, then I place the model on the base and move it about a bit to ensure total coverage of the base. Then when you’re satisfied drop a load of bicarbonate of soda on to the base and the glue cures almost instantly and you’re left with a nice textured base. Once I had done this I primed the models white using GW white primer and left it to dry.
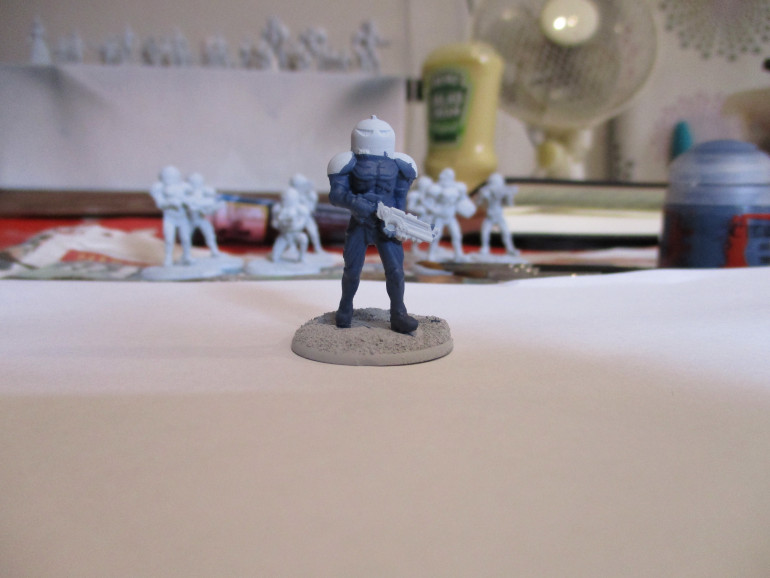
Step Two: Base coating the body armour.
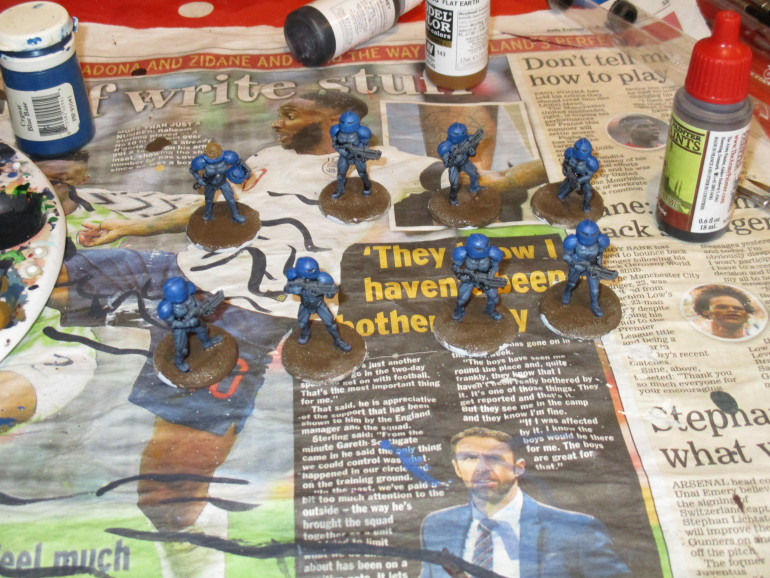
Paint used Citadel Base The Fang
The paint was thinned using water and two coats were applied.
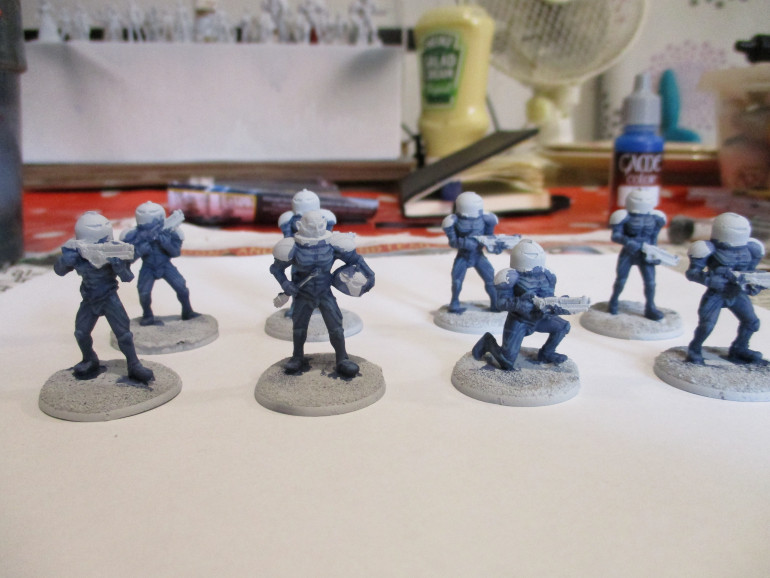
Step Three: Highlighting the body armour.
Paints Used: Citadel Base The Fang, Vallejo Game Colour Stonewall Grey, Vallejo Game Colour Magic Blue
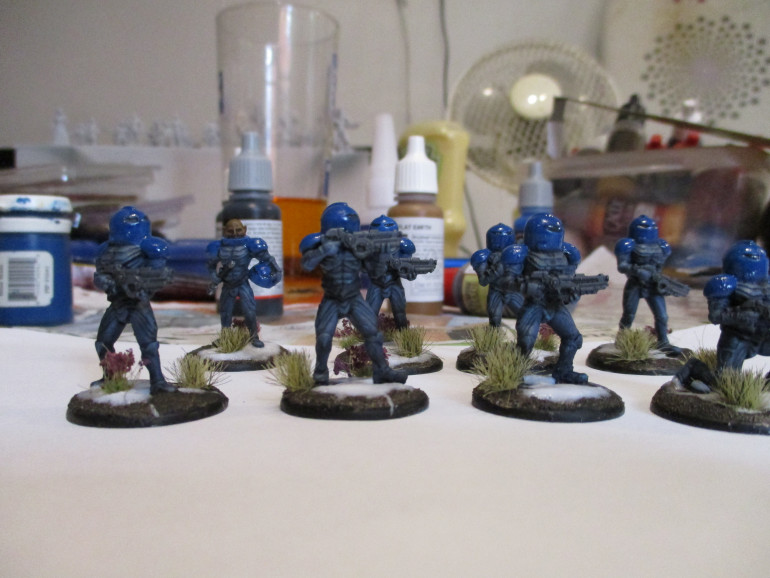
Mix The Fang with Stonewall grey in an approx. 50:50 mix. at this point I found the colour wasn’t quite what I was going for but after a little bit of experimentation I added a tiny amount of the Magic blue and got what I was after. This mix was then used to highlight the body armour…. not something i’m very good at if i’m honest
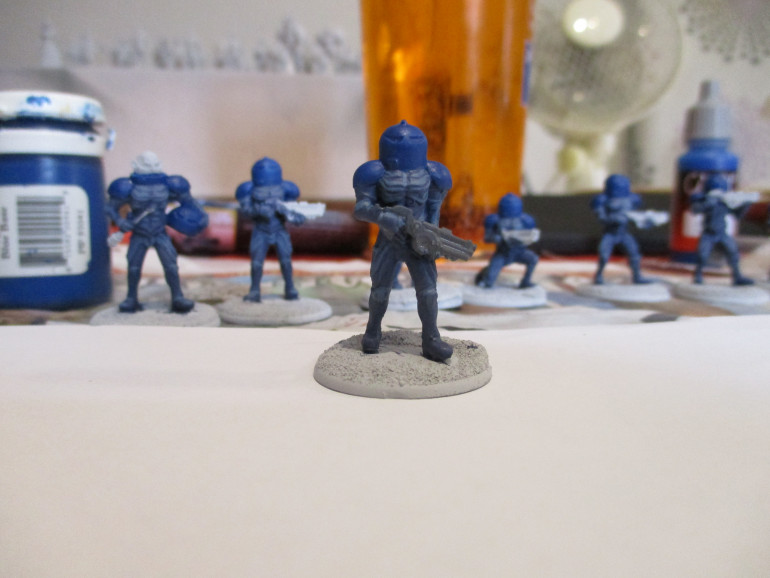
Step Four: Helmets and shoulder pads.
Paint used: Formula P3 Cygnar Blue Base
Again the paint was thinned with water and two coats applied. When you see the Sontarans in the show their helmets and shoulder pads have a very shiny plastic look to them. To replicate this these elements will be given a coat of Vallejo gloss varnish towards the end of the project.
Sontarans
Step One: The models were cleaned up using my standard hobby knife, just the usual to remove any flash and the like. These are great models but the do have an annoying integral oval base at the feet. You could possibly remove it with some kind of razor saw but I suck at that part of the hobby, so I use the superglue + bicarbonate of soda basing technique I learnt right here on Beasts of War. For those who don’t know this technique you put a decent amount of super glue on your base, then I place the model on the base and move it about a bit to ensure total coverage of the base. Then when you’re satisfied drop a load of bicarbonate of soda on to the base and the glue cures almost instantly and you’re left with a nice textured base. Once I had done this I primed the models white using GW white primer and left it to dry.


