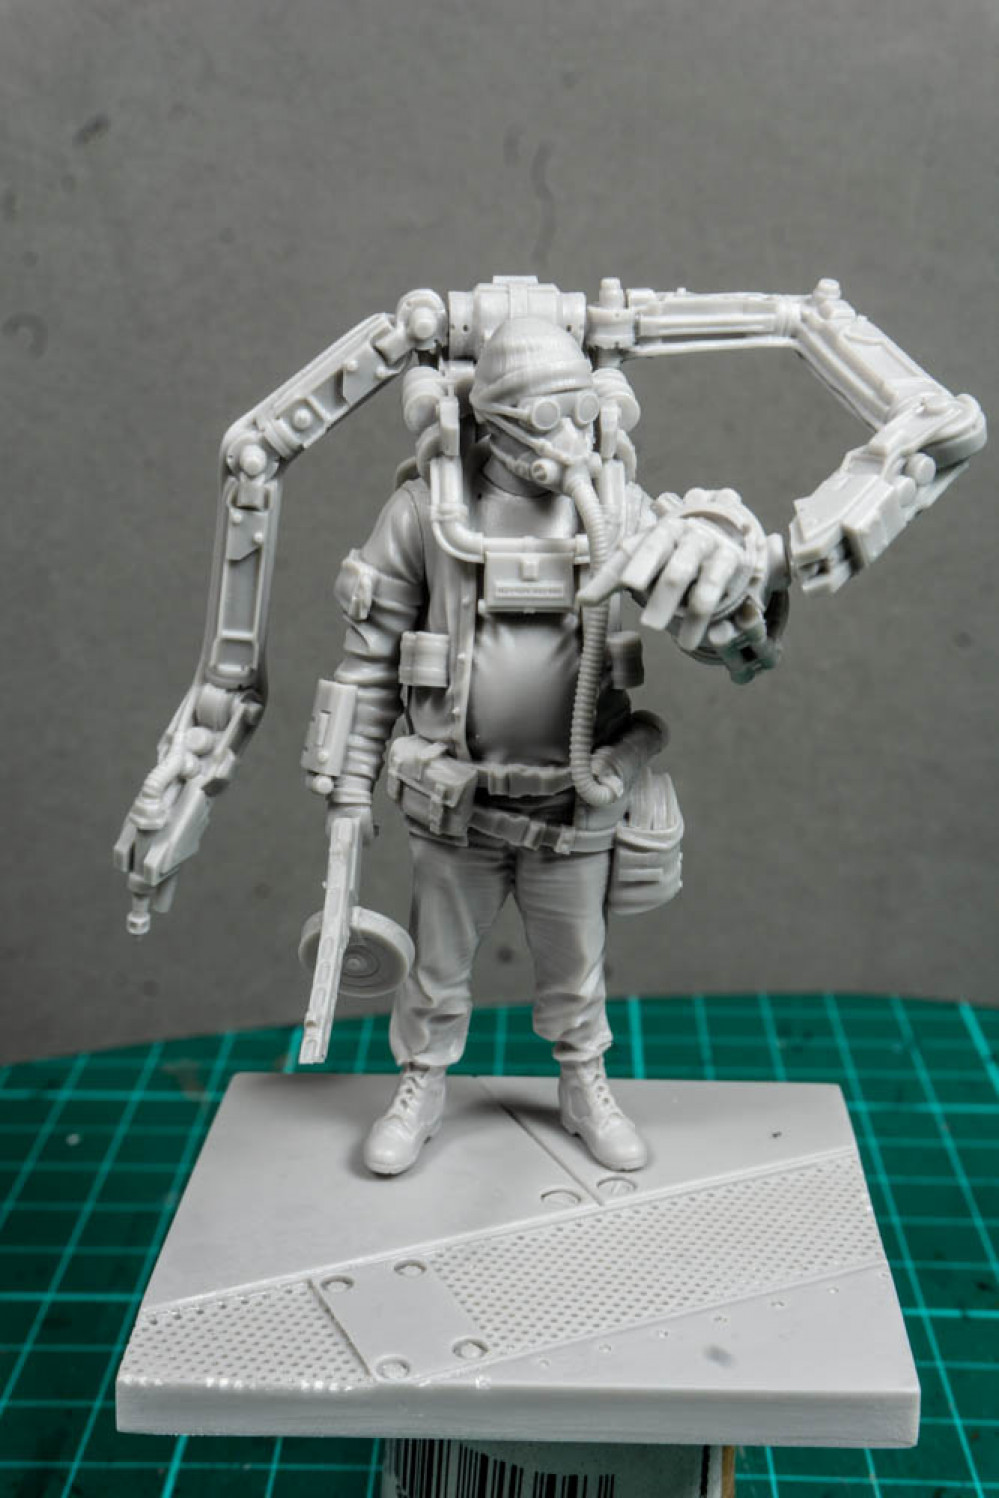
Stranger JD
Recommendations: 58
About the Project
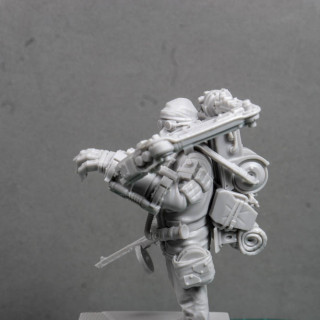
A painting project to paint up a 75mm model as a way of trying to improve my painting skills.
Related Genre: Post-Apocalyptic
This Project is Active
Body Part (Part 1)
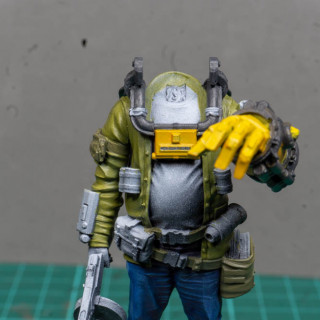
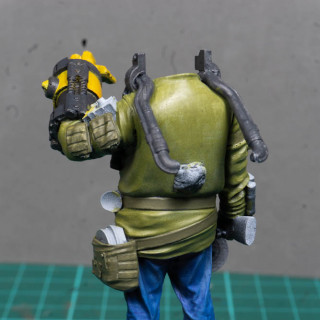
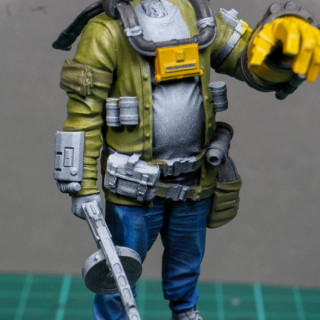
I’ve started to go yellow blind, if there’s such a thing so I needed to change things up a bit by moving onto the body. So I wanted to get a bit of colour on some of the other parts of the model to make me feel like I’m making some progress. Not a lot of progress to be sure but I’ve got a couple of coats of blue on the legs and some green on the jacket. These are just the first coats over the zenith highlighting but I’m liking how it’s looking.
Servo Harness (Part 1)
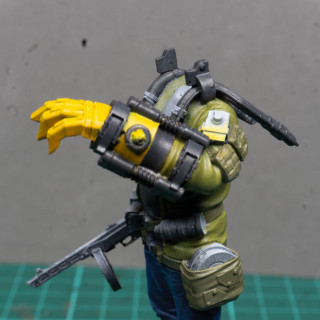
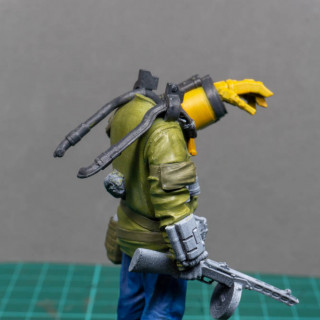
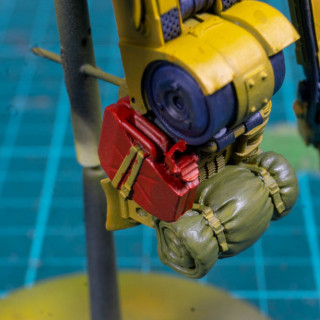
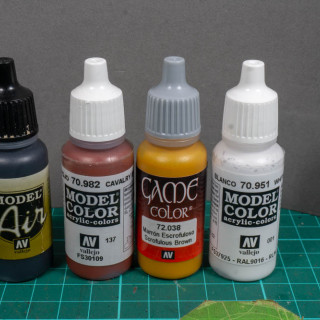
I haven’t go much done over the last few days but wanted to keep the project running so what we have here is the start of the highlights on the grey sections and me starting to apply some colour to the other areas. The base colour for the fuel can was Vellejo red surface primer and for the sleeping bag I’ve used Vallejo interior green. Still a long way to go but I’m chipping away.
Yellow (Part 1):
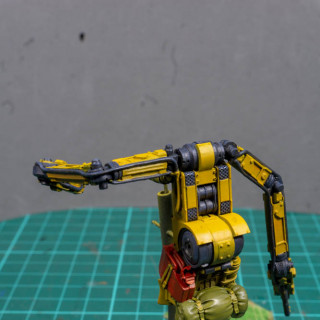
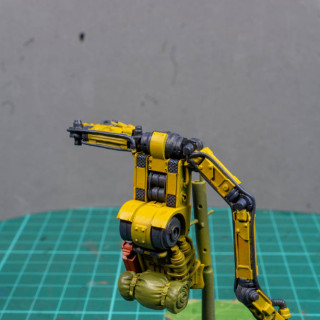
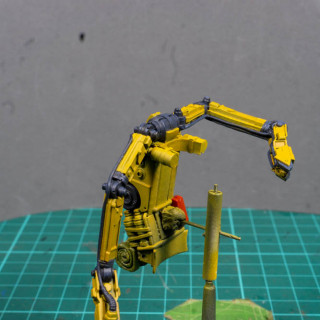
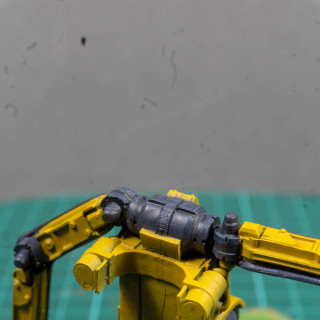
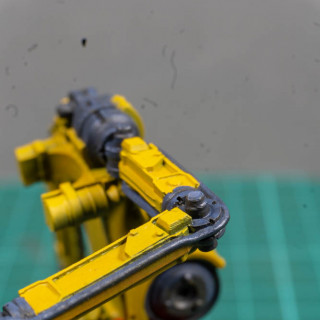
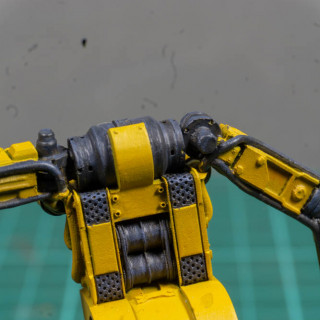
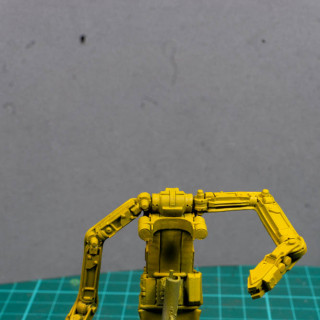
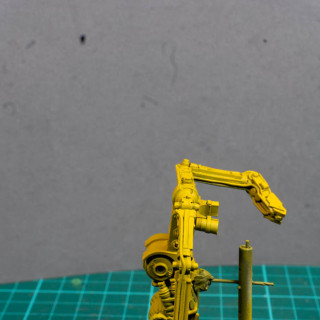
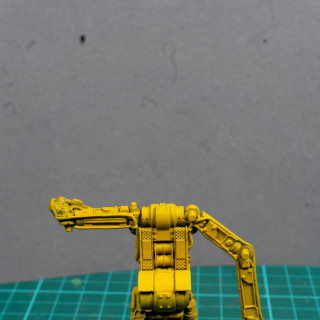
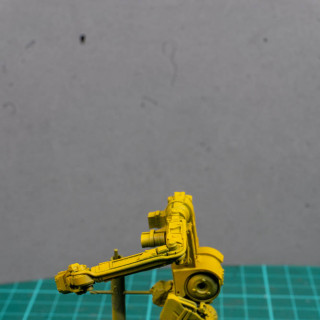
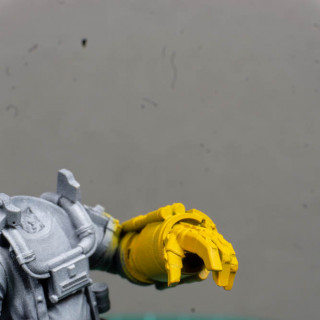
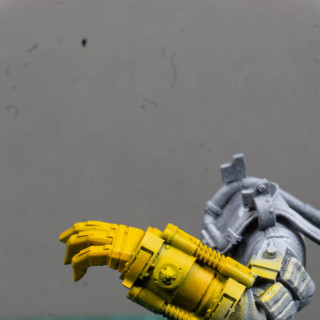
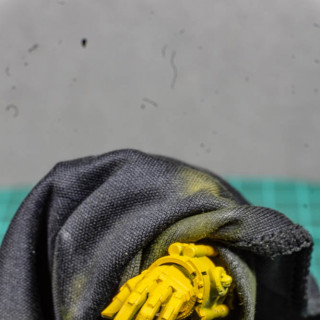
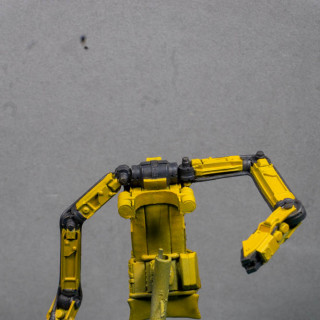
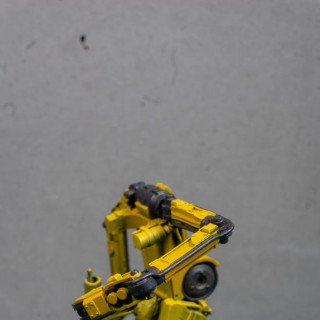
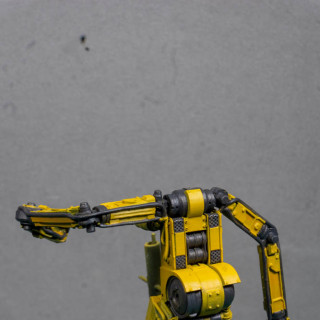
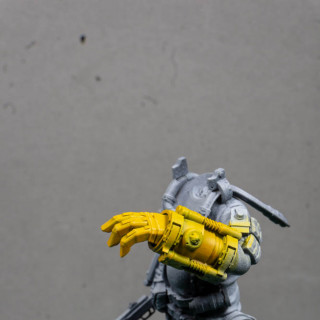
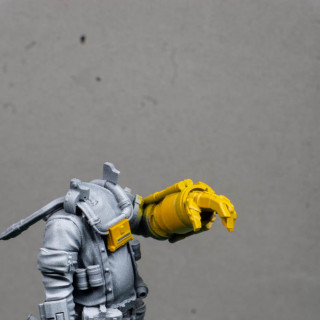
One of the big reason for picking this model was the challenge of painting the yellow which was what I started on next. For the first part I’ve started off with a brown that has a lot of yellow in it. This has then been mixed with some white to give it more of a ‘yellow’ feel. I’ve done a number of layers to try and build up an overall smooth feel. Or at least that is what I was trying to do with this bit. On the servo harness I didn’t mind if I covered everything in yellow but for the main body I wanted to keep things nice and neat. But because I didn’t trust my skill with the airbrush I used an old lens cloth to mask the rest of the body. I find that he ones with the crinkle cut edges work best.
Once I done a few layers I switched to using a brush and used a dark grey for the joints which will get highlighted later. At this stage I just wanted the contrast to help me work out how much highlighting I need for the yellow. I’ve also started to mix in a darker brown to the yellow mix to use in the shadows which I’m hoping will make the highlights appear even more yellow. All of this is being done in very thin layers, probably to thin if I’m honest, but I’m being extra cautious.
The Base:
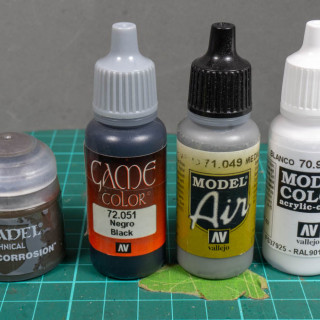
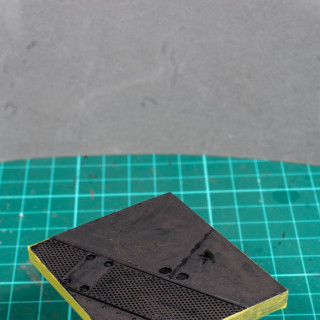
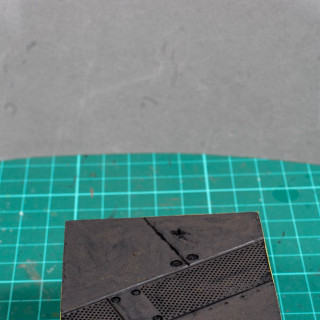
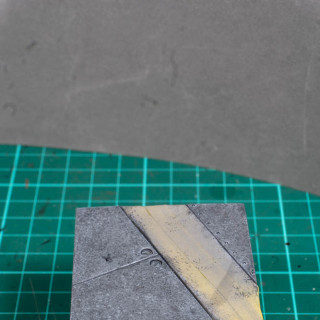
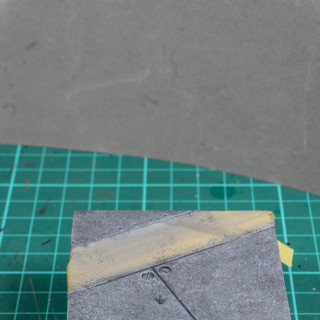
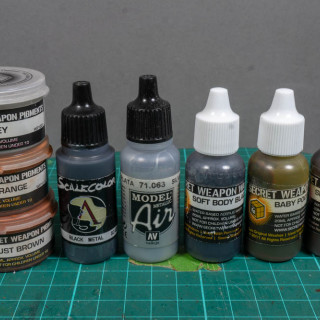
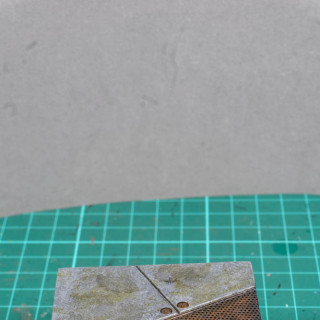
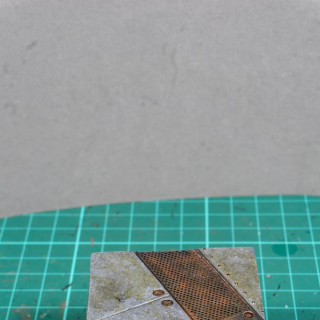
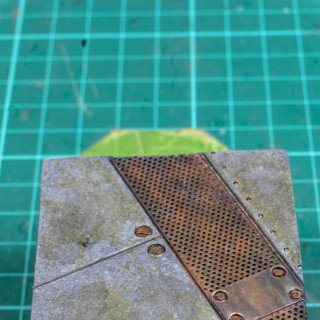
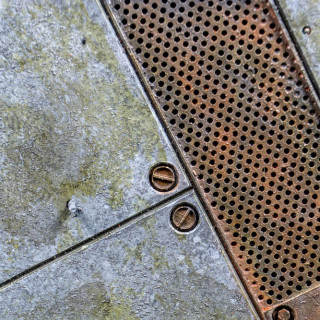
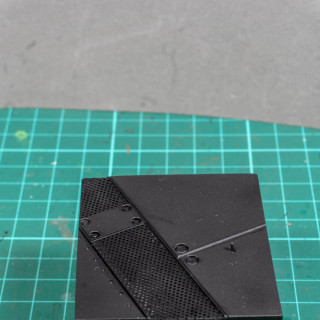
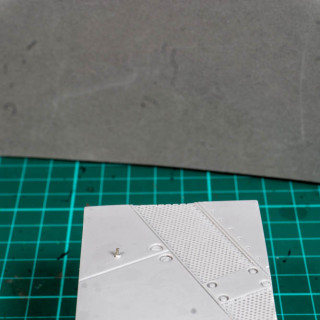
With the primer fully dry I decided to start off on the base. I knew that I wanted to have mix of dirty concrete and steel so I started off by using a light coat of Citadel Typhus Corrosion to add a little texture to the otherwise quite smooth base. Once that was dry I used a base grey over the concrete areas. I then added some black to the base coat and using a piece of foam stippled this all over the base. Next up was to add white to the base grey to get a lighter mix and repeat the process so that I ended up with stippled effect all over the base.
The next step was use a black metal to paint the metal section which I then lightly highlighted with a silver. The gave everything the basic look I was going for but it was all still a little bit to clean so added some washes to everything to grunge it up before finishing off with some weather powders to blend things together and give what I hope is a more natural feel to things.
Base Coating:
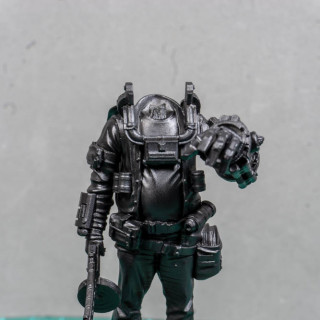
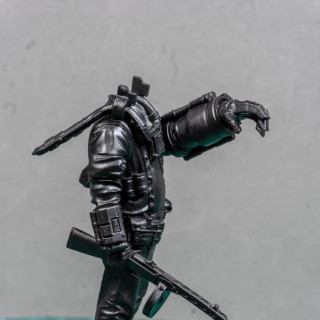
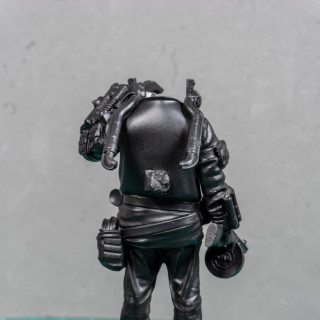
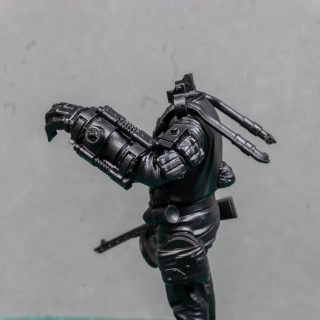
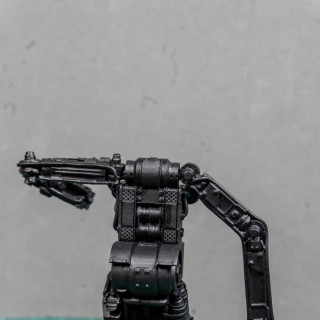
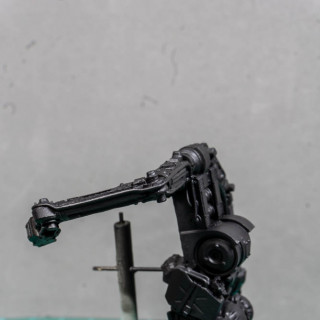
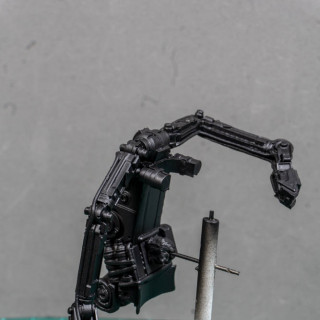
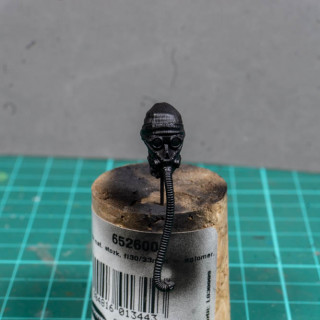
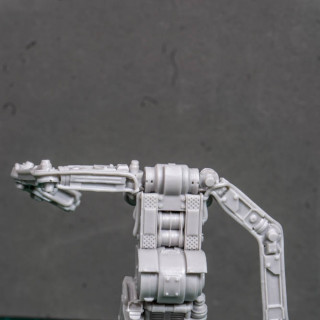
With all the sub-assemblies built up I primed everything with Vallejo Black Surface Primer using an airbrush to make sure everything go a nice even coat. The next step was to be patient and leave everything for 24 hours to allow the primer to cure properly. It’s not something I normally do but I don’t want to get a long way into the project only to have the primer lift off and wreck everything.
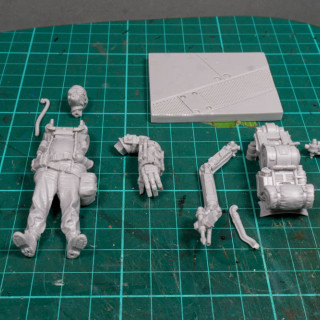
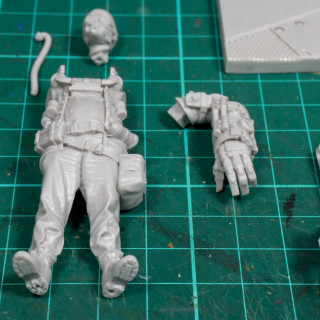
Unboxing:
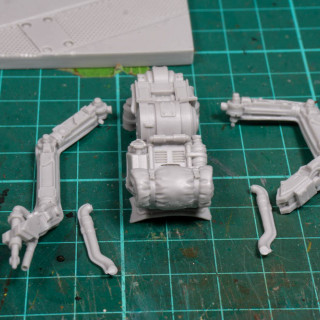
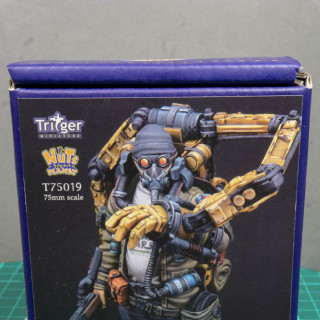
The model comes in a sturdy box with colour pictures of the professionally painted model on it and inside all the pieces are protected by lots of foam. The smaller parts are kept together in a couple of plastic bags. All in all there twelve parts including the base. There are a few mould lines that need to be cleaned up but once this was done everything fitted together very nicely.
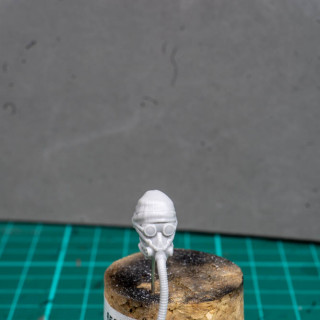
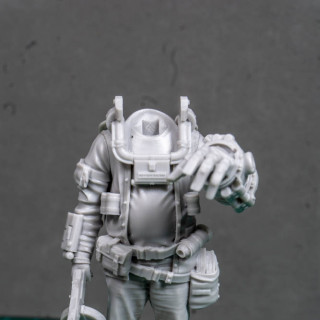
I dry fitted all the parts first so I could get a feel for how things would go together and decide whether to paint it in one go or in sub-assemblies. After doing this I decide that I need to go with four sections, the head, the body, the harness and the base.
Project outline:
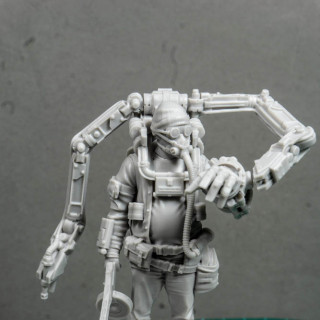
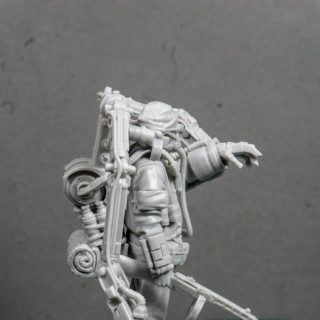
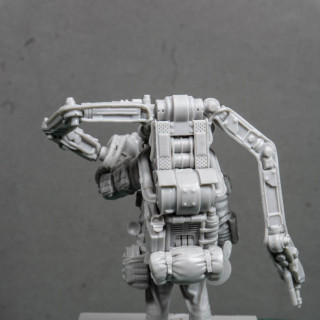
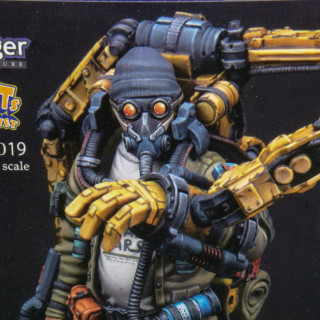
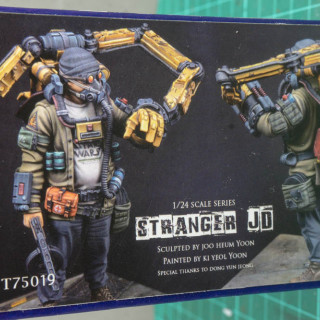
I consider myself an ok painter but this year I wanted to try and stretch myself to get better. Whilst I was at Adepticon last year one of the really good painters recommended painting in different scales as way of improving skills. So that’s what prompted me to pick up this model from Nuts Planet and have a go at something a bit different. Stranger JD is part of Nuts Planets Tiger Series and is a kind of post-apocalyptic / Sci-Fi type of character. I picked it because first off I really like the look of it but from a painting challenge the mix of the yellow mechanical frame and normal clothing appealed. So the plan is to us the box art as a guide and something to judge myself against.






![TerrainFest 2024! Build Terrain With OnTableTop & Win A £300 Prize [Extended!]](https://images.beastsofwar.com/2024/10/TerrainFEST-2024-Social-Media-Post-Square-225-127.jpg)


