Into The Badlands - Hero Forge Customised Miniatures
Part 2 : Designing the Miniatures in Hero Forge
This was my first time using Hero Forge (www.heroforge.com), and I have to say that I thoroughly enjoyed it. For anyone unfamiliar with the site, it’s similar to those character design features in video games like Skyrim, where you start with a basic human figure and build up the various elements of the character’s appearance from there. It took me a couple of hours to come up with four figure designs and cost me about $10 per design to purchase the STL files for 3D printing (you can also have Hero Forge themselves print the models in various different materials, but you would then be waiting a couple of weeks for them to be shipped from the US).
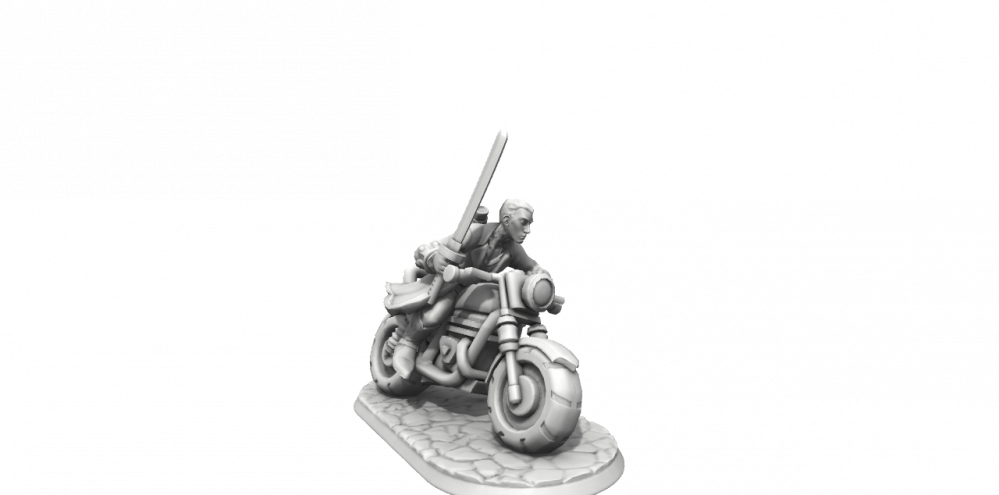
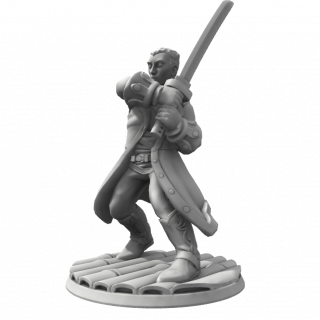
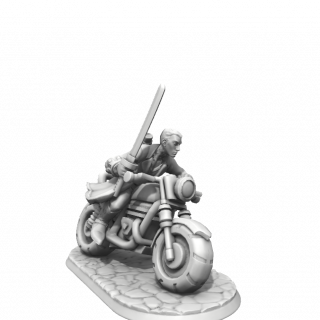
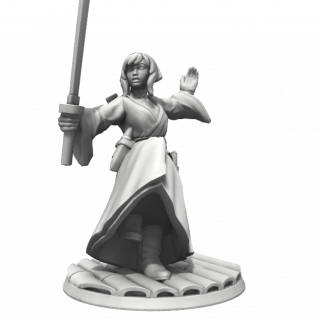
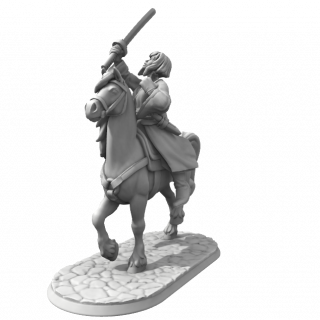
As a starting point, I decided to try and design two iconic characters from the TV show, namely Sunny (a badass Clipper played by Daniel Wu and basically the hero of the whole affair) and Minerva (an equally badass female character played by the lovely Emily Beecham, who I won’t say too much about here so as not to spoil anything in the show – seriously, if you haven’t watched it yet, give it a go!). Since Hero Forge offers the option to add a mount to a figure, I decided it would be fun to design each character both on foot and in a mounted version. Sunny is occasionally depicted in the show riding a motorbike, so his mounted version was a no-brainer. Minerva doesn’t really do mounts as far as I can recall, so I decided to put her on horseback because, well, it looks cool, OK! In the post-apocalypse there aren’t too many working vehicles left, so horses would be a natural option for getting around anyway.
So… a couple of hours’ work later, here are the end results. I had to compromise on a few details (Minerva has a very distinctive hairstyle in the show which I just couldn’t replicate exactly, and she also invariably wears stiletto heels which, for obvious reasons, there was not an option for, so I gave her some sturdy riding boots instead). For me the most fun part came at the end, selecting the best pose to use (each one entirely alters the impact of the model), and especially adding the mounts – I’m extremely impressed with how easy and fun to use this website is!
OK, that’s all for today. Next step, getting the models printed. I don’t personally own a 3D printer, but my brother recently acquired a very good one and has kindly agreed to try and print these out for me. I look forward to sharing the results!




Leave a Reply