


Luna Wolves Reborn a.k.a. Cawl's personal Guard - by Bothi


... and his four Brothers!
I guess I haven’t mentioned it before, but these marines are of the 10th company. Paying respect to the original 10th company of Luna Wolves (Garviel Lokens company) which didn’t join Horus and nearly all died on Istvaan III.
First enjoy a few pictures of the finished squad. Below I’ll put a complete step by step of the painting process. It should be noted that it took me less than 7 hours (if I remember correctly) to paint these. I’ll take a more exact timing on the next batch.
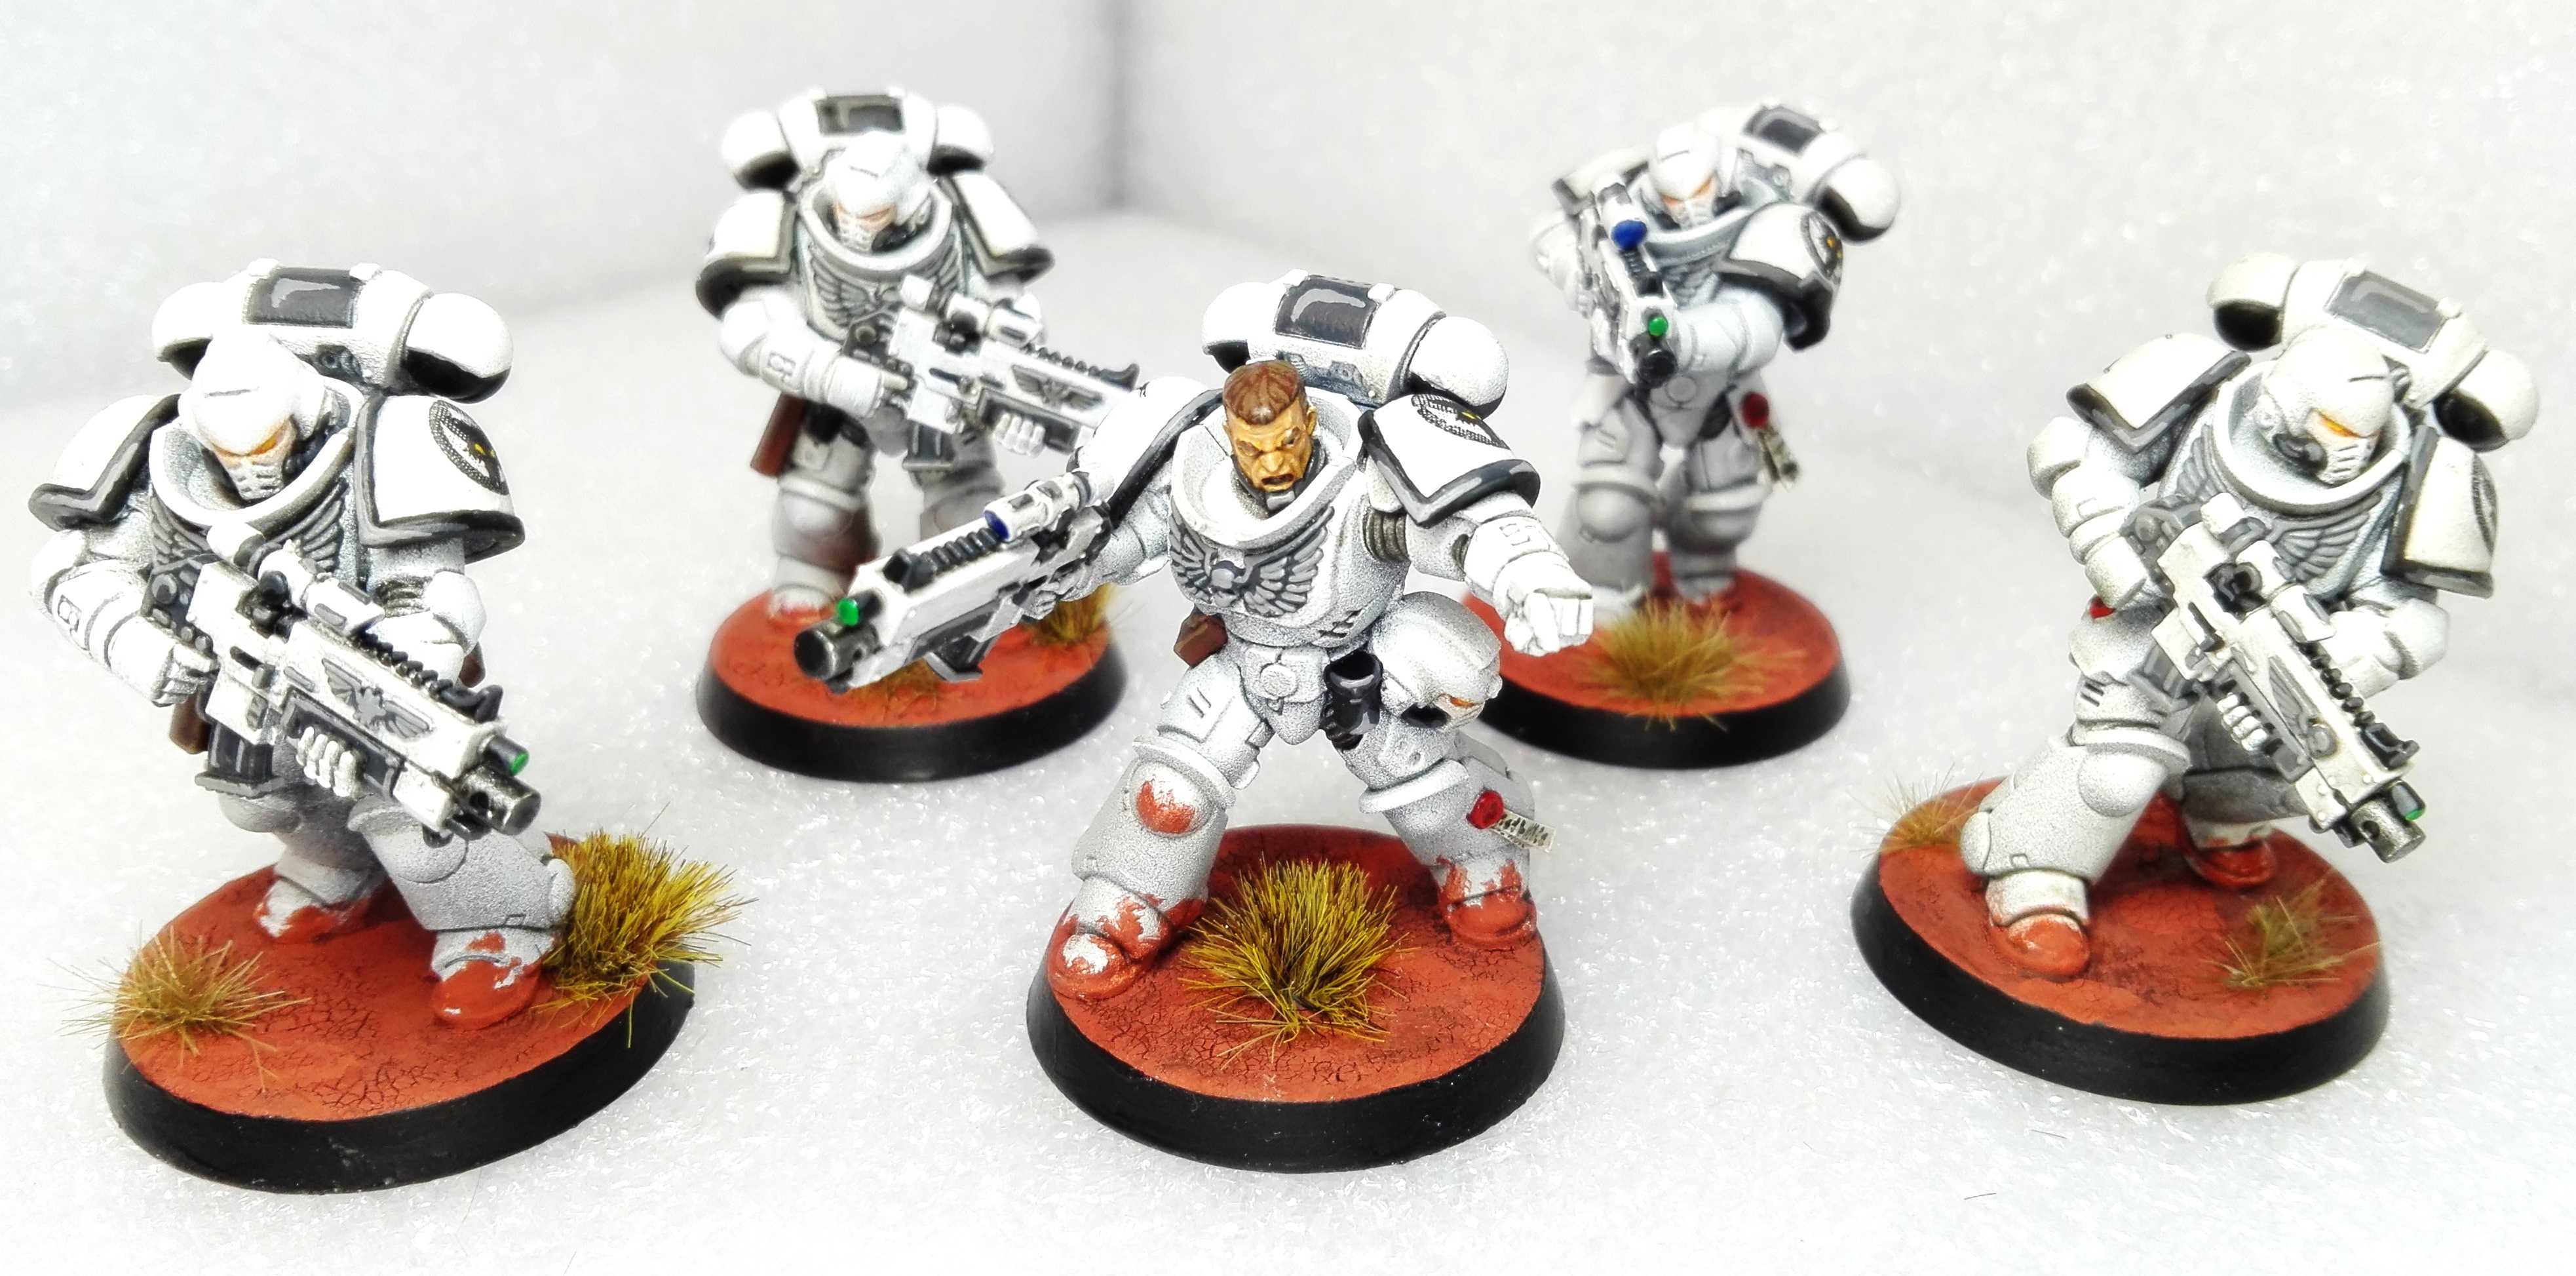 Entire Squad
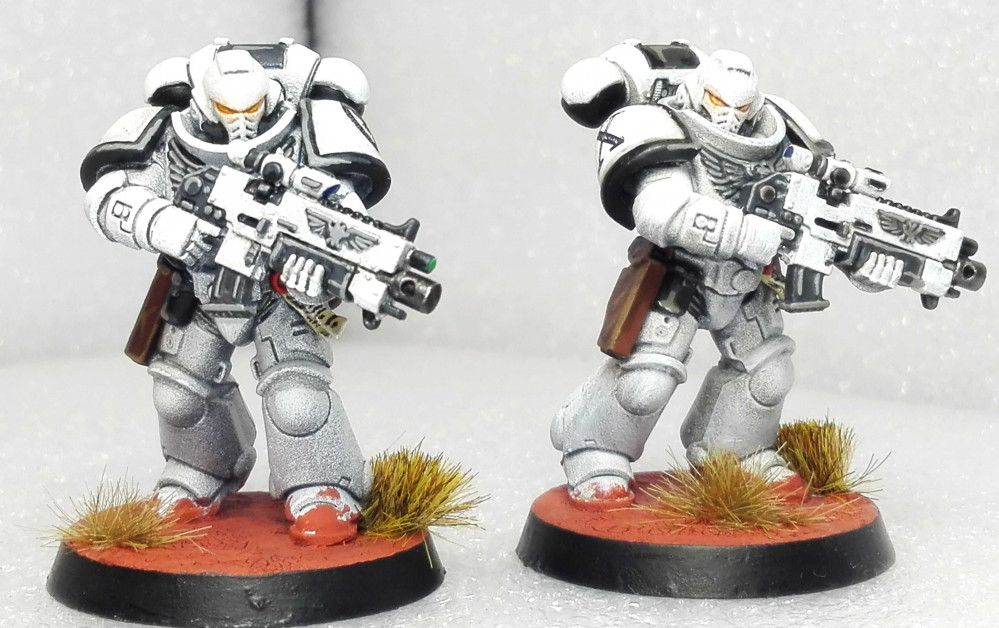
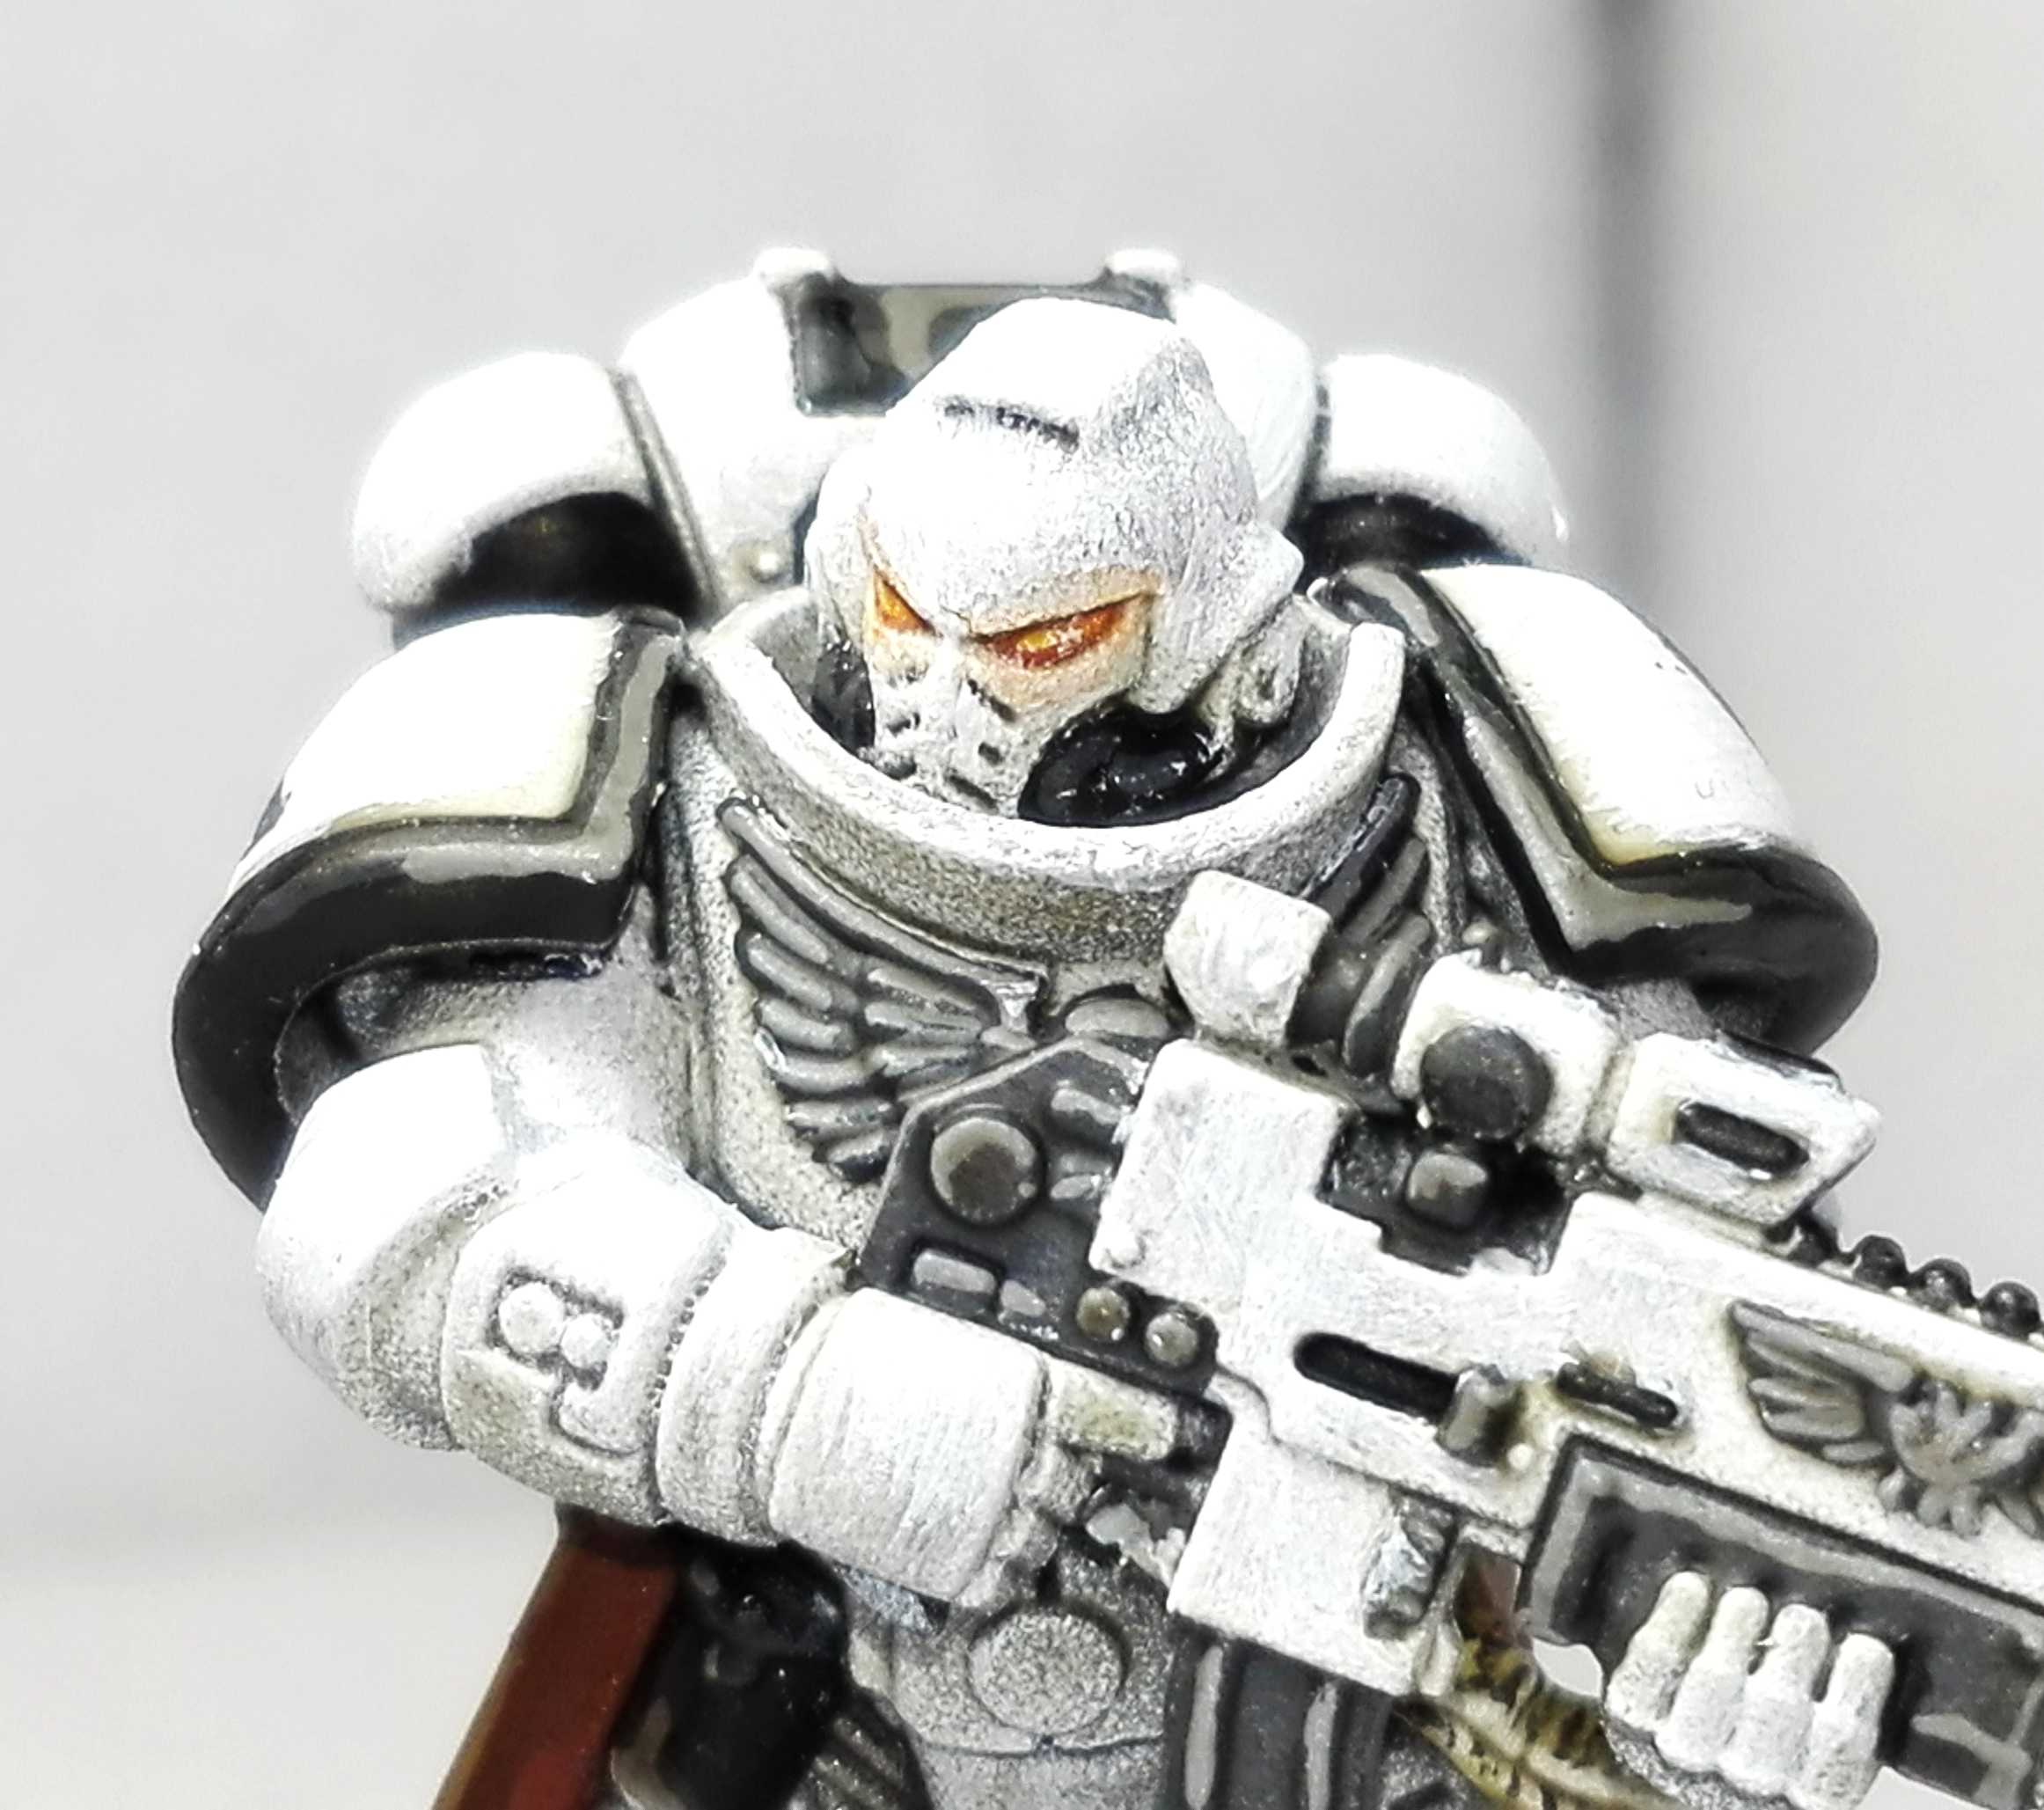 Upper Body
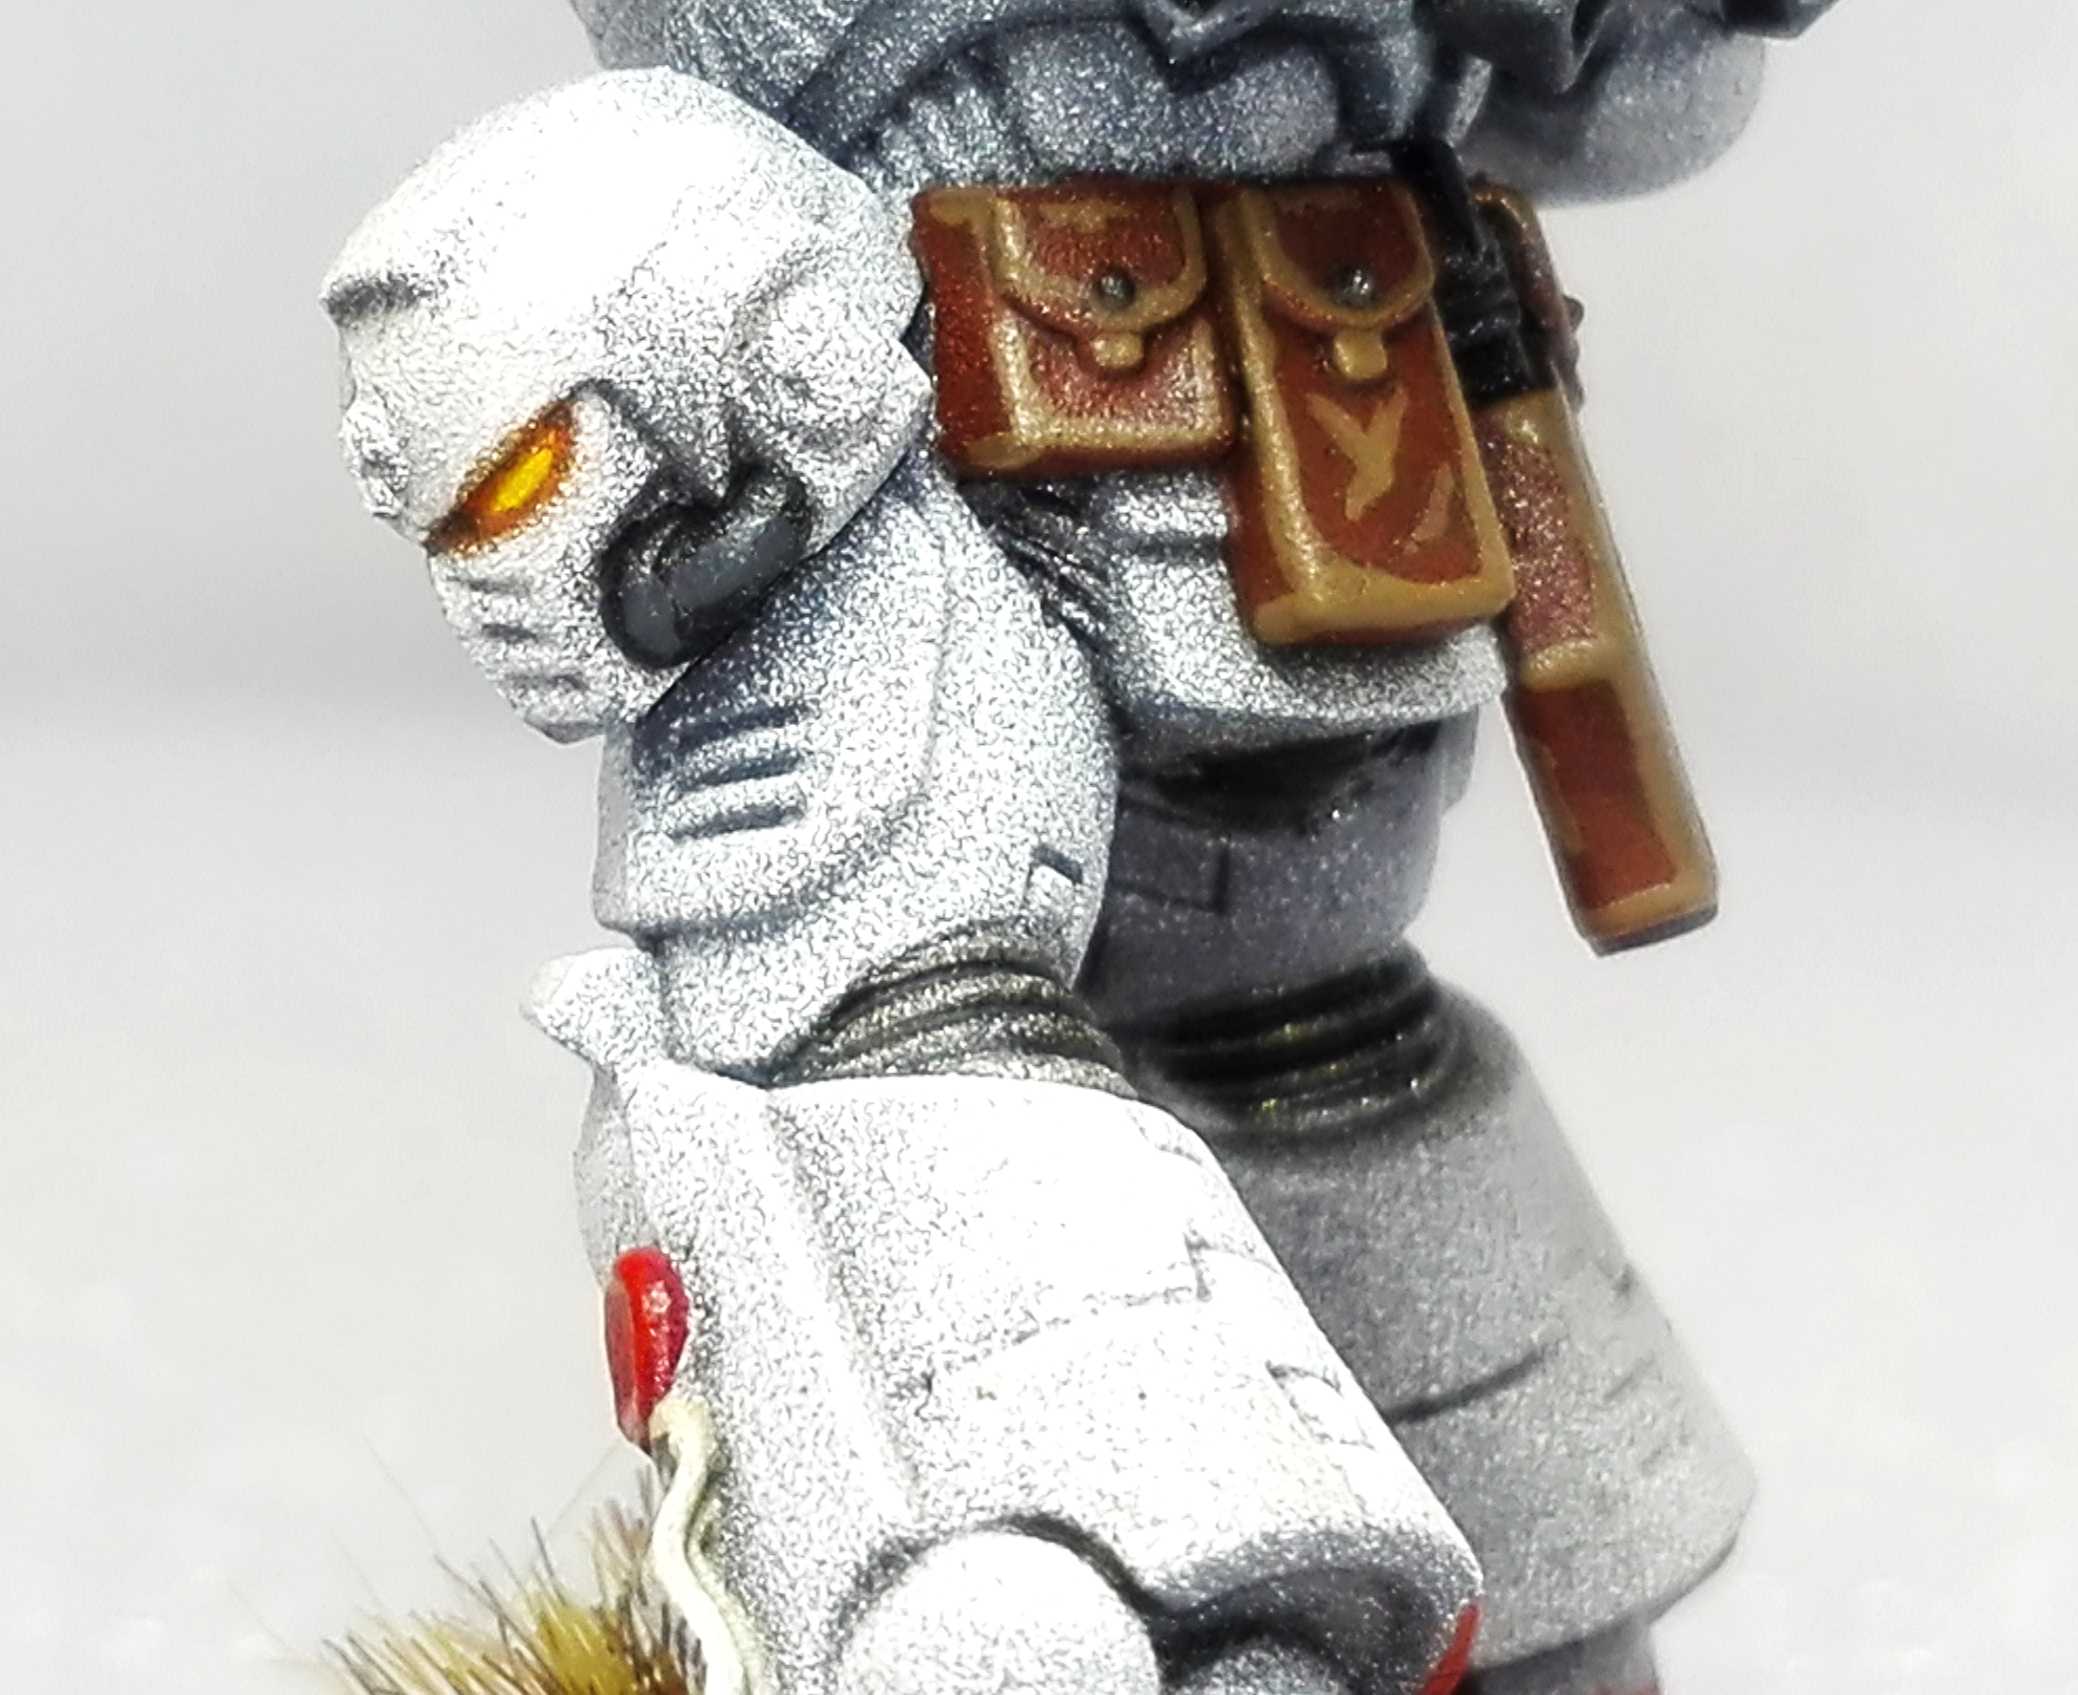
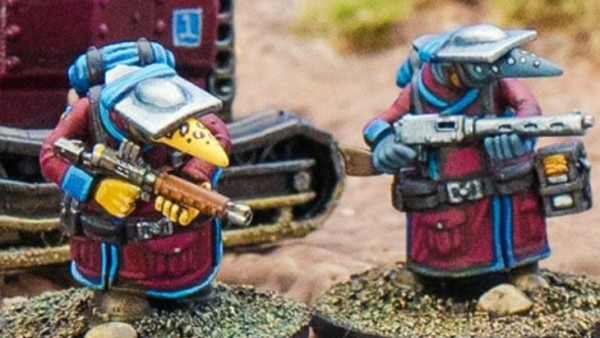
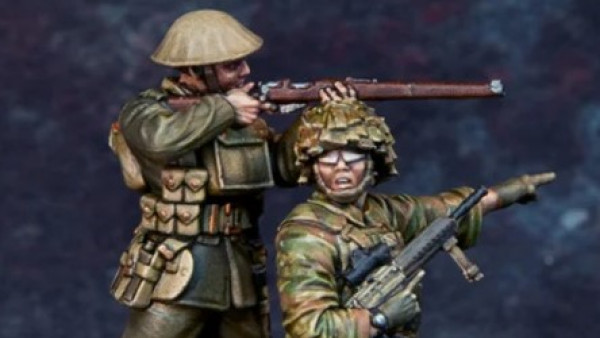
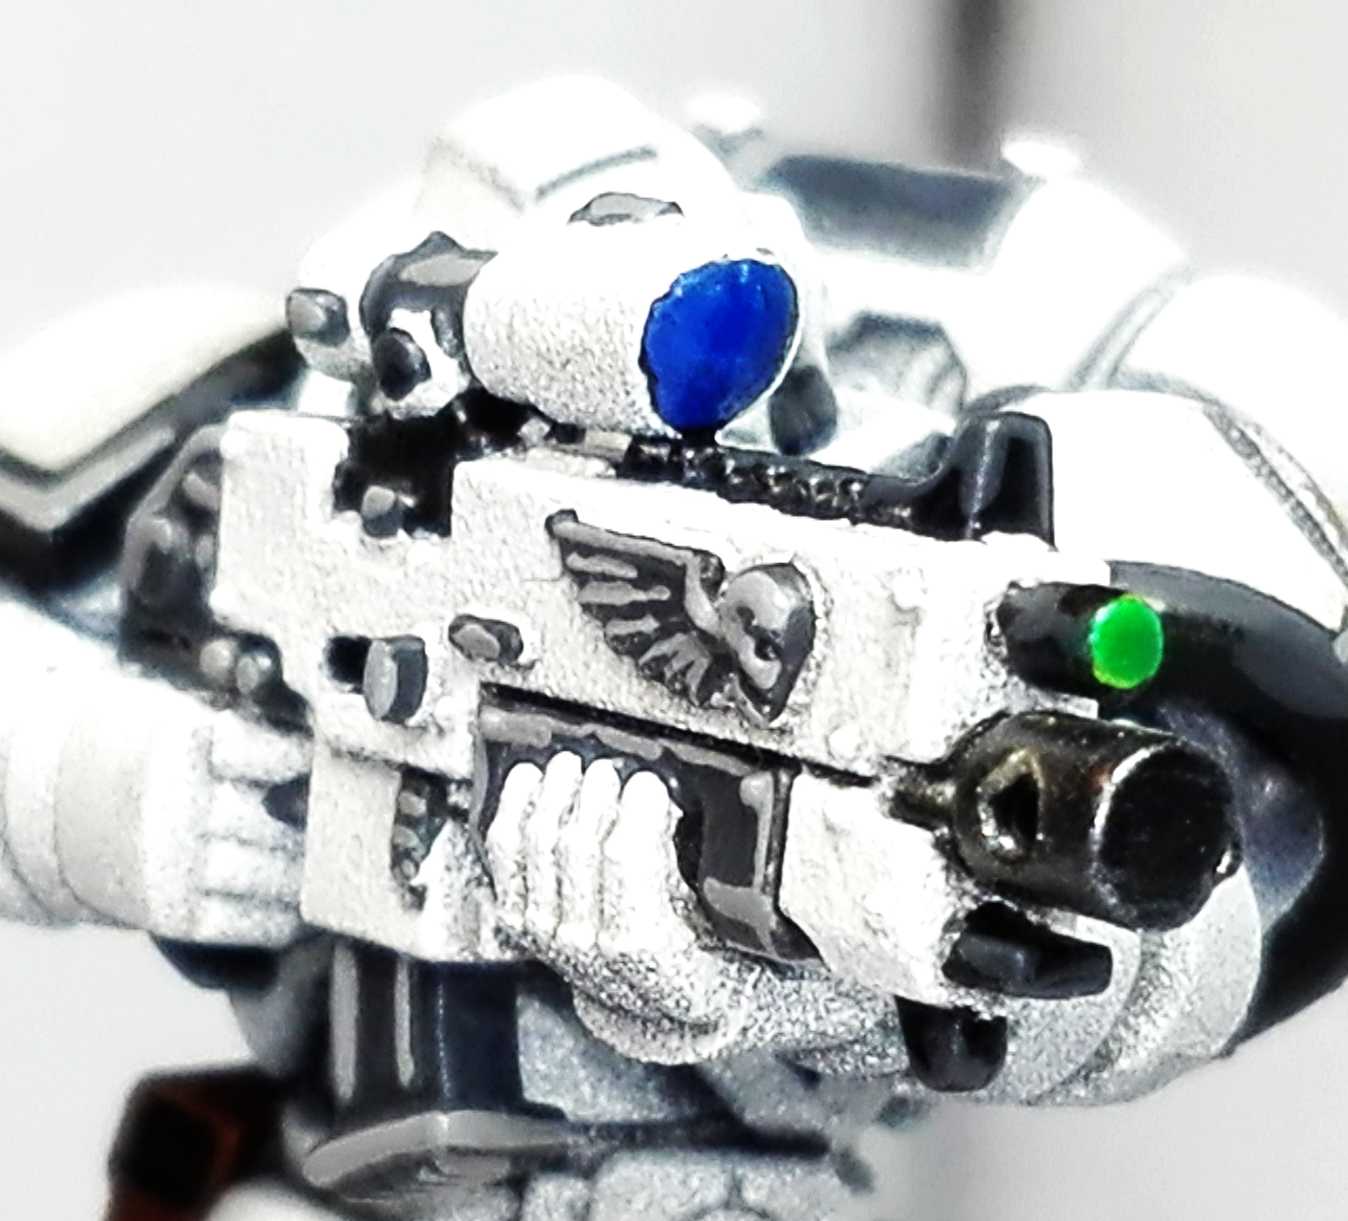 Boltgun
 I went for martian red bases to create a strong contrast.
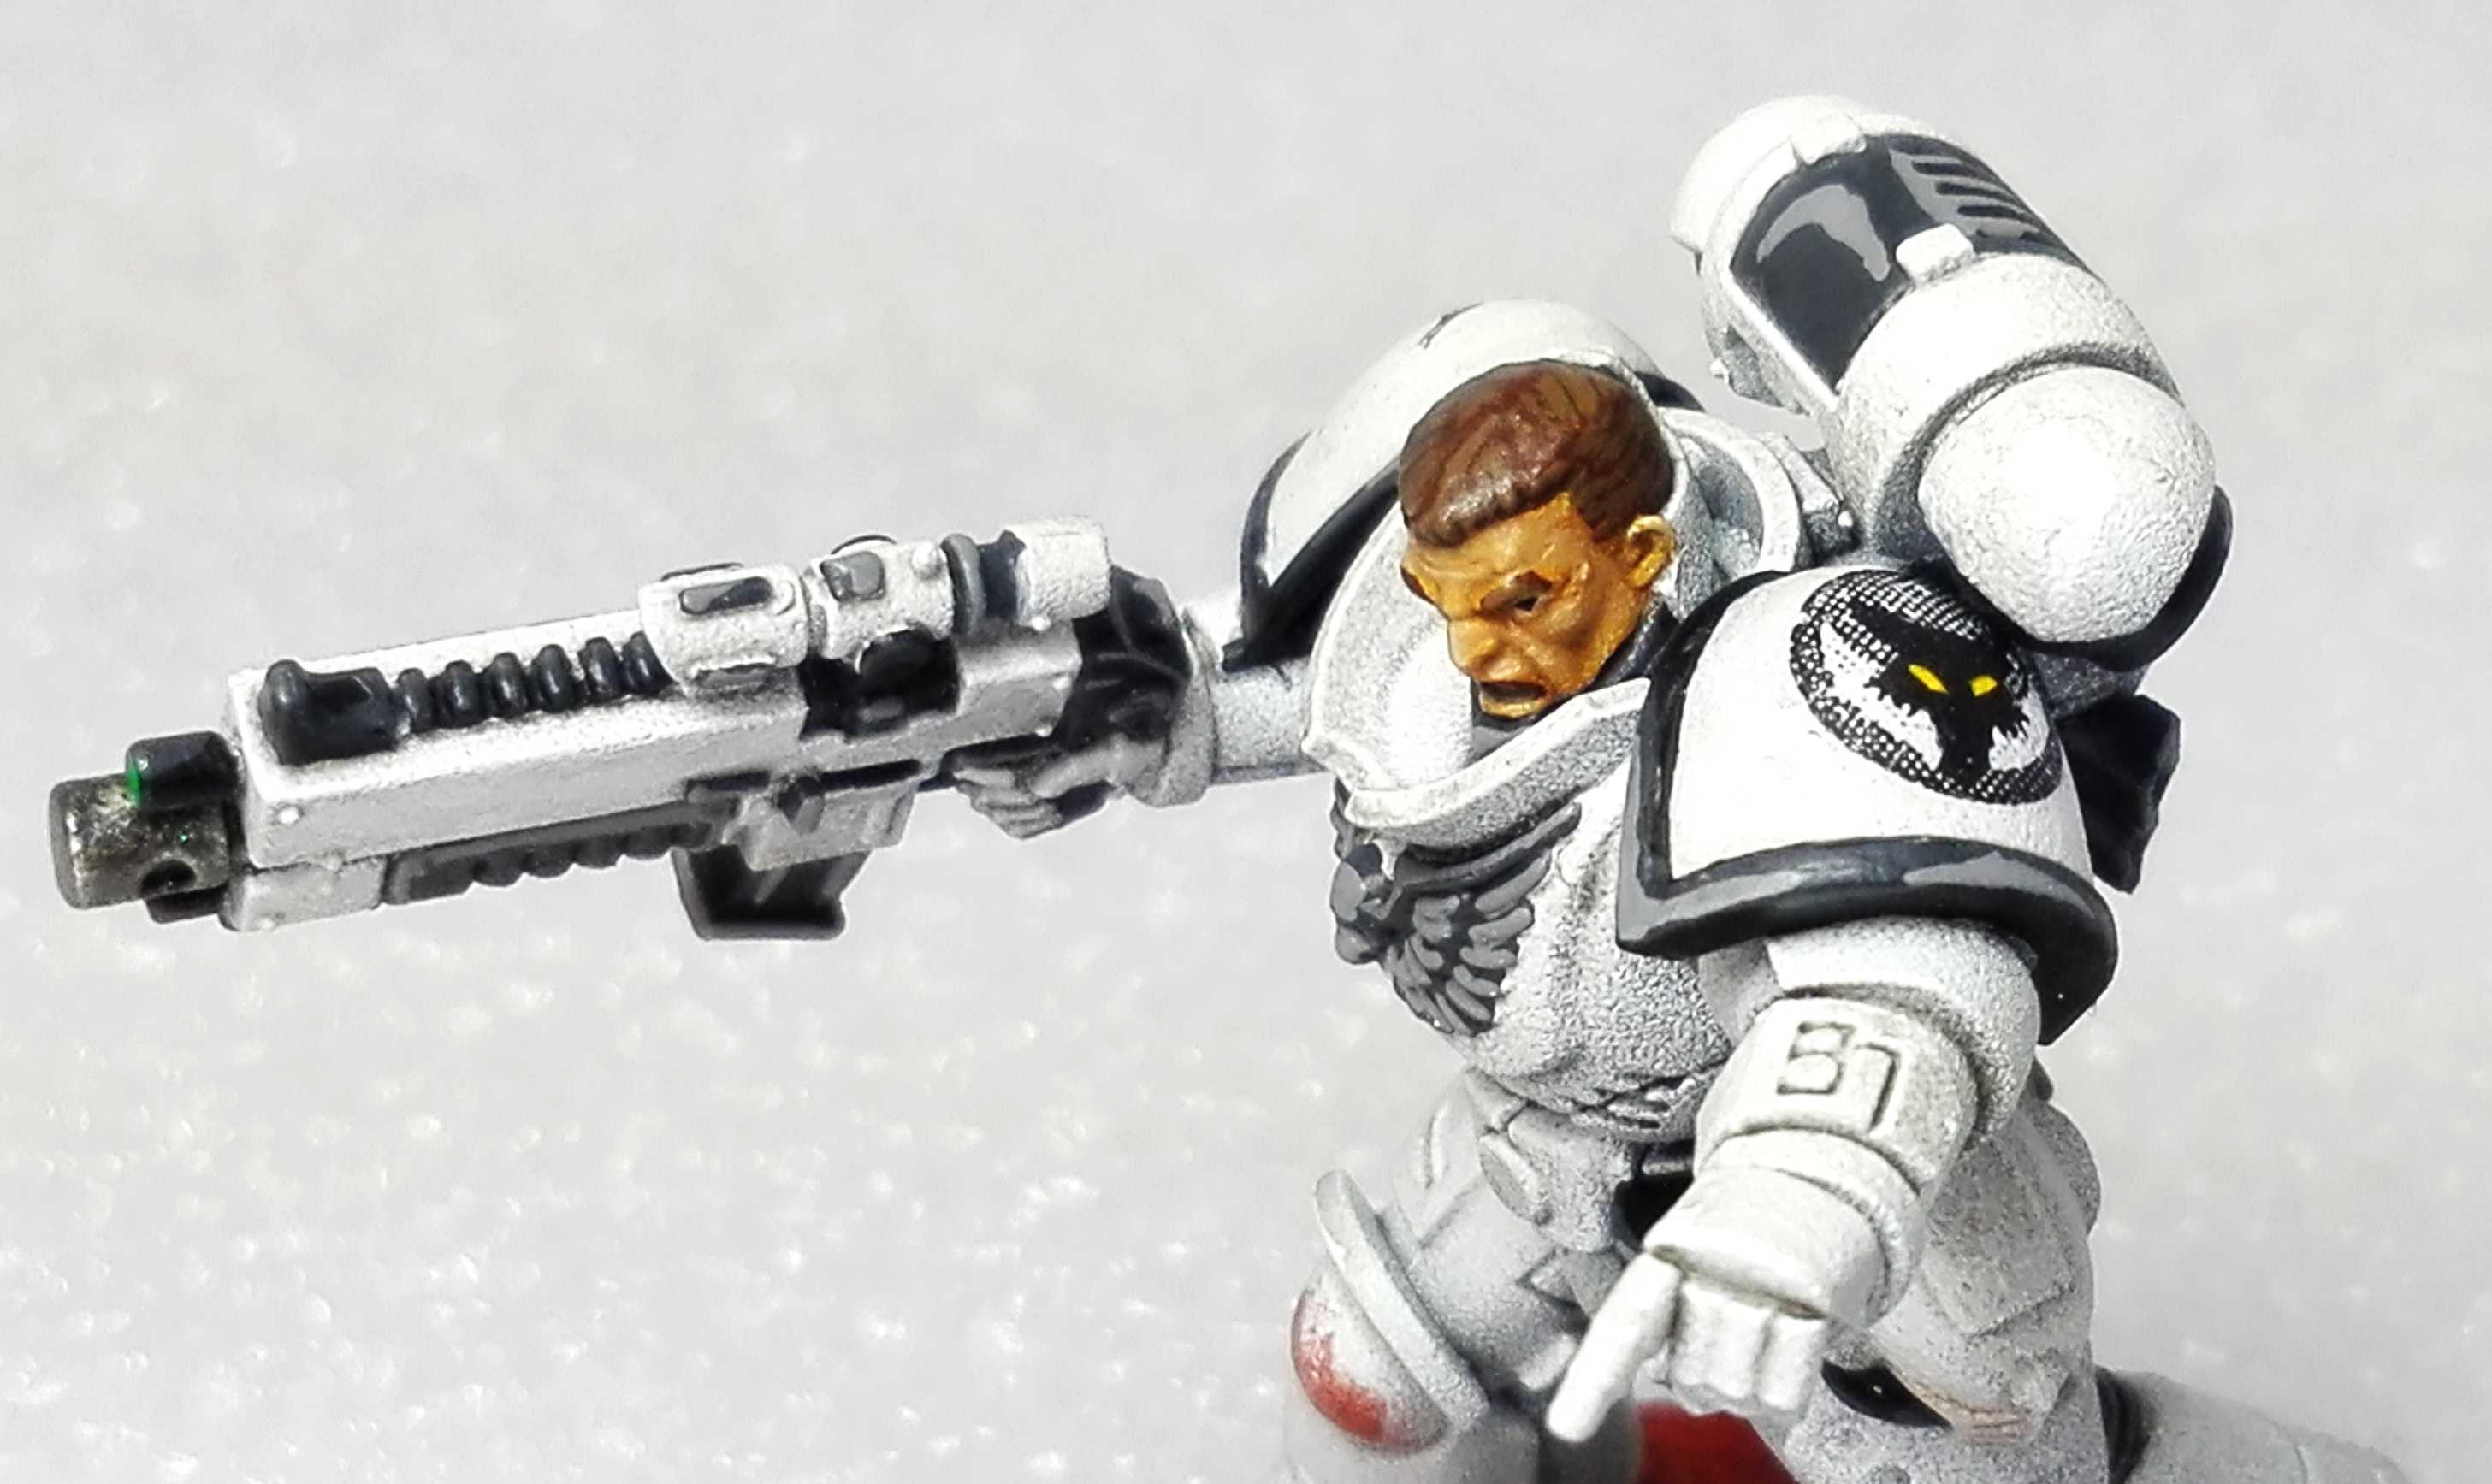

Paintingsteps. First natuarlly comes
Priming:
- Entire model with AP Unifrom Grey from the rattle can. Make sure you get into the deepest corners. I glue my models on nails for painting so I have a good handle on them while priming (wear a glove)
- 45° up to 90° with AP White. Also from the rattle can.
- Entire base with AP Black. From the dropper bottle with a (large) brush.
Base Colors:
- AP Black. You should have some left on the palette from the priming of the bases. This goes on the rims of the shoulder pats, a few larger parts on the backpack, the respirator, gun handles, grenades and a few pieces on the guns itself.
- Vallejo Brown. All the bags and gun holsters.
- GW Gore Red. On the top parts of the sigils.
- GW Bleached Bone. On the lower parts of the sigils.
- GW Trollslayer Orange. On the eye lenses.
- Vallejo Gunmetal. On the armour joints and gun muzzles.
- GW Ultramarine Blue. On the gunsights.
- GW Purtrid Green. On the laser marker, front of the boltgun.
- Dark Grey. This is a 50% mix of Vallejo Cold Grey and AP Black. This goes on the exhausts and larger parts on the backpack, the aquila, front handle on the boltguns, a few single parts on the bolt guns.
Highlighting / Layering:
- Dark Grey. Same mix as above. You should have some left on the palette from the previous step. Edge highlighting on everything that is black. Make these large on the shoulder pads and the grenades as these get a second highlight.
- GW Sunburts Yellow. Layering on the orange in the eyes.
- GW Blood Red. The rim of the upper part of the sigils.
- GW Graveyard Earth. Edgehighlighting on the brown things.
- Vallejo Cold Grey. Layering on the larger parts on the backpack. Edge highlighting on everything else that is dark grey (aquila etc.). A second hightlight on top of the dark grey highlights on the shoulder pads and the grenade. The respirator can take a second highlight aswell, when you have a really fine brush.
- Vallejo Foundation White: Edge Highlight on the sigils.
Clean up:
- Depending of how clean you have worked you only have to do a bit of white here and there. I use Vallejo Foundation White for this. Also I layer the white parts of the boltgun completly with white again, because the zenith shading looks weird on them
Decals:
- Cut the decals very precisely so they are as small as possible.
- Put them in water, apply Decal Set on the shoulder pad.
- Wait 30 seconds.
- Slide the decal on the shoulder pad.
- Apply some Decal Sol and move it into position.
- Wait 1-5 mins until Decal Sol is dry.
- Apply another layer of Decal Sol and try to brush the decal flat.
- Repeat until decal is completely flat on the round surface.
- Apply a layer of AP anti shine (from the dropper bottle, only on the decal).
Note: With 4 marines the Decal Sol was nearly dry when I finished the last marine with the step before. With 5+ you should be able to work without waiting.
Base:
- Just a really thick layer of GW Martian Ironcrust. This will break up, hence the black undercoat on the bases.
Washing:
- AP Quickshade Dark Tone (water based, from the dropper bottle) undiluted on the gunmetal parts.
- Super Light Wash: 5 drops AP Quickshade Dark Tone (same as above) with 5 drops of Vallejo Airbrush Flow Improver and 10-20 drops of Vallejo Airbrush Thinner. This applied to the entire model. Pick it up again if it pools somewhere. I like this effect a lot. It keeps the bright white but still shades the deeper parts a bit more. Also it binds all the colors together with a slight matt varnish.
- GW Carroburg Crimson. Apply to the entire base.
Finishing Touches:
- GW Trollslayer Orange. Thinned down like 10:1. Then applied around the eyes to create a glowing effect.
- GW Martian Ironcrust. Drybrush the base with it. Also drybrush on some places where the marine got dirty. Like the feet and the knees
- GW Soulstone Blue on the gunsights
- GW Waystone Green on the laser pointer
- AP Black. Some writing on the sigils
- Some tufts on the base ( I use the Warlord ones)
- AP Black. Just a black rim on the base.
… and TAADAAAAA, you’re finished!


Leave a Reply