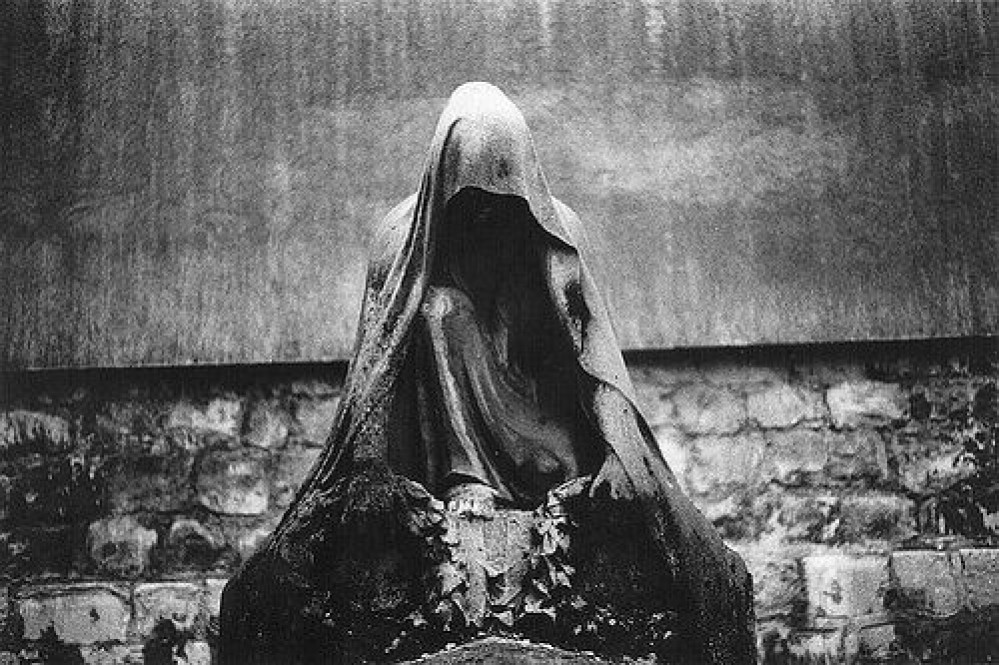
cyfi’s “the end is nigh” terrain challenge
Recommendations: 257
About the Project
cyfi's "the end is nigh" terrain challenge
Related Genre: Fantasy
This Project is Completed
the seed is planted
so to the concept stage. with my thoughts very much on the new age of sigmar night haunt I was immediately taken in that direction.
my initial thought was a grave yard but this felt a little under whelming and without the threat suggested buy the theme.
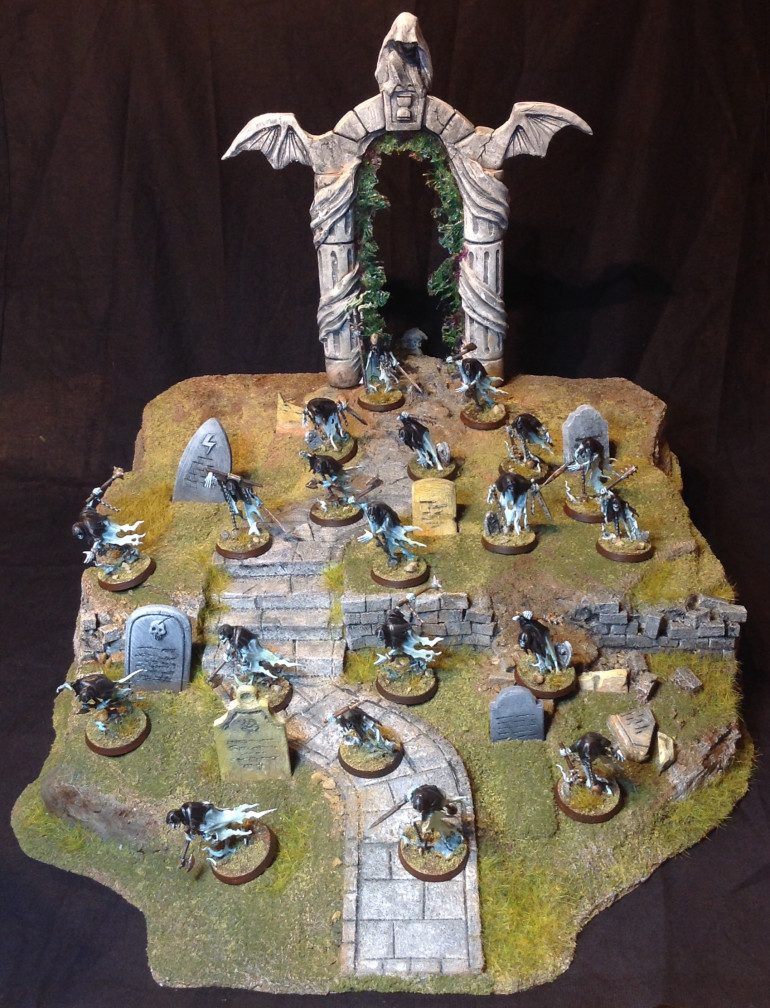
With the need of a threat the solution was obvious, I needed a realm gate! it’s a perfect fit for the theme. when the dead come to the land of the living there numbers only swell with any who stand against them, and that will only make the end swifter.
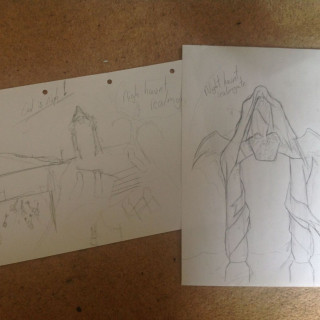
started with a quick google for inspiration and the cover image (see top) jumped out at me.
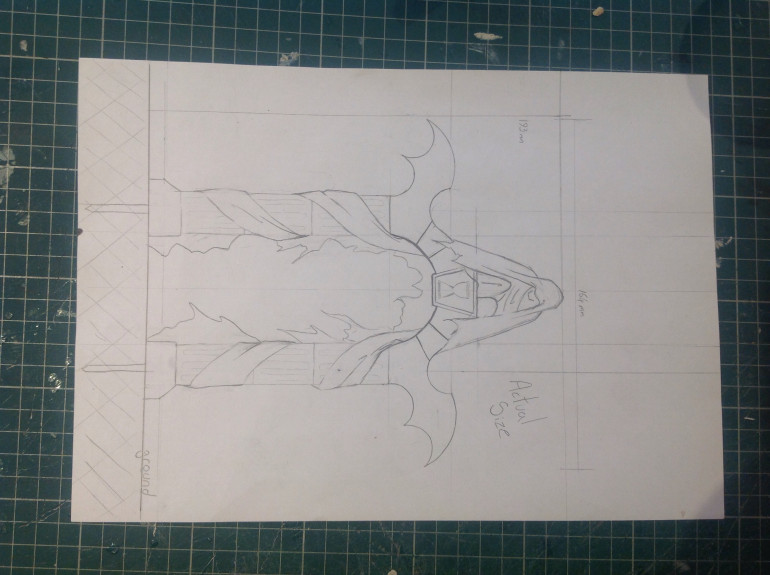
not a lot to show yet but I have made a quick sketch of where I want to go
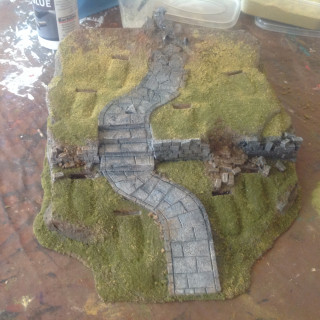
Tending to the ground
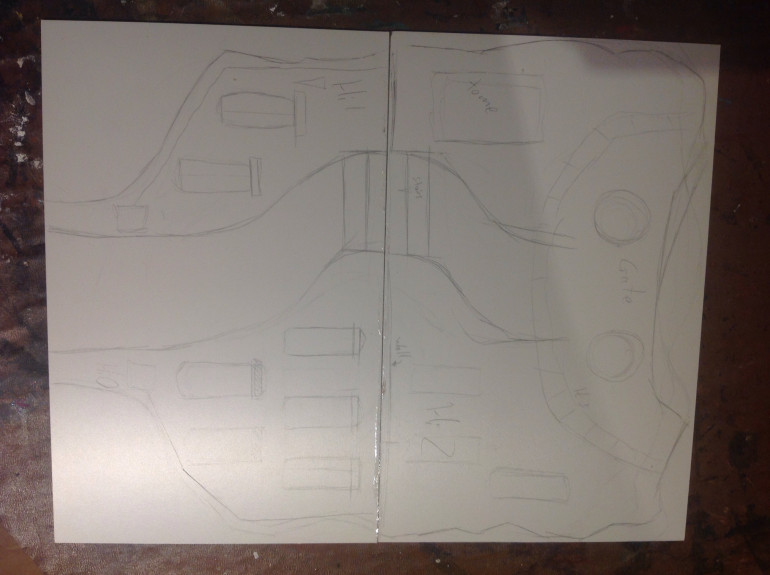
Laying out a ruff plan for the cemetery that will house the gate
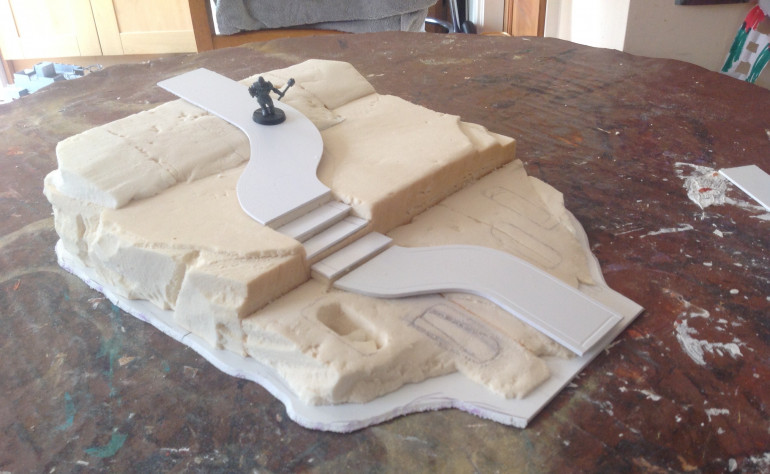
I’ve got some foamX plastic as a bace, A3 size and sketched out the outline and some details. The shape is ruffle skull shaped, l also want to have this over 3 levels with the gate at the back leading over a drop edge.
This is all very quick as things will most likely change as I work.
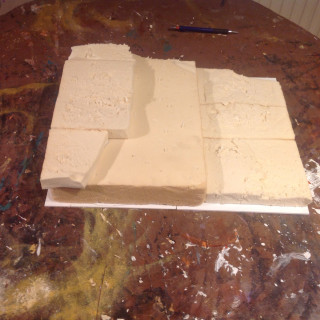
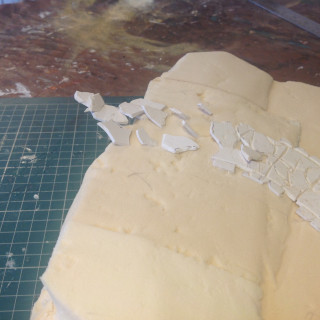
Next step is to cut some insulation foam to the ruff dimensions I want
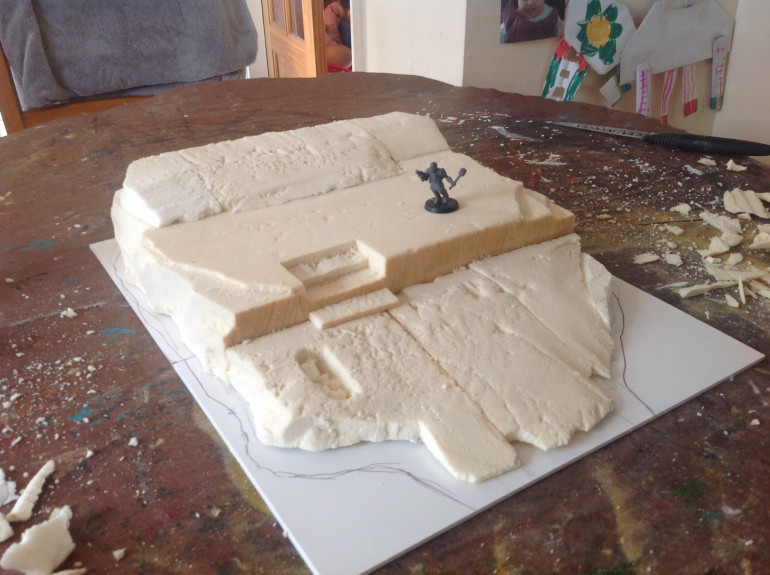
my plan is to include a retaining wall and stairs between height 1 and 2 but to taper between the other layers
once there glued together I will cave to shape
Tending to the ground part2
The path that leads beyond
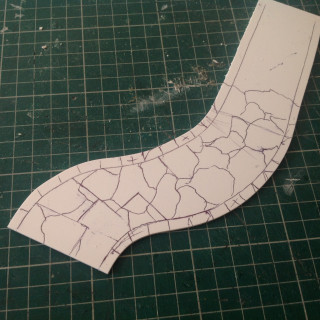
narratively the realm on the opposite side of the gate will spill through and effect the area around it I wanted to show this in the path. As it climes towards the gate I want the path to become more and more broken apart showing that the entropic energy is
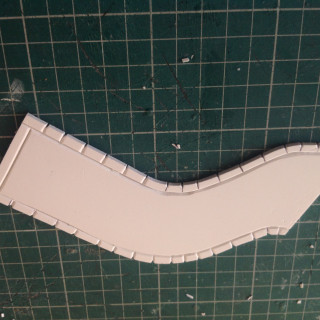
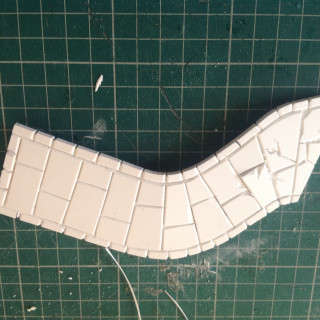
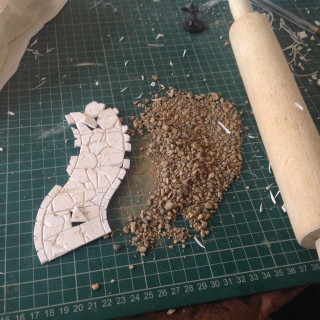
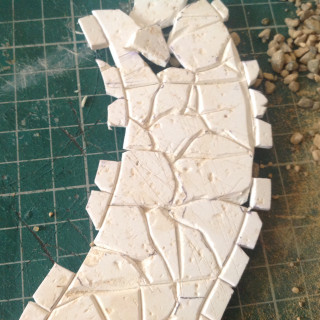
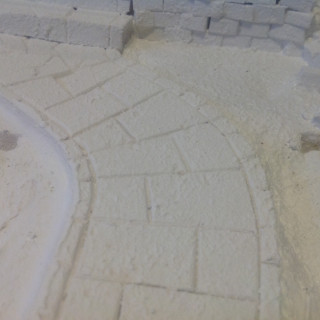
The flags are marked out using a ballpoint heavy handedly over a backing that is on the sheat, this marks the plastic without putting ink on it. Then I cut the channels using a very sharp blade. Once that’s done, I put a handful of loose stones on the table ( protect you table if you do this as it will damage it ) and put the path on top. Then with a rolling pin I press the plastic path in to the stones to transfer the texture.
The path that leads beyond part 2
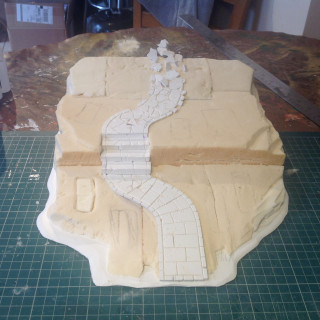
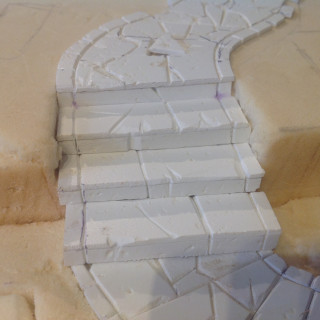
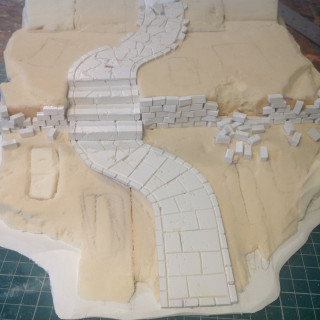
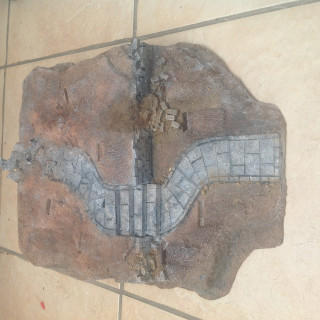
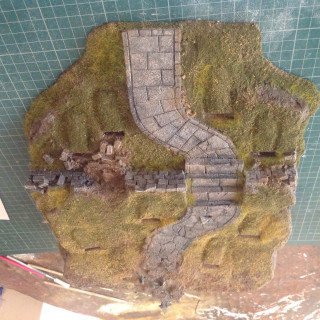
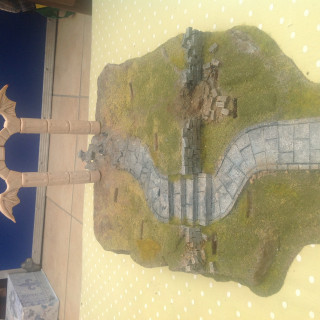
Paths are now glued in and as I worked on it I had an idea, the path is being sucked into the realm beyond.
Also covered the stairs and began to work out the best placement for the graves.
Holding back darkness, the retaining wall
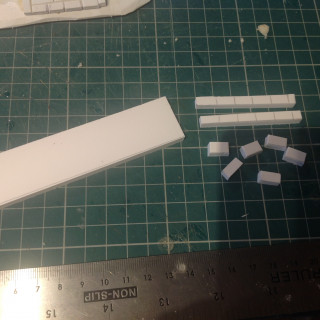
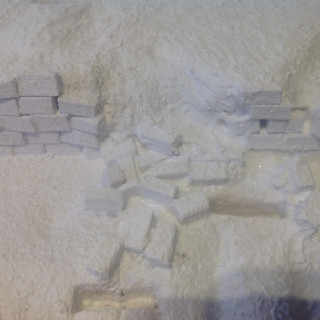
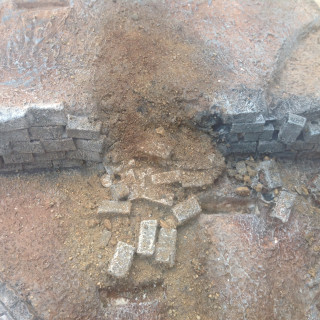
Using 5mm foamX I cut out a lode of 5x5x10 mm blocks, then without glue I built the wall, this was a bit fiddly. Once that was done I pushed two sections down, this might seam a bit of a odd way of doing it but I wanted to introduce a bit of randomness to the colapsed bit and the placement of the loose blocks.
Then using a super thin superglue I put dropps down the back of the wall and then hit it with activating spray
Tending the ground part 3
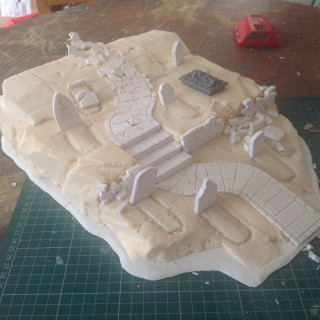
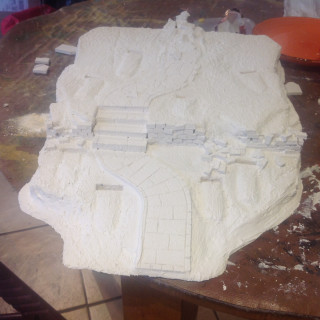
Decided on the position of the graves and cut headstones from the 5mm foamX also dugout a classic hero quest sarcophagus lid to add in.
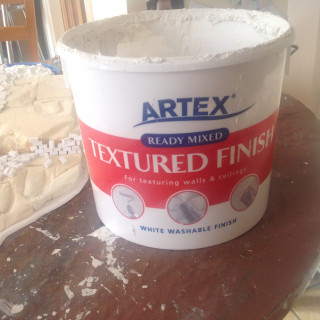
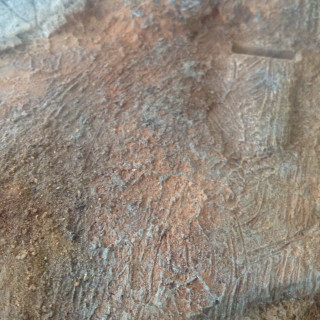
once I was happy with the layout I removed all the stones and gave the whole thing a coating of artex, this will seal and harden the extruded foam insulation, it will also be a undercoat. At the same time I am able to add some additional textures to the pathways and wall.
Tending to the ground part 4
With the artex dry I have put some colours on it along with some sand and stones around the colapsed wall. This is all very quickly don.
the plan is to flock the top so I didn’t need to be to neet At this stage.
Tending to the ground part 5
I am covered in flock as always but I’m happy with the results thus far.
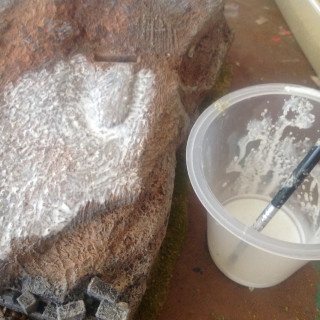
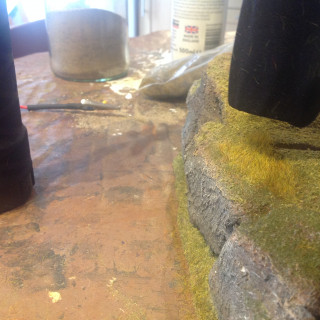
work in smaller areas, especially when the wether is hot like it is today, the size of this peace means it’s not such a concern but I divided it into 4 (top and bottom,left and right of path)
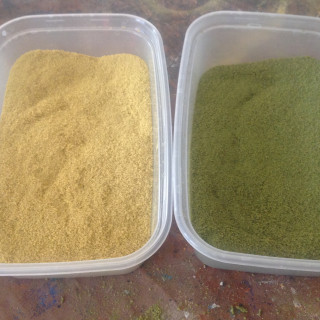
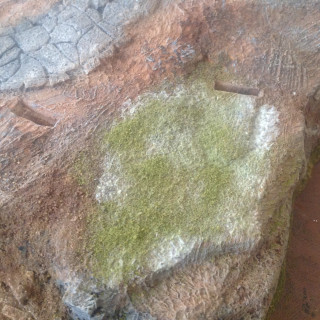
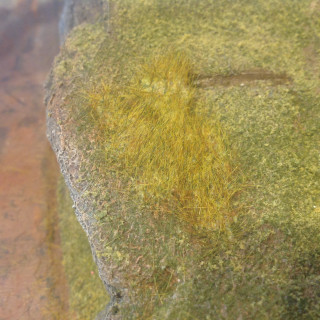
I used watered down pva and brushed it on to the ground section. I then use two different colours of woodland scenic ground foam flock. This will allow me to include some veneration in the colour, as well as gradually moving more towards the yellow as I approach the eventual position of the gate to make it seem as the grass is dying off under its influence.
next I will add some static grass
Tending to the ground part 6
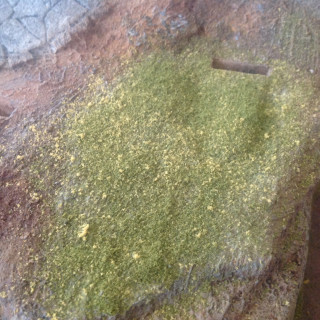
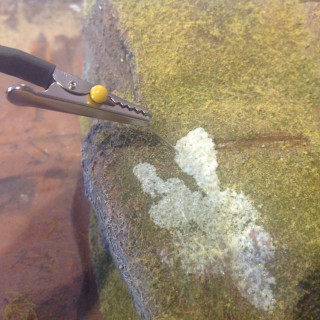
Added in some spots of static grass
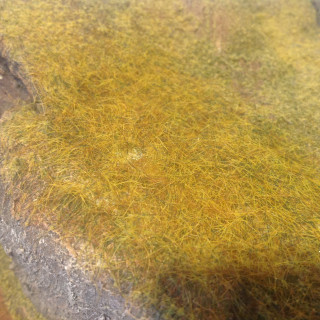
this is one of those things that is not essential and frankly a pain, but really adds a dimension to a peace. I have used 6 mm fibres, in spring grass (green) and wild meadow (more yellow)
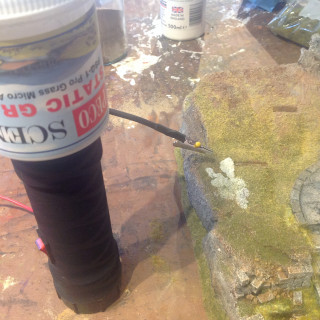
the applicator and grass fibres are from peco scene, it’s a battle to get the applicator working at times and the lid is likely to drop off when working ( might just be mine ) but the fact it’s battery powered means that it much easier to move around the project, and get in to some of the smaller spots.
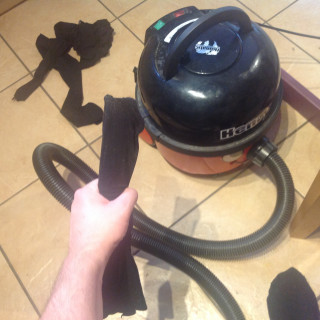
there are a lot of fantastic tutorials on YouTube (I recommended Luke Towan) if you wan to know more about static grassing. But the one thing I will point out hear is the tights over the vacuum trick. Once you have you fibres down this will both collect you unused fibres and help bring the stuck fibres upward
The gate is opened
Took some time to refine the concept for the gate, going to use super sculpey to make the gate. It is an oven back polymer clay (same as fimo)
The gate is opened part 2
Now begins the most challenging part out the build, the gate.
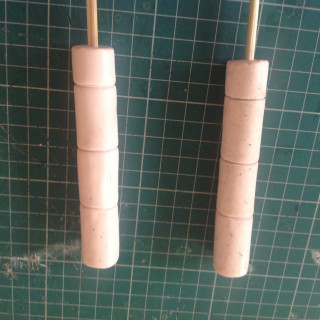
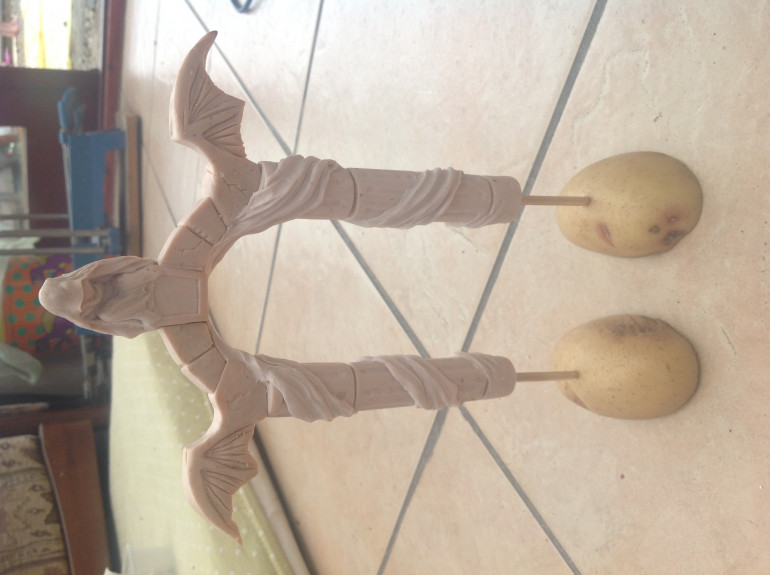
As I mentioned I am useing a polymer clay, the one I have is flesh colour which might give @warzan a giggle when he sees two fleshy columns erected ?
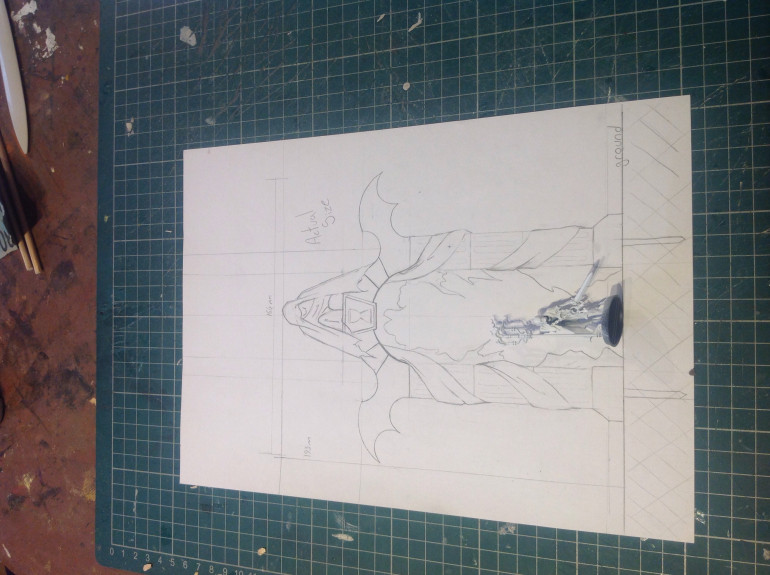
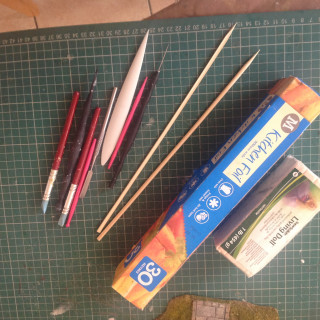
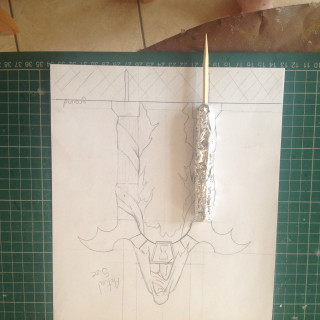
I started by cutting two bamboo skewers to length against my image, you will notice that they’re left longer at the bottom. This will be pushed into the cemetery hill to anchor it down. Then the skewers are given a wrap of tinfoil, this will add bulk to the columns and mean that less clay is used and the thinner clay will back all the way through without the risk of burning the outside
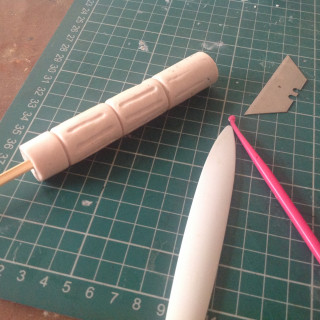
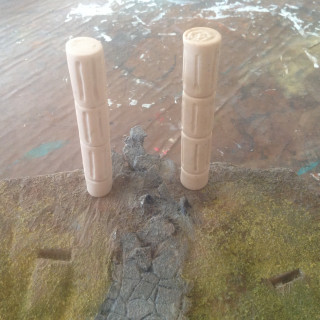
useing some simple sculpting tools I added details then backed. Once cooled I test fitted then in ther final position.
i am going to use sanding and a blade to refine shape and add smaller details such as cracks and damage that in hindsight I maybe should have included in the first place before backing.
" are you the gate keeper "
Now for the most challenging part of the gate section of the project. The gate keeper
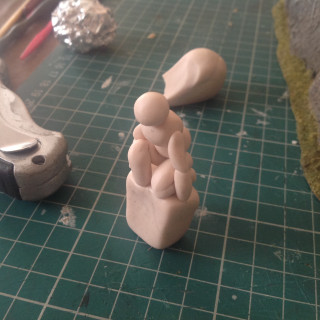
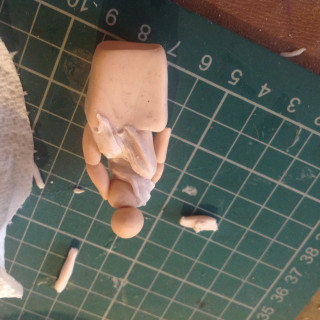
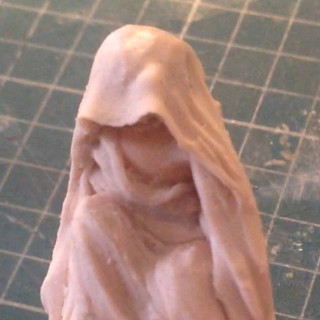
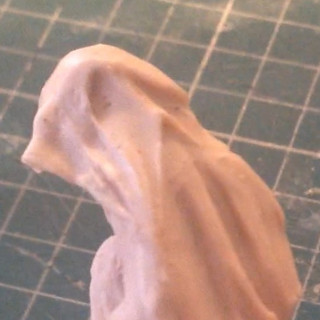
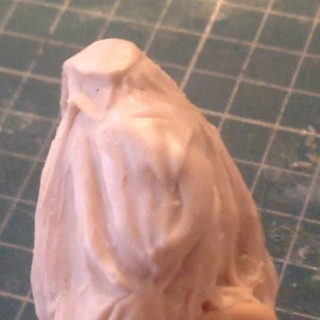
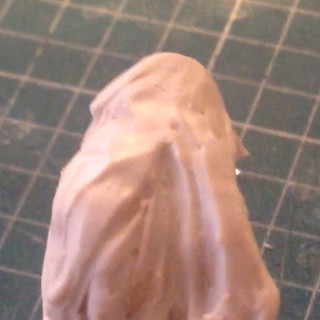
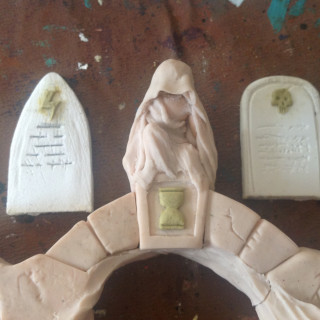
I started by making a ruff anatomy and backing it, this will act like a armature on which I sculpt the cowl. Then I started sculpting using a set some silicon tipped tools that I got at a discount art supplies shop. Beond the odd conversion I haven’t done much sculpting like this before.
I am supper happy with what I was able to produce
The gate is opened part 3
More polymer clay sculpting today,
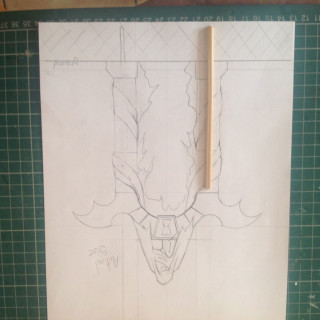
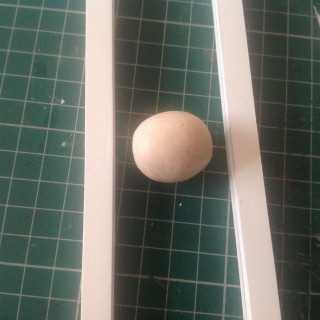
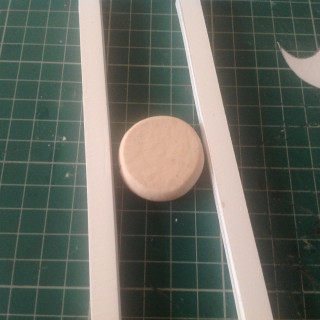
When creating something that has a fixed dimension such as the masonry blocks I figured it would be handy to use a simple jig to keep consistency. The two white stripes in the image are both 10mm thick and allowed me to role the clay out to a specific thickness before transferring my pattern to it.
the pieces wher given details with the same tools from befor and backed before assembling to form the arch of the gate.
Icons of death
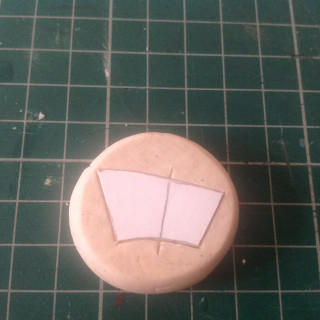
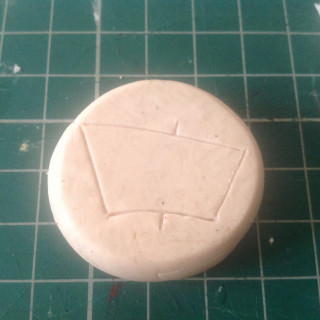
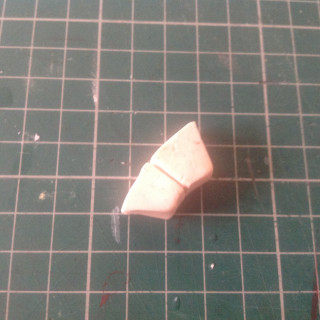
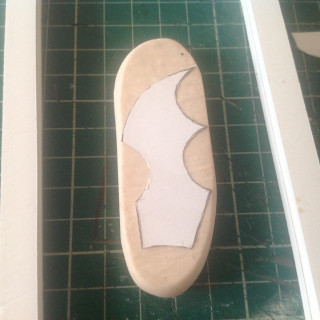
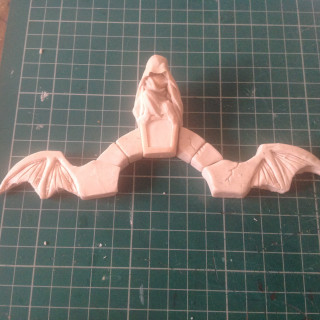
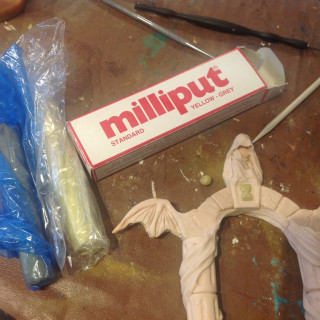
Did a little sculpting to add some icons the the keystone and headstones, this time I used milliput. The reason for the switch is that the foamX I use will become worped and burn if I put it in the oven, also might give off toxic gasses. Secondly the milliput is self adhesive.
Wanted to take some direction for the motifs from GW so we have a hourglass, a lightning bolt and of course a skull ? although if I wanted to stay true to GW I think I would need more than one lol.
Next will be paint, I am thinking of a marble effect for the gate and a sandstone and granite for the headstones.
Stone dead
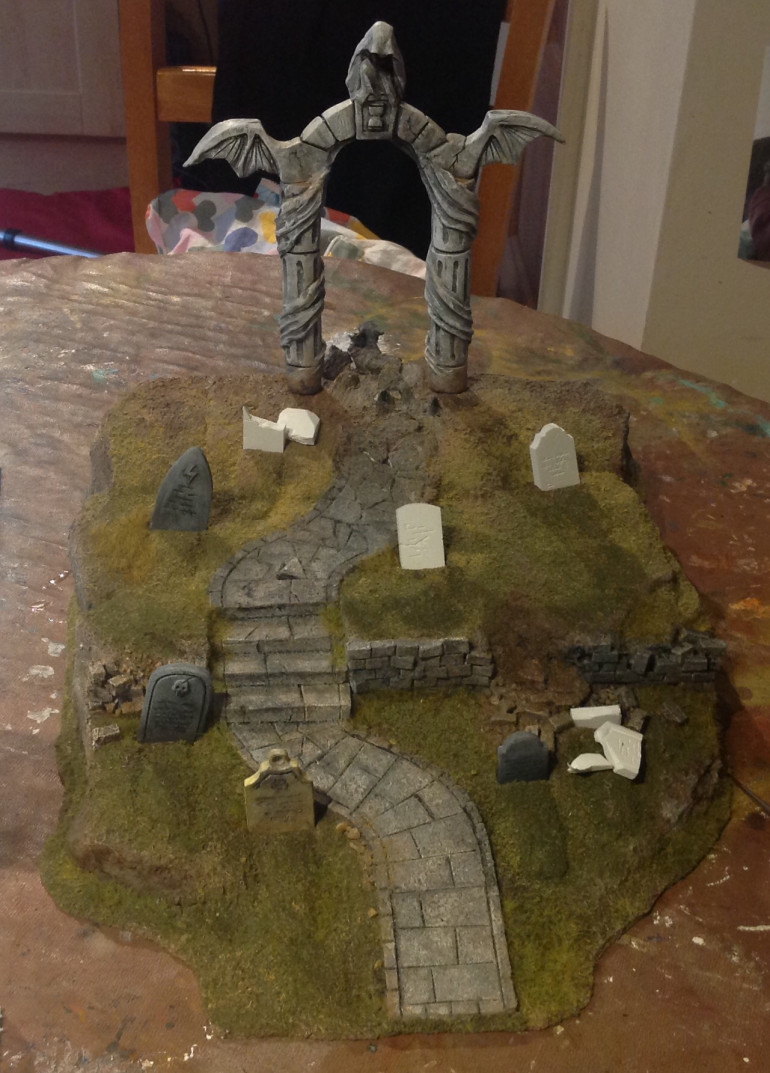 Working on the colours for the stone components. I want the gate to be the first thing the eyes see so have opted to go white marble ( still needs work) against the darkness of the gray granite of the other stones
 Ps my photos are coming out very dark.
The gate is opened part 5
Now on the home stretch and it’s time to put some magic into the gate or more accurately hot glue.
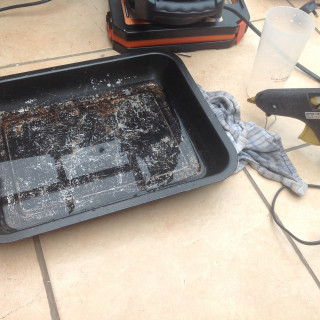
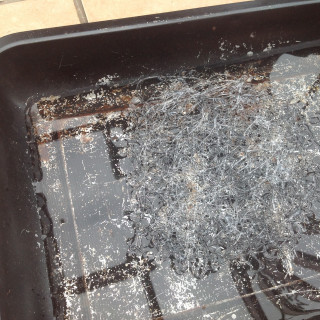
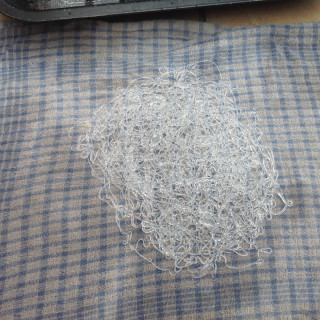
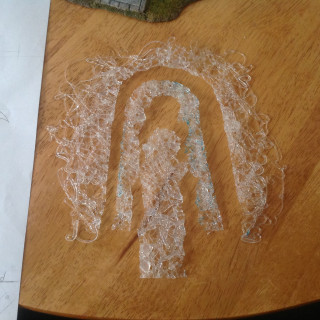
started by filling a old roasting tin with water and then put in the hot glue. The glue floats and moveing back and forth crates a web. Because it’s floating and the water is cold there’s no waiting for it to set and no struggle to remove it, also the back is not flat like it would be if pealed from glass.
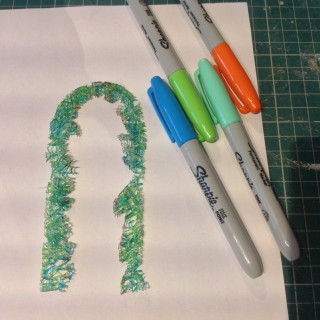
next I cut to shape with scissors. Then coloured it with solvent based markers, this gives a transparent colour when finished.
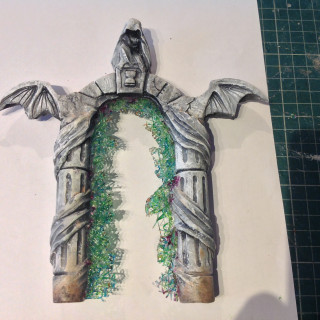
fitting it into the gate was a real pain in the backside and the glue or markers reacted with the super glue, not to bothered because it stuck and where it reacted looks like blood so I’m ok with it.
my wife commented that it looks like shattered stained glass which is also a nice way of looking at it, I was thinking more ectoplasm but both work.
next job will be to get the airbrush out and do some OSL spilling from the gate then it’s time to get some games in with my new realm gate, going to be awesome.


![How To Paint Moonstone’s Nanny | Goblin King Games [7 Days Early Access]](https://images.beastsofwar.com/2024/12/3CU-Gobin-King-Games-Moonstone-Shades-Nanny-coverimage-225-127.jpg)


