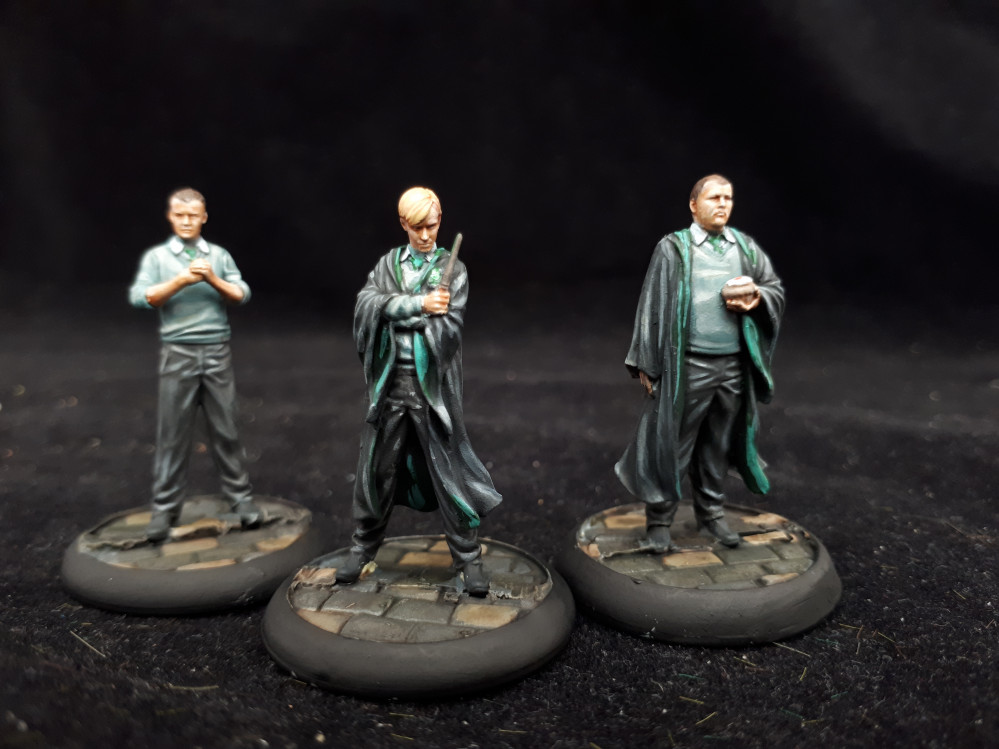
Harry Potter Miniatures Game painting guides
Preparing the models
Step 1.
So, you’ve purchased your figures, the packs are fresh in your hand and you want to get them ready to used.
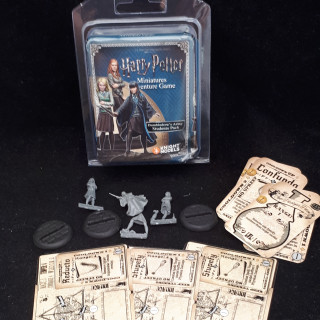
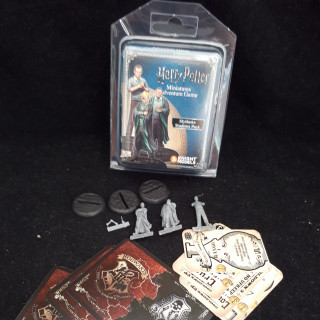
First thing to do then, is open the pack (This is a surprisingly detailed guide…), and check the contents. Whilst these models don’t come with instructions, it’s just a case of matching the figures to the cover art. If you have any bits missing or mispacks, then drop Knight Models an email.
I’d also like to take a moment to mention most of the models used in these guides are pre production ones, so may be a little different to the released models, though there shouldn’t be any noticeable difference.
Before you can start sticking anything together, it’s worth giving the models a gentle wash in some warm soapy water, to remove any residue from the production process. Personally, I use water around the temperature of a coffee that’s been left out for around 20 minutes, with some washing up liquid in it.*
*The water, not the coffee.
You can give these a gentle scrub, however I didn’t with these, and simply let them soak as the detail on the models is so fine.
Step 2
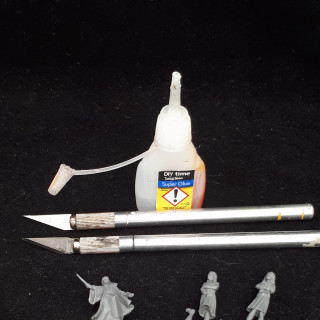
Gather your tools up. I’ve used a pair of hobby knives, and some super glue for these. One blade has a fresh, super sharp blade, whilst the other has an older, worn blade. You could add a set of files in too if you have them to hand, but I’m trying to keep things as minimalist as possible for now.
As the models are all resin, you’ll need superglue to bond them. Gorrilla glue is excellent, though a little expensive, I tend to use Poundland superglue as it has a nice flow and still gives a good bond.
Figures are created in a mold, and an inevitable part of this process is the occasional line along the side of the model, or bits of extra material not part of the model. To get rid of these extra parts, use your sharp knife to trim off any of these excess parts.
For the mold lines, I like to lightly scrape along these with the blunt back of the blade. You could use a file for this too, however that can destroy detail if you aren’t careful, and I find the back of the blade gives some more control.
Step 3
With the models prepared, stick them together, if necessary, and also glue them to their bases. I can’t recommend dry fitting them together first though to make sure everything is fitting nicely. If not, try pushing cleaning up the joins a little more as there’s probably a bit of flash or a mold line stopping things fitting properly.
Step 4
Resin figures need to be primed, and for this, you’ll need a primer! Primers are a special type of paint with a bonding agent, to help them adhere to the surface, and also to aid the paint you apply later, and stop it wearing off with handling.
Most car parts shops sell good ones, notably Halfords in the UK. I’m a fan of the Supadec grey primer, as it’s both cheap and hard wearing, and it can be found on eBay, and most hard ware shops too in the UK. I’ve no idea about the rest of the world however!
To prime the figures, I use some double sided tape to stick them to an old box, then spray them in the garden, holding the can around 6-8 inches from the model, after shaking it for around 30 seconds. Leave the models to dry for a few hours, and overnight preferably. Then you’re ready to begin painting.







Leave a Reply