


No one expects the Inquistion! : An Inquisitorial Knights Army..


Recommendations: 29
About the Project
Since way back, the Demon Hunters/Witch Hunters of the Inquisition has always been /my/ faction, and I've found ways to work different army lists to be strike forces of the Inquisition. Add to that, I've been a huge fan of the Titans ever since I first laid eyes on a warhound. So, now that there are Knights.. well, I just *had* to create a force of Knights requisitioned, appropriated or otherwise conscripted into an Inquisitorial Force to truly bring Exerminatus with Extreme Prejudice to the Heretical infestations of the Universe. Each of these Knights will essentially have a basis in or be inspired by various friends of mine. There will be some details in either the paint scheme or the customization of them that will identify the individual and plays into the fluff of the background for each one. It's fun for me to do and I hope for those who read and follow along as well.
Related Game: Warhammer 40,000
Related Company: Games Workshop
Related Genre: Science Fiction
This Project is Active
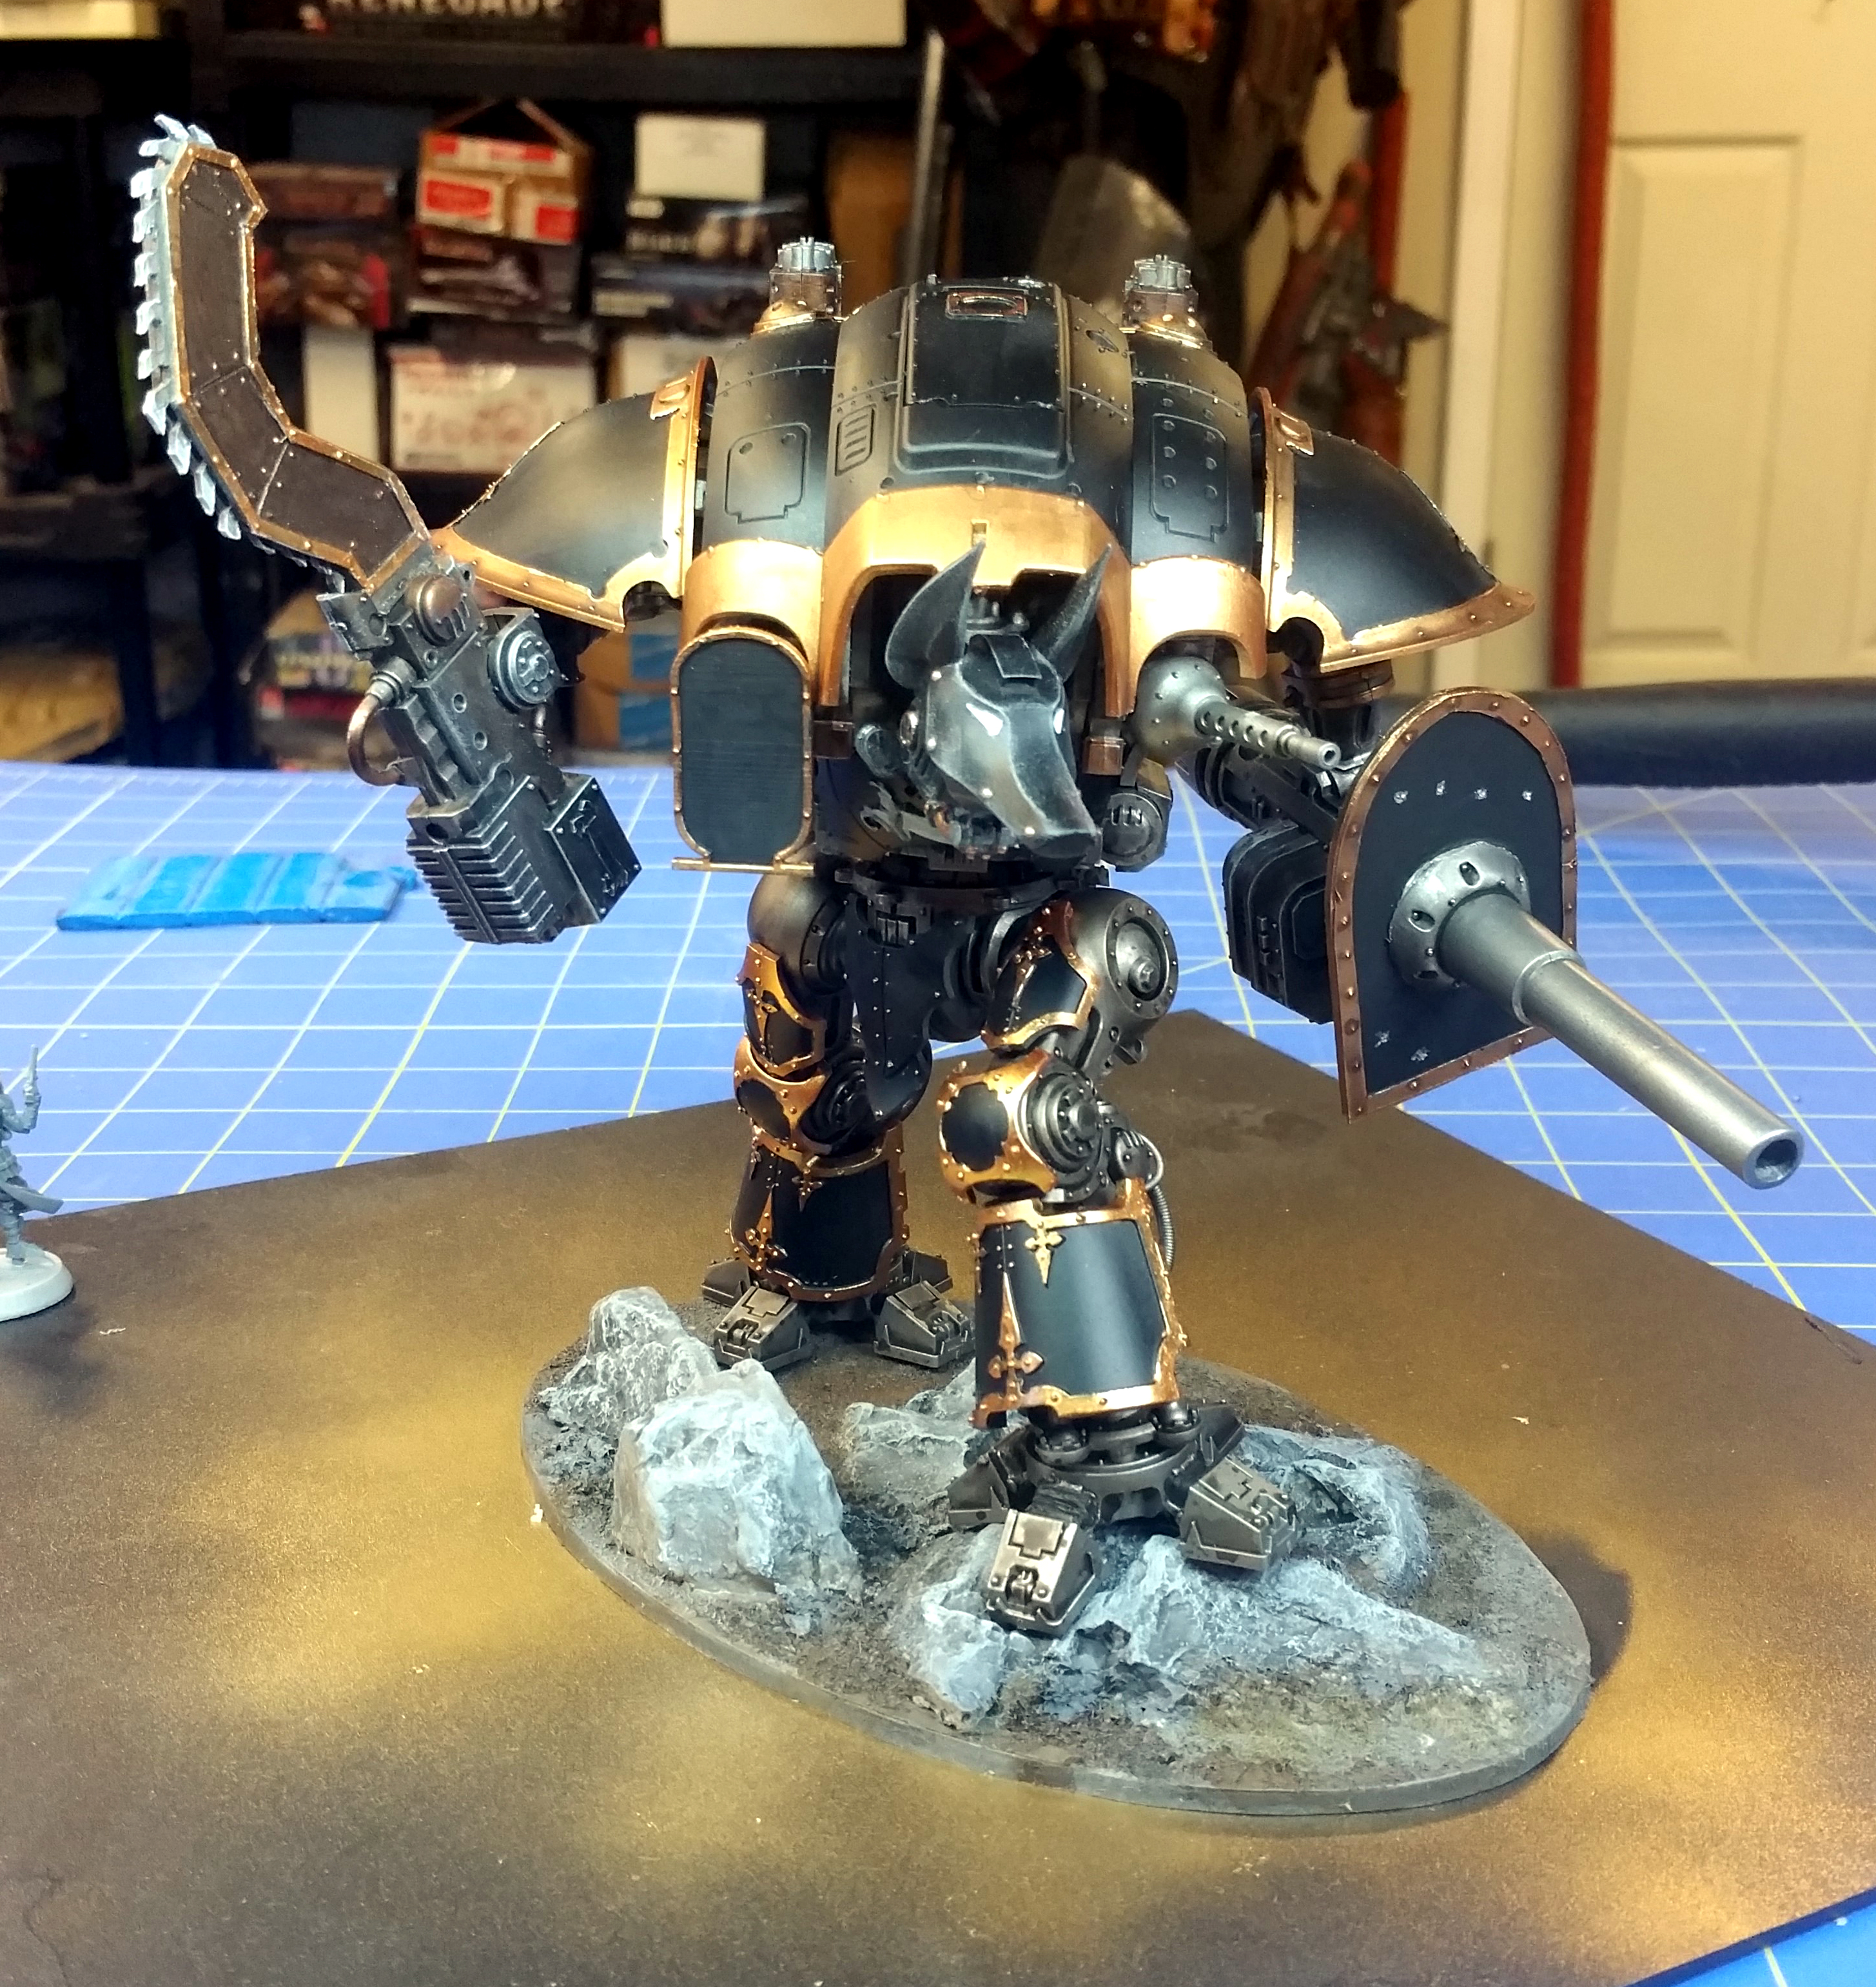
FreeBlade Paladin finished.. on to the next Inquisitorial Recruit.
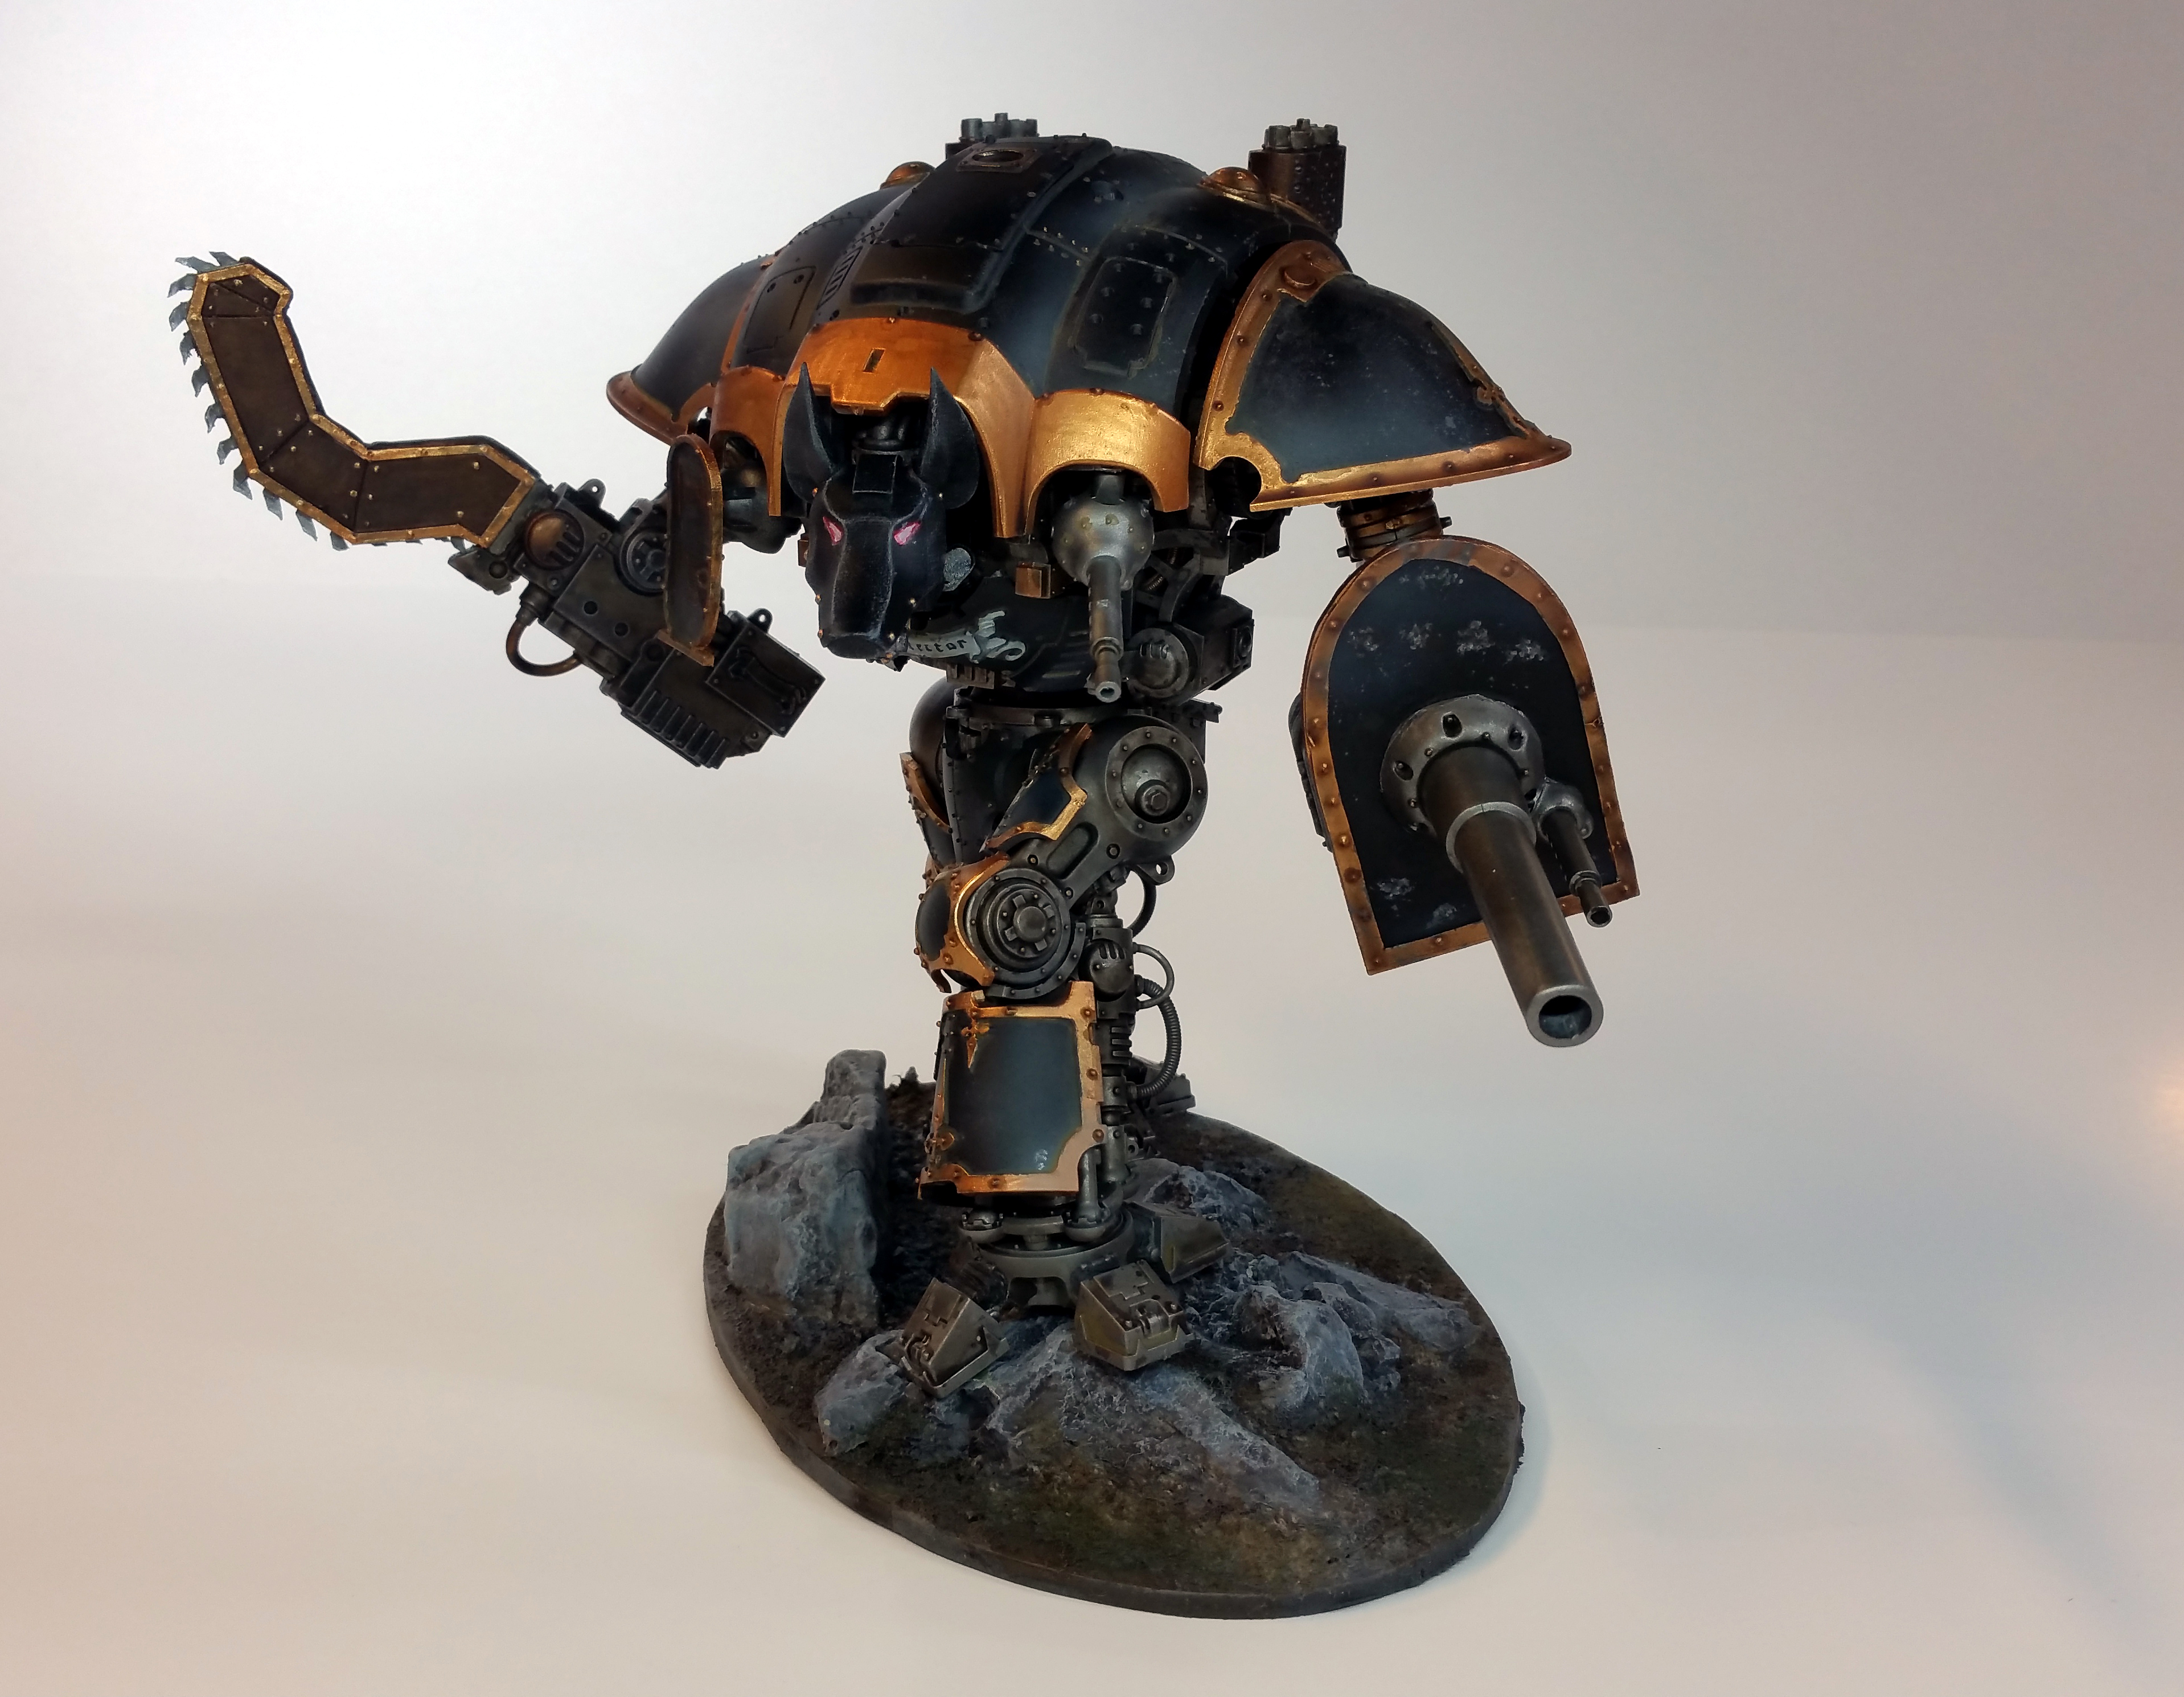
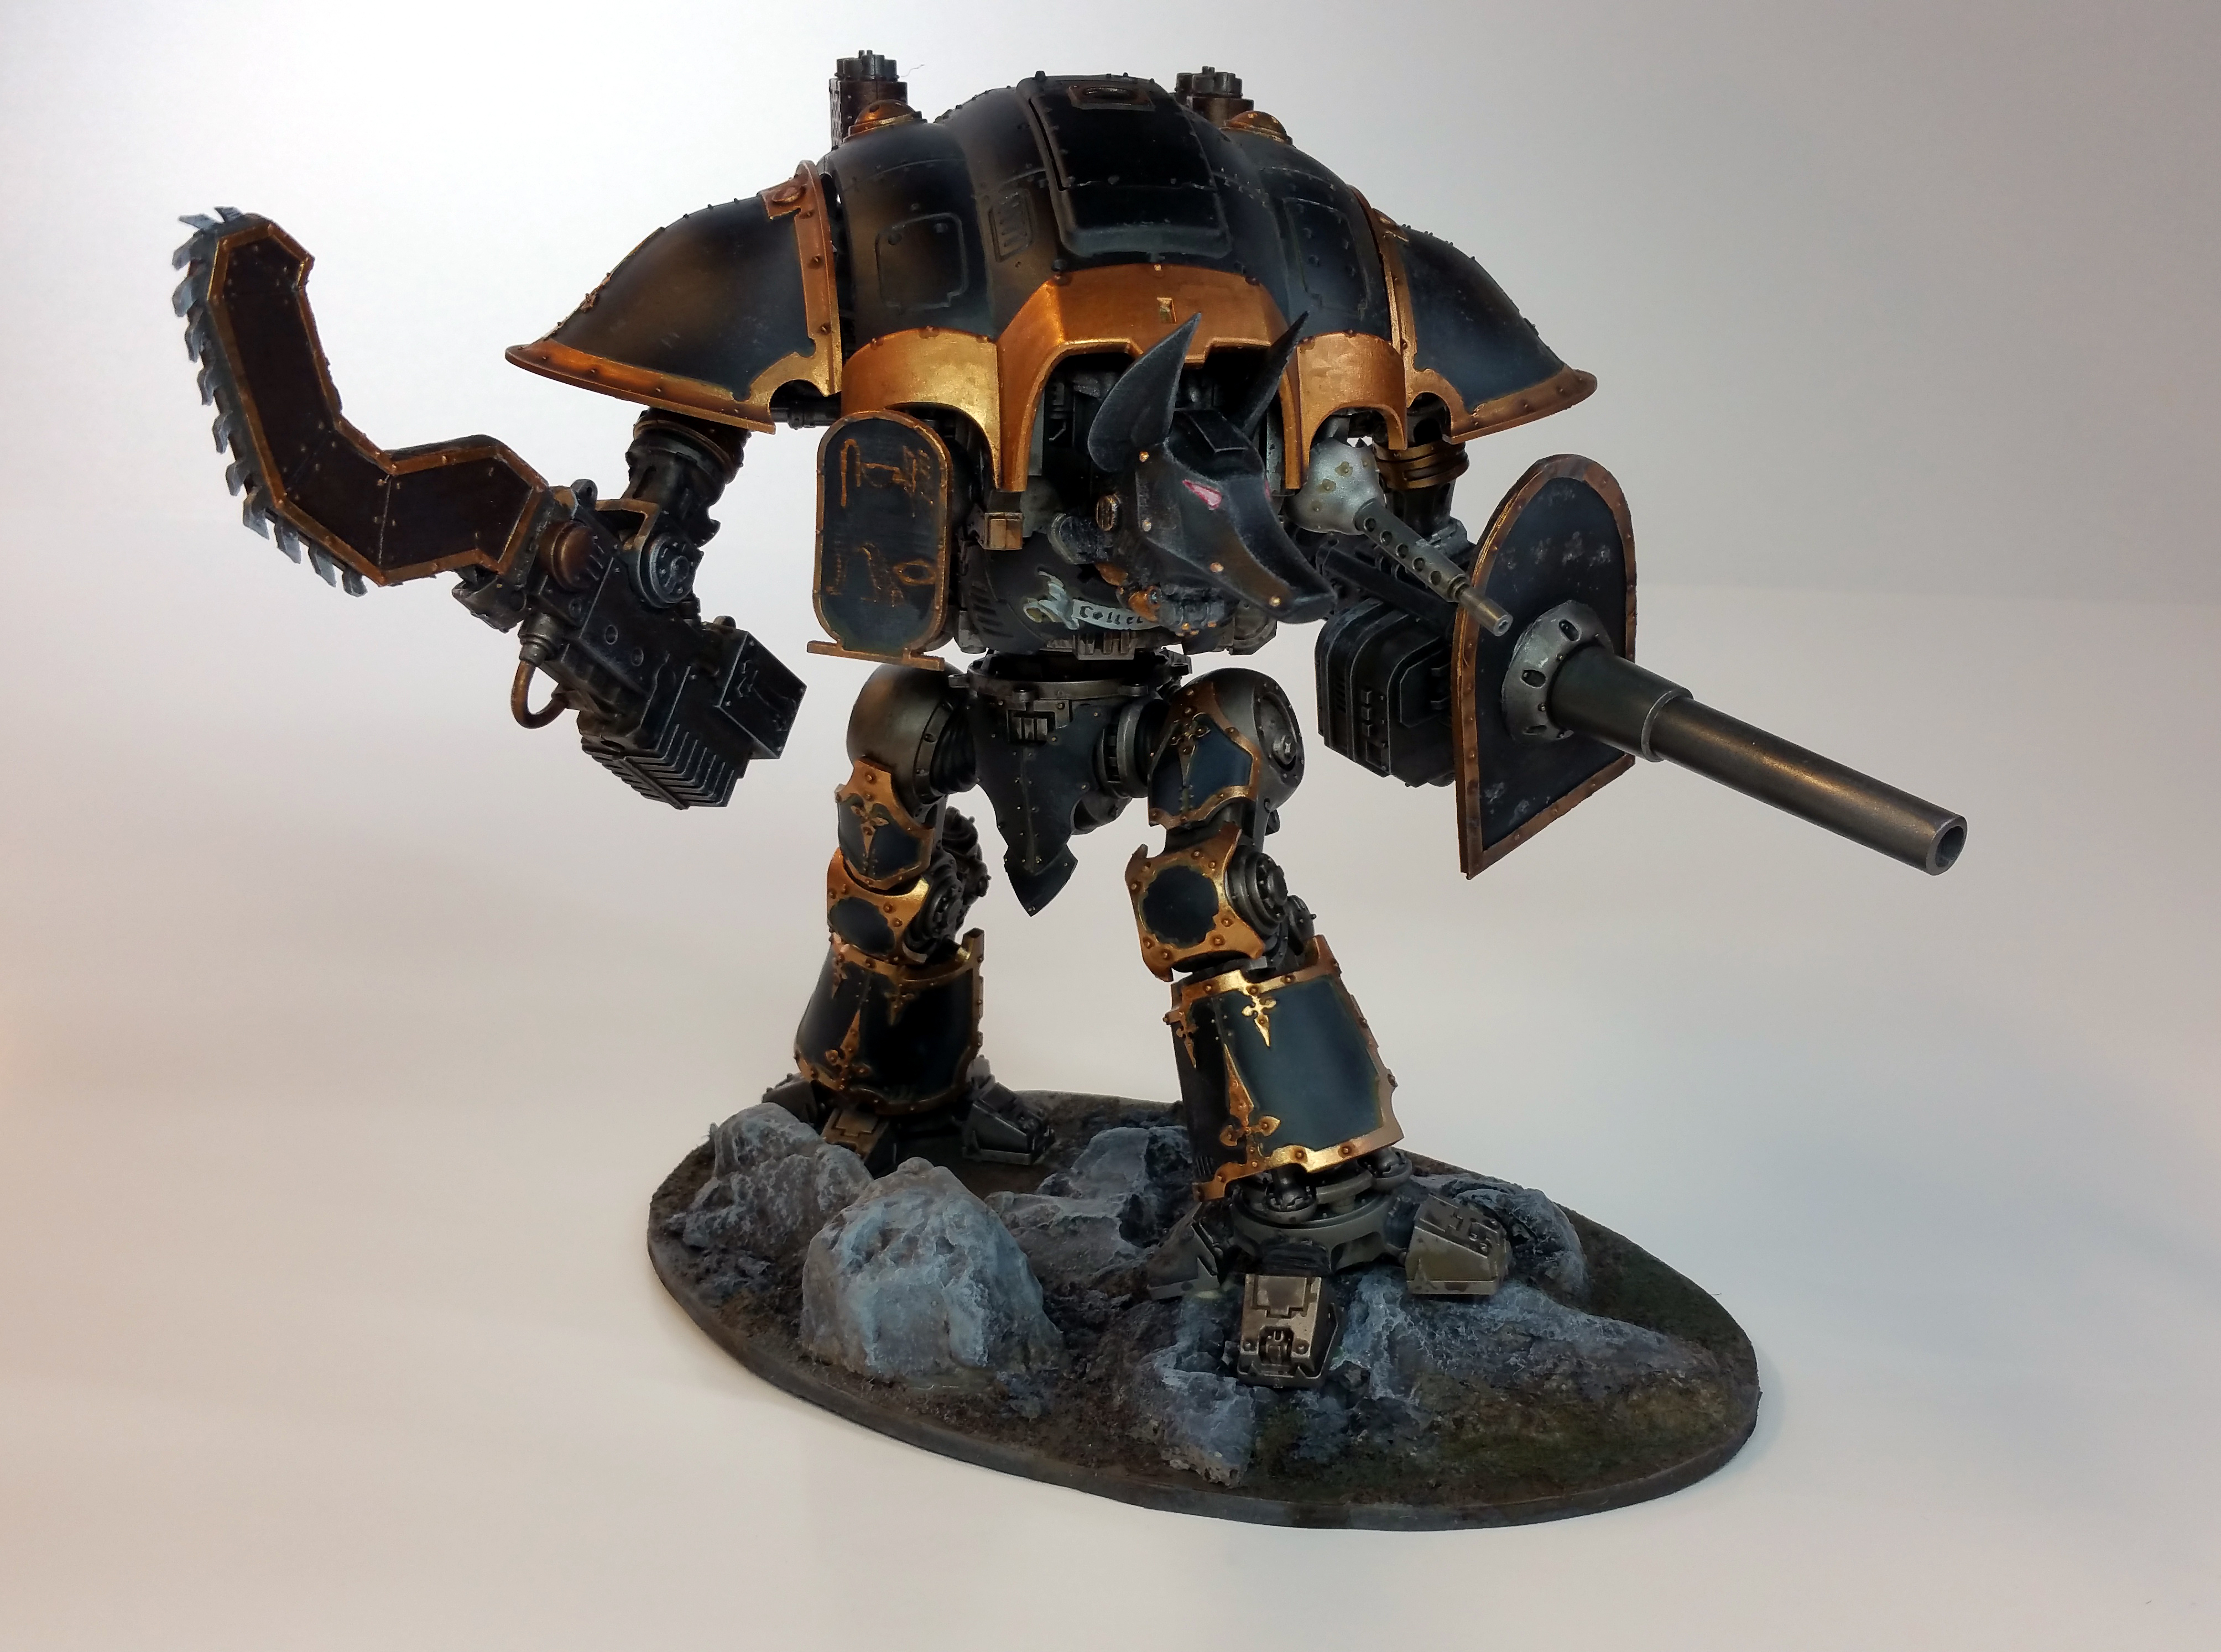
For this build, I wanted to go with a dark and aged look. The metal parts got the basic leadbelcher base and then I glazed it over and over and over with Nuln Oil and Agrax Earthshade. This drove it back to a dull, dark look with a hint of that golden bronze hue from the Agrax. It was a bit challenging to keep it from settling too much in the cracks but I got the desired effect. I just had to keep treating it as a glaze rather than a wash. The last step of the metallic parts was a dry brush series of dark then light grey.
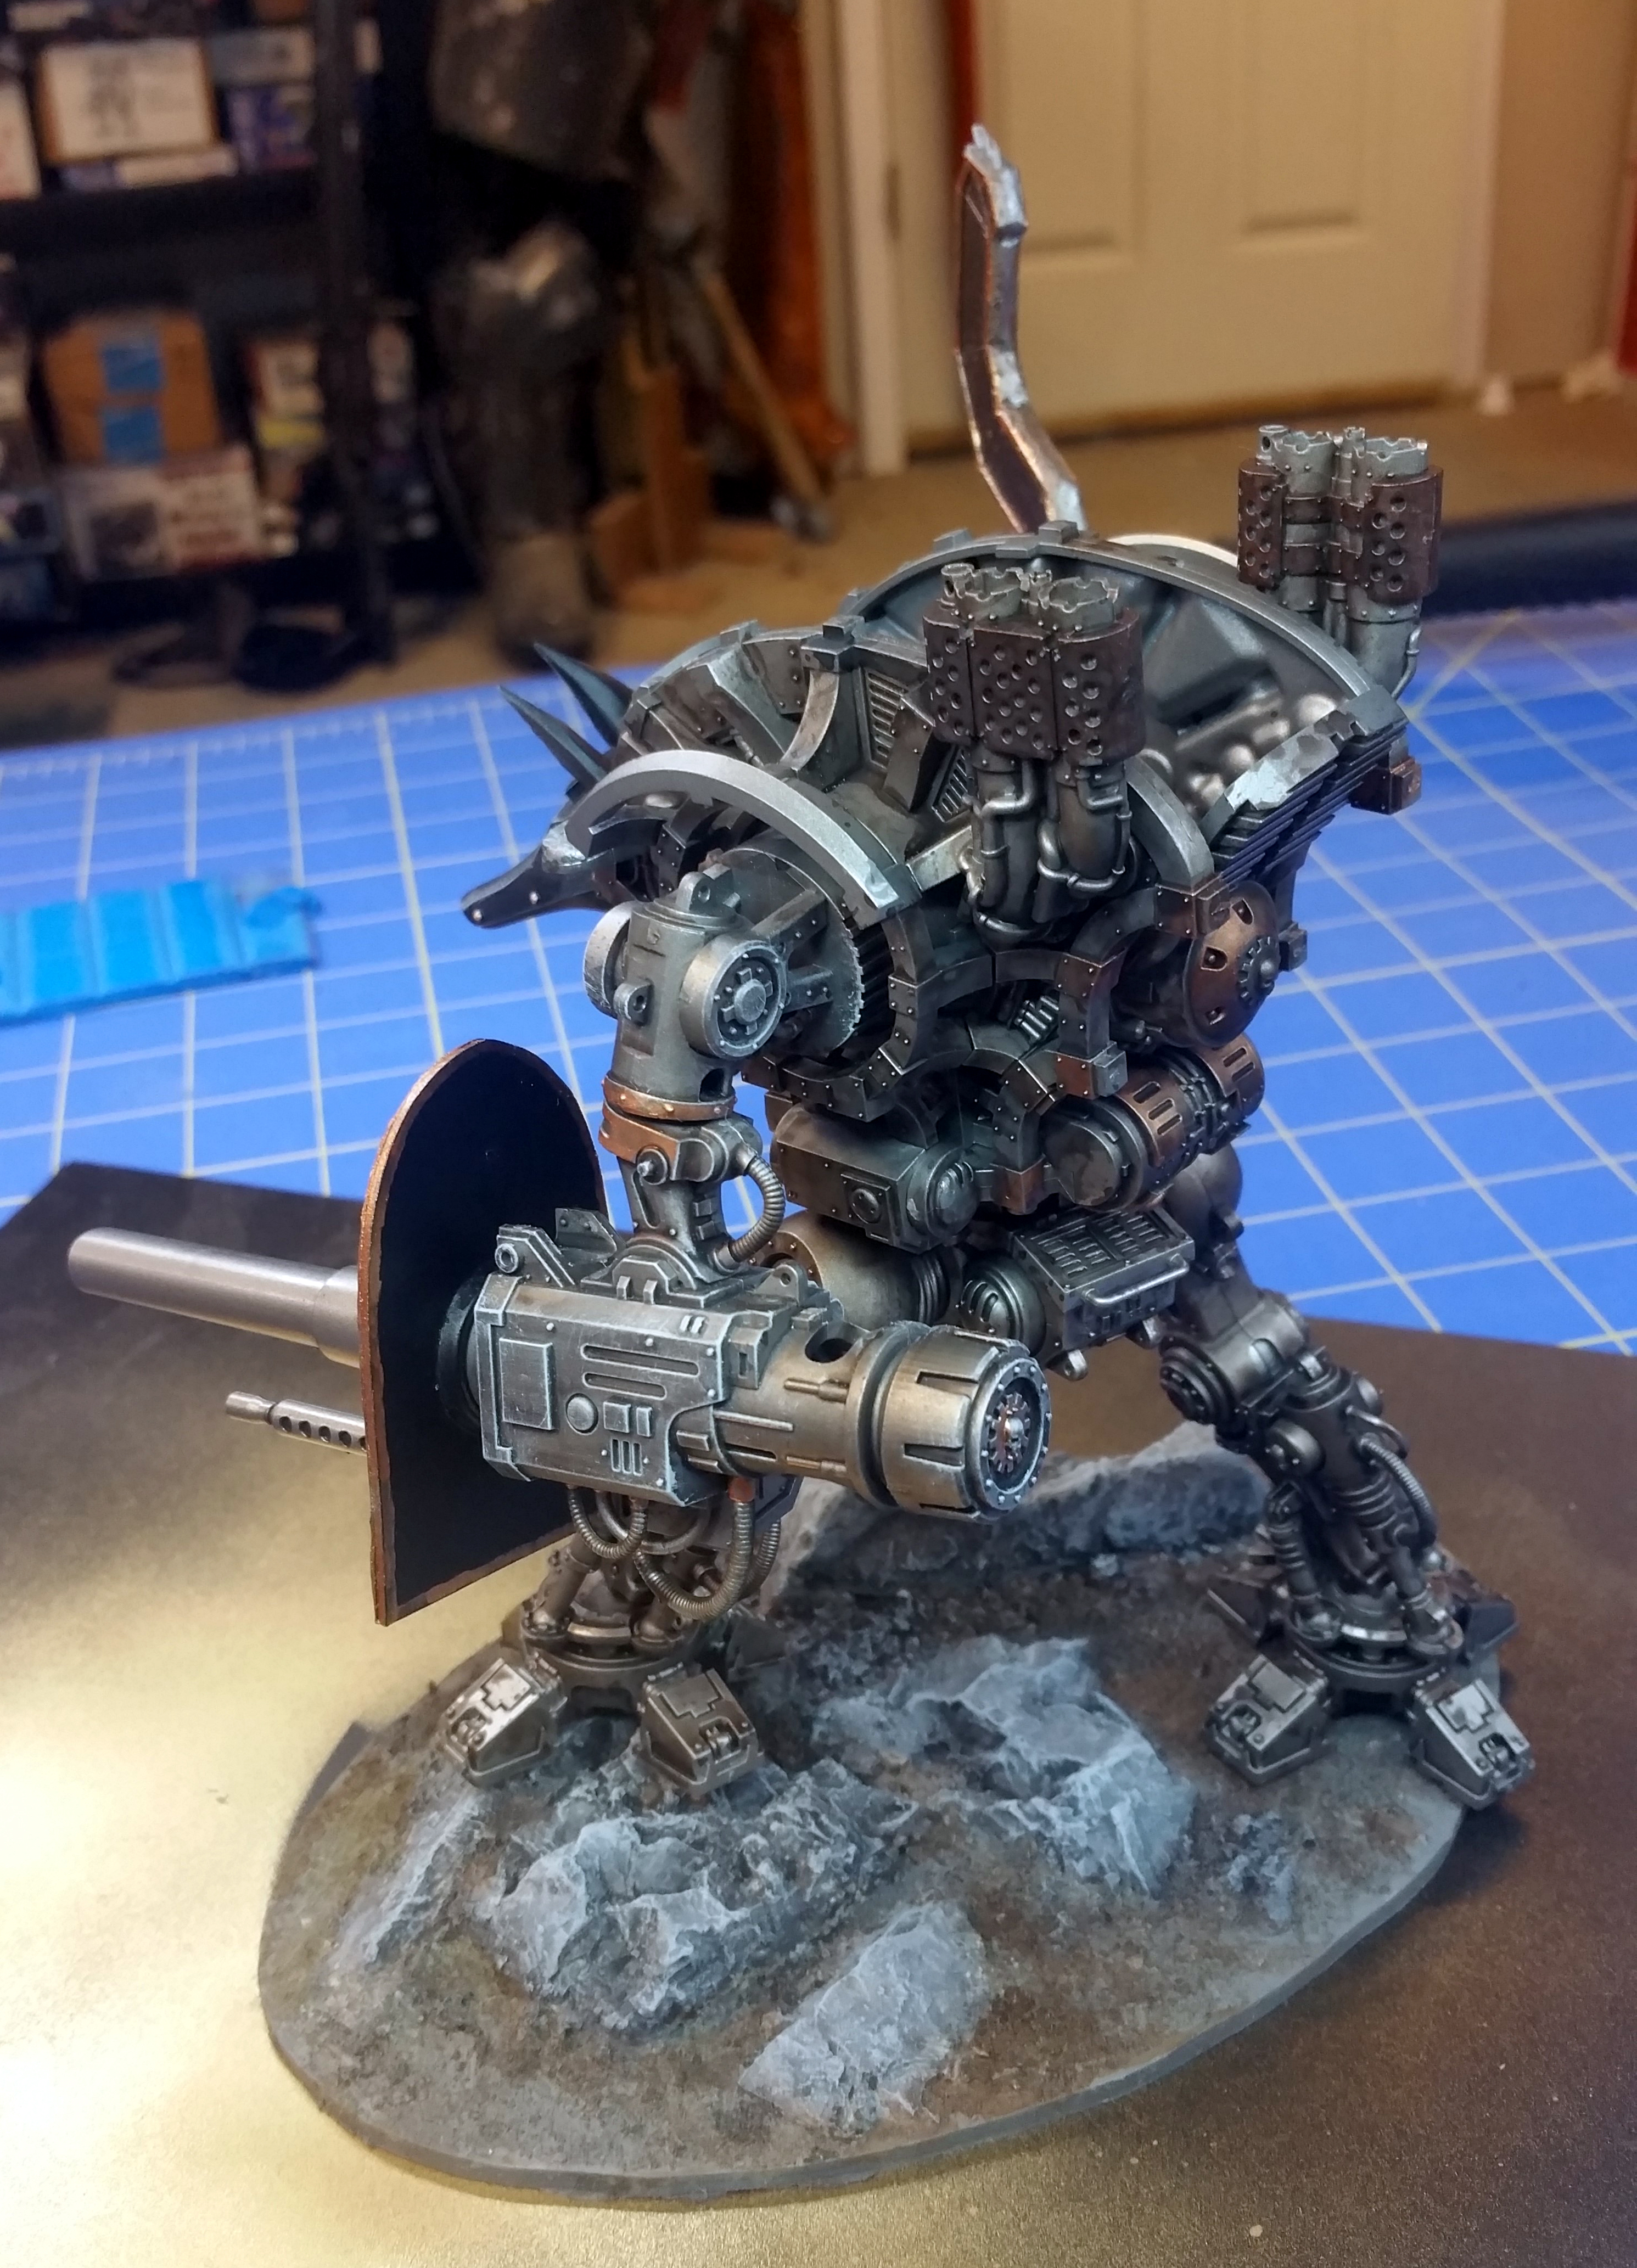
For the Armor, I went with the black and gold theme. Most of the gold got several glaze layers of Agrax Earthshade to dull it down and darken it. I ended up masking the shoulder pads with liquid frisket to make painting easier. It let me spray down a brighter base coat which made it easier to get the metallic look I was after. Once I had that all done, a little bit of chipping here and there, and then the whole thing got a light spray mix of Vallejo Sand and US Drab to weather it a bit and give some dust effect. The panel lines got a highlight with the same US drab.
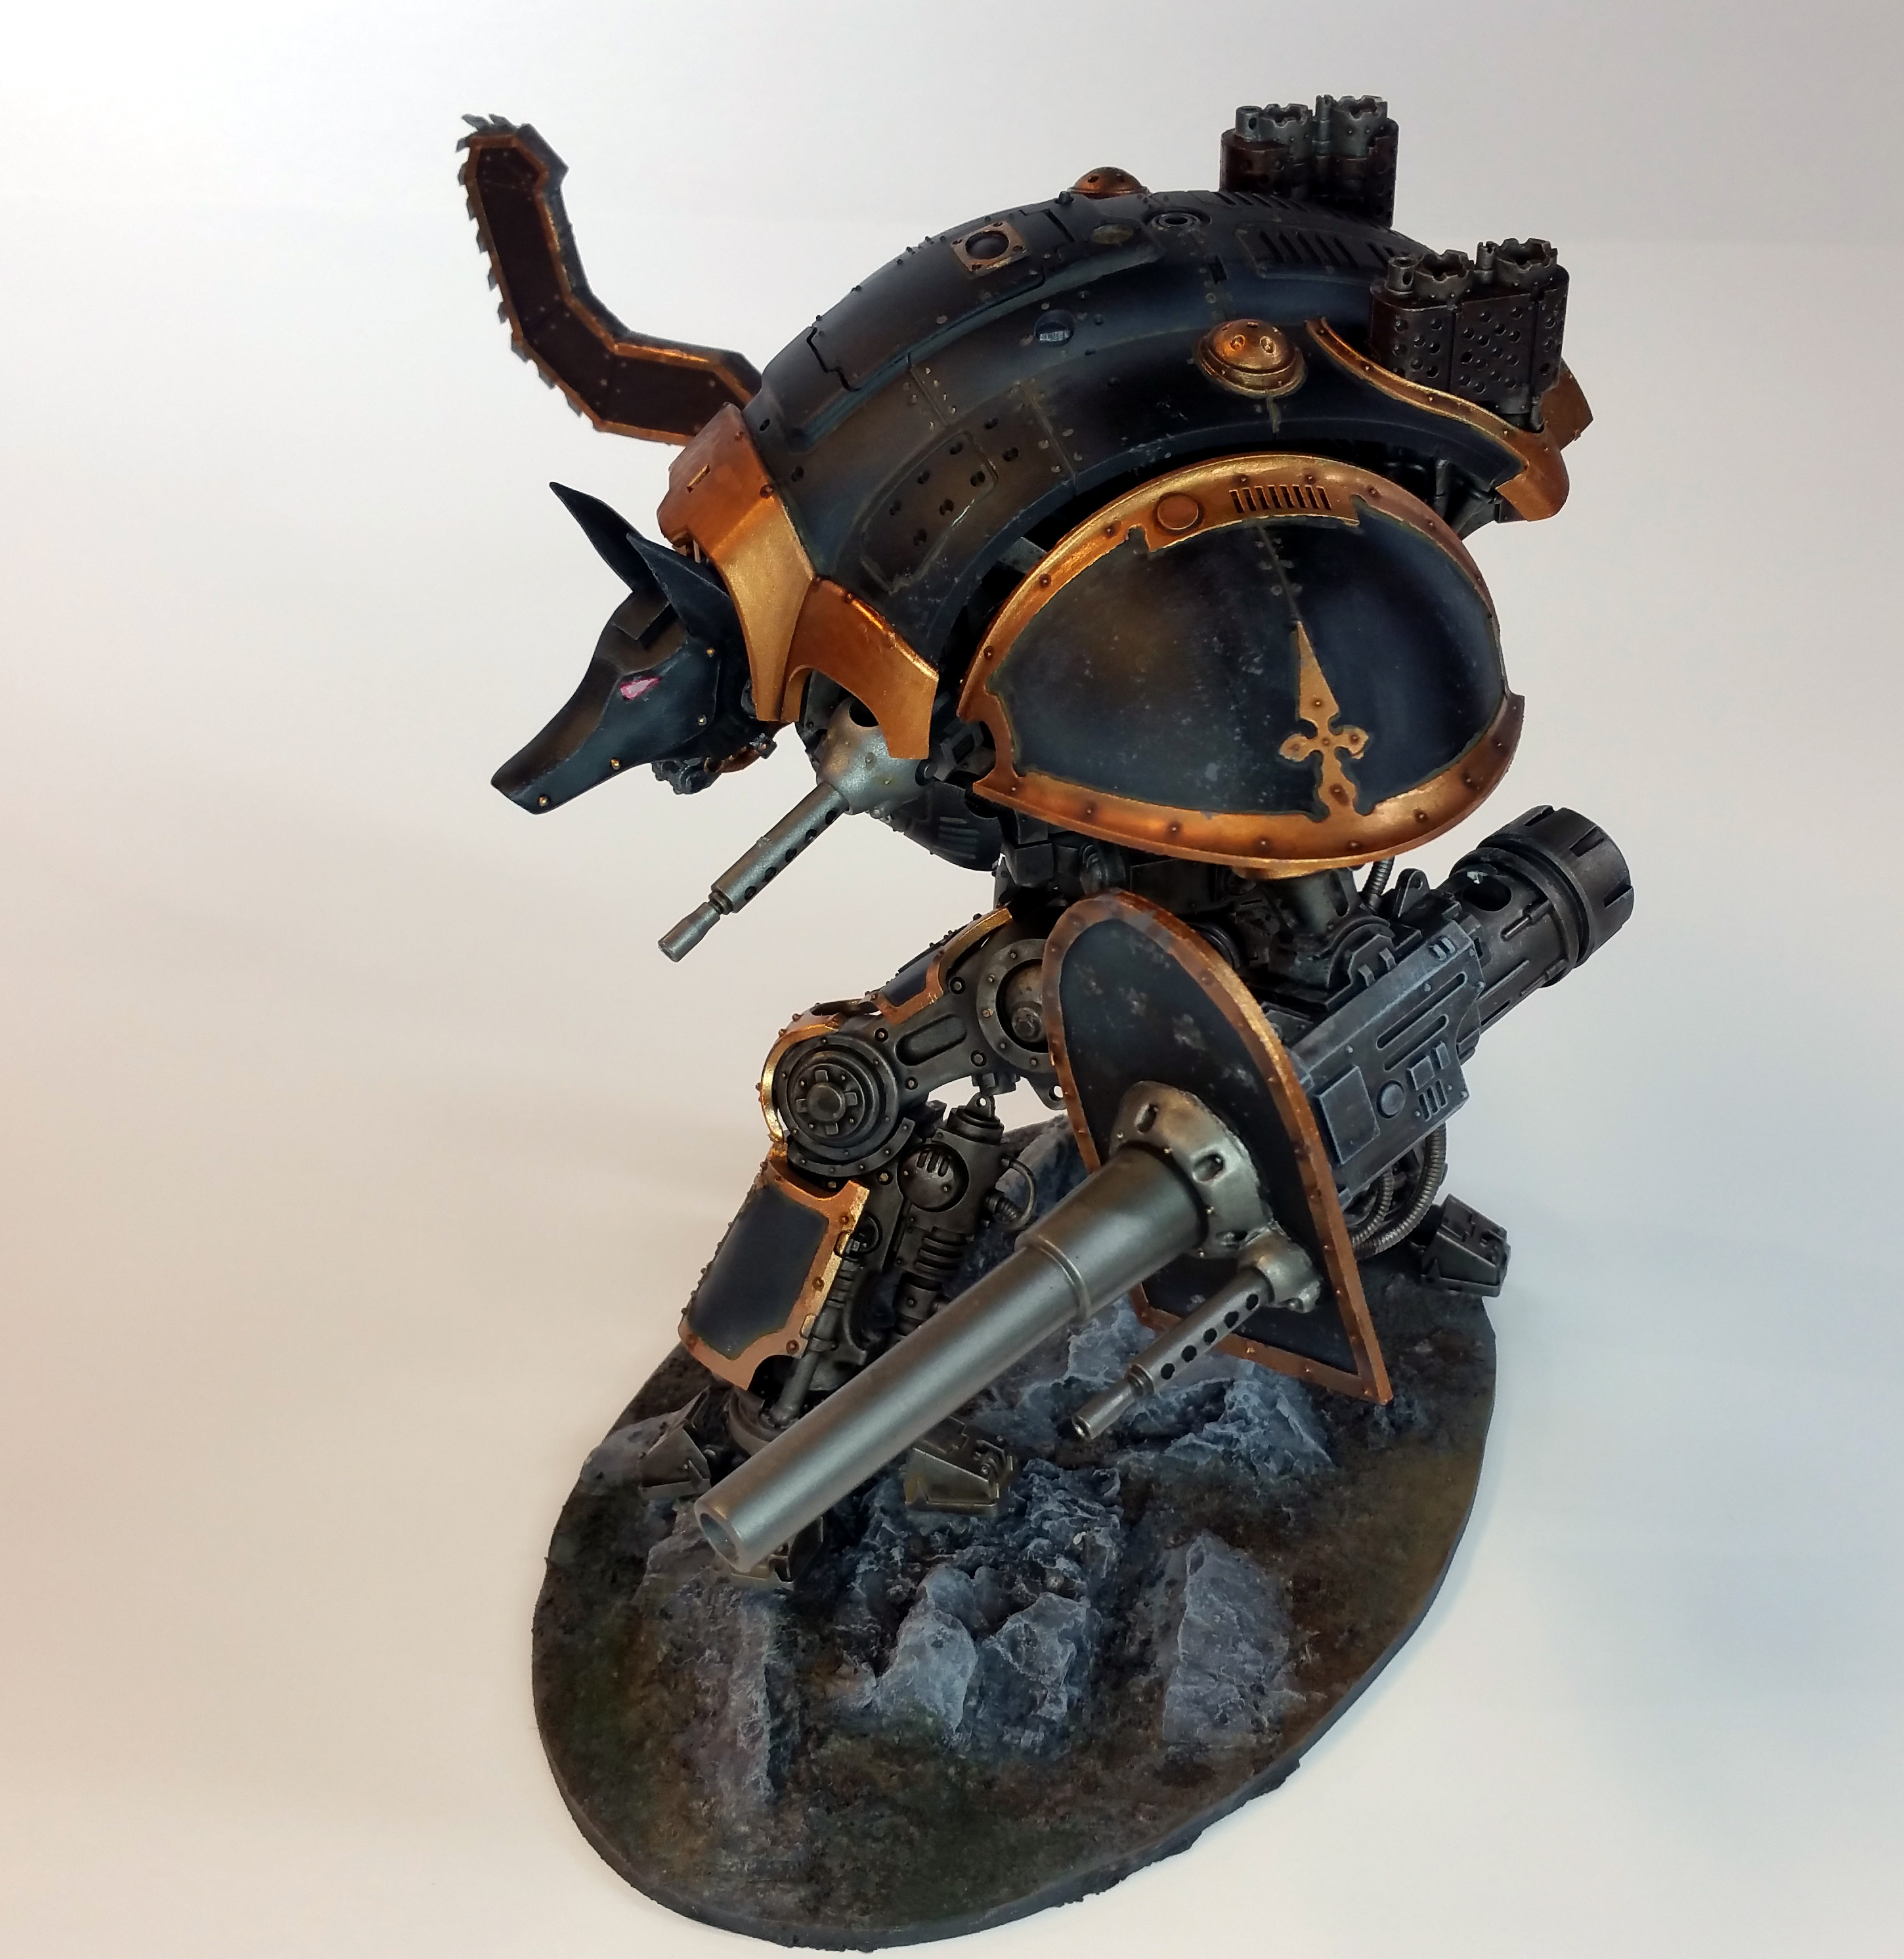
After that, I just gave it a pose as if it’s winding up to swing the Reaver Chain-Khopesh into the target off to the left.

Freeblade Paladin: The Collector (Build Part 3)
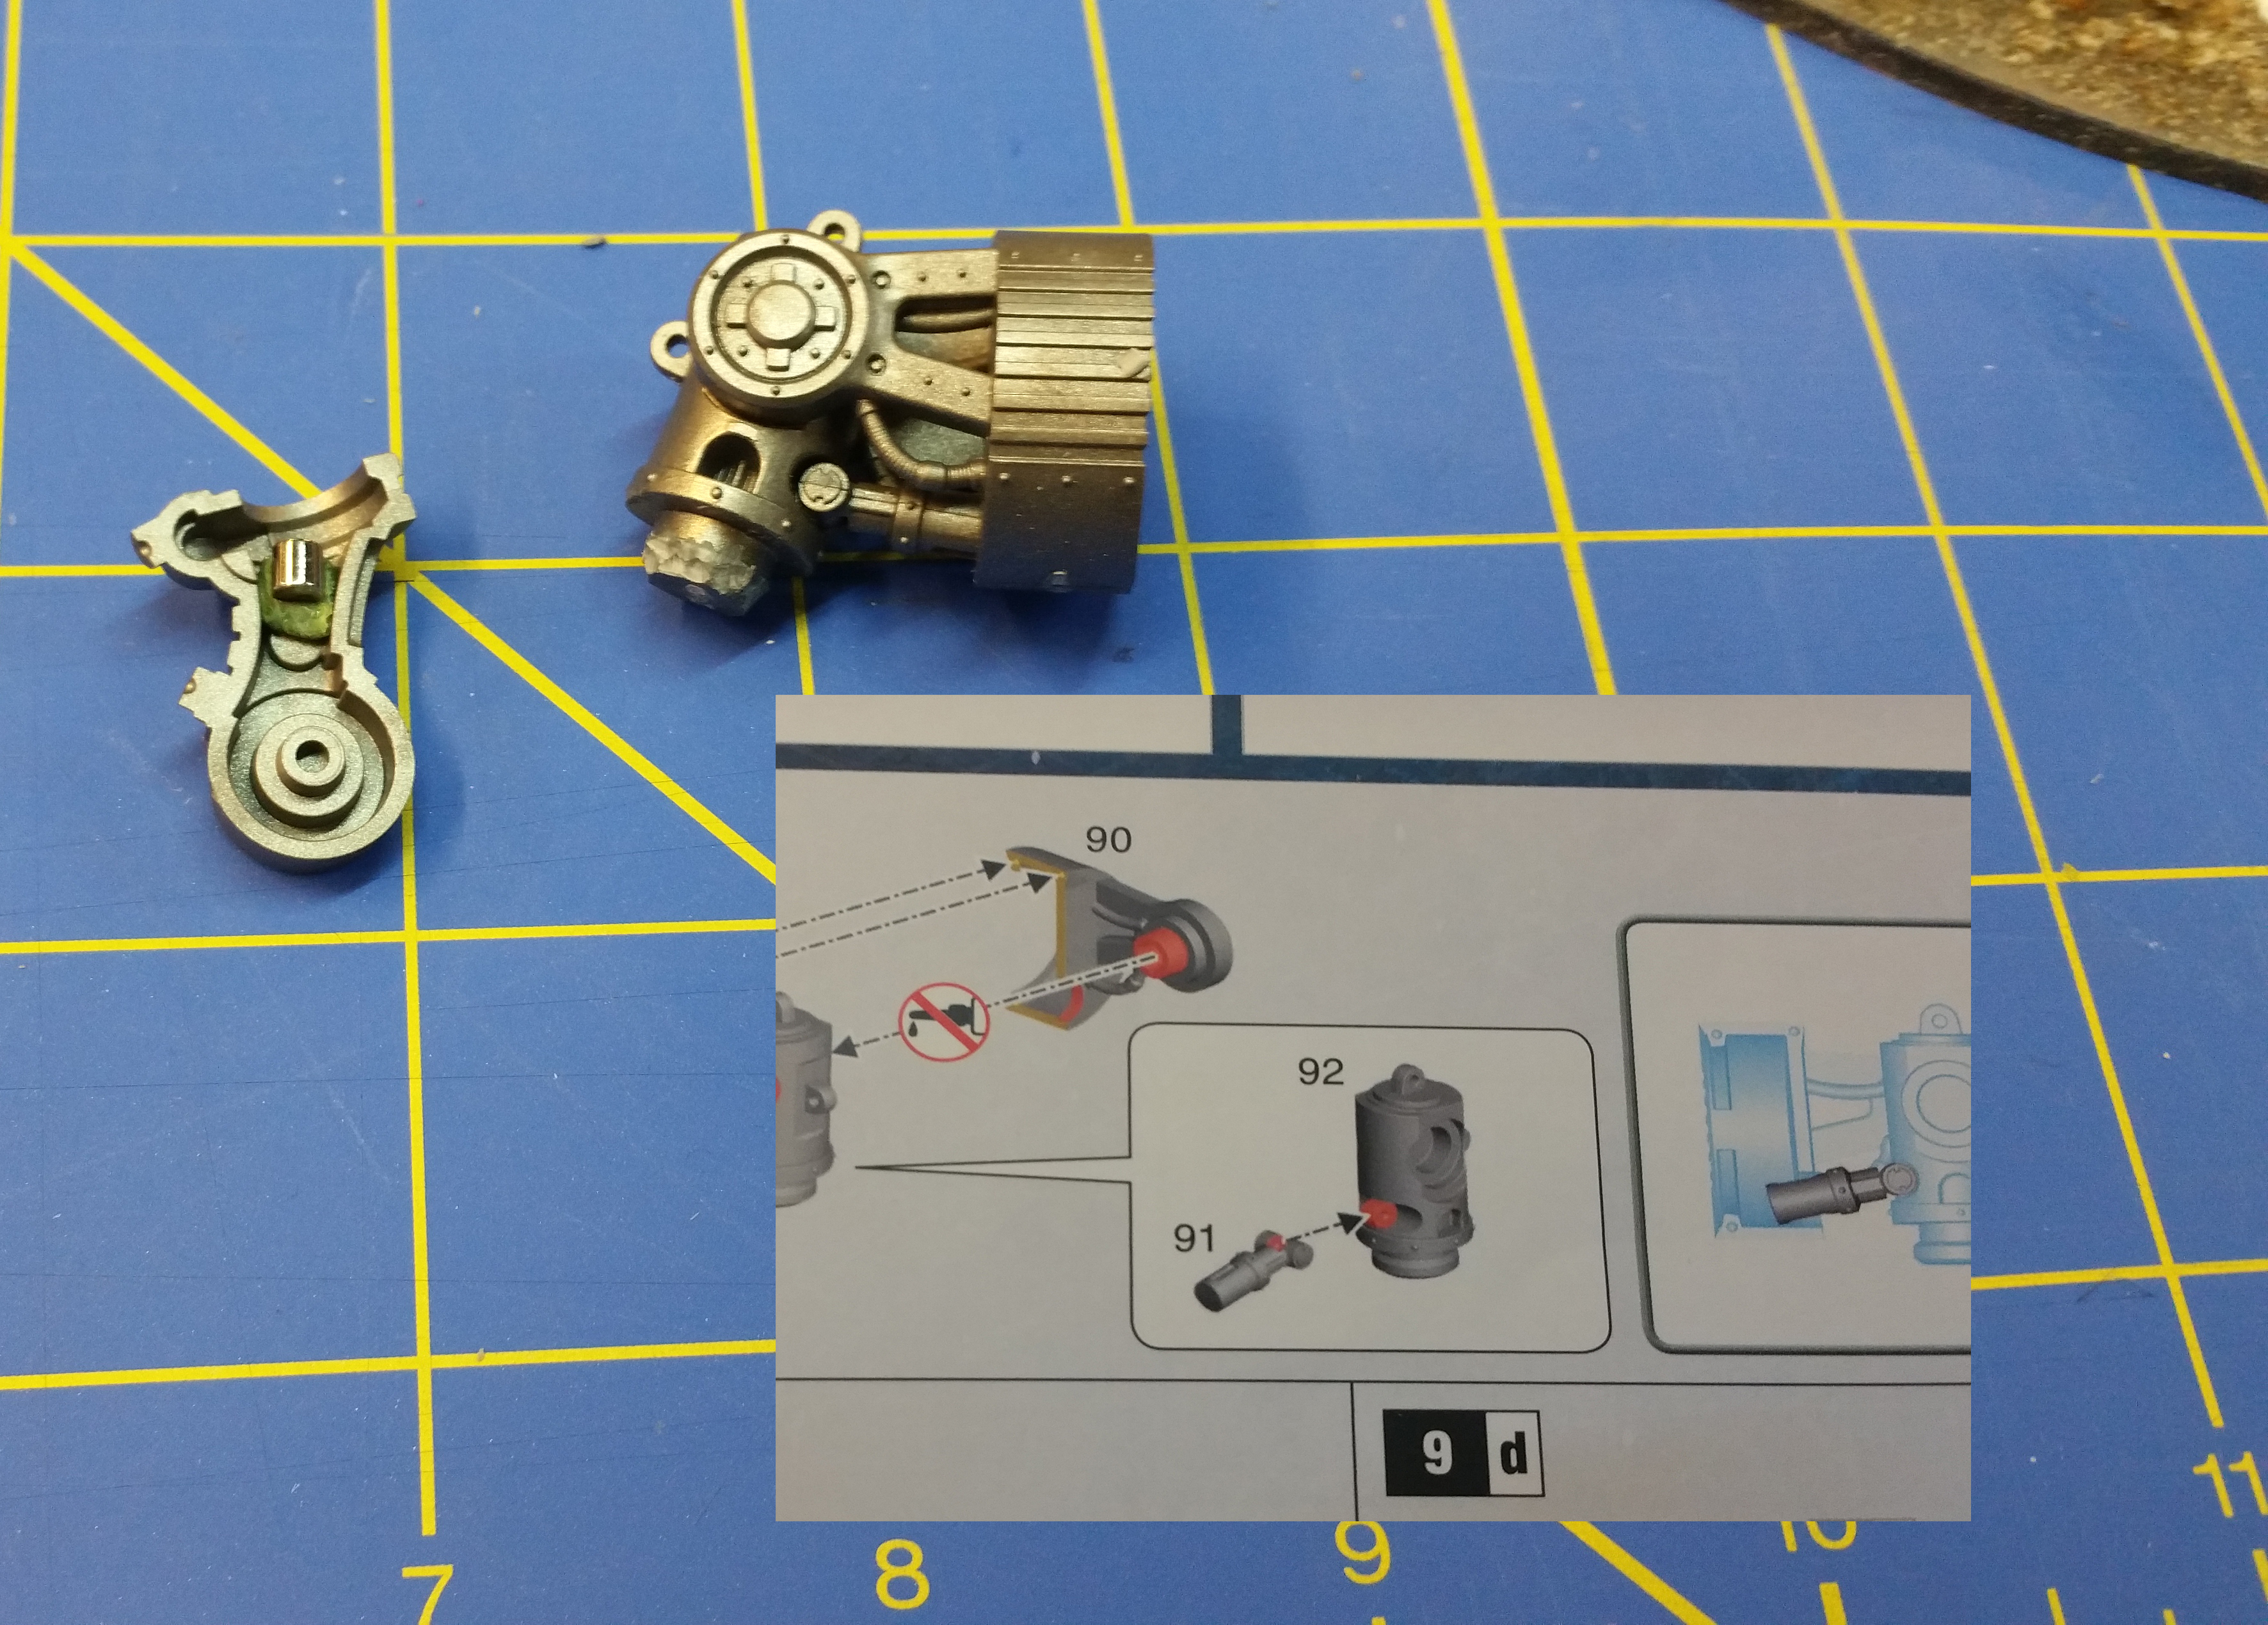
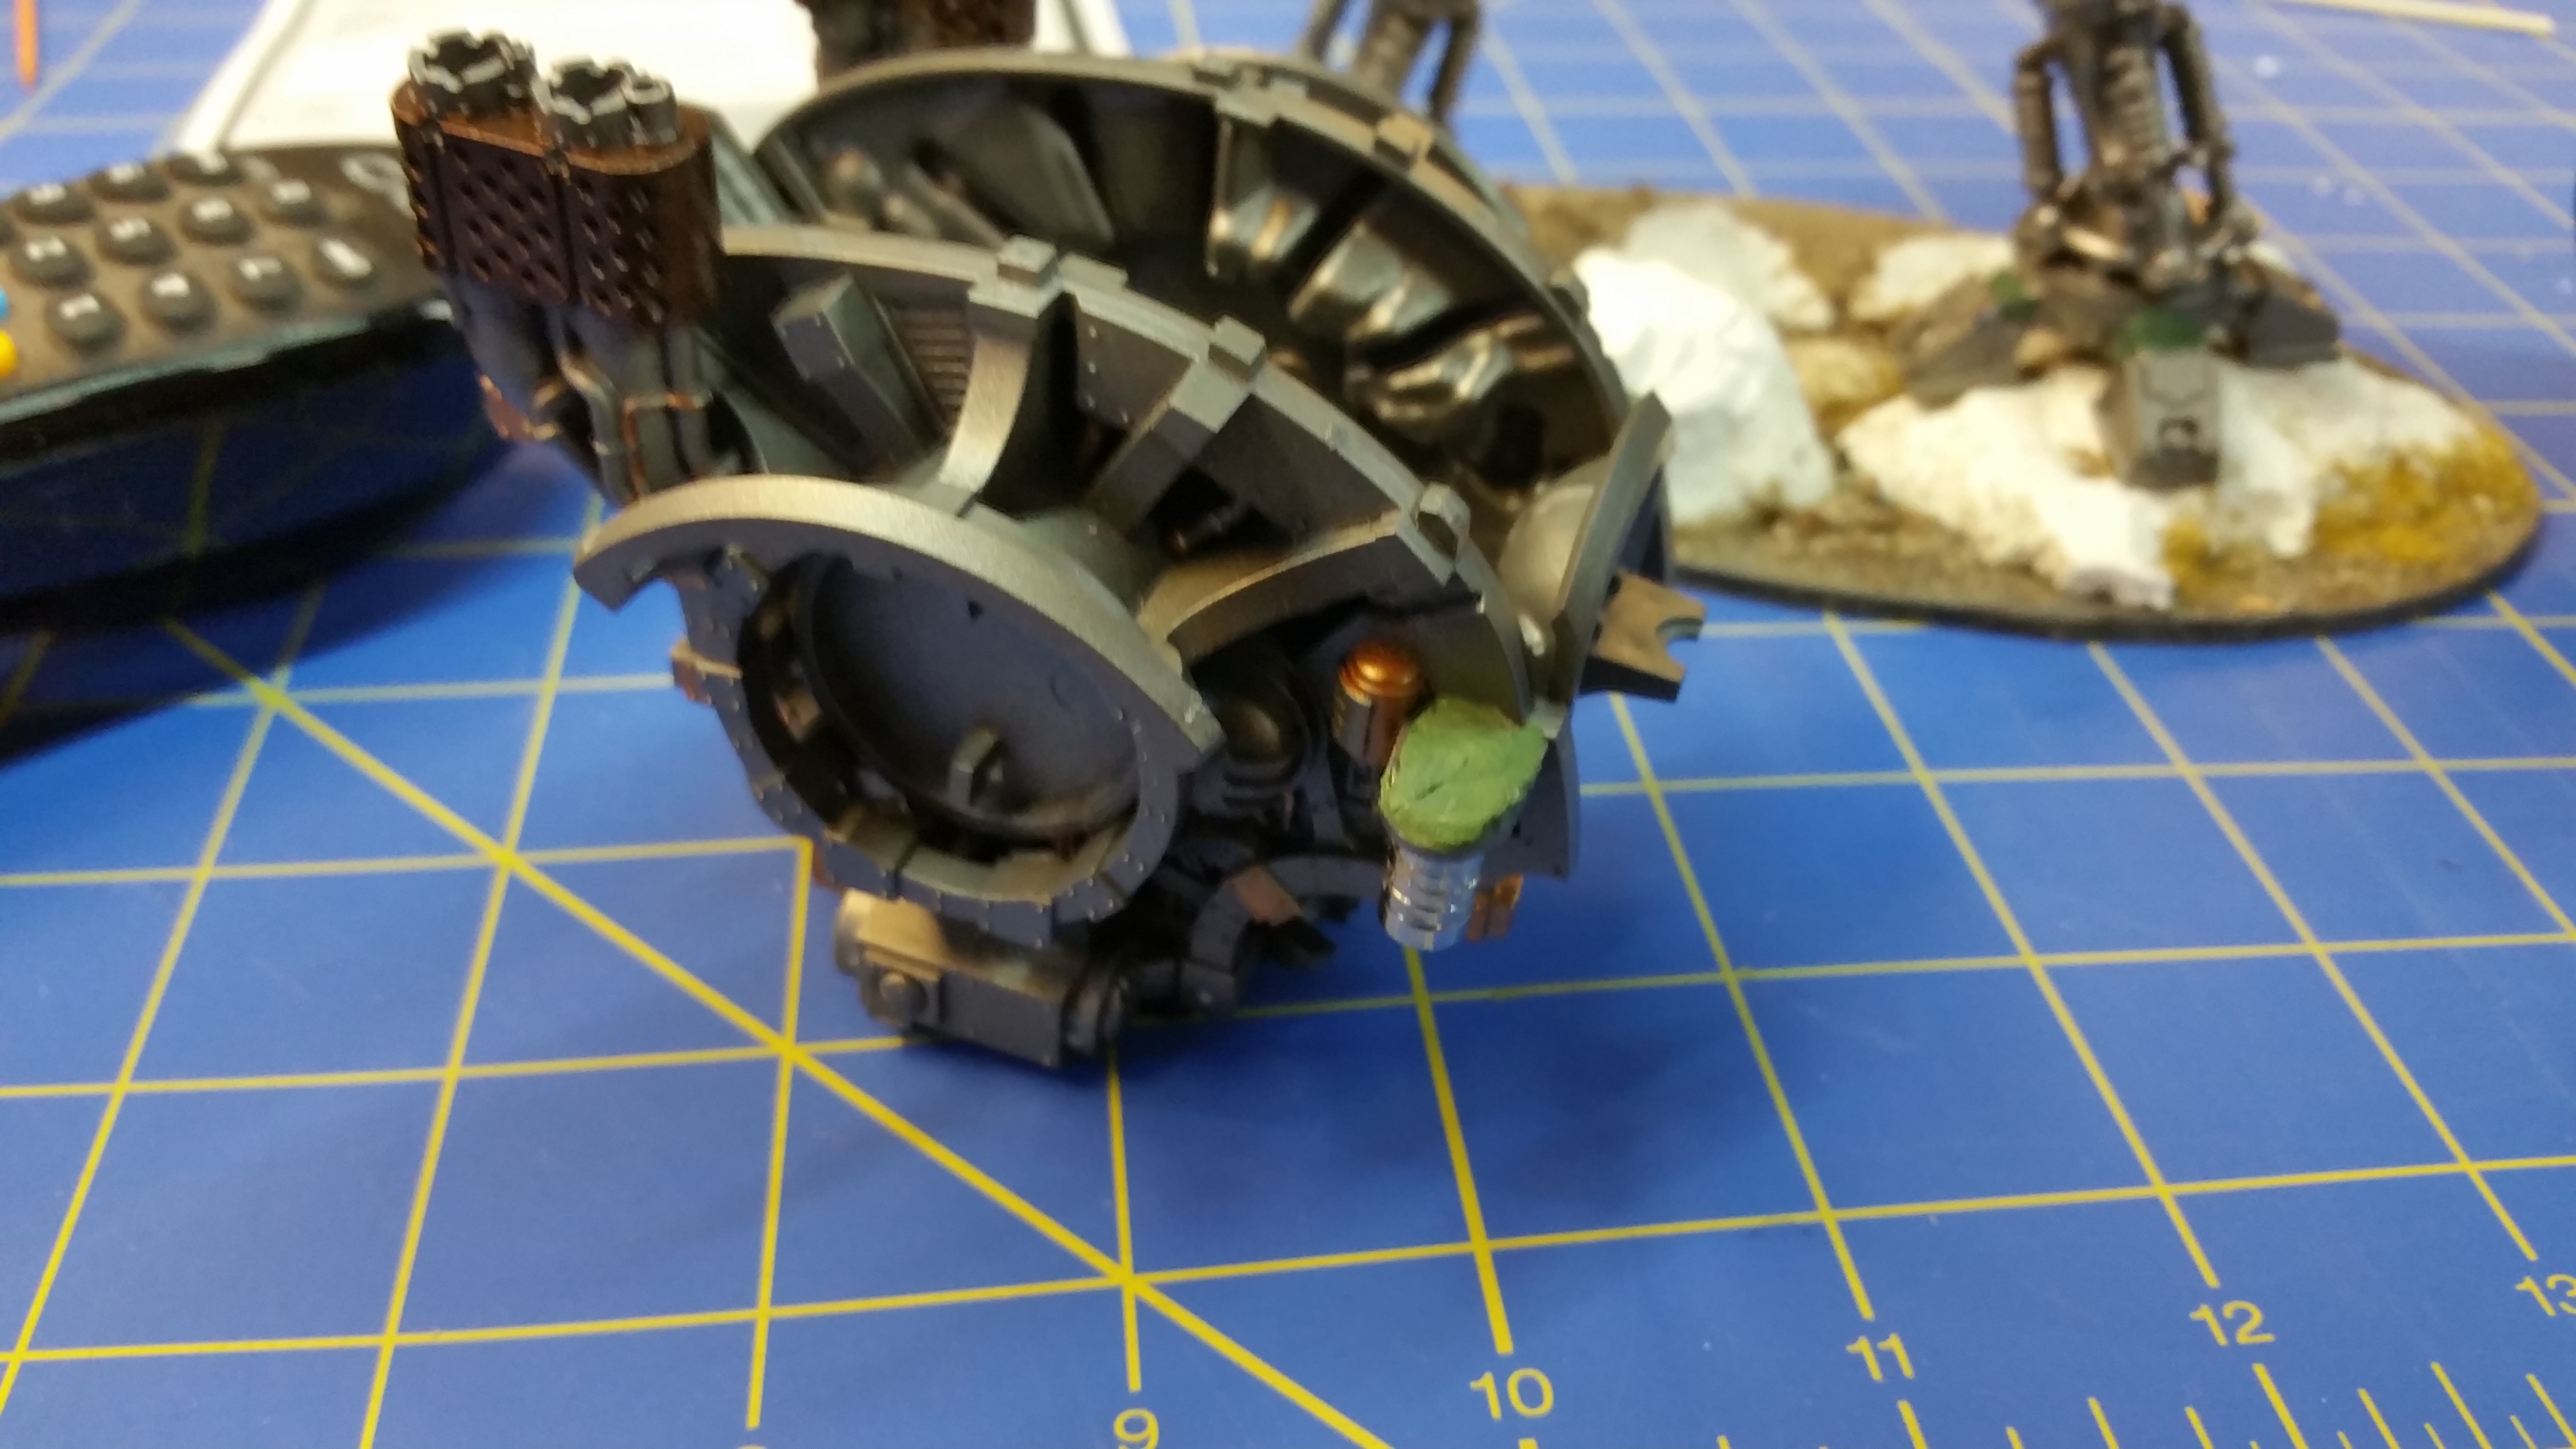
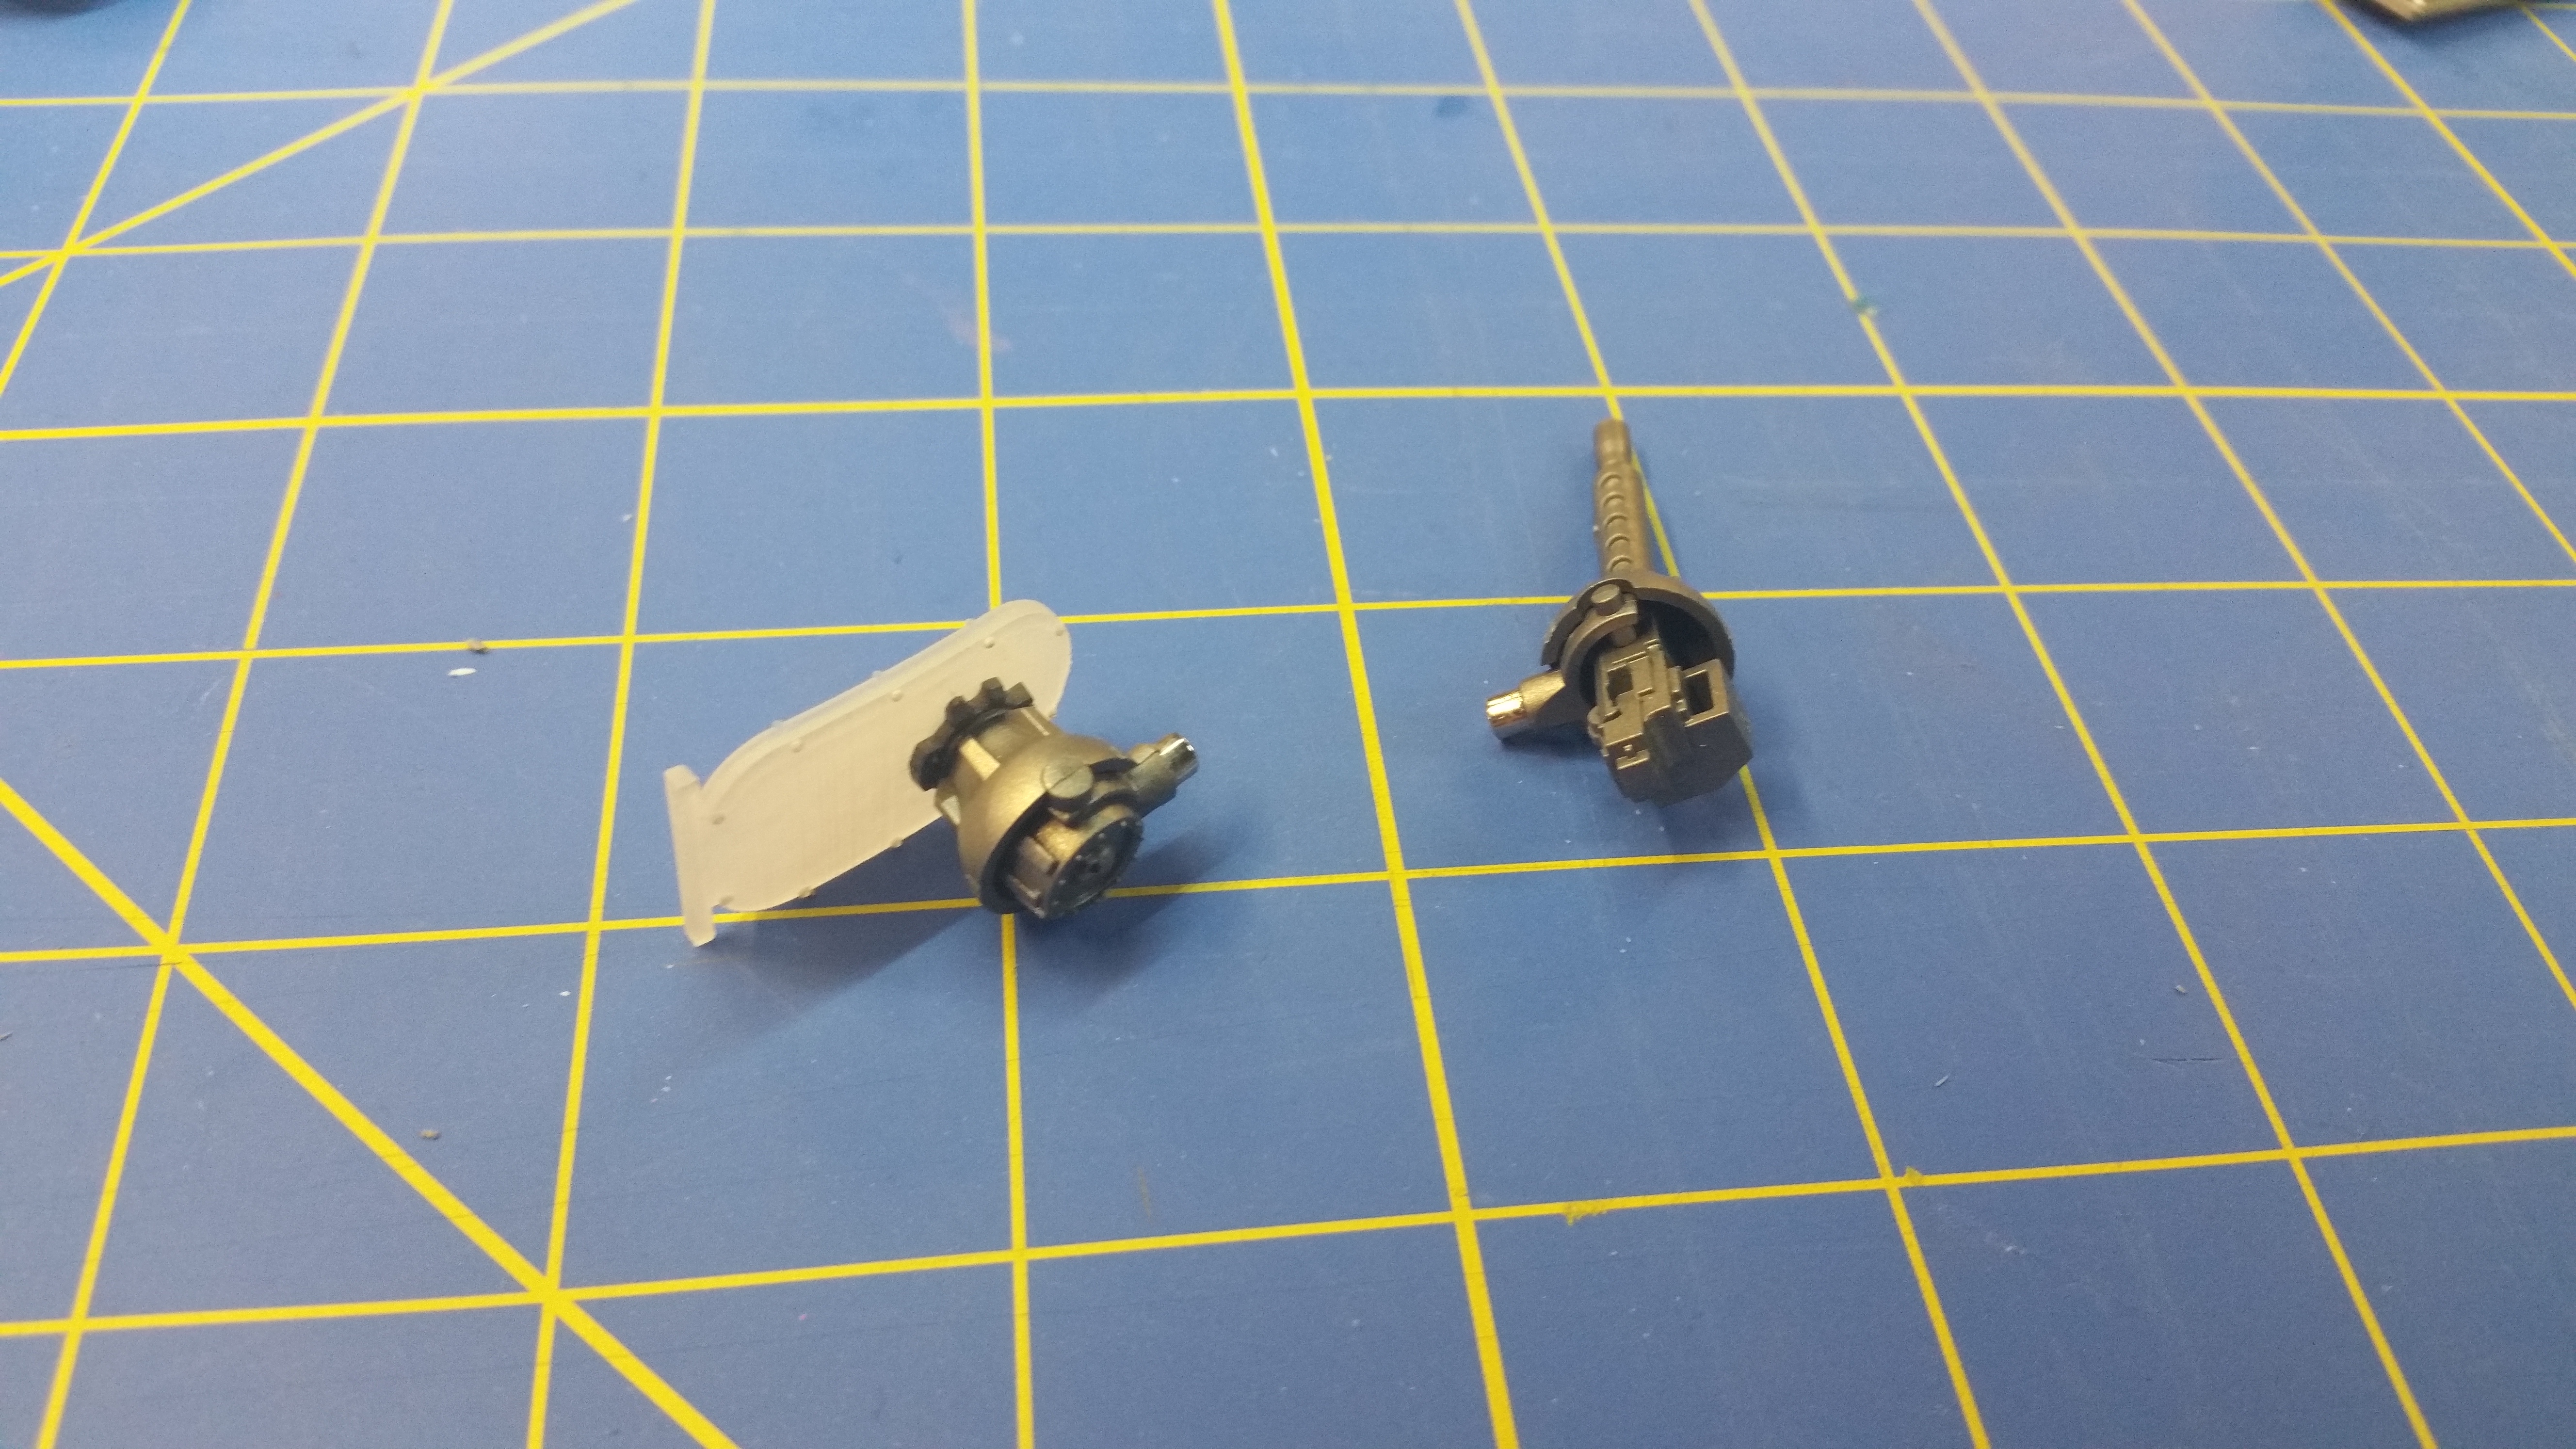
The next steps in the customization is the magnetizing and another customized Egyptian themed parts. I wanted the ability to swap out the arm and front torso weapons. For the arm, I trimmed off the flange for part #92, and then put in a small ferrous nail up the center of it. Then, with a bit of greenstuff, I installed a small magnet into the rotational joint that holds the weapon, and finished assembling it. The magnet is quite sufficient to hold the arm in place. Then I took small, flat magnets and used greenstuff and CA glue to affix them to the front weapon mounts. Adding magnets to the weapon bracket was a bit fiddly, but it was workable with a little bit of patience. Note: Make sure you have the right polarization on them when you glue them in. I also swapped out the torso shield for one that had a more egyptian look.
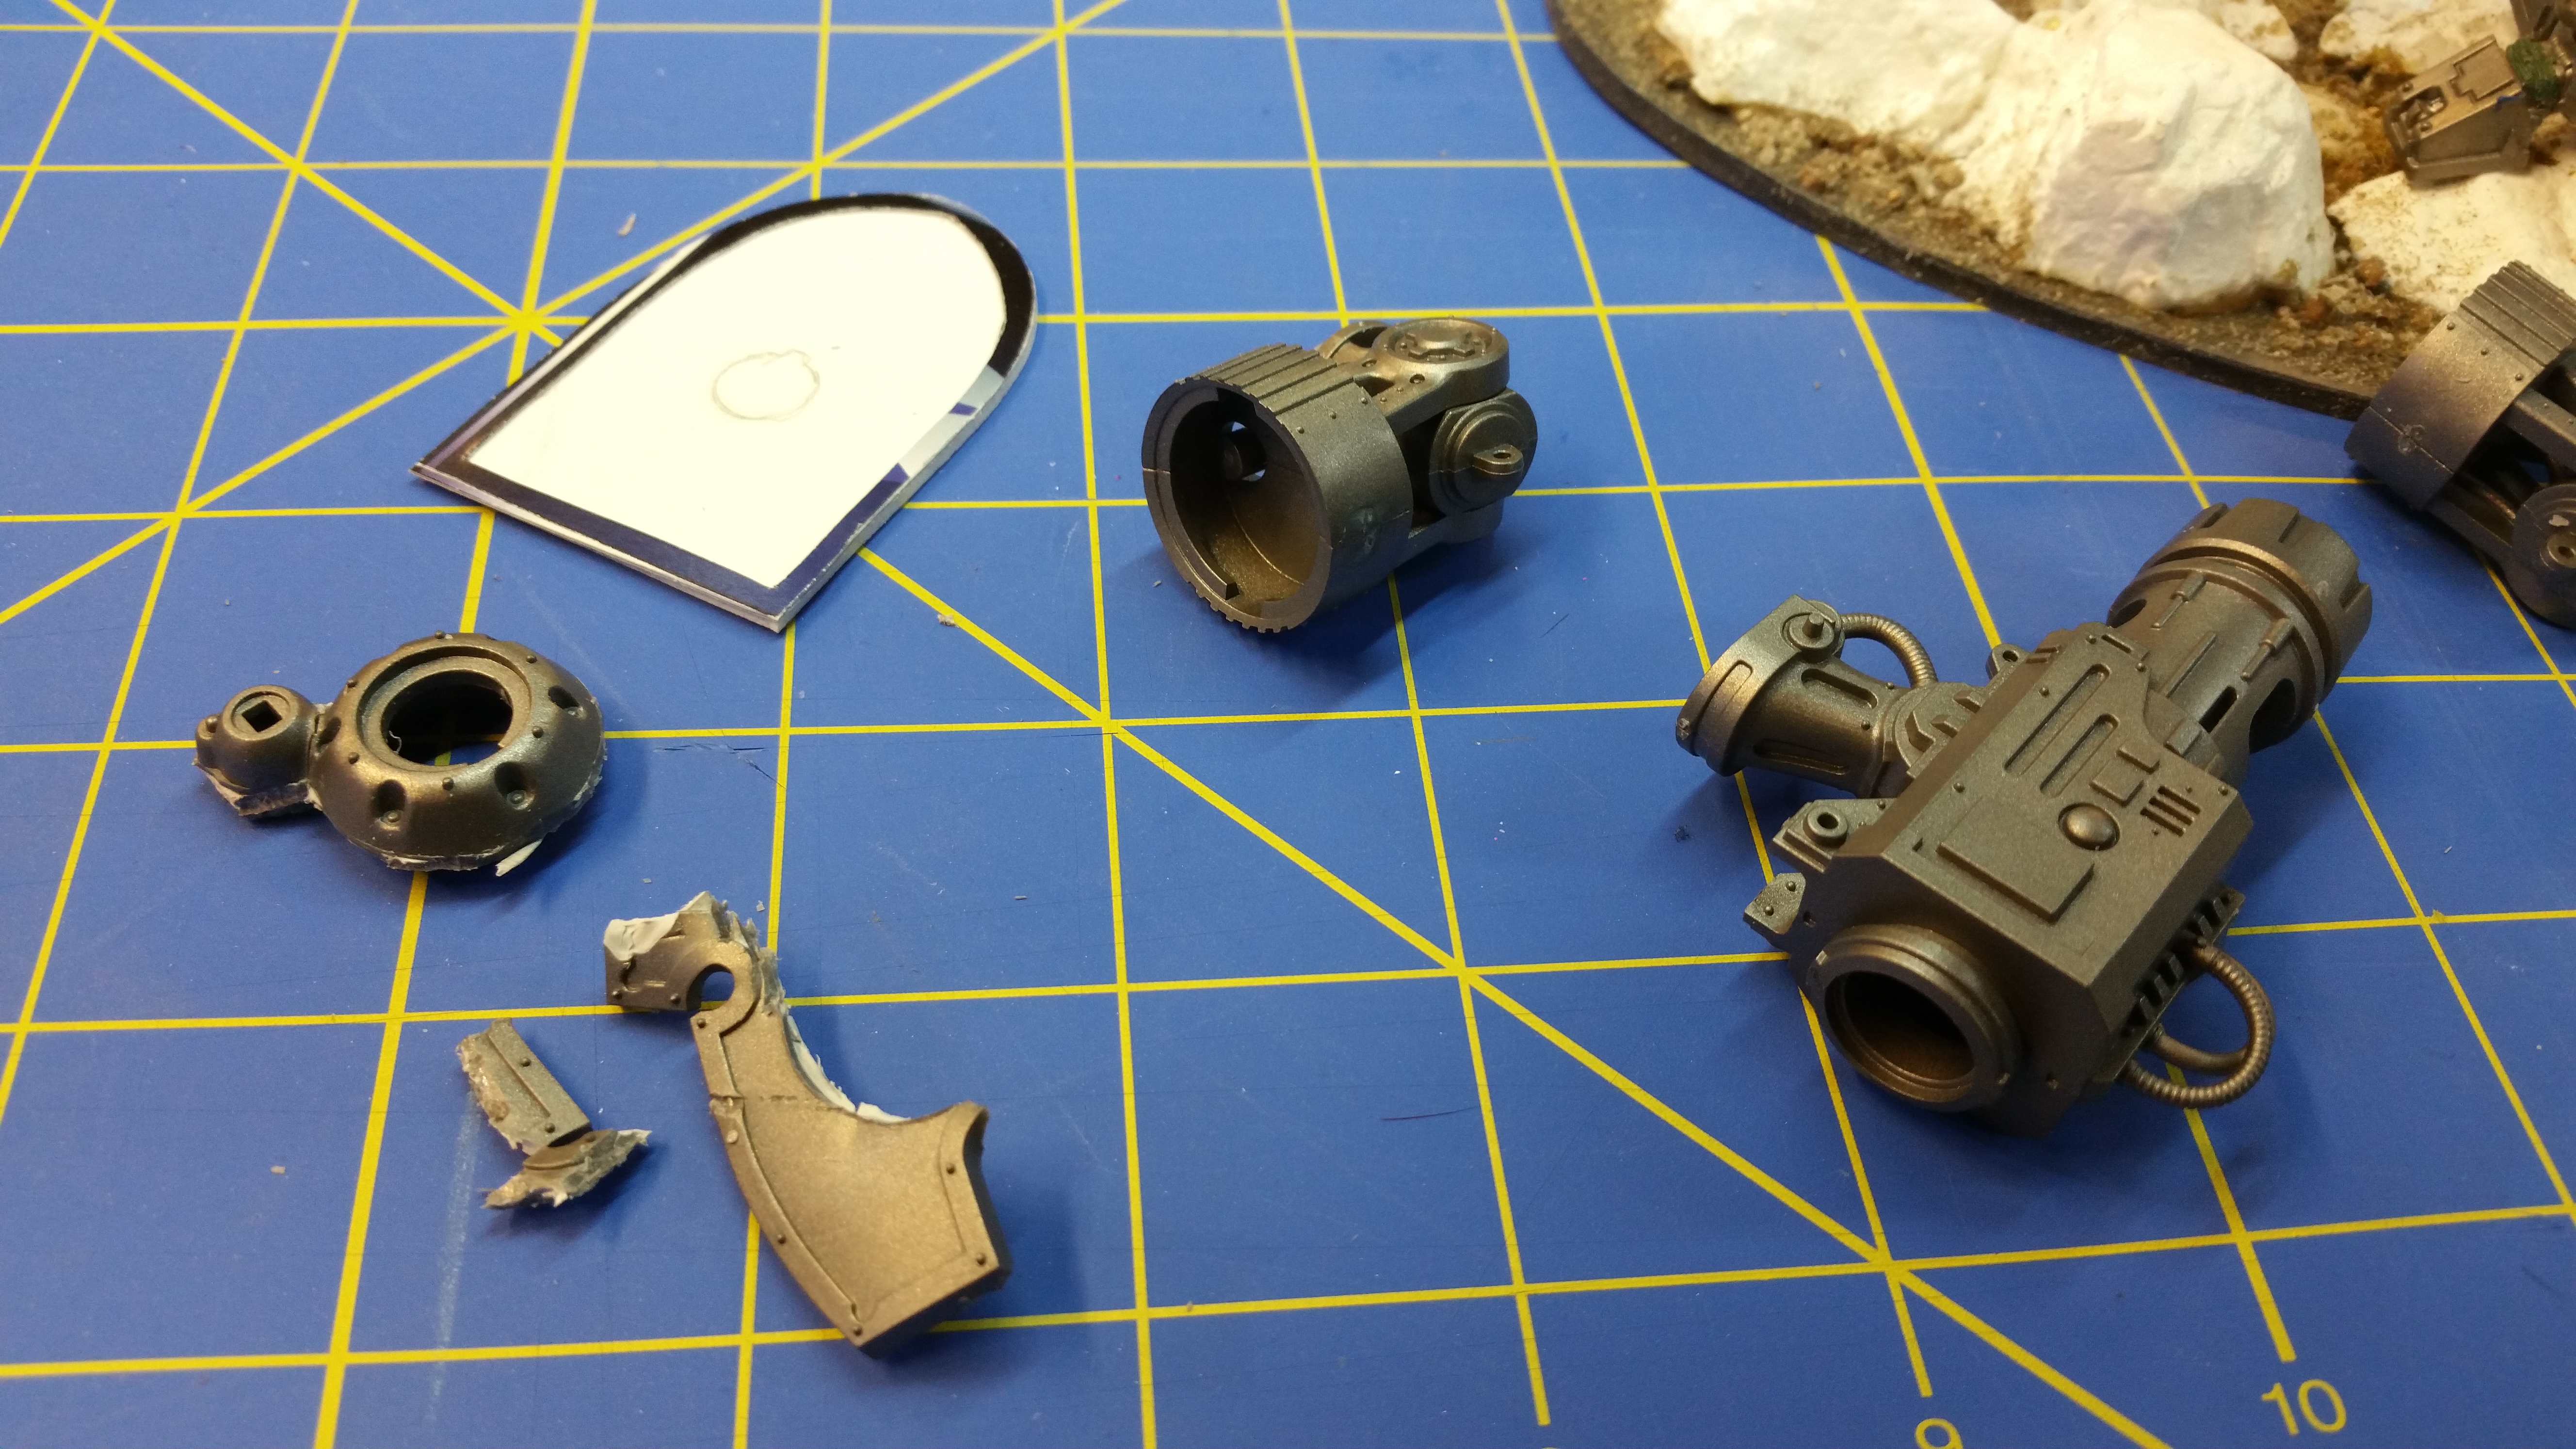
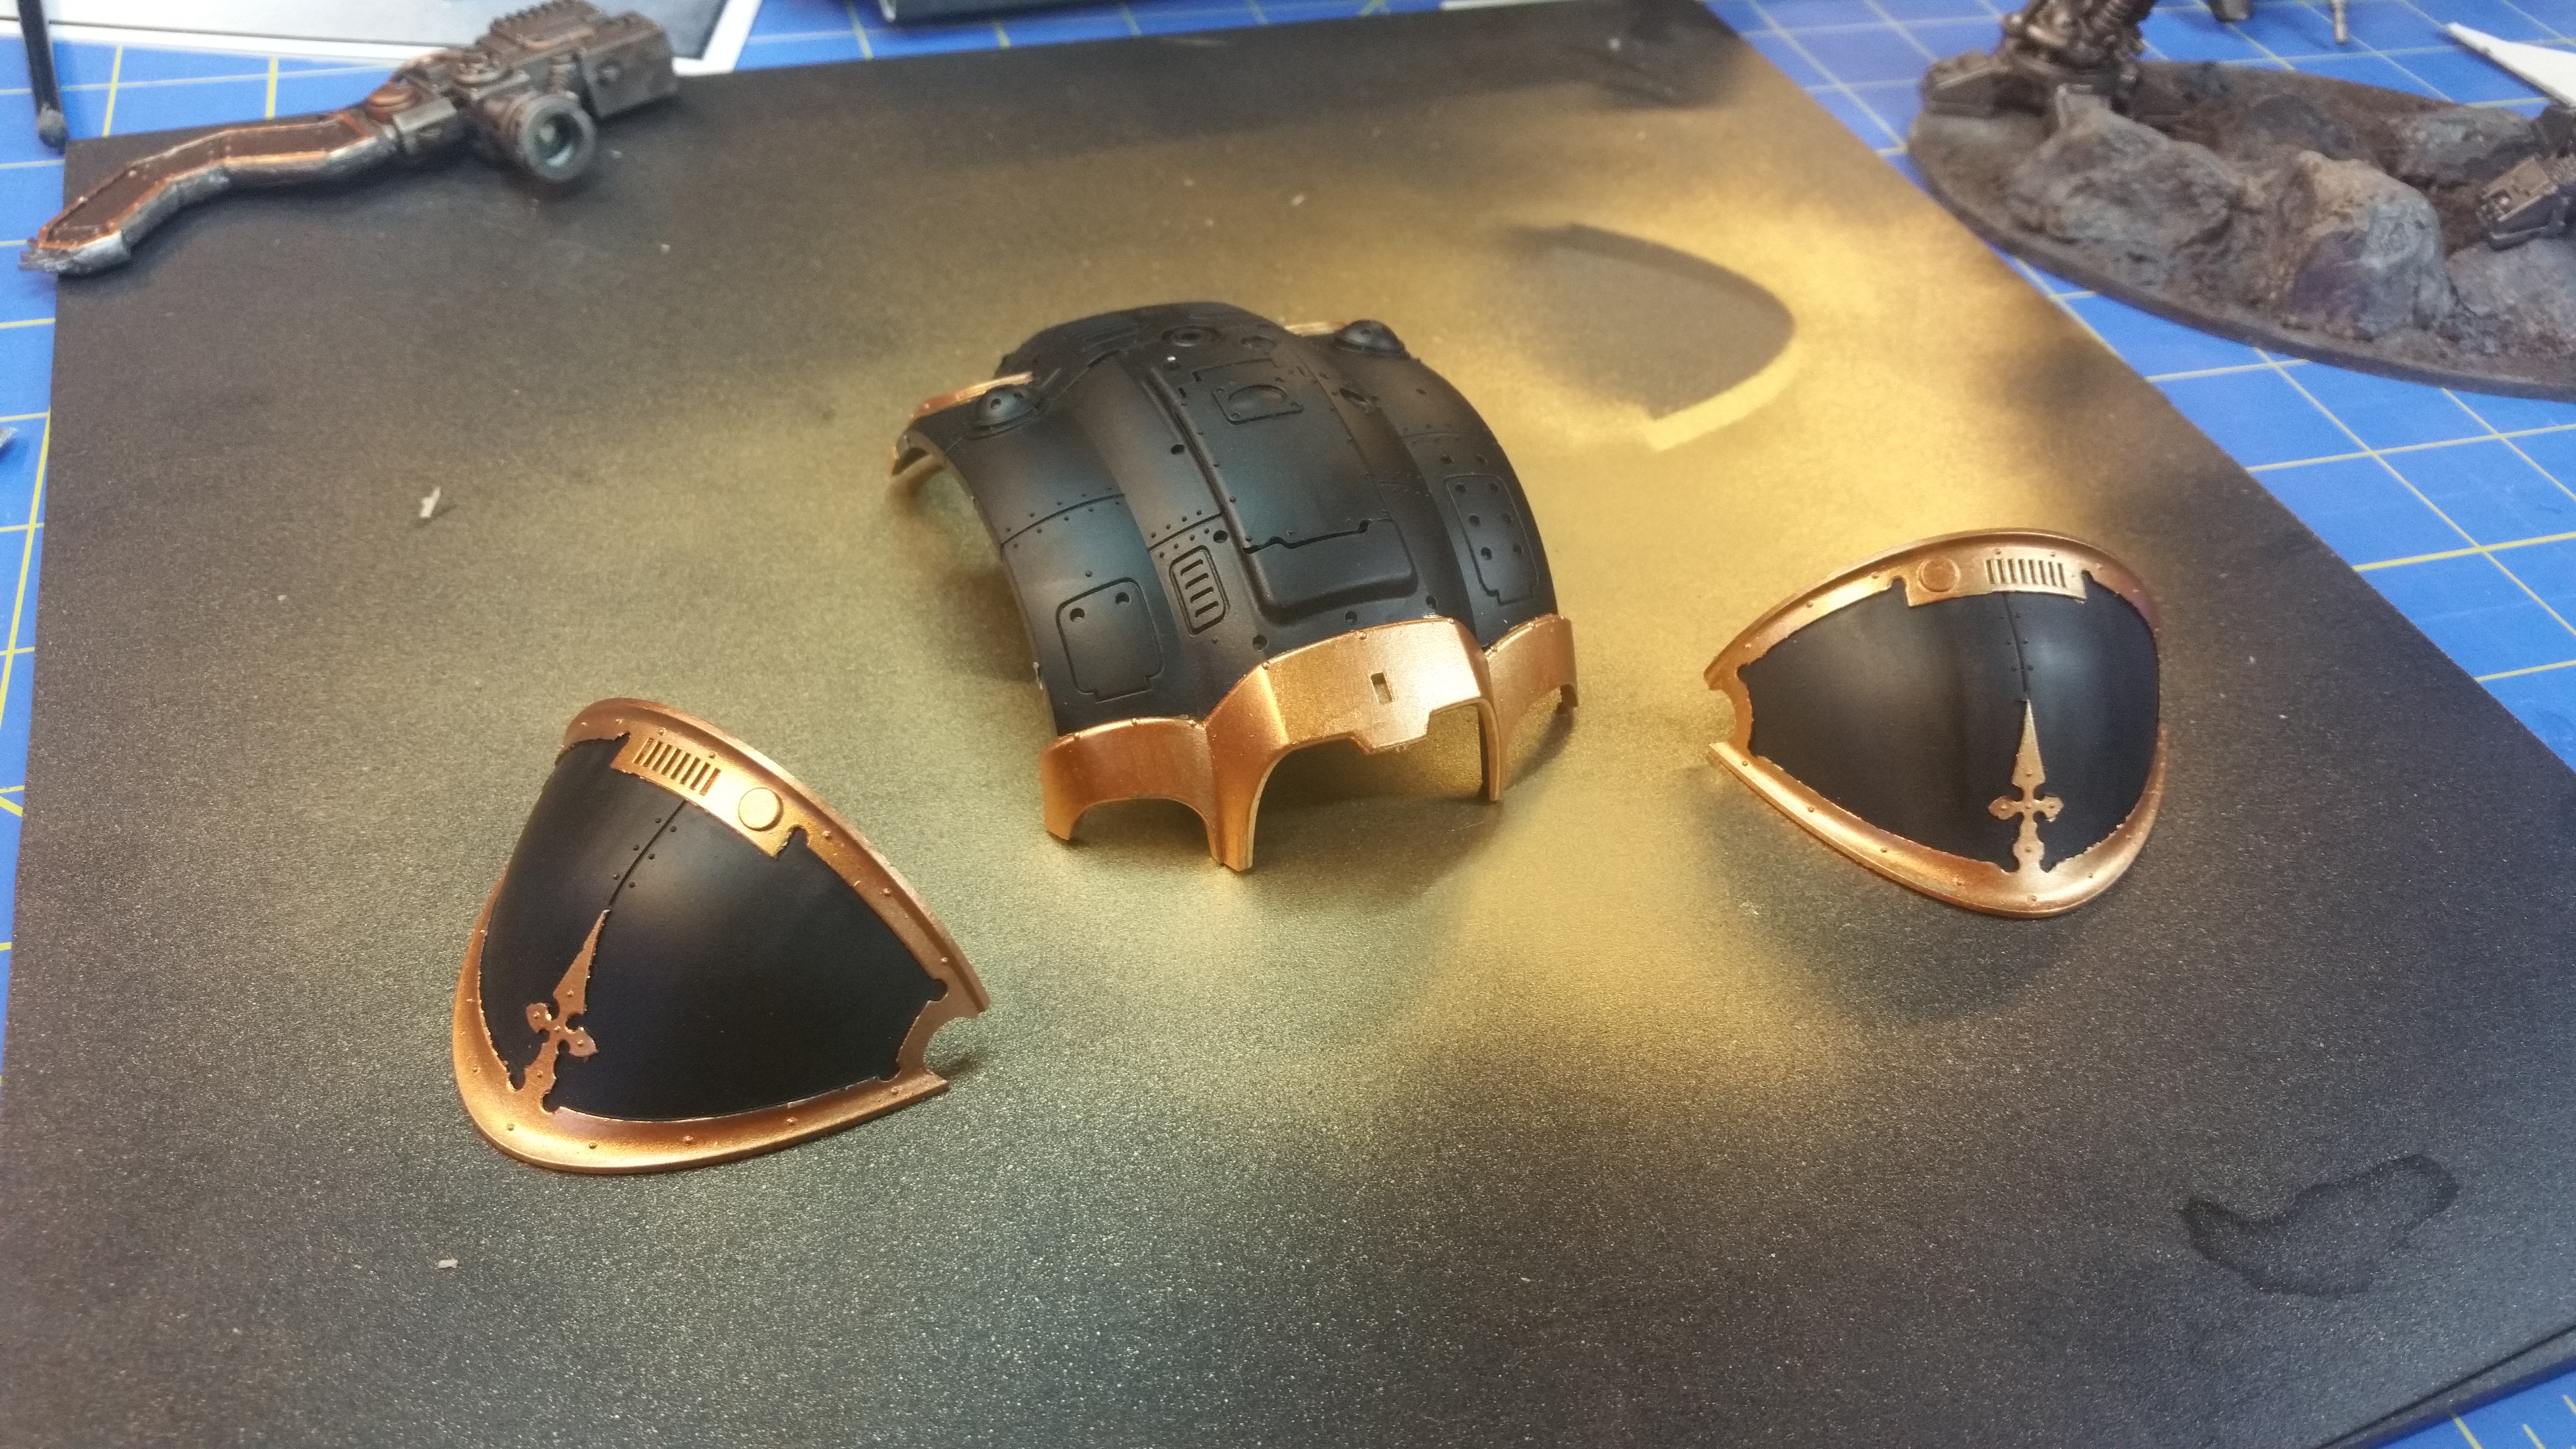
Once I had that done, I turned my attention to the Rapidfire Battle cannon. It has a gunshield and again, I was looking to continue the Egyptian flare, so I cut out an old-kingdom shaped shield from 2mm Sintra, and then made a reinforcing bracket out of cardstock, using the same techniques as I used on the Chain-khopesh, including adding the rivet detail. I wanted to keep the same mount housing for the cannon barrel though, so I cut away the shield from that part, and trimmed it down. I needed to cut a hole in the center to fit the mount. This was all because I just didn’t want to glue it straight on to the gun housing. Don’t ask me why, because I don’t have a good answer there. 🙂 I also added the mounting magnet to the Jackal head for the front.
Now it’s time to start thinking about painting.
Freeblade Paladin The Collector (Build part 2)
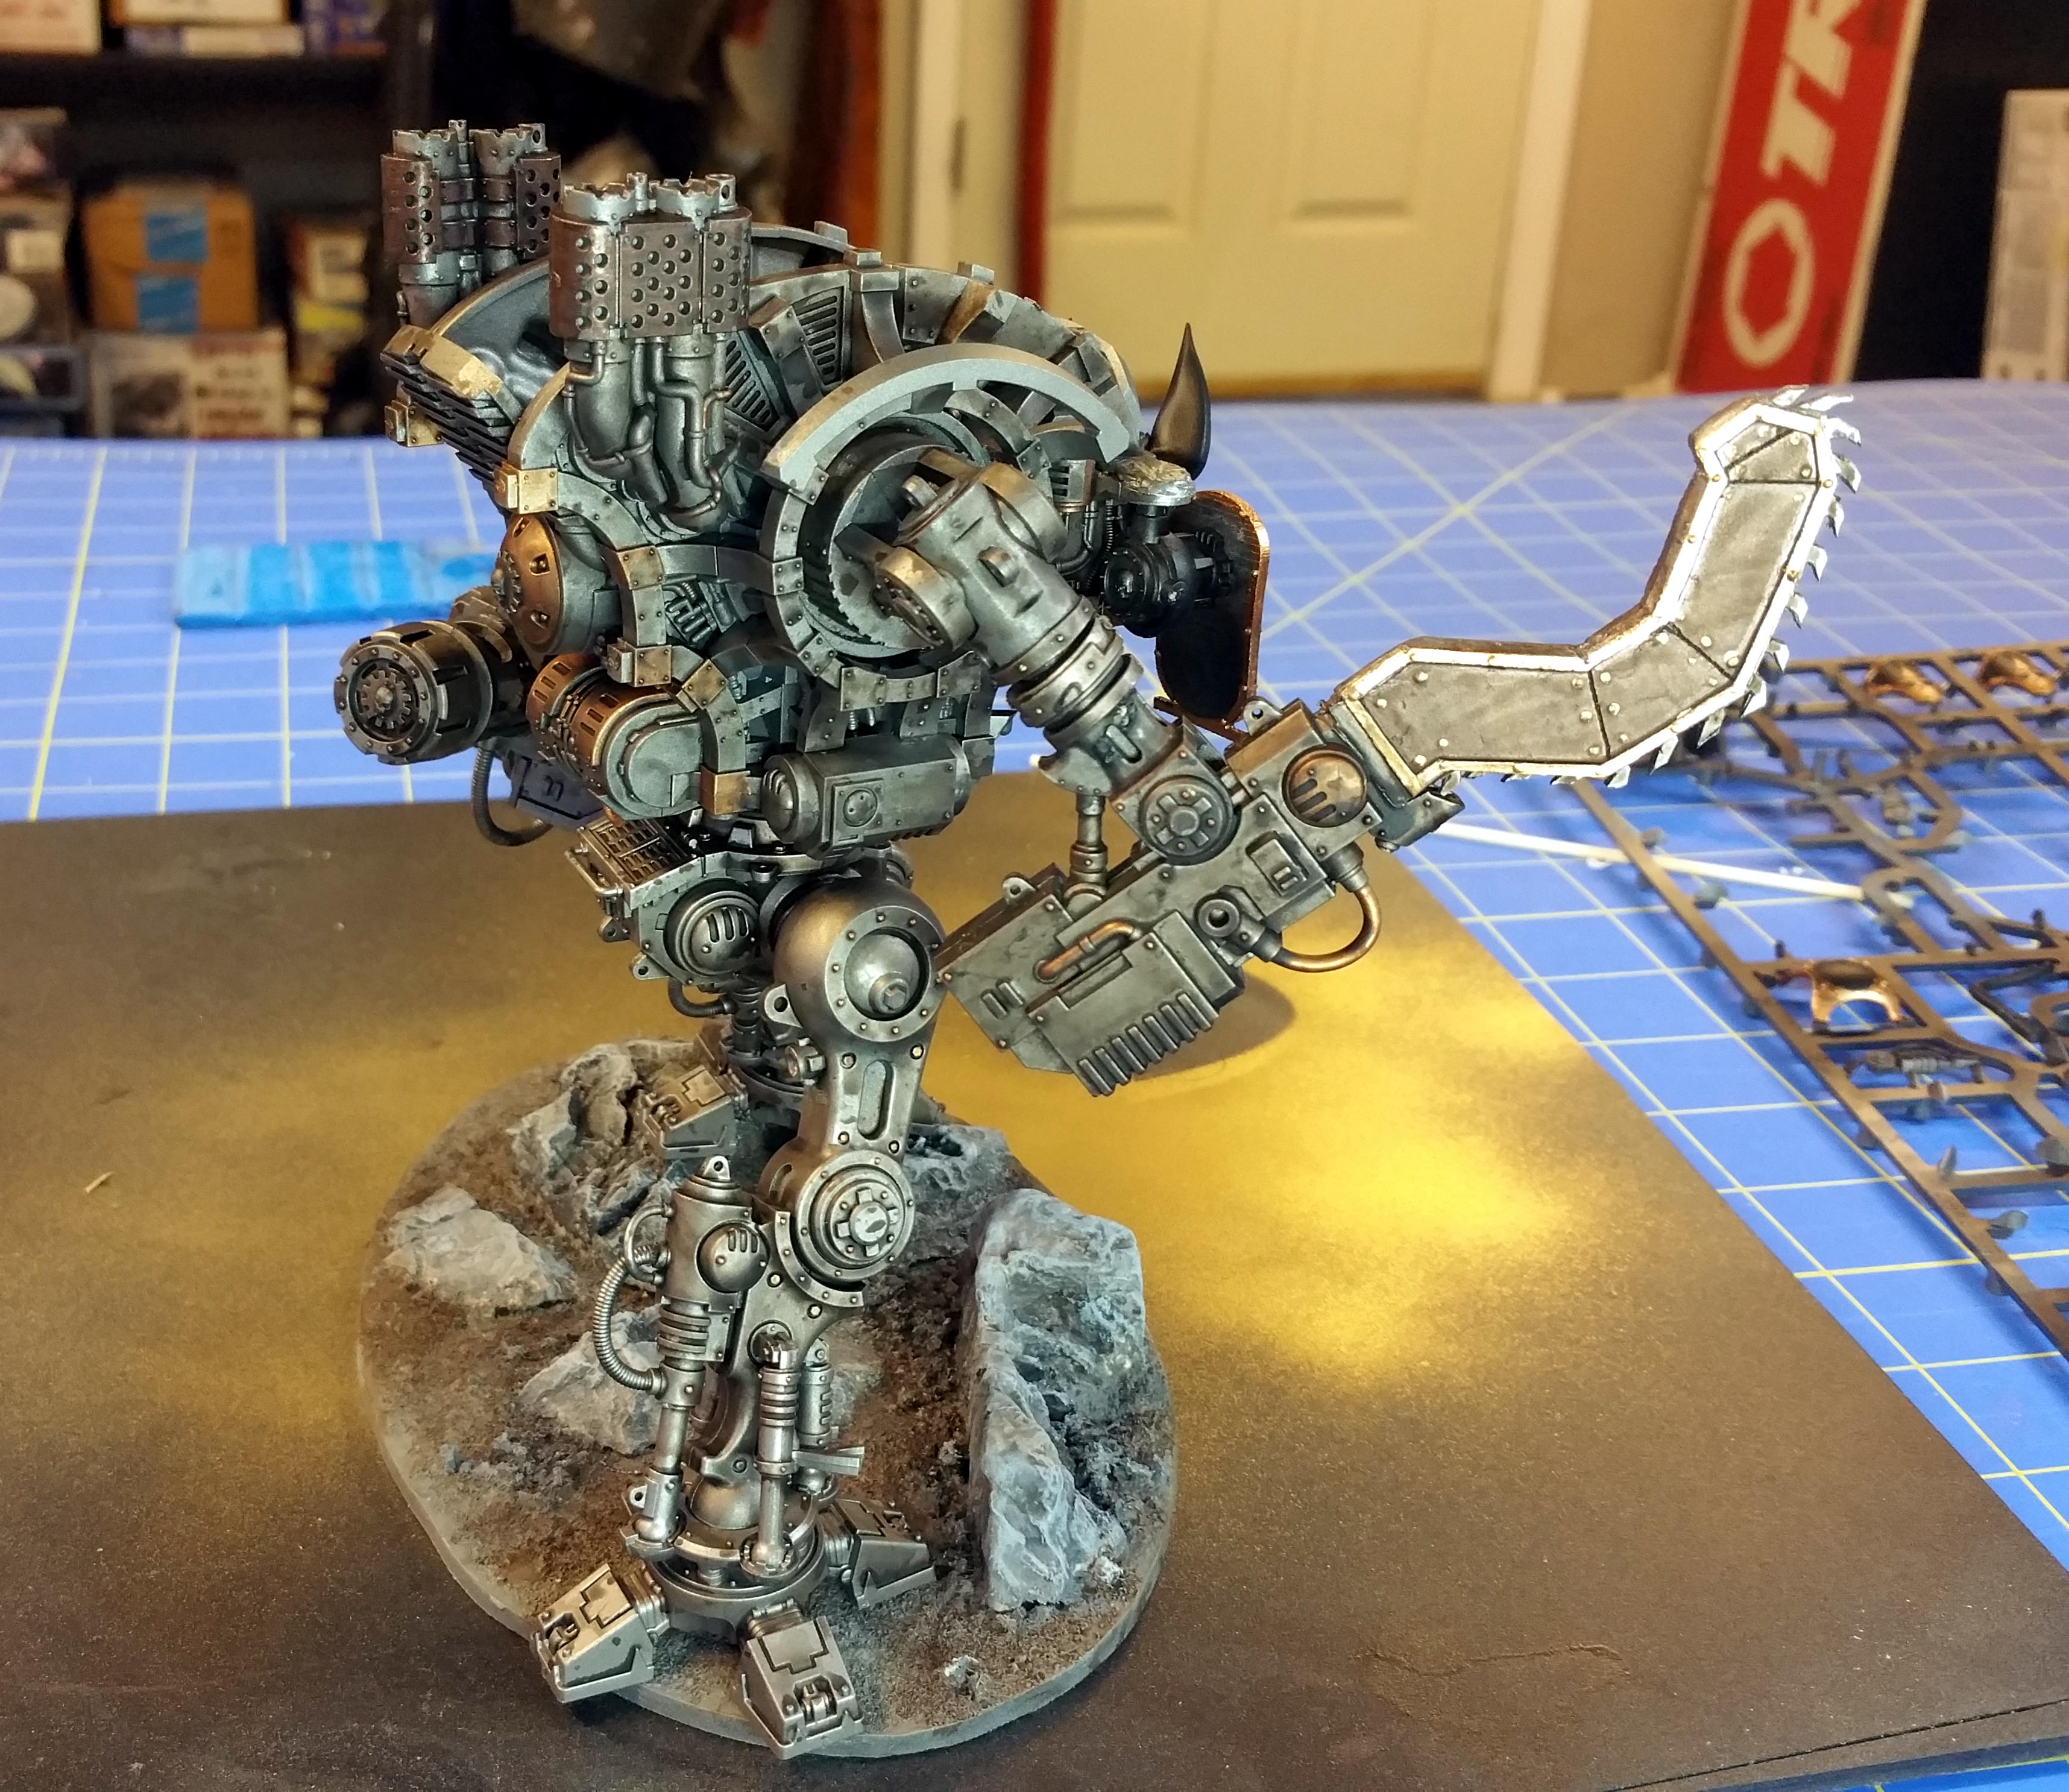
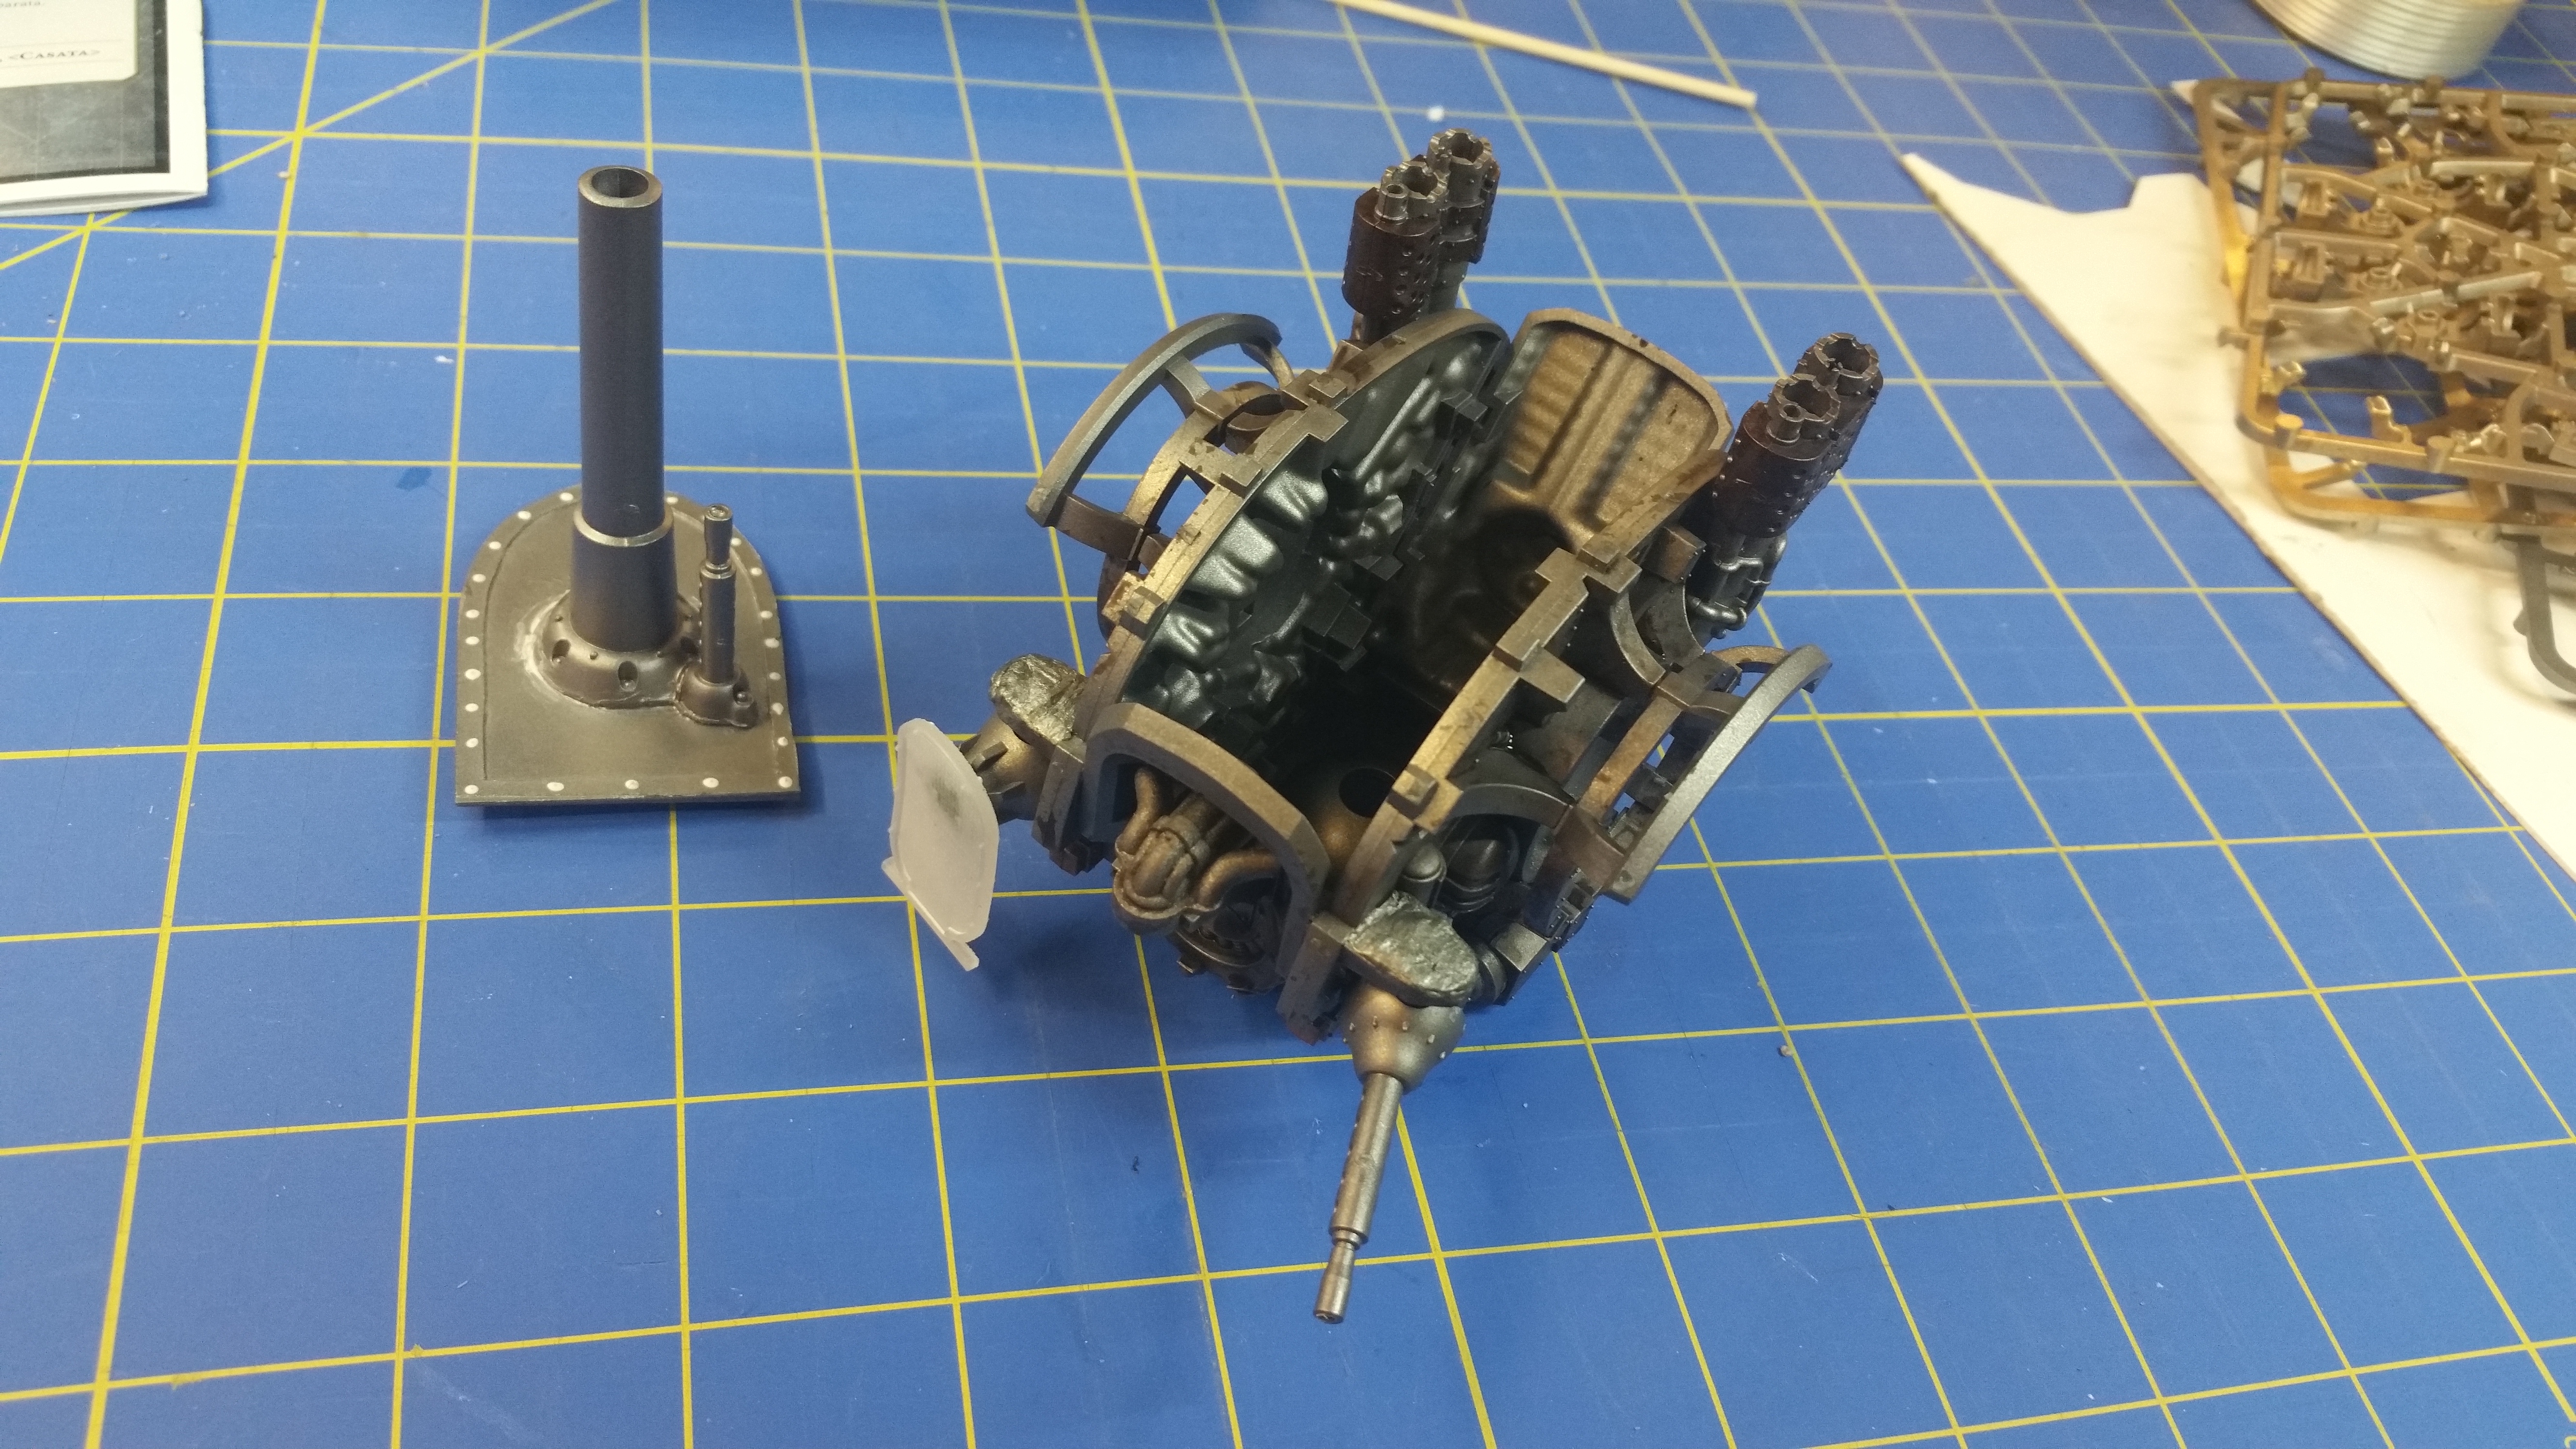
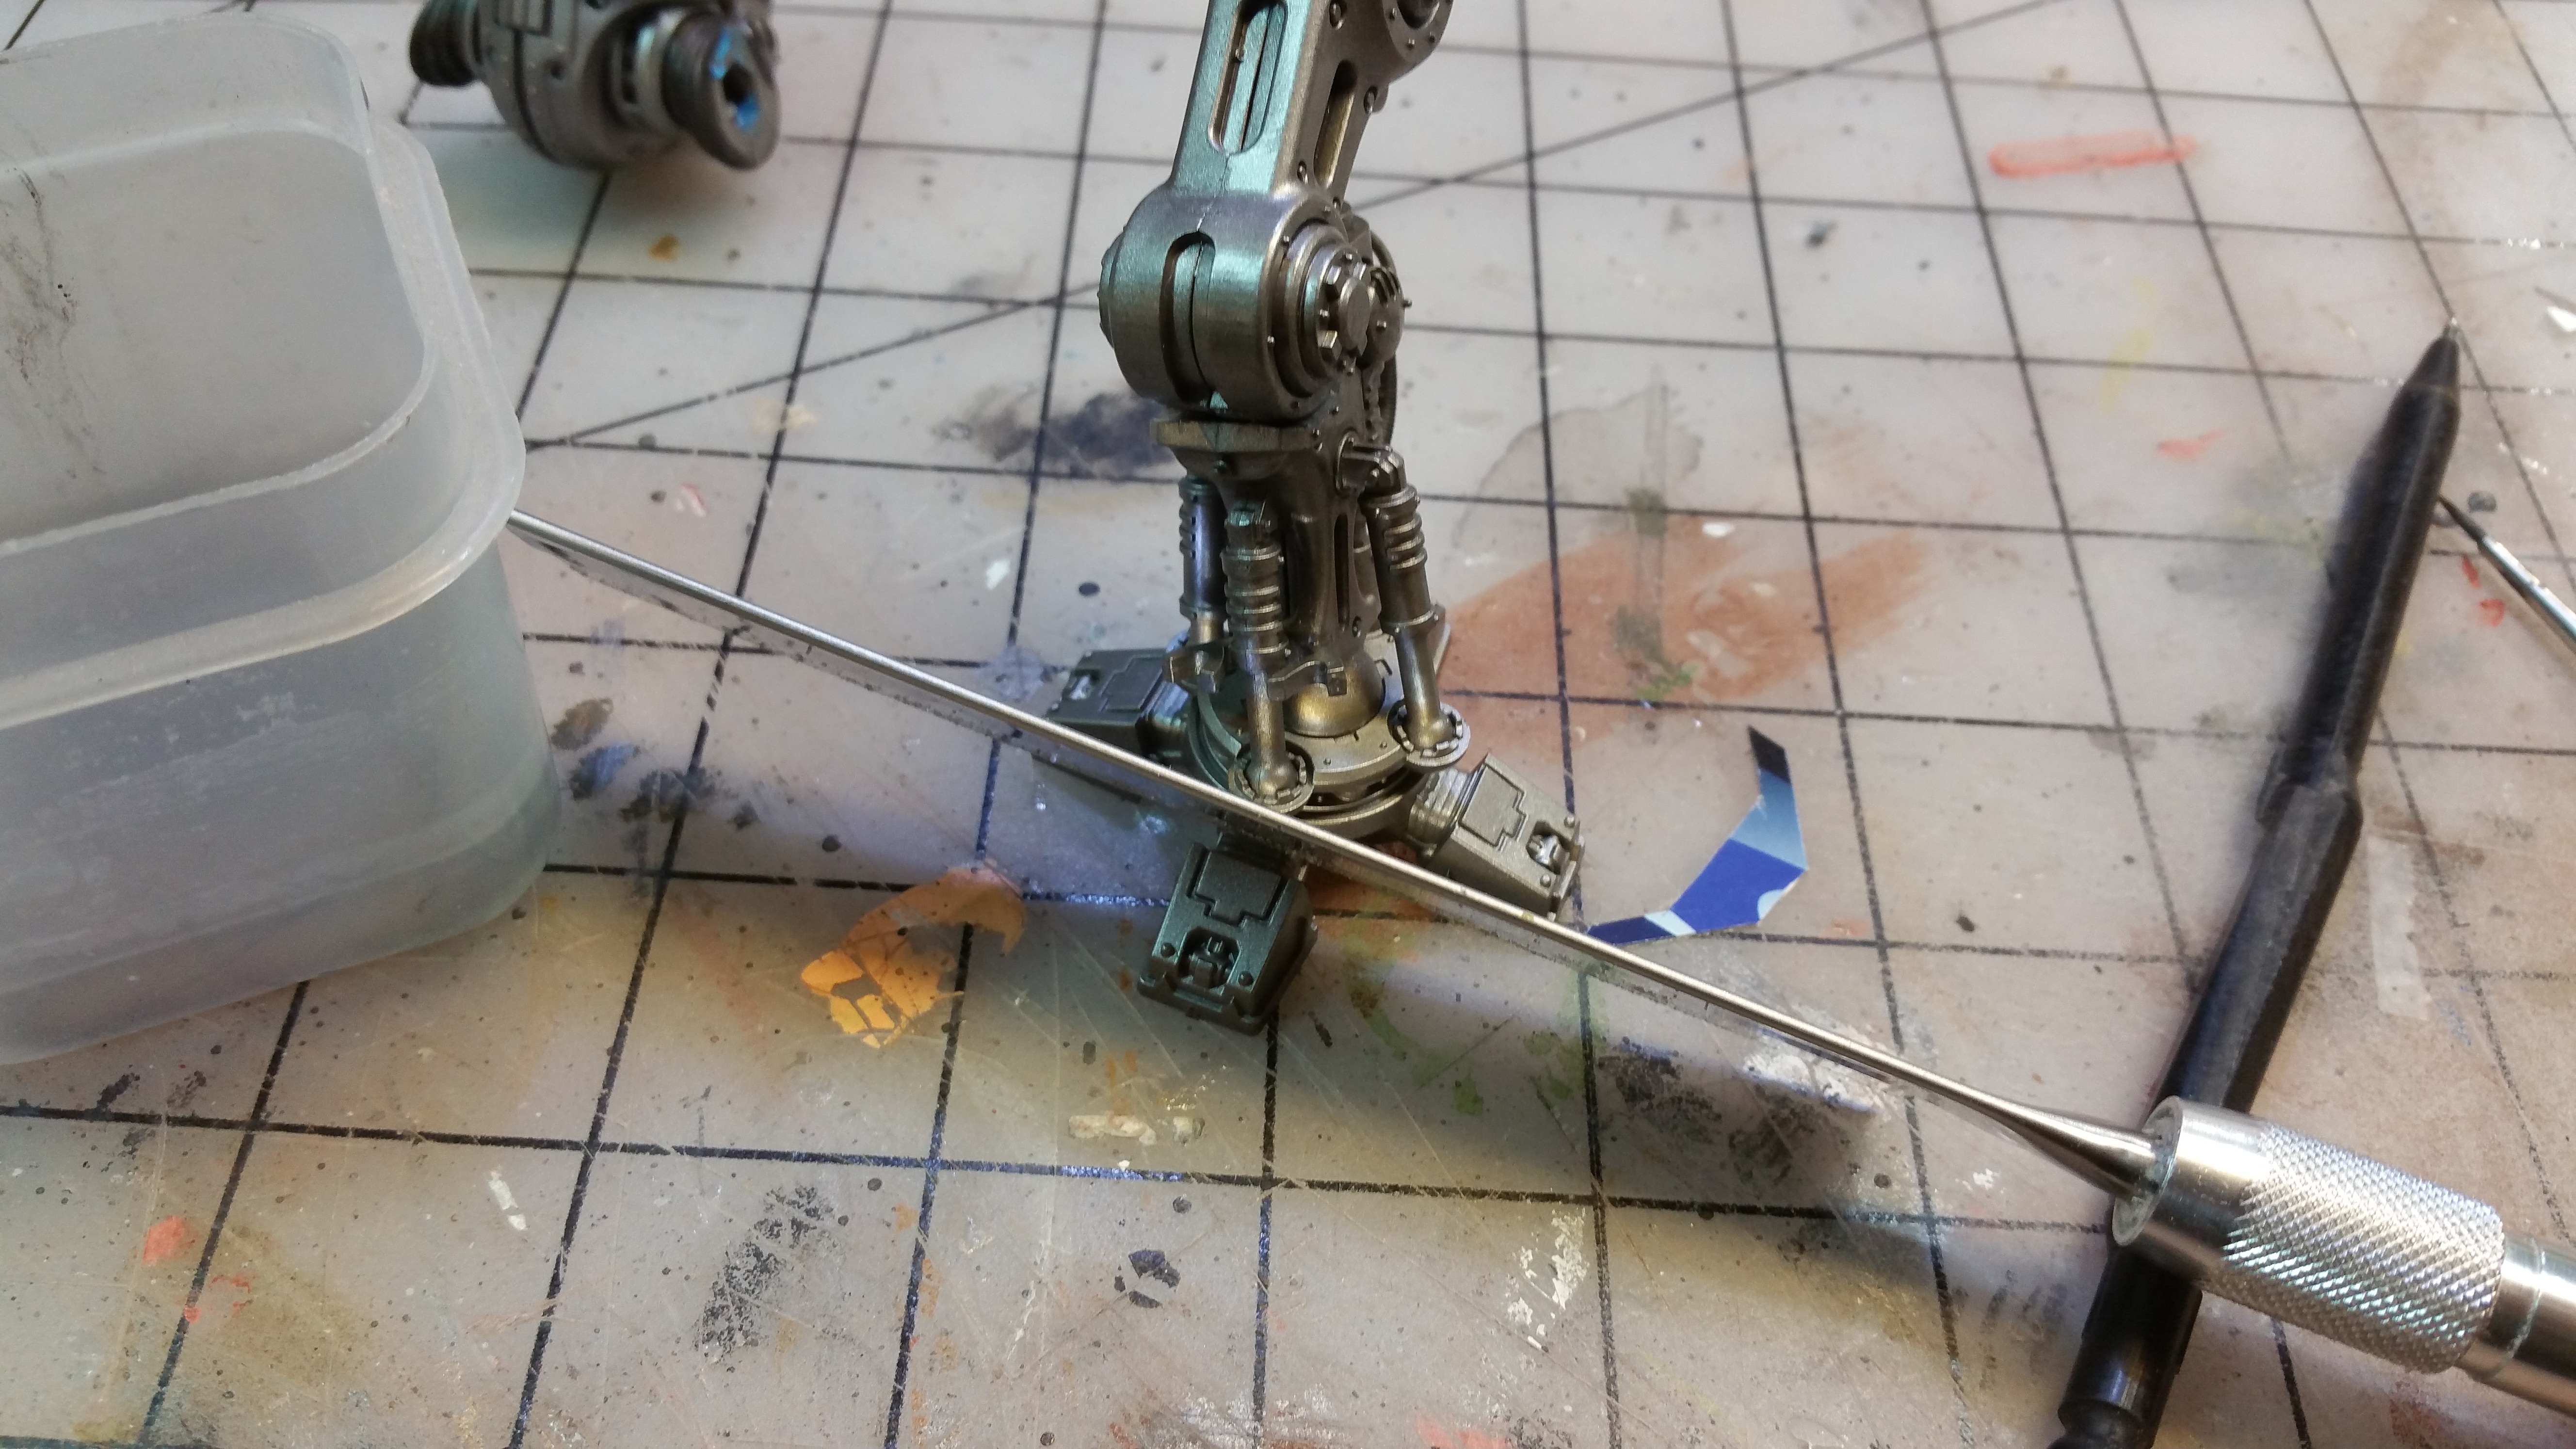
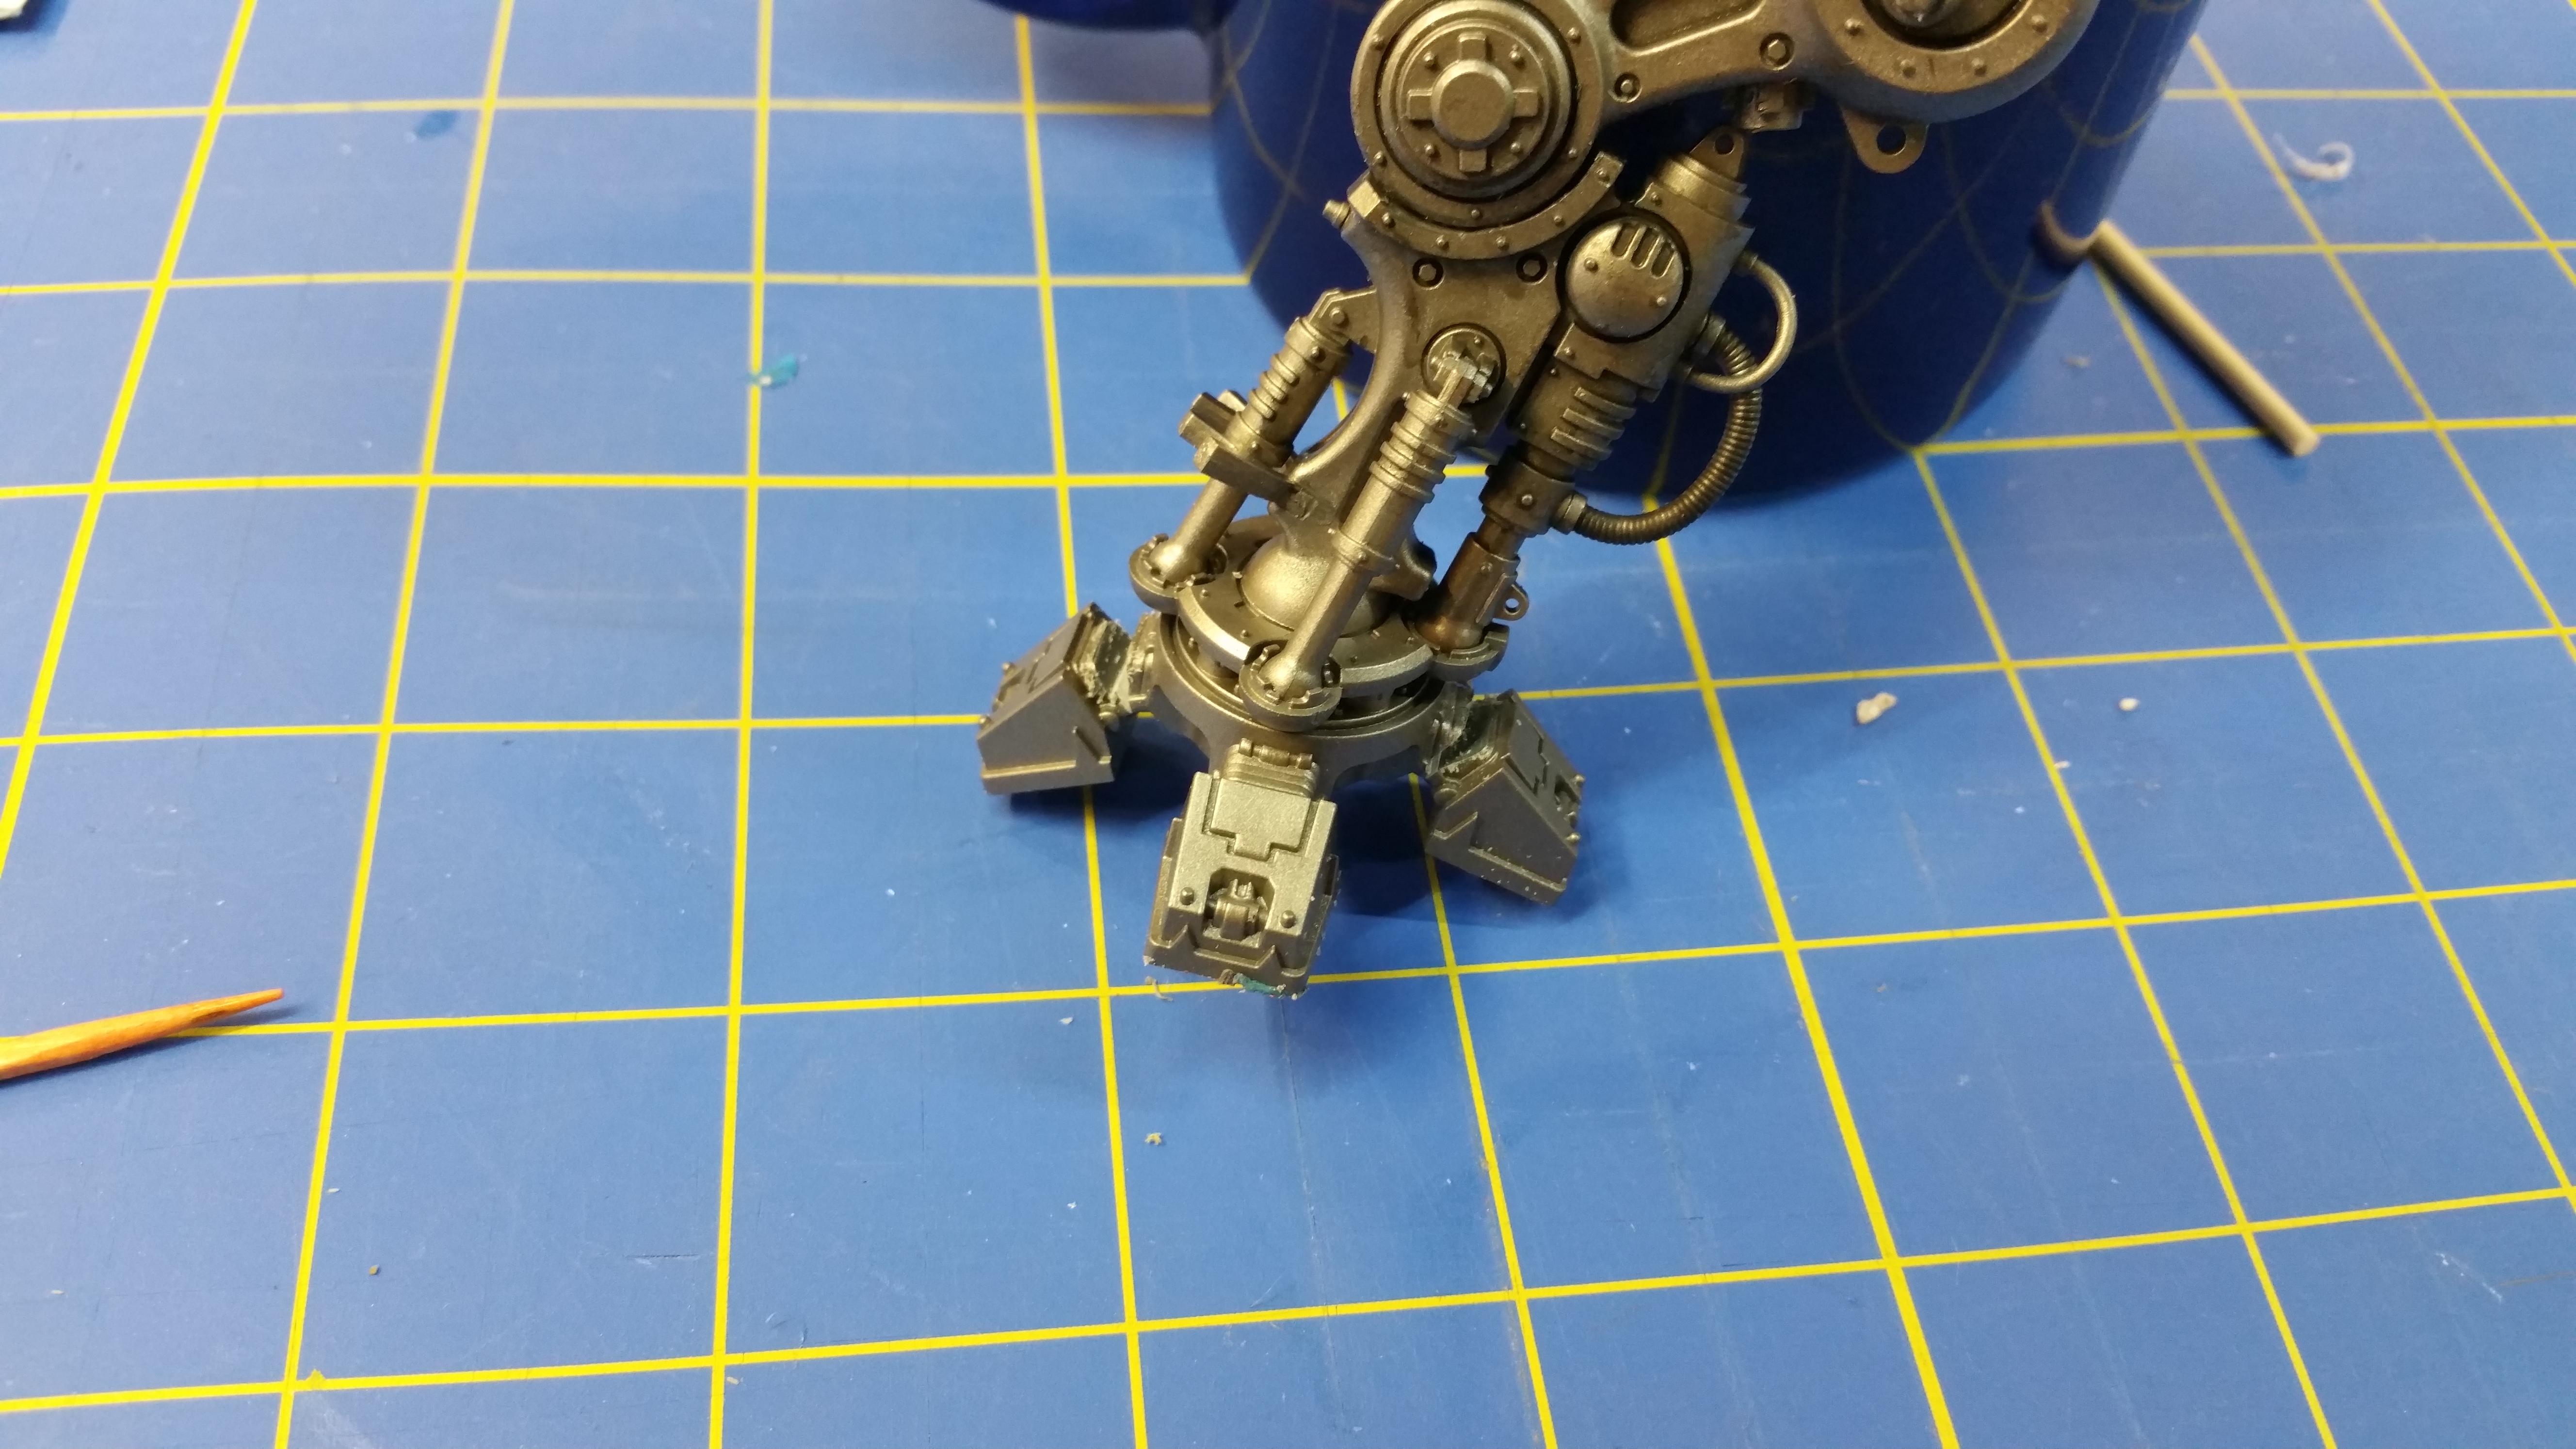
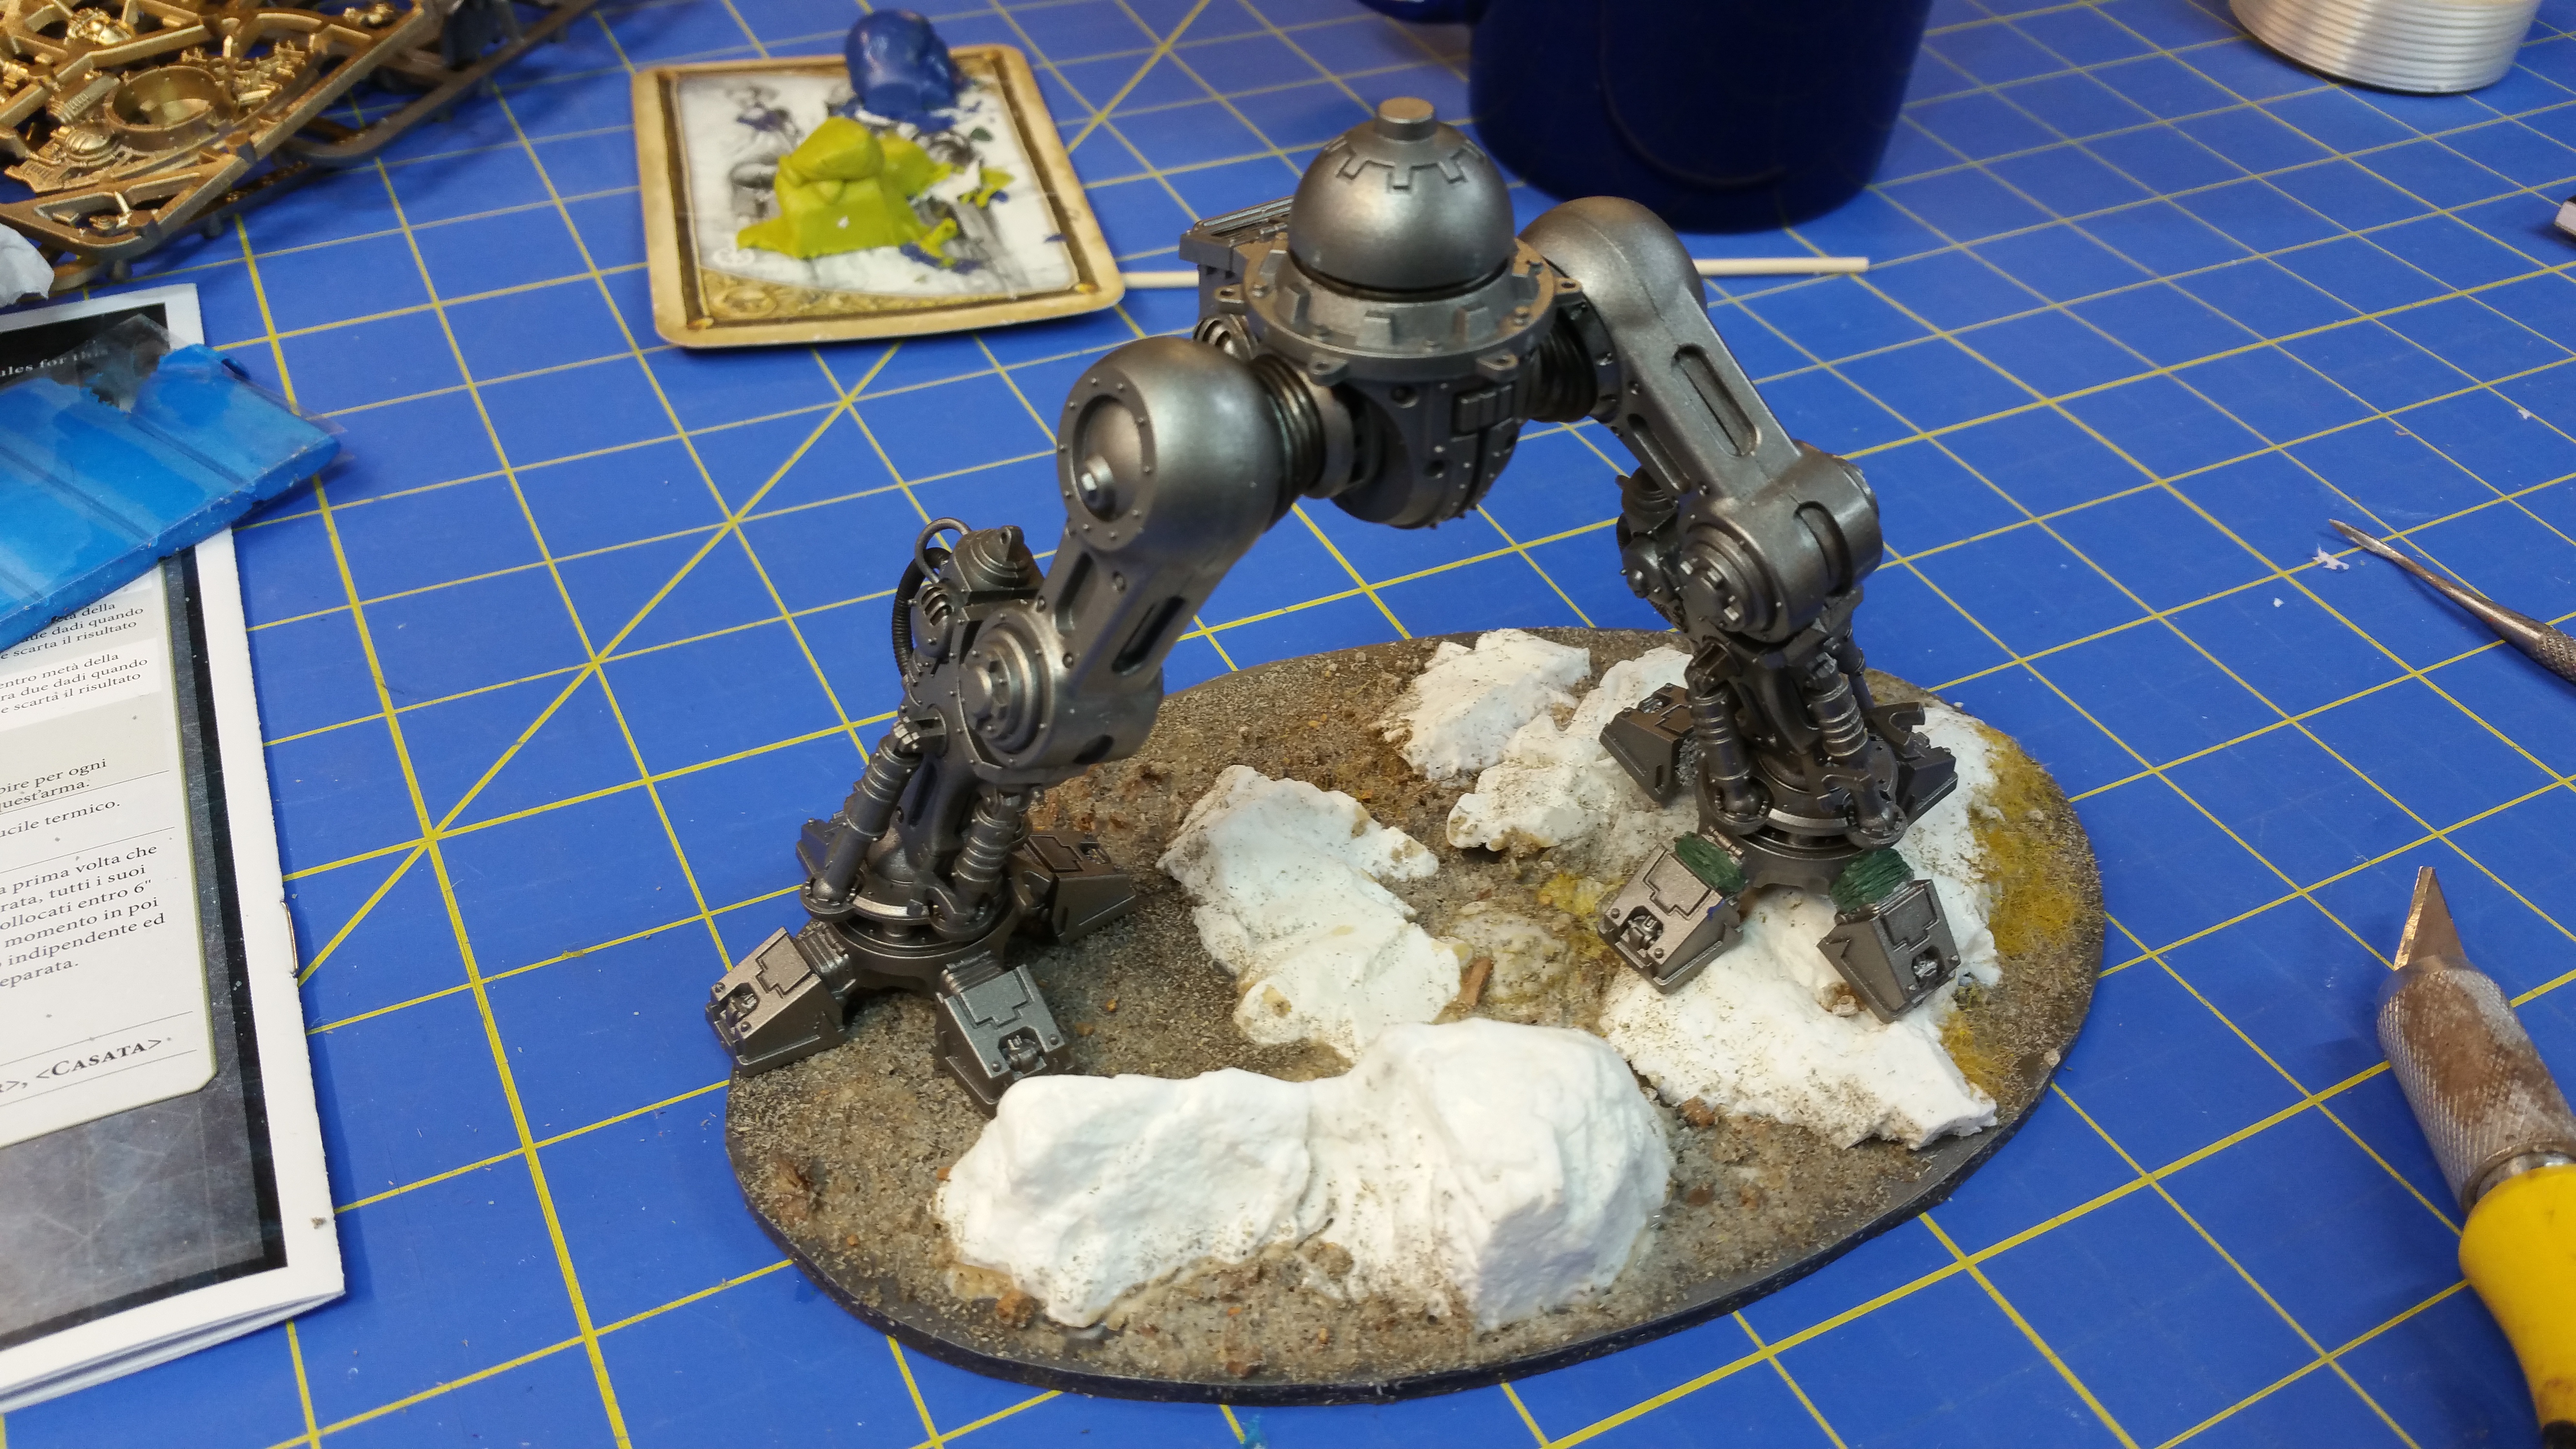
Well, in for a penny, in for a pound. Making changes to the stance on these is a bit complicated with the extra bits and the specific angles of the joints. However, there is a bit of freedom in the knee joint that won’t necessarily mean having to muck around with that ankle. I looked through the rock pieces I had in my terrain box so I could modify the stance to a bit of one of those “Captain Morgan” stances. The only thing that I have to adjust on it are the knee and toe, which are pretty straightforward.
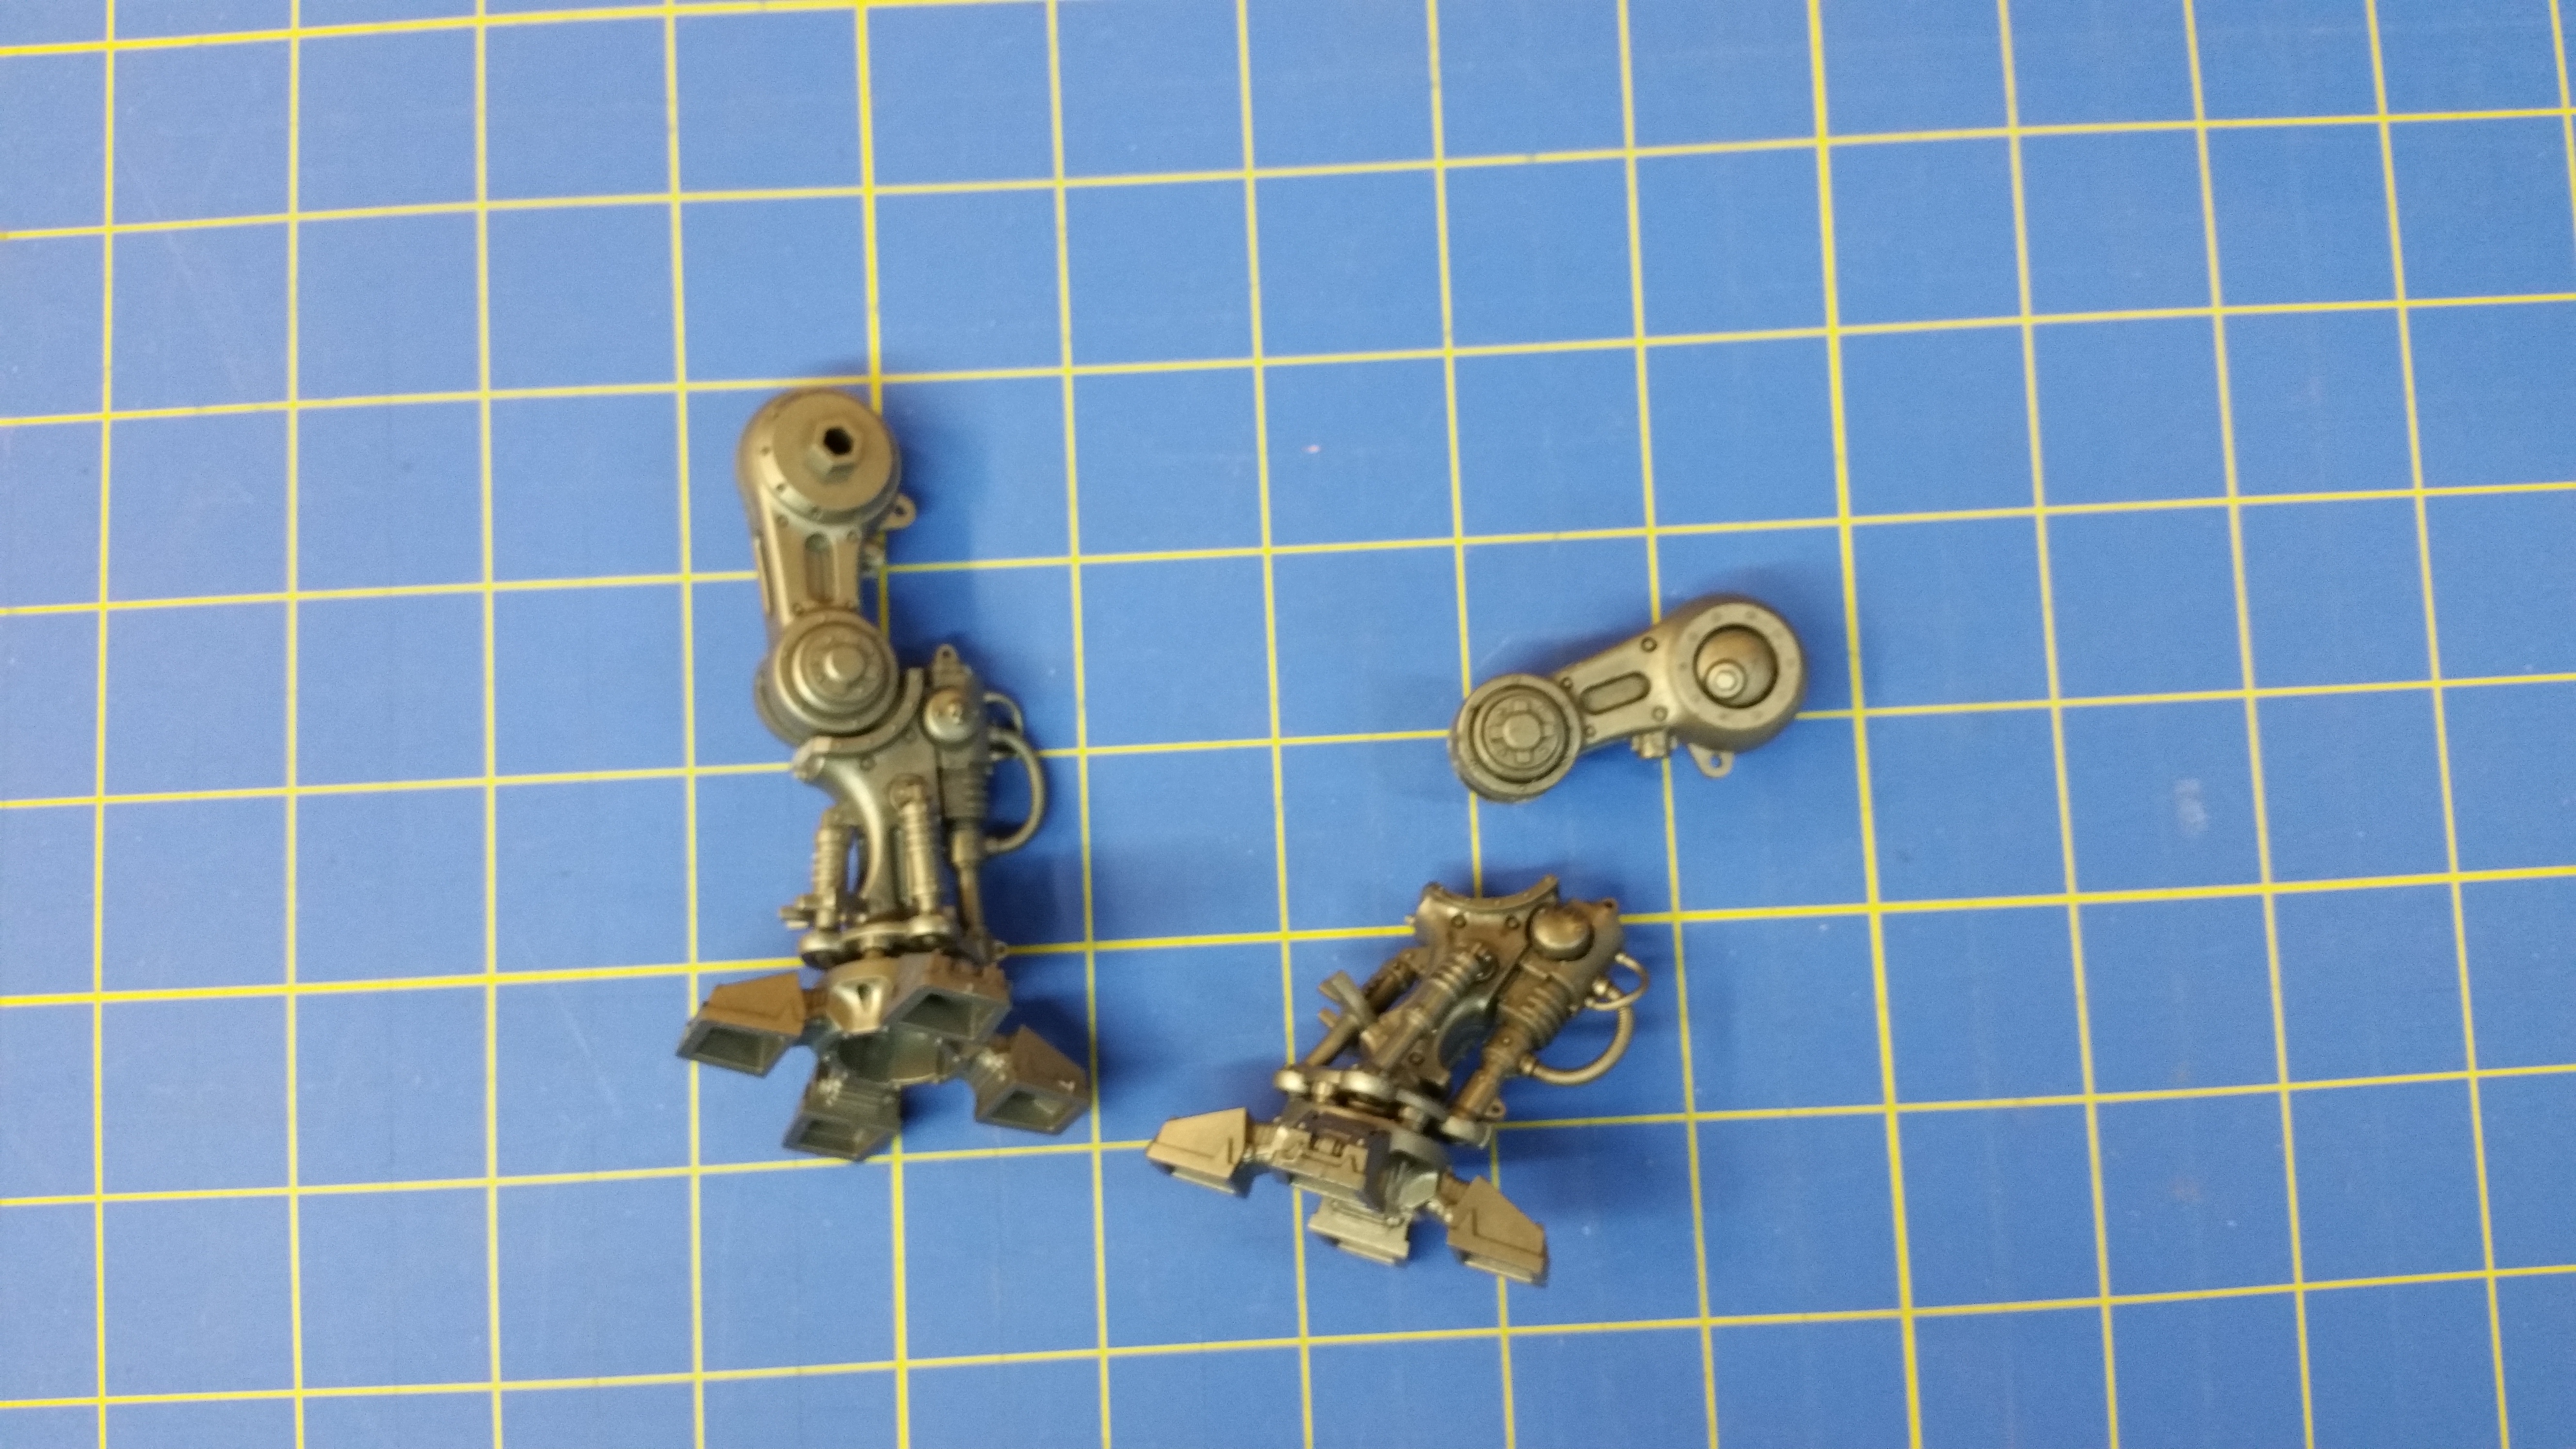
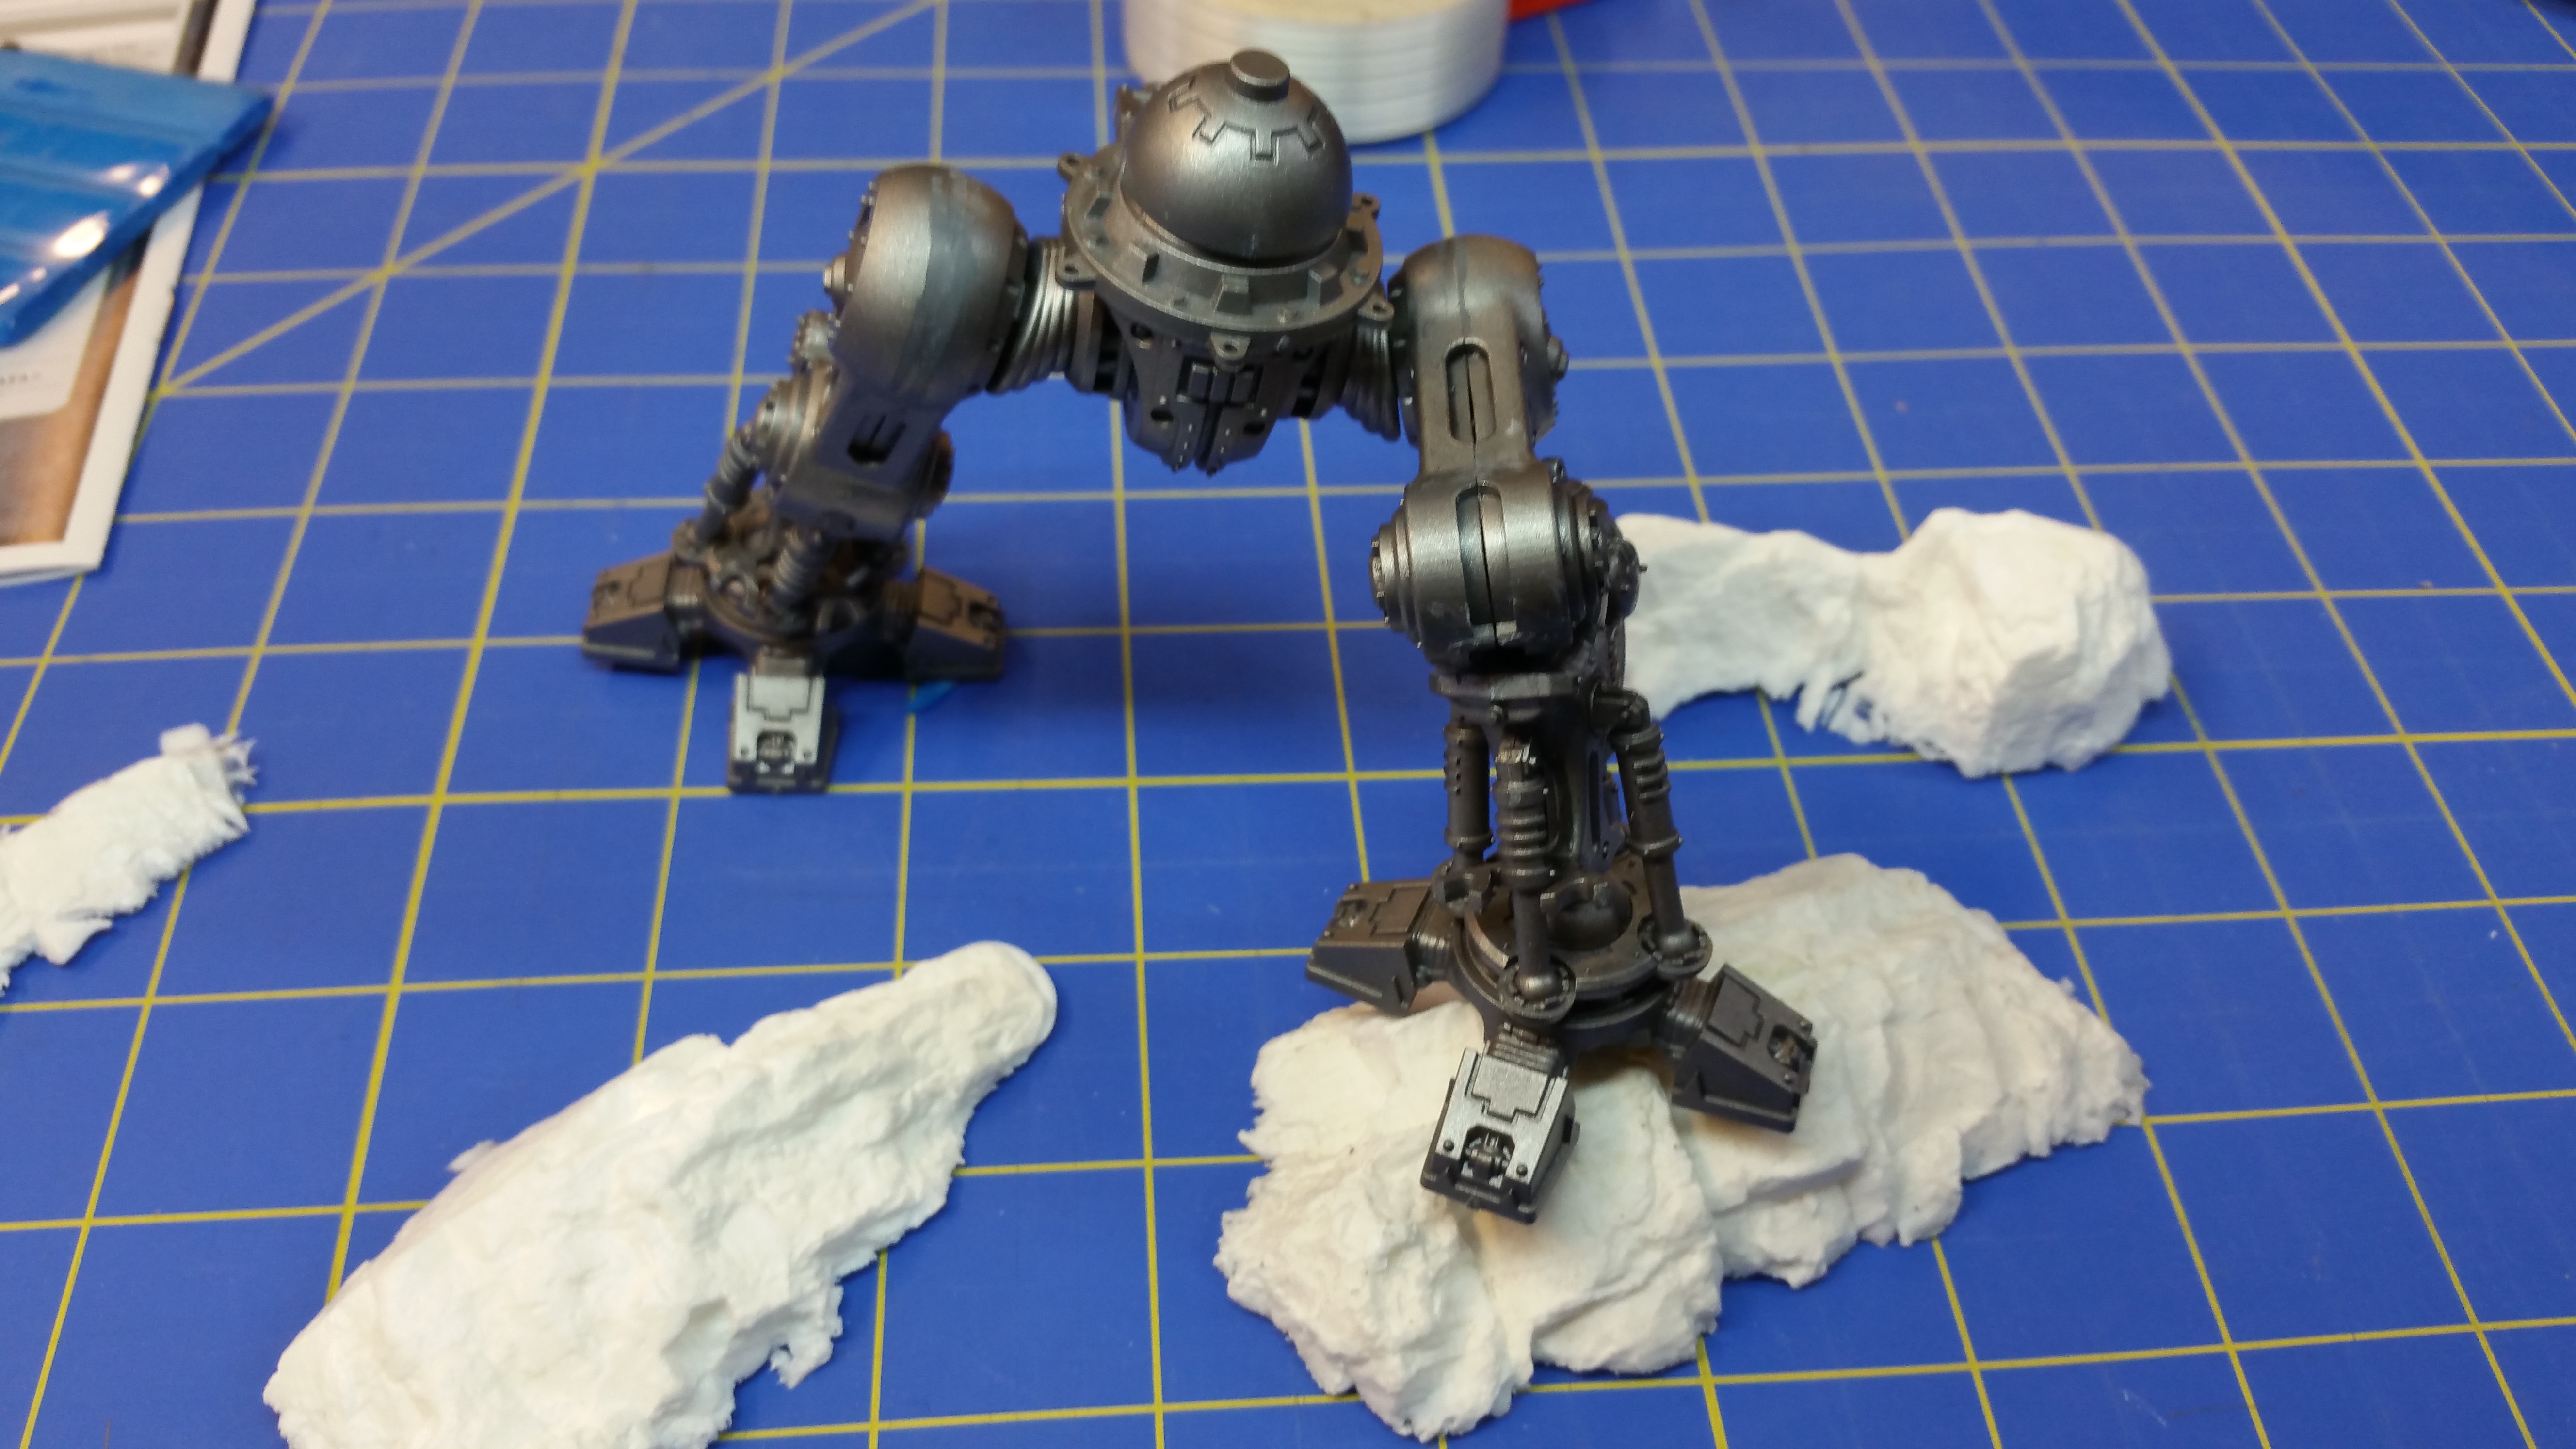
To do that, first I cut the knee at the bottom of the joint, where the machinery would slide. Then, I built the base and the bottom half pretty much at the same time, doing the layout and testing out the stance until I got the pieces and parts right. The nub on the upper hip joint needed to be taken off the leg, as it was going to be put in a place that wouldn’t line up. No biggie, glue works, and it let me get the leg positioned just-so. Once I had that, it showed me what toes needed to be adjusted. That’s another pretty easy thing: I just cut the toe joint about 3/4 the way through with a razor saw, and then just manually bend it down to the right place. The gap is filled with greenstuff that gets a bit of surface detail carved into it. With that done, I can move on to putting the torso together while the greenstuff cures. The arms for this one are going to be magnetized, just because that’s yet something more I can do for the customization, but that’s for another entry.
Next Recruit: Freeblade Paladin "The Collector." (build part 1)

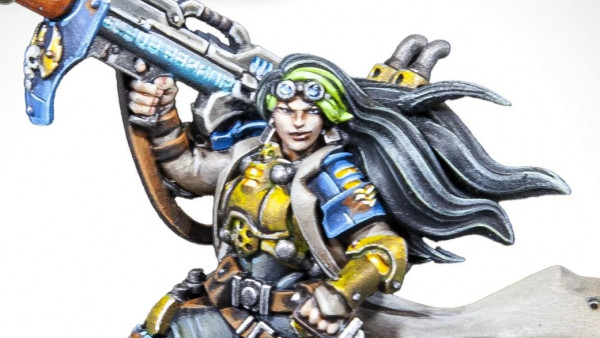
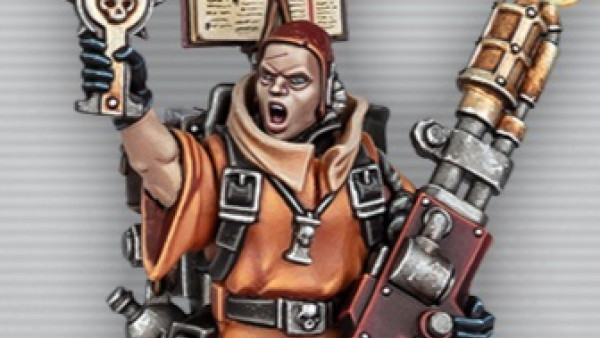
The Grand Inquisitor is wise, and realizes that there are times when it is just necessary to bring the Emperor’s Will directly to the enemy in the form of whirling blade-teeth of a Reaper chainsword or the pounding of titanic feet onto the skulls of the Heretic. To that end, he put out a call for the next recruit to the Inquisitorial Crusade. Answering the call is the pilot of the Knight Paladin “The Collector.” This ancient machine’s aesthetic bears a distinct Anubian influence.
As I mention in the ‘about this project’ summation, each Knight in these builds is a representative of a specific friend, and will have some unique aspects built into each one that is personalized to that individual. In this case: the Egyptian theme. I will follow through on the next couple of entries with the steps and methods I use to make the customizations on this model, in the hopes that it shows that it is somewhat simpler than it may seem, and also to answer some questions on the techniques I use.
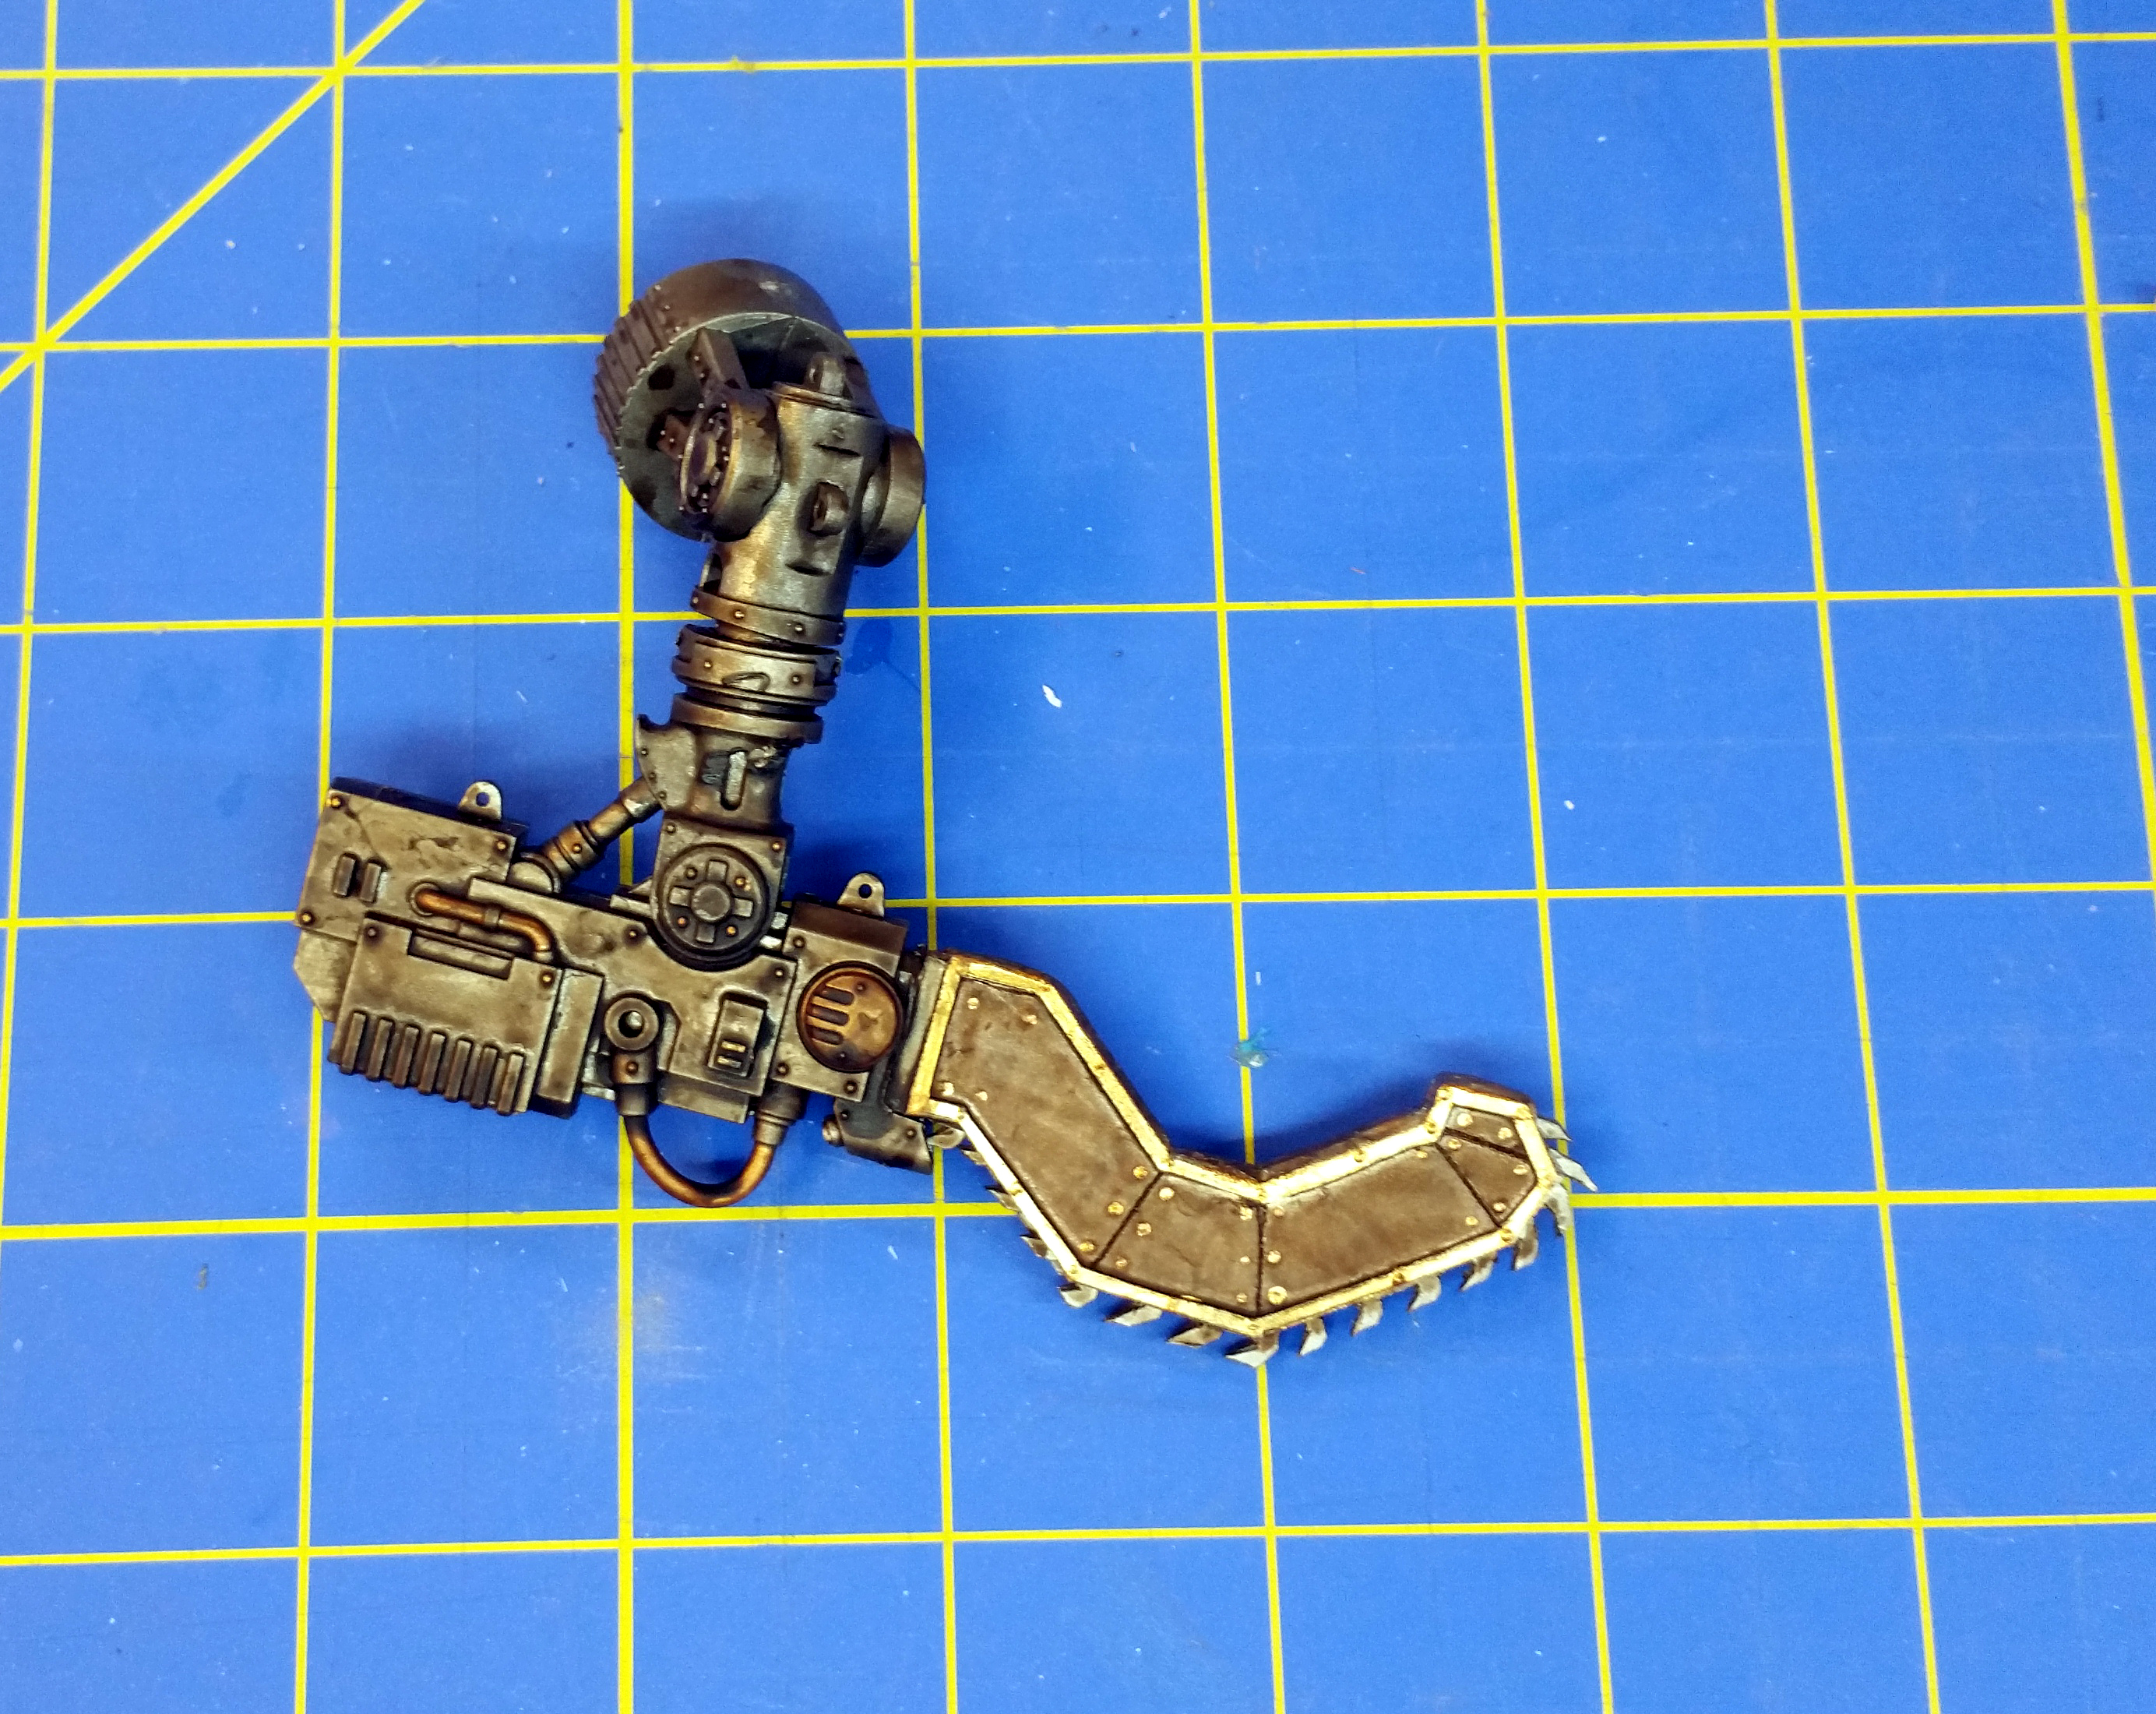
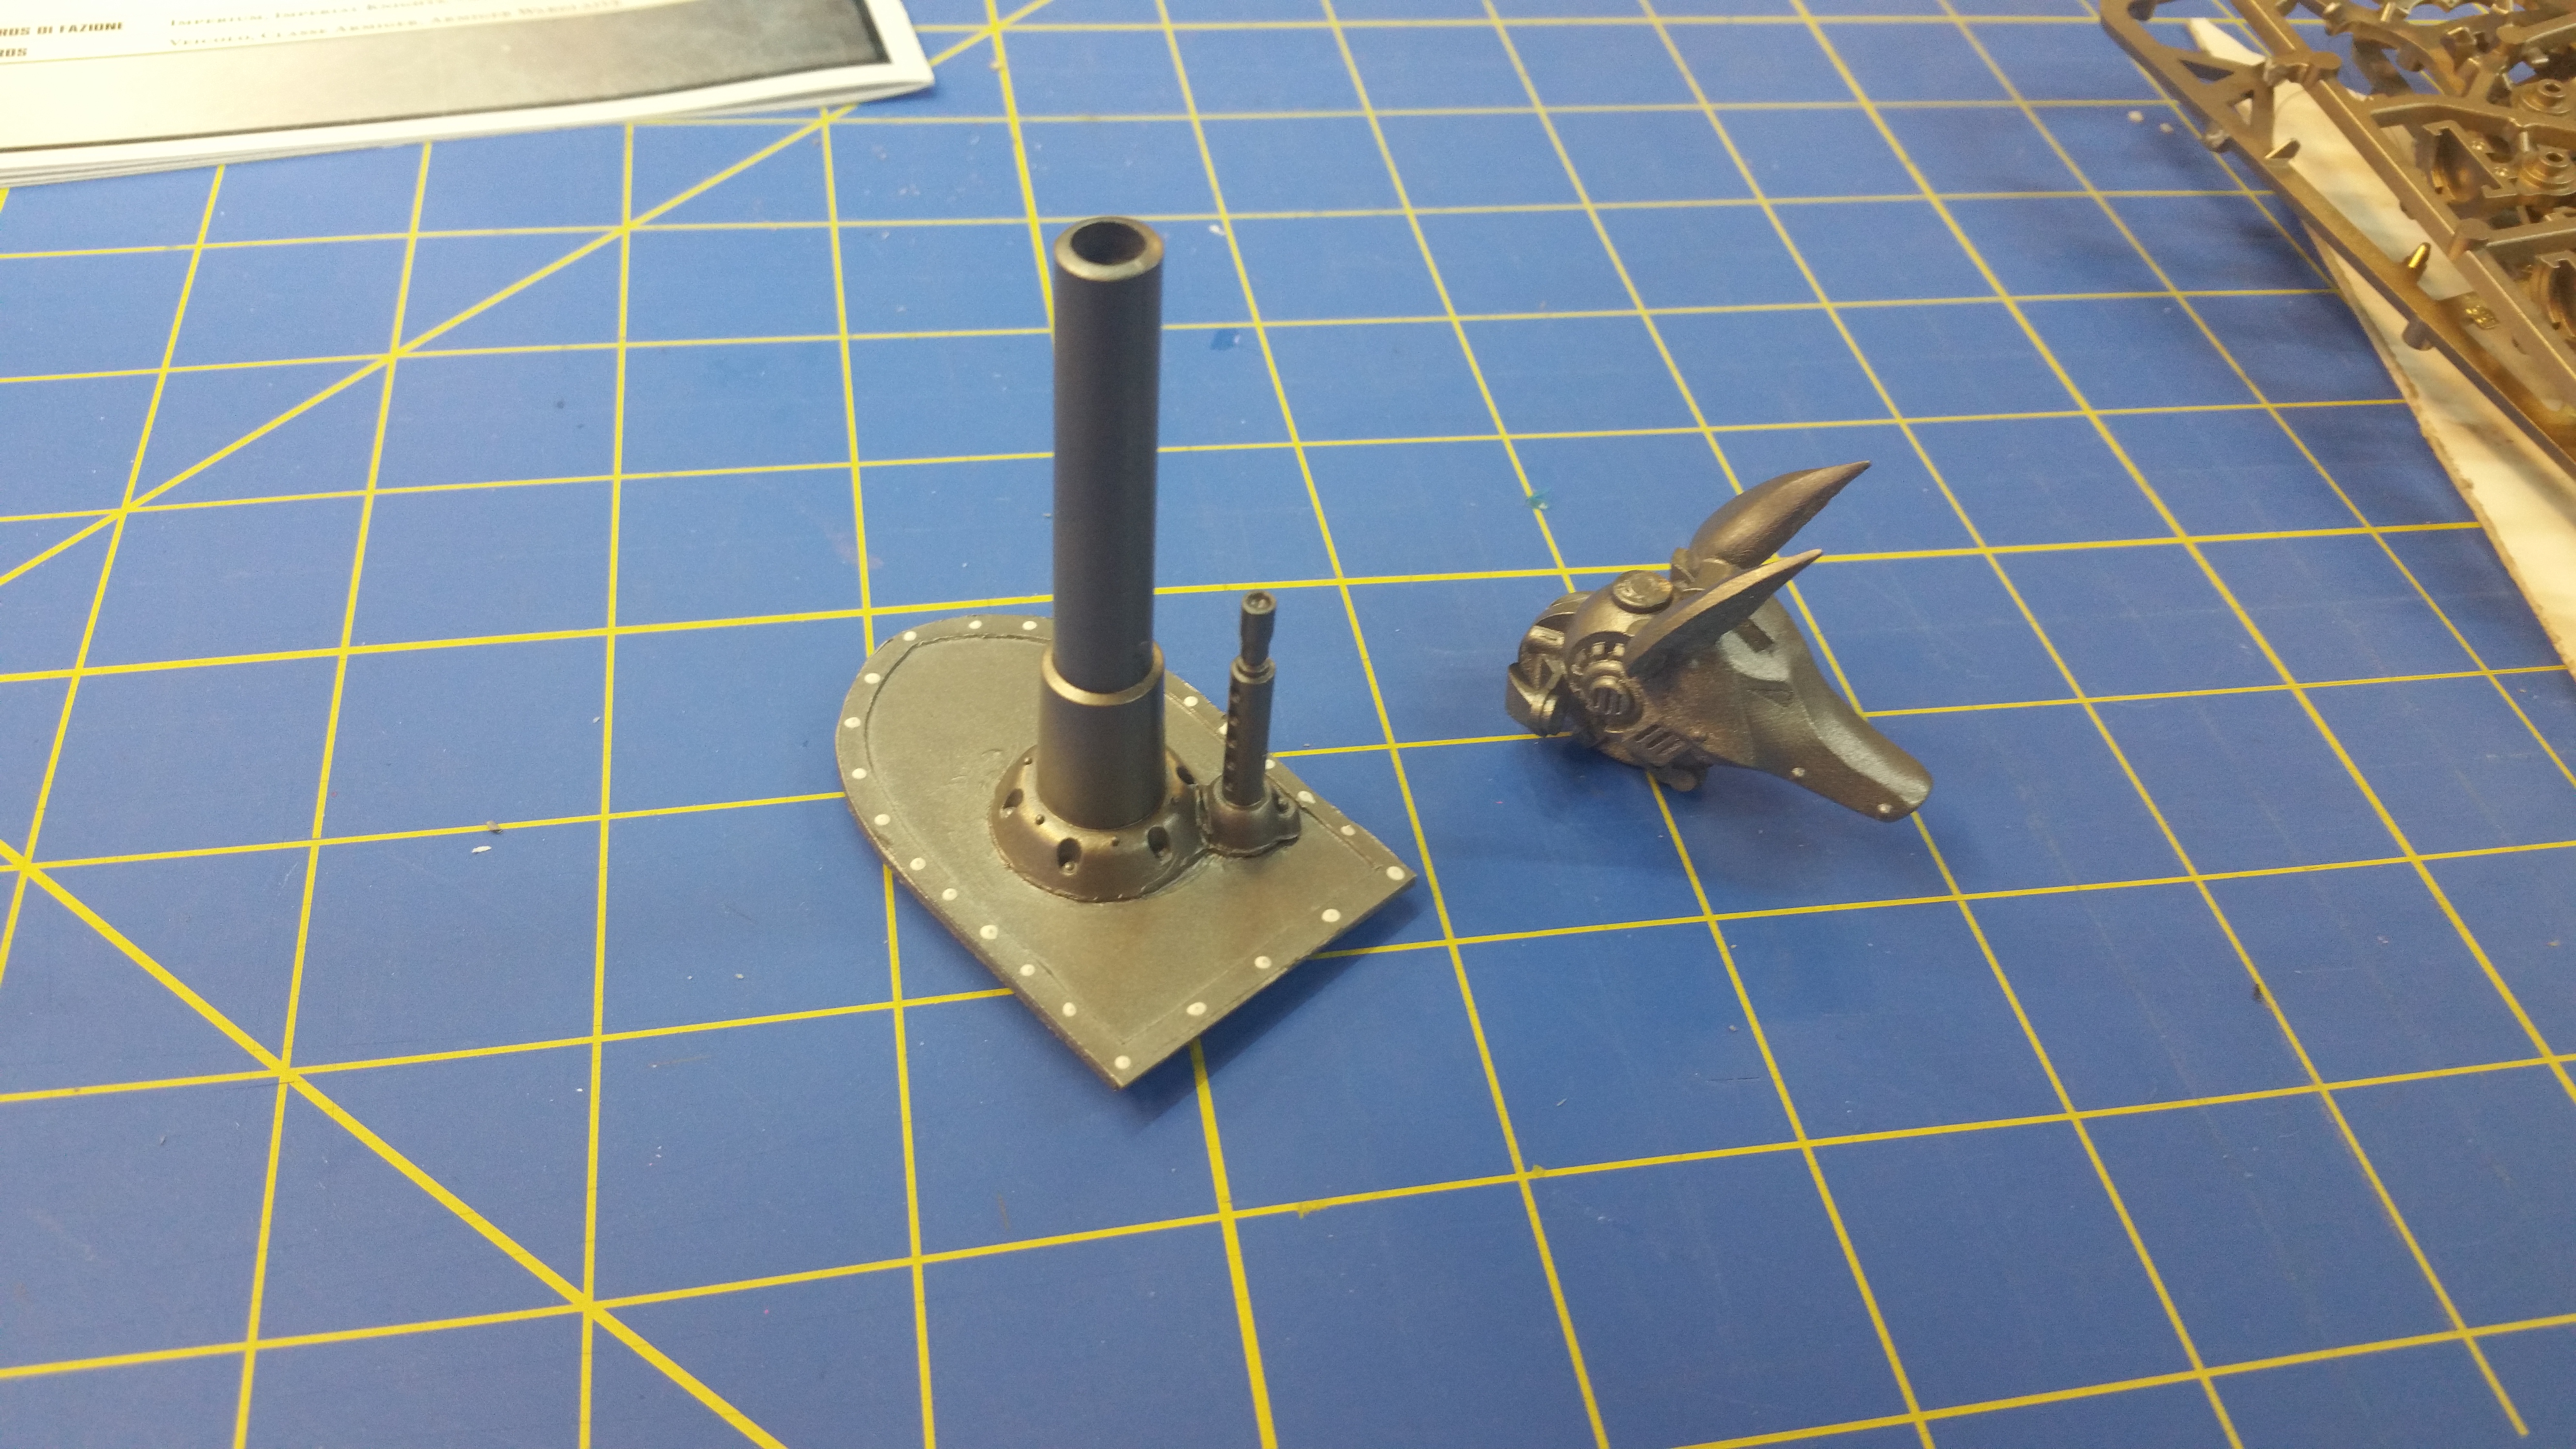
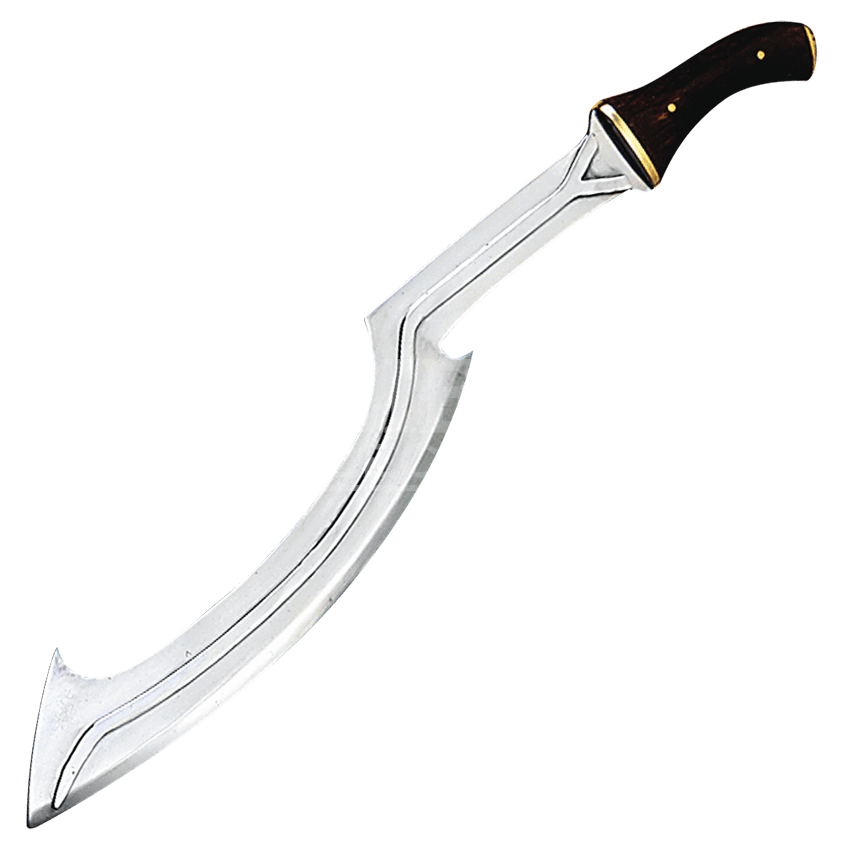
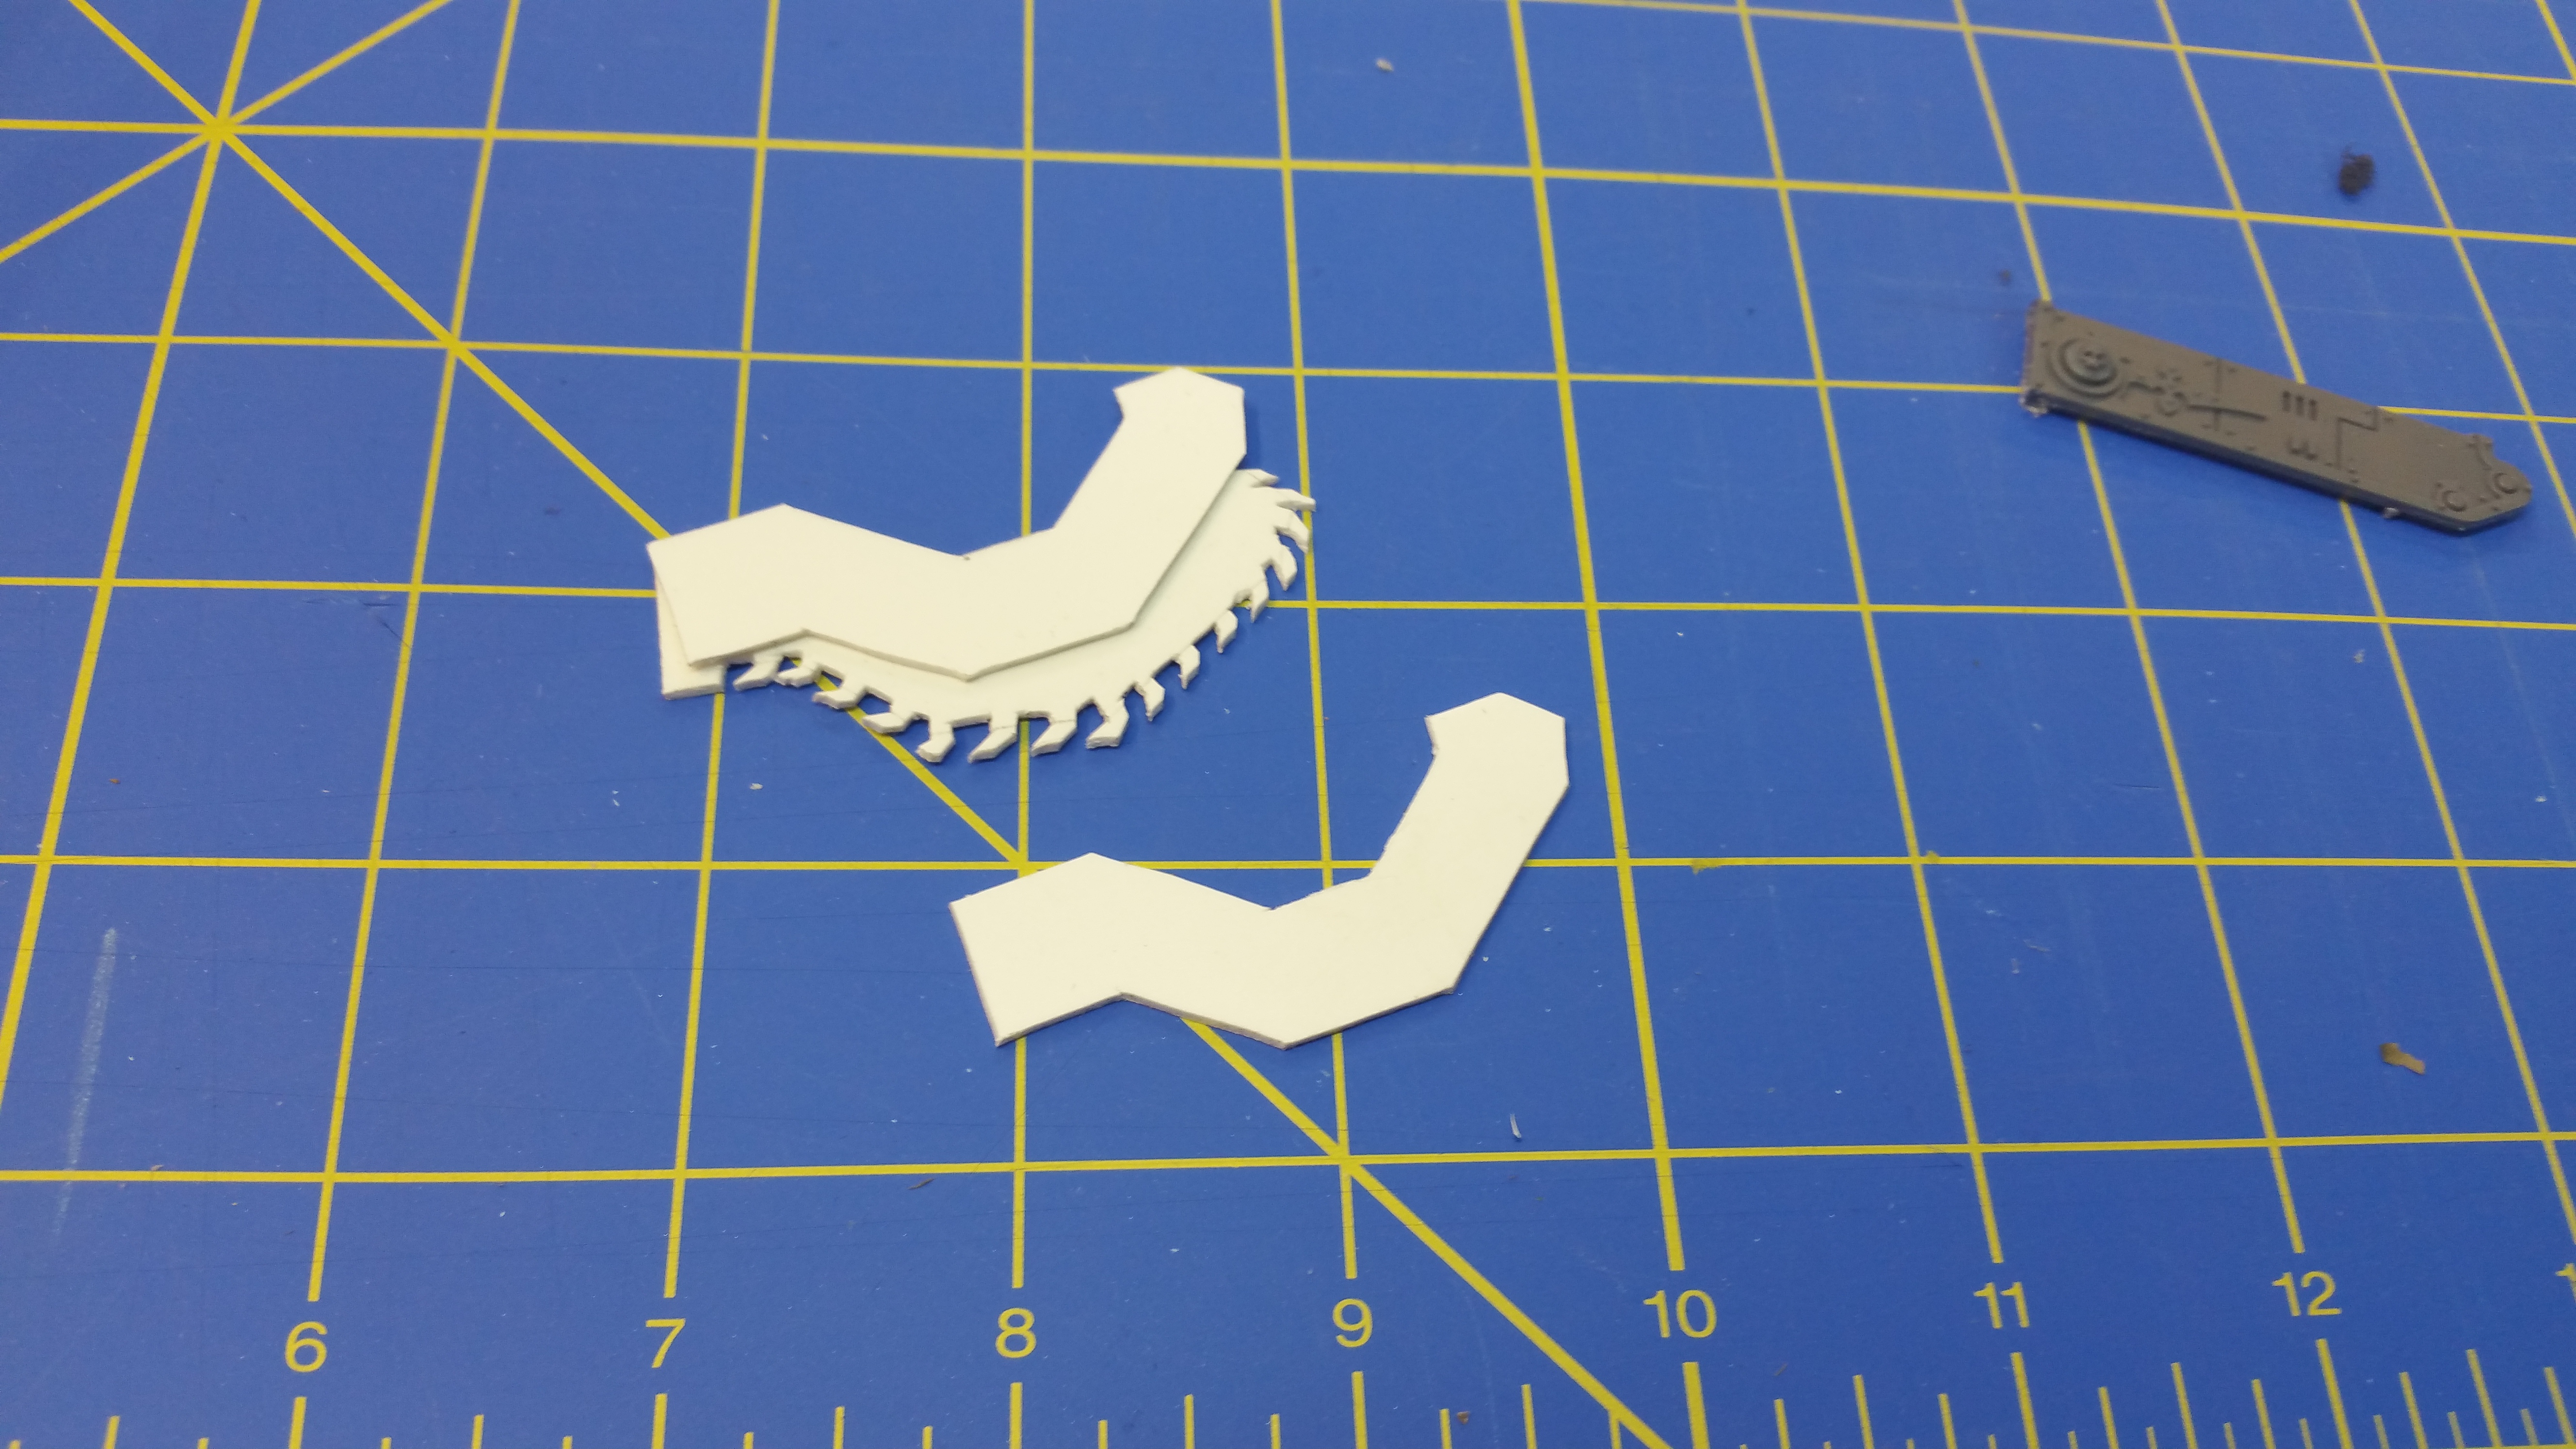
To start with, I stumbled upon a shapeways offering of a Jackal head and that gave me the idea for this one. (Photos below) There is also a cartouche-shaped shield piece so I picked that up as well. The next thing I decided I wanted to do for customization was to change the Reaper chainsword to the shape of a khopesh, and that’s slightly more involved.
First I made an outline of the original, so I could sketch out a template to use. I’ve found that I tend to muck up ratios and dimensions at first, so doing the sketch helps me get it looking the way I want it before I start cutting. Next I trimmed off the original model’s blade part, and assembled the main housing and set it aside. Then I laid the template over some sheets of 1mm Sintra. (I love this stuff. I’ve got sheets of 1, 2, 3 and 6mm Sintra and I use it for all kinds of things, from things like this to building Mandalorian armor. But.. I digress…) The original sword blade part is about 4 mm thick when put together, so 3 layers of 1mm will work fine, especially once I add the details. I made two pieces the size of the template and one piece that was longer in the areas the teeth of the chainsword would be. I took that third piece and then began the somewhat careful process of just cutting out teeth for the blade. This wasn’t hard.. it just took patience.
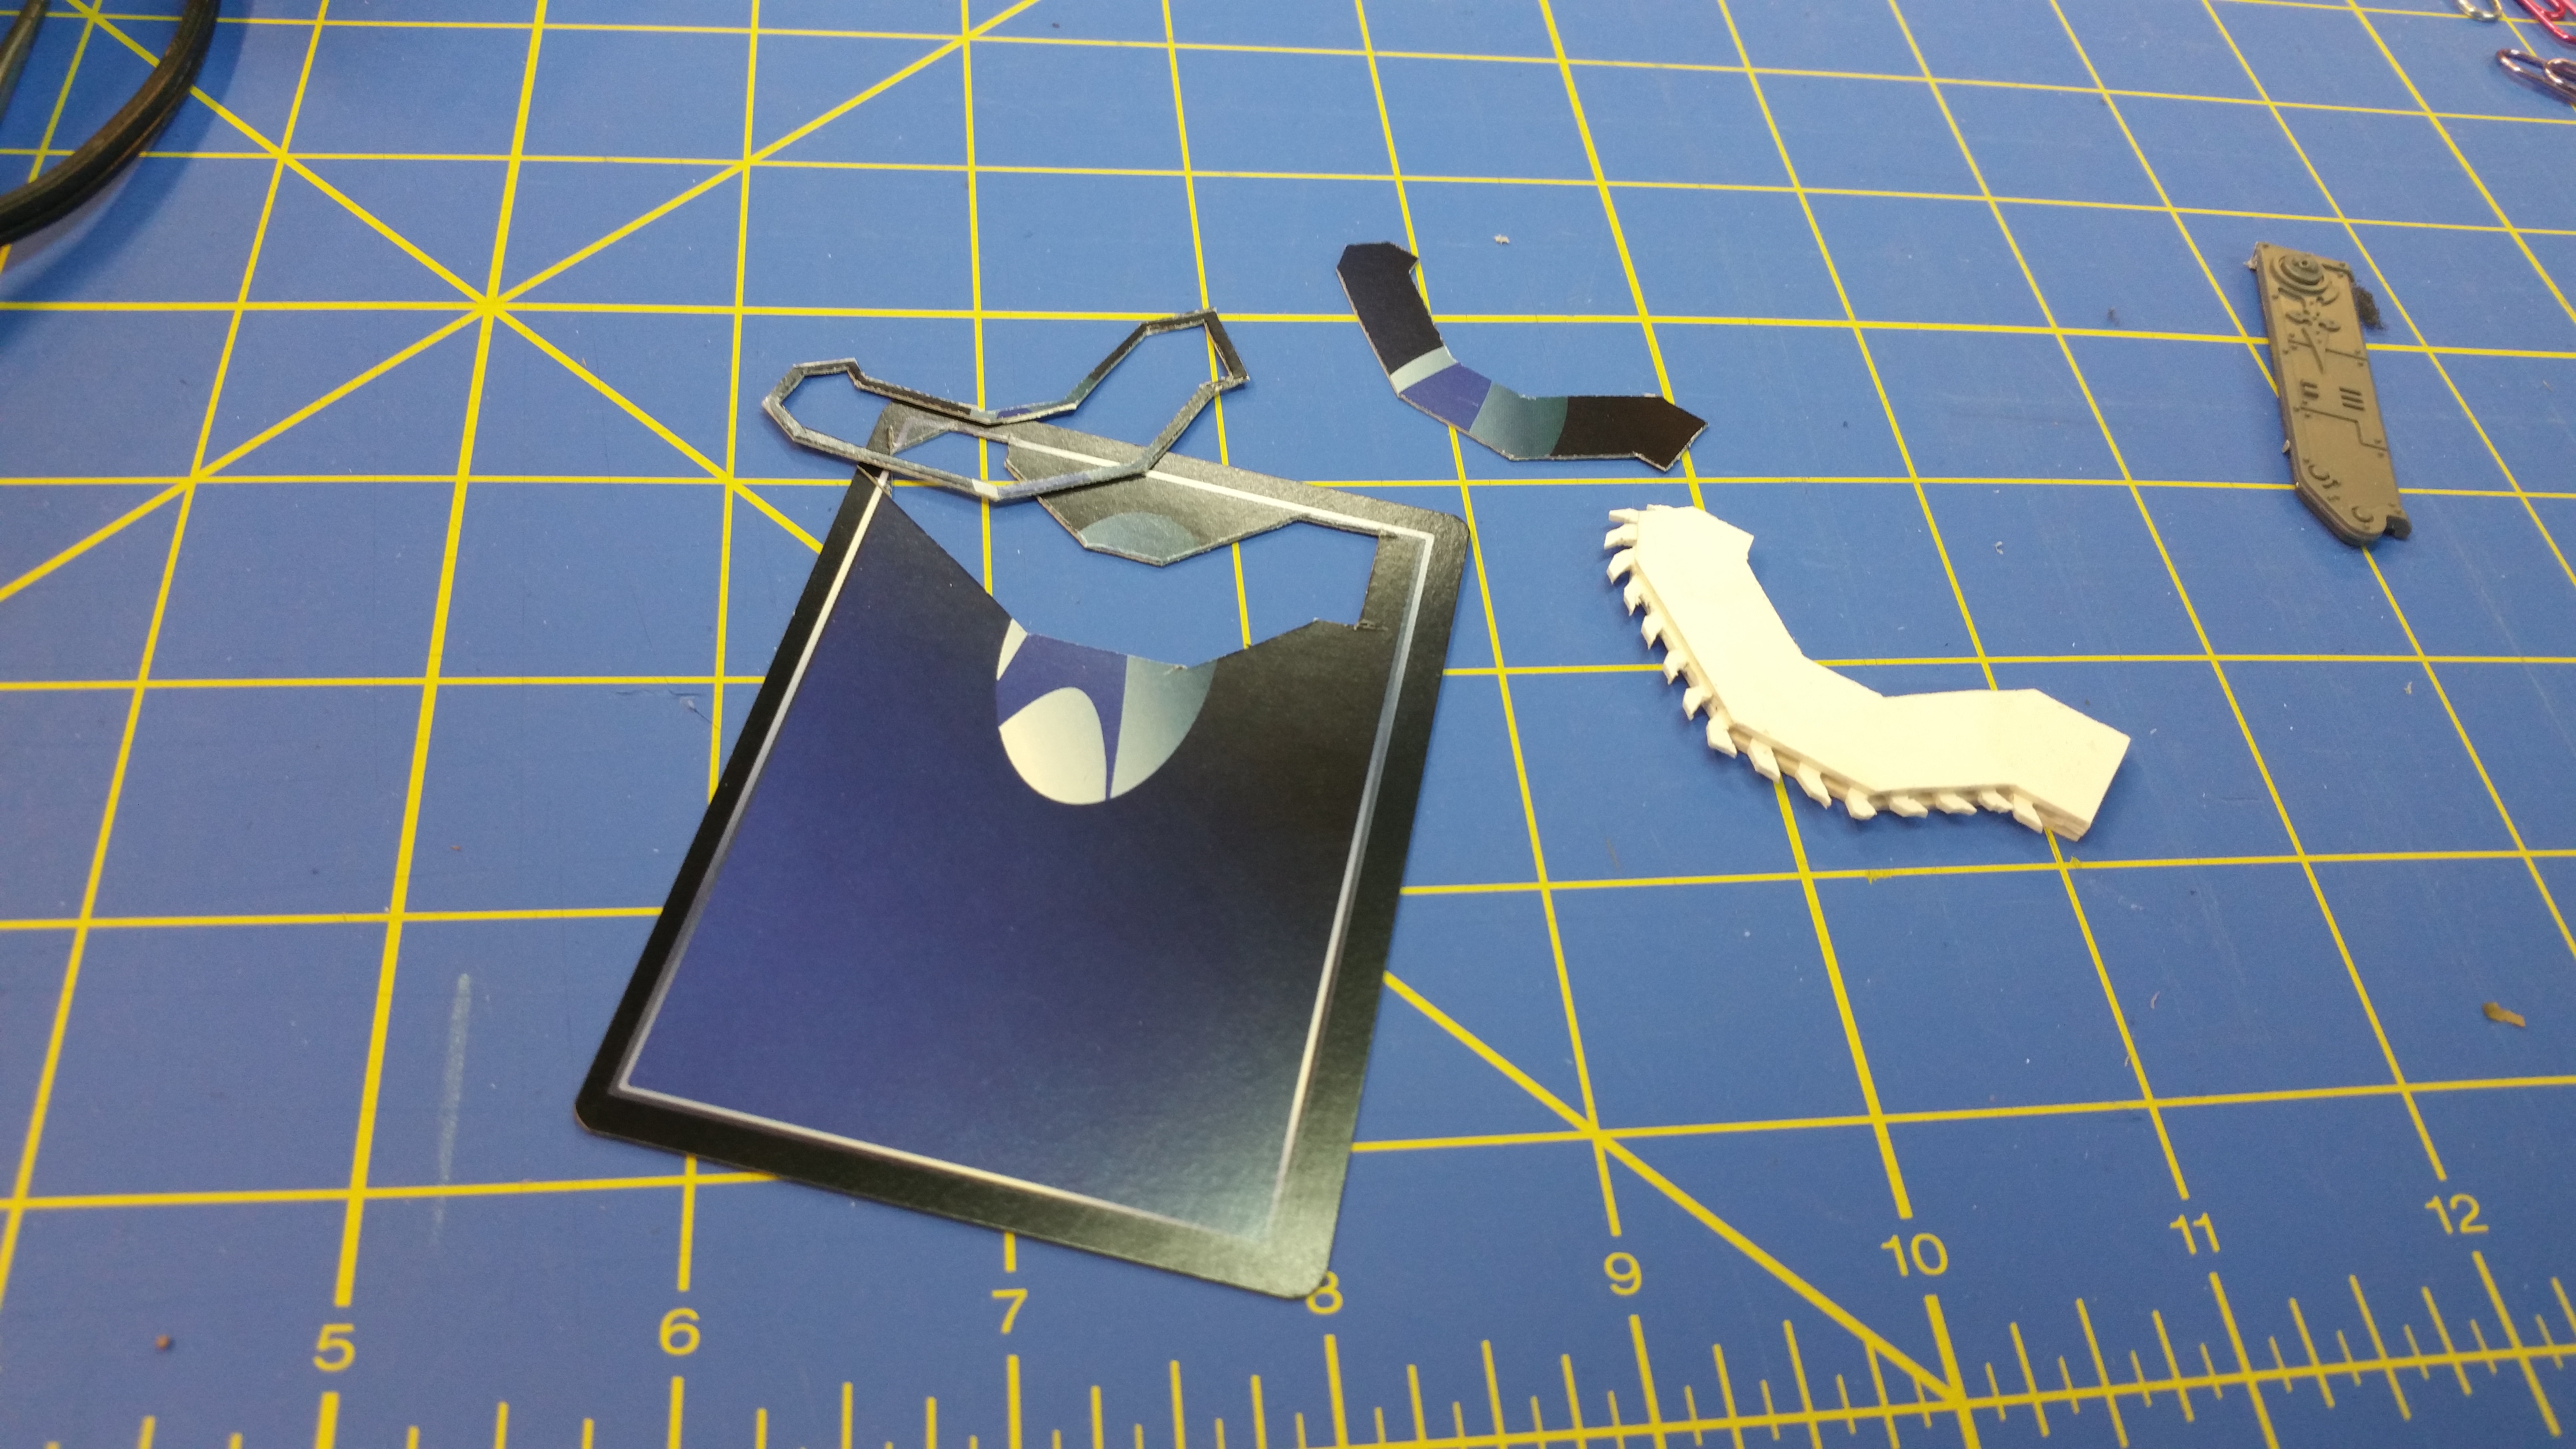
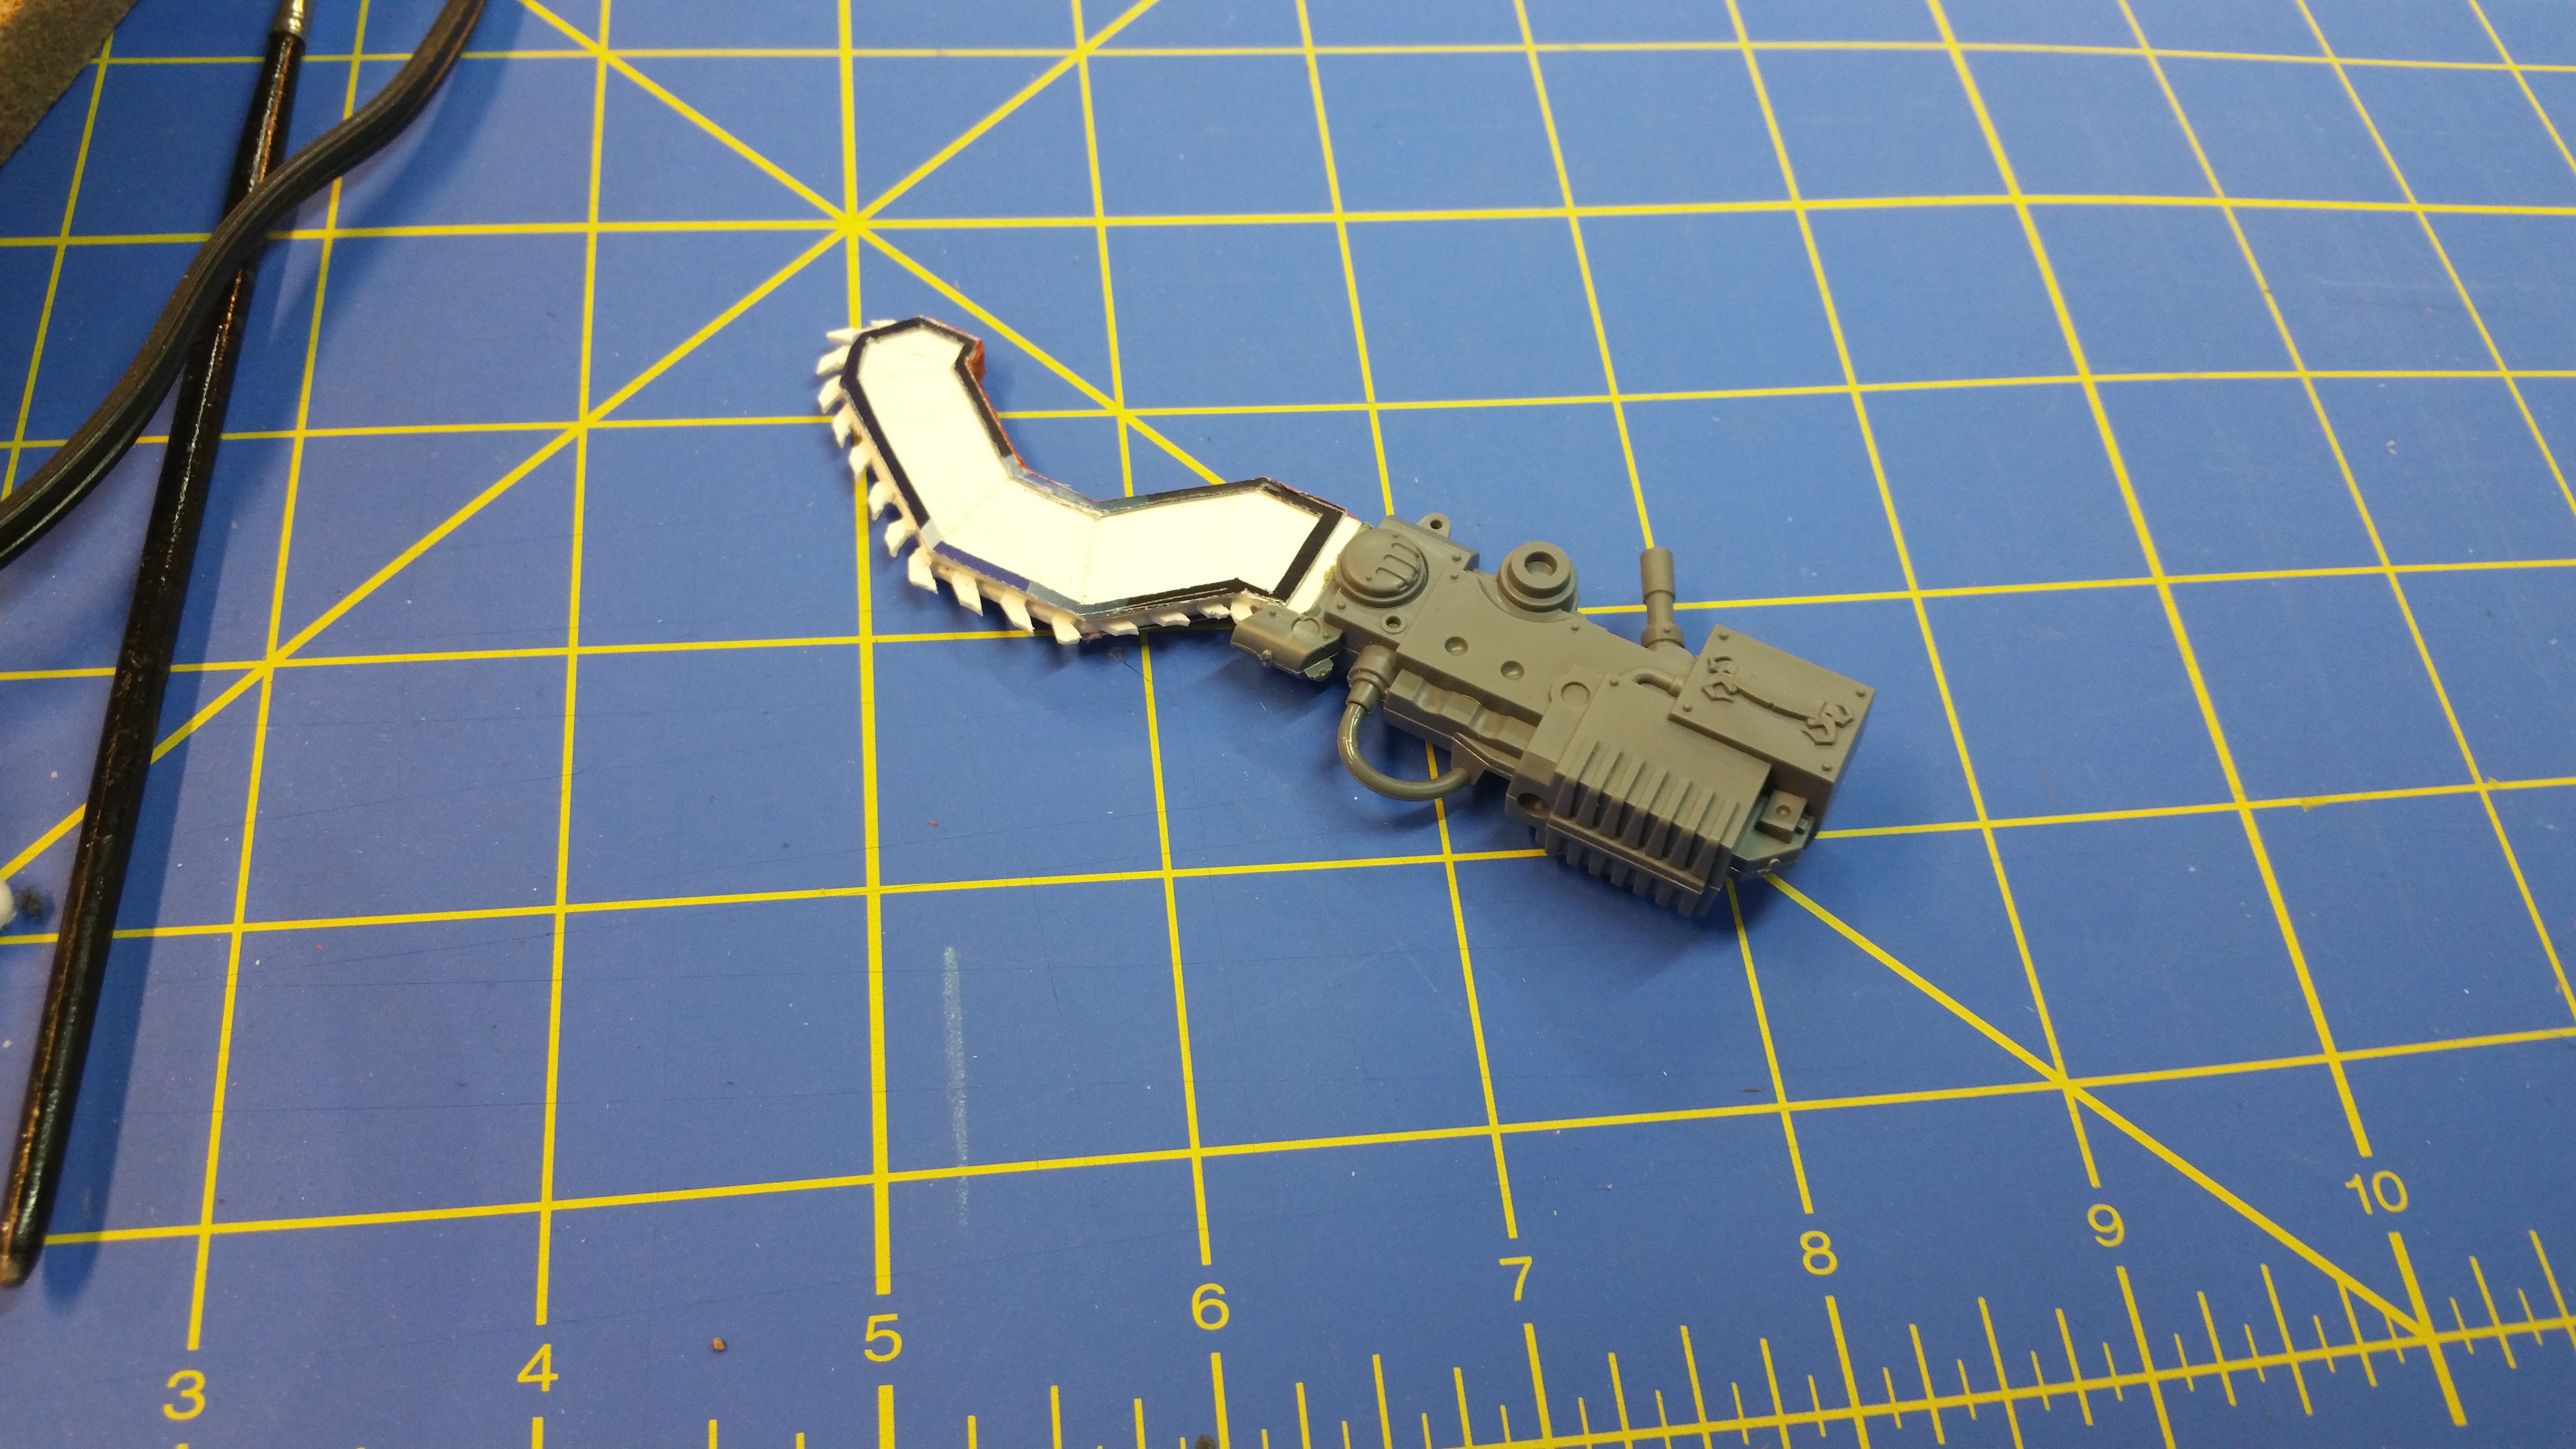
Once I had that done, I sandwiched the layers together and glued them using a couple drops of CA. The next step was to make some of the details, like the framework around the blade. For this, I used my go-to material for photo-etch thickness plating on a model: old gaming playing cards. (In this case, cards from a StarTrek CCG). I have several boxes of old cards for various things laying around for just this purpose as well. They make great detail parts and I find them much easier to use than either photoetch or other plastics. I cut the sword template from one, and made two framework pieces. The original blade has a couple of detail flourishes in it, but I chose not to do that- I think they detract from the aesthetic I’m going for. I did put in panel-lines for the blades sides using a line-scriber and I feel that’s enough. Once the frames were cut out, I glued them on also using CA, put filler on the top edge to clean it up and glued it to the main sword housing with a small dab of green stuff and set it all aside to cure up.
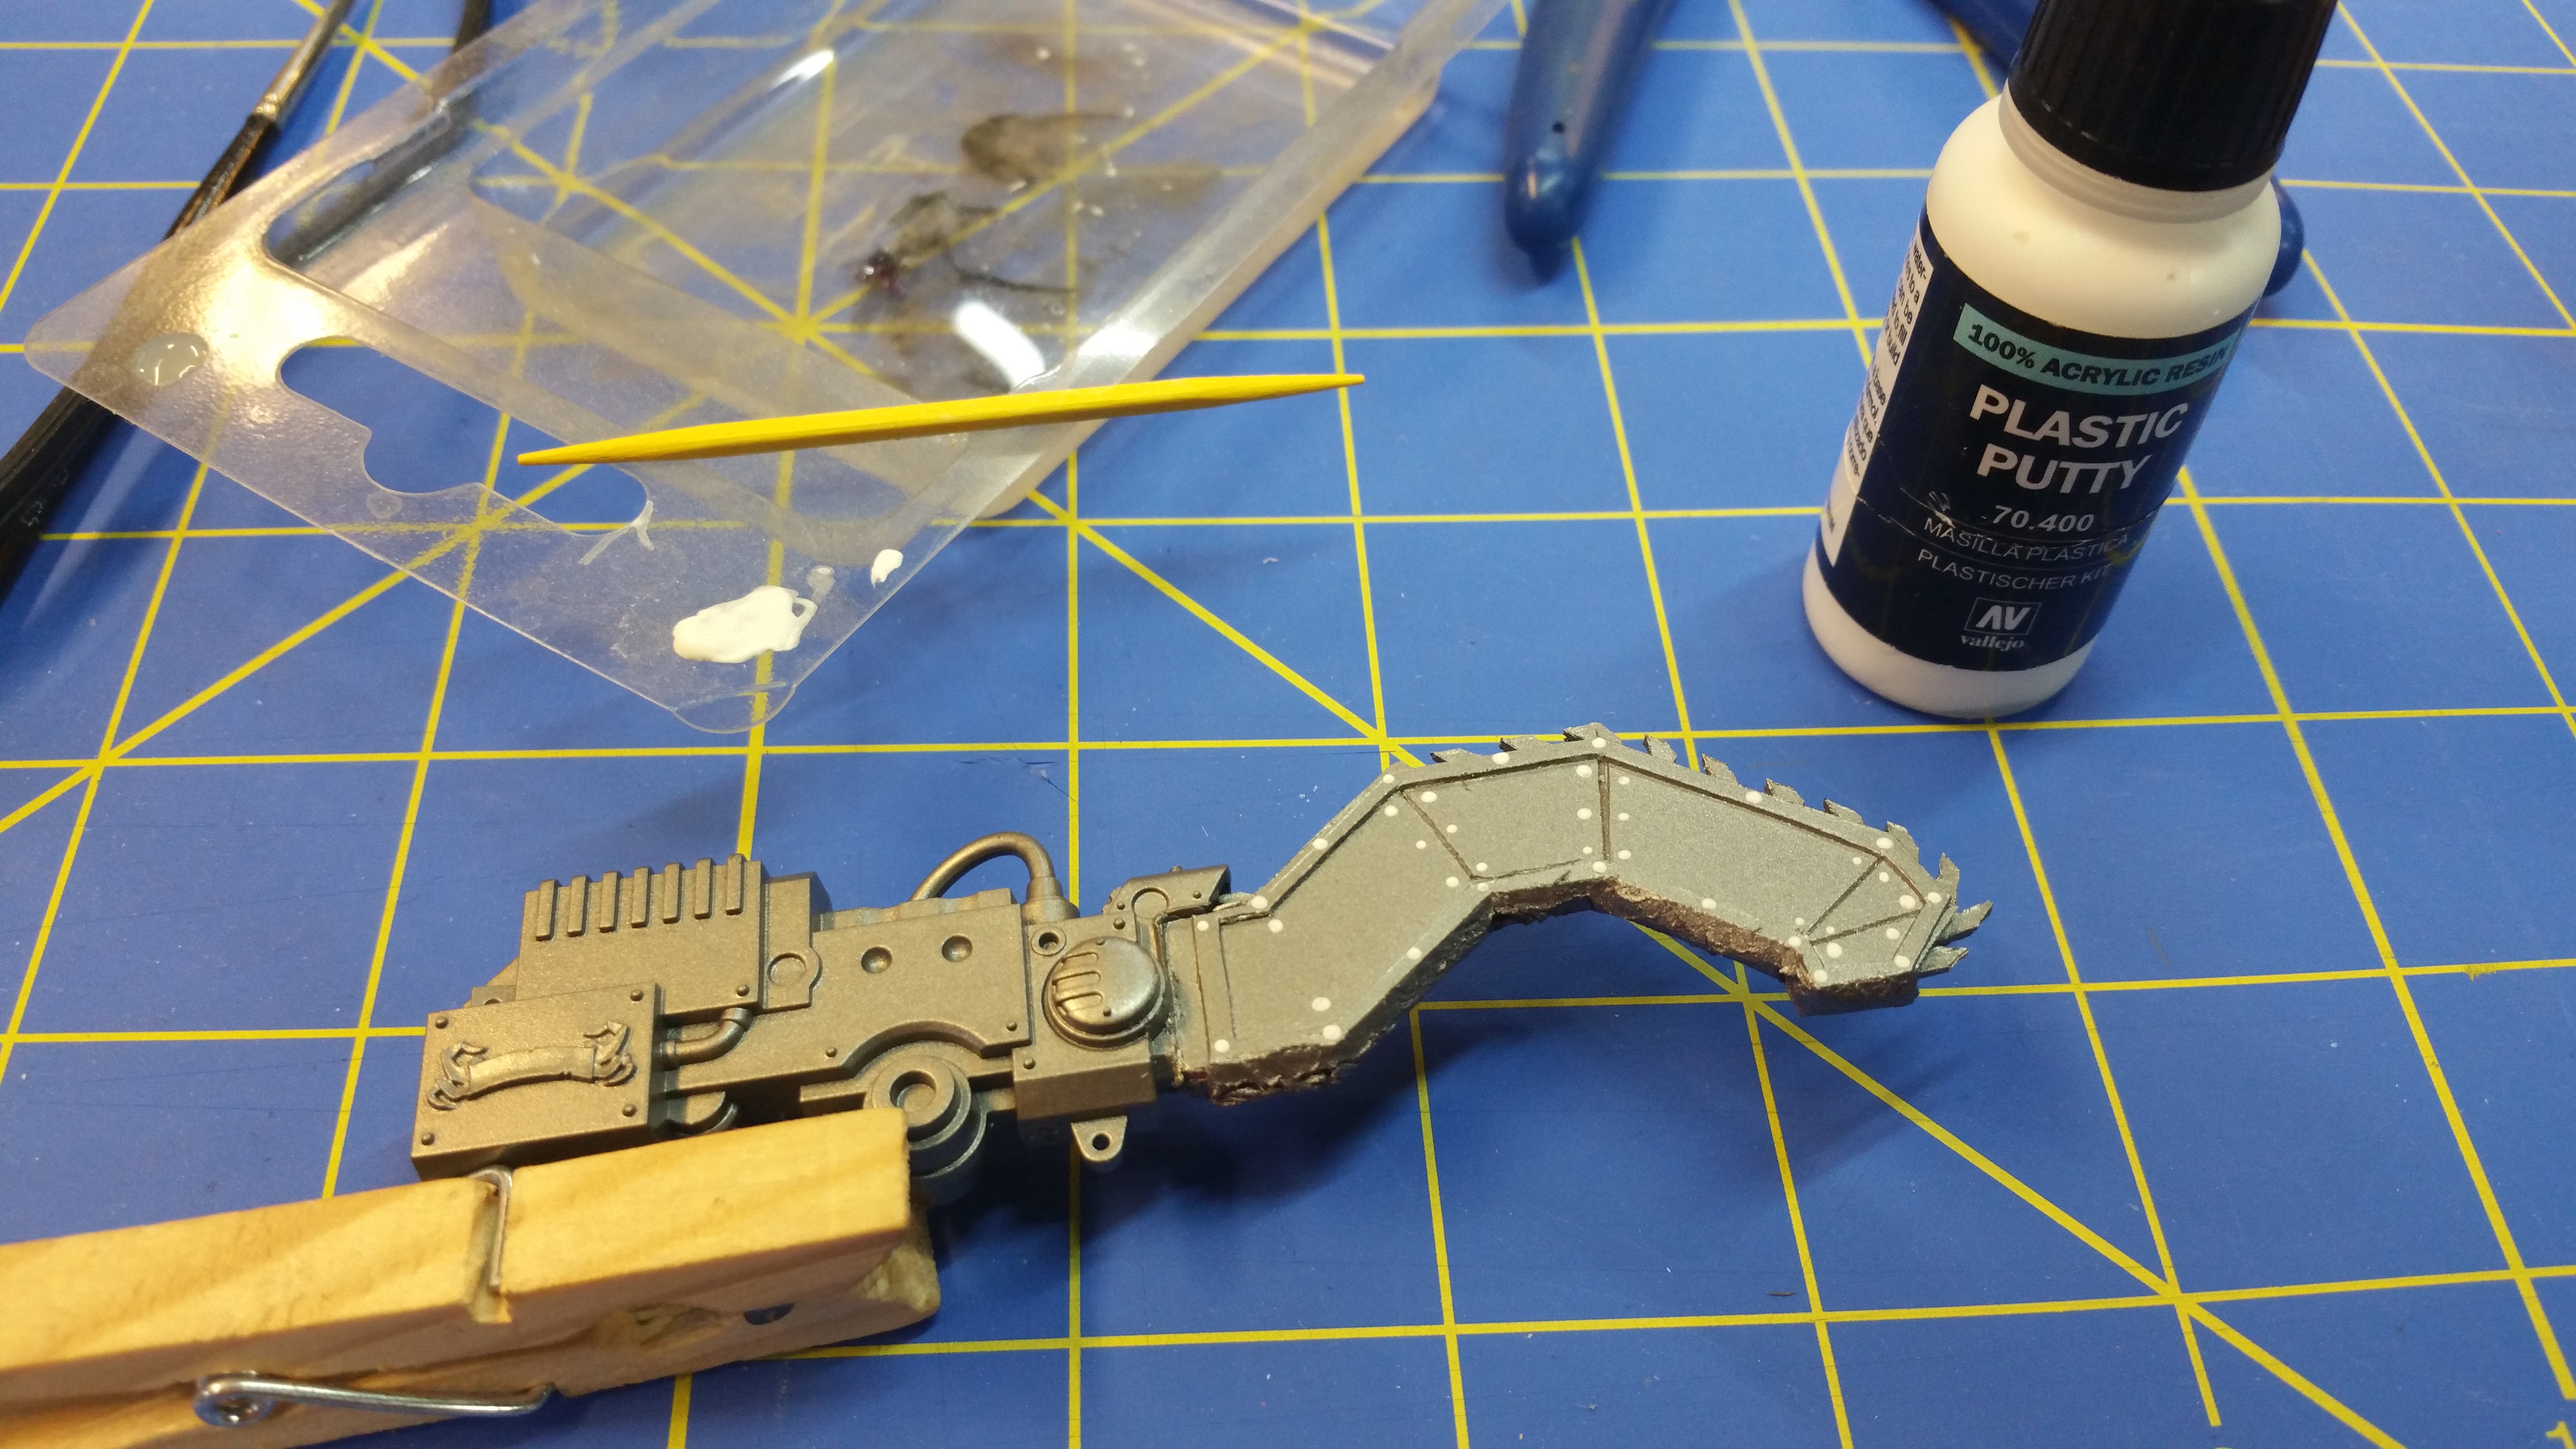
The next day, I primed it to see what needs to be cleaned up. The spine needs just a bit of sanding to clean up, but the plating needed a bit more of the GW-esque work. So, I added rivets. This is an old trick I got from scratch building RC helicopters. Take a bit of putty (in this case, Vallejo’s liquid putty) and dip a toothpick into it. I tend to make it just a bit damp, running the toothpick through water first and stirring. Then just dab on the spot you want a rivet. When it dries.. there you go. I’ll clean up the back spine and call the Chain-Khopesh done.
Then on to looking at the main model and thinking if I want to tackle trying to change the stance.. That’ll be a bit challenging.
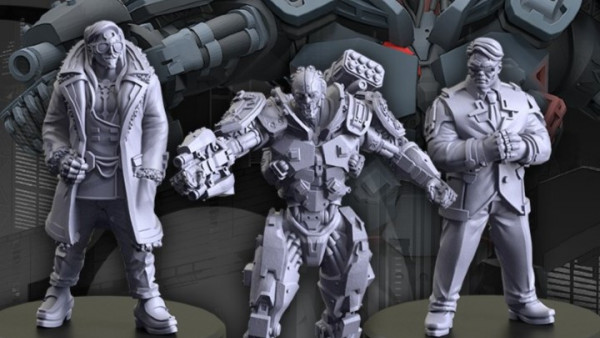
The Ducal Household joins up.
Now that the newer Knights are out, I can’t help but see a Freeblade household signing on to assist and support the Inquisitors as they cleanse Heresy from the universe.
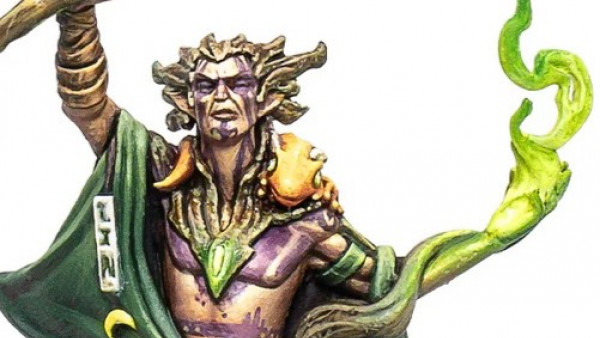
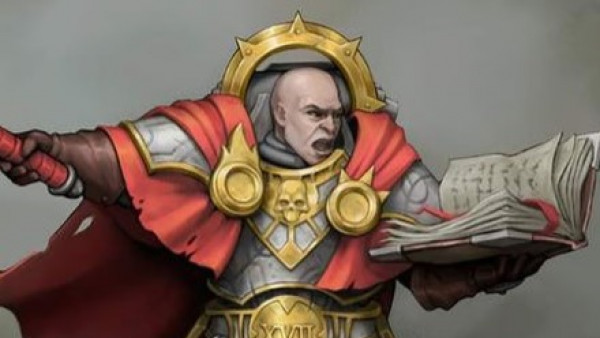
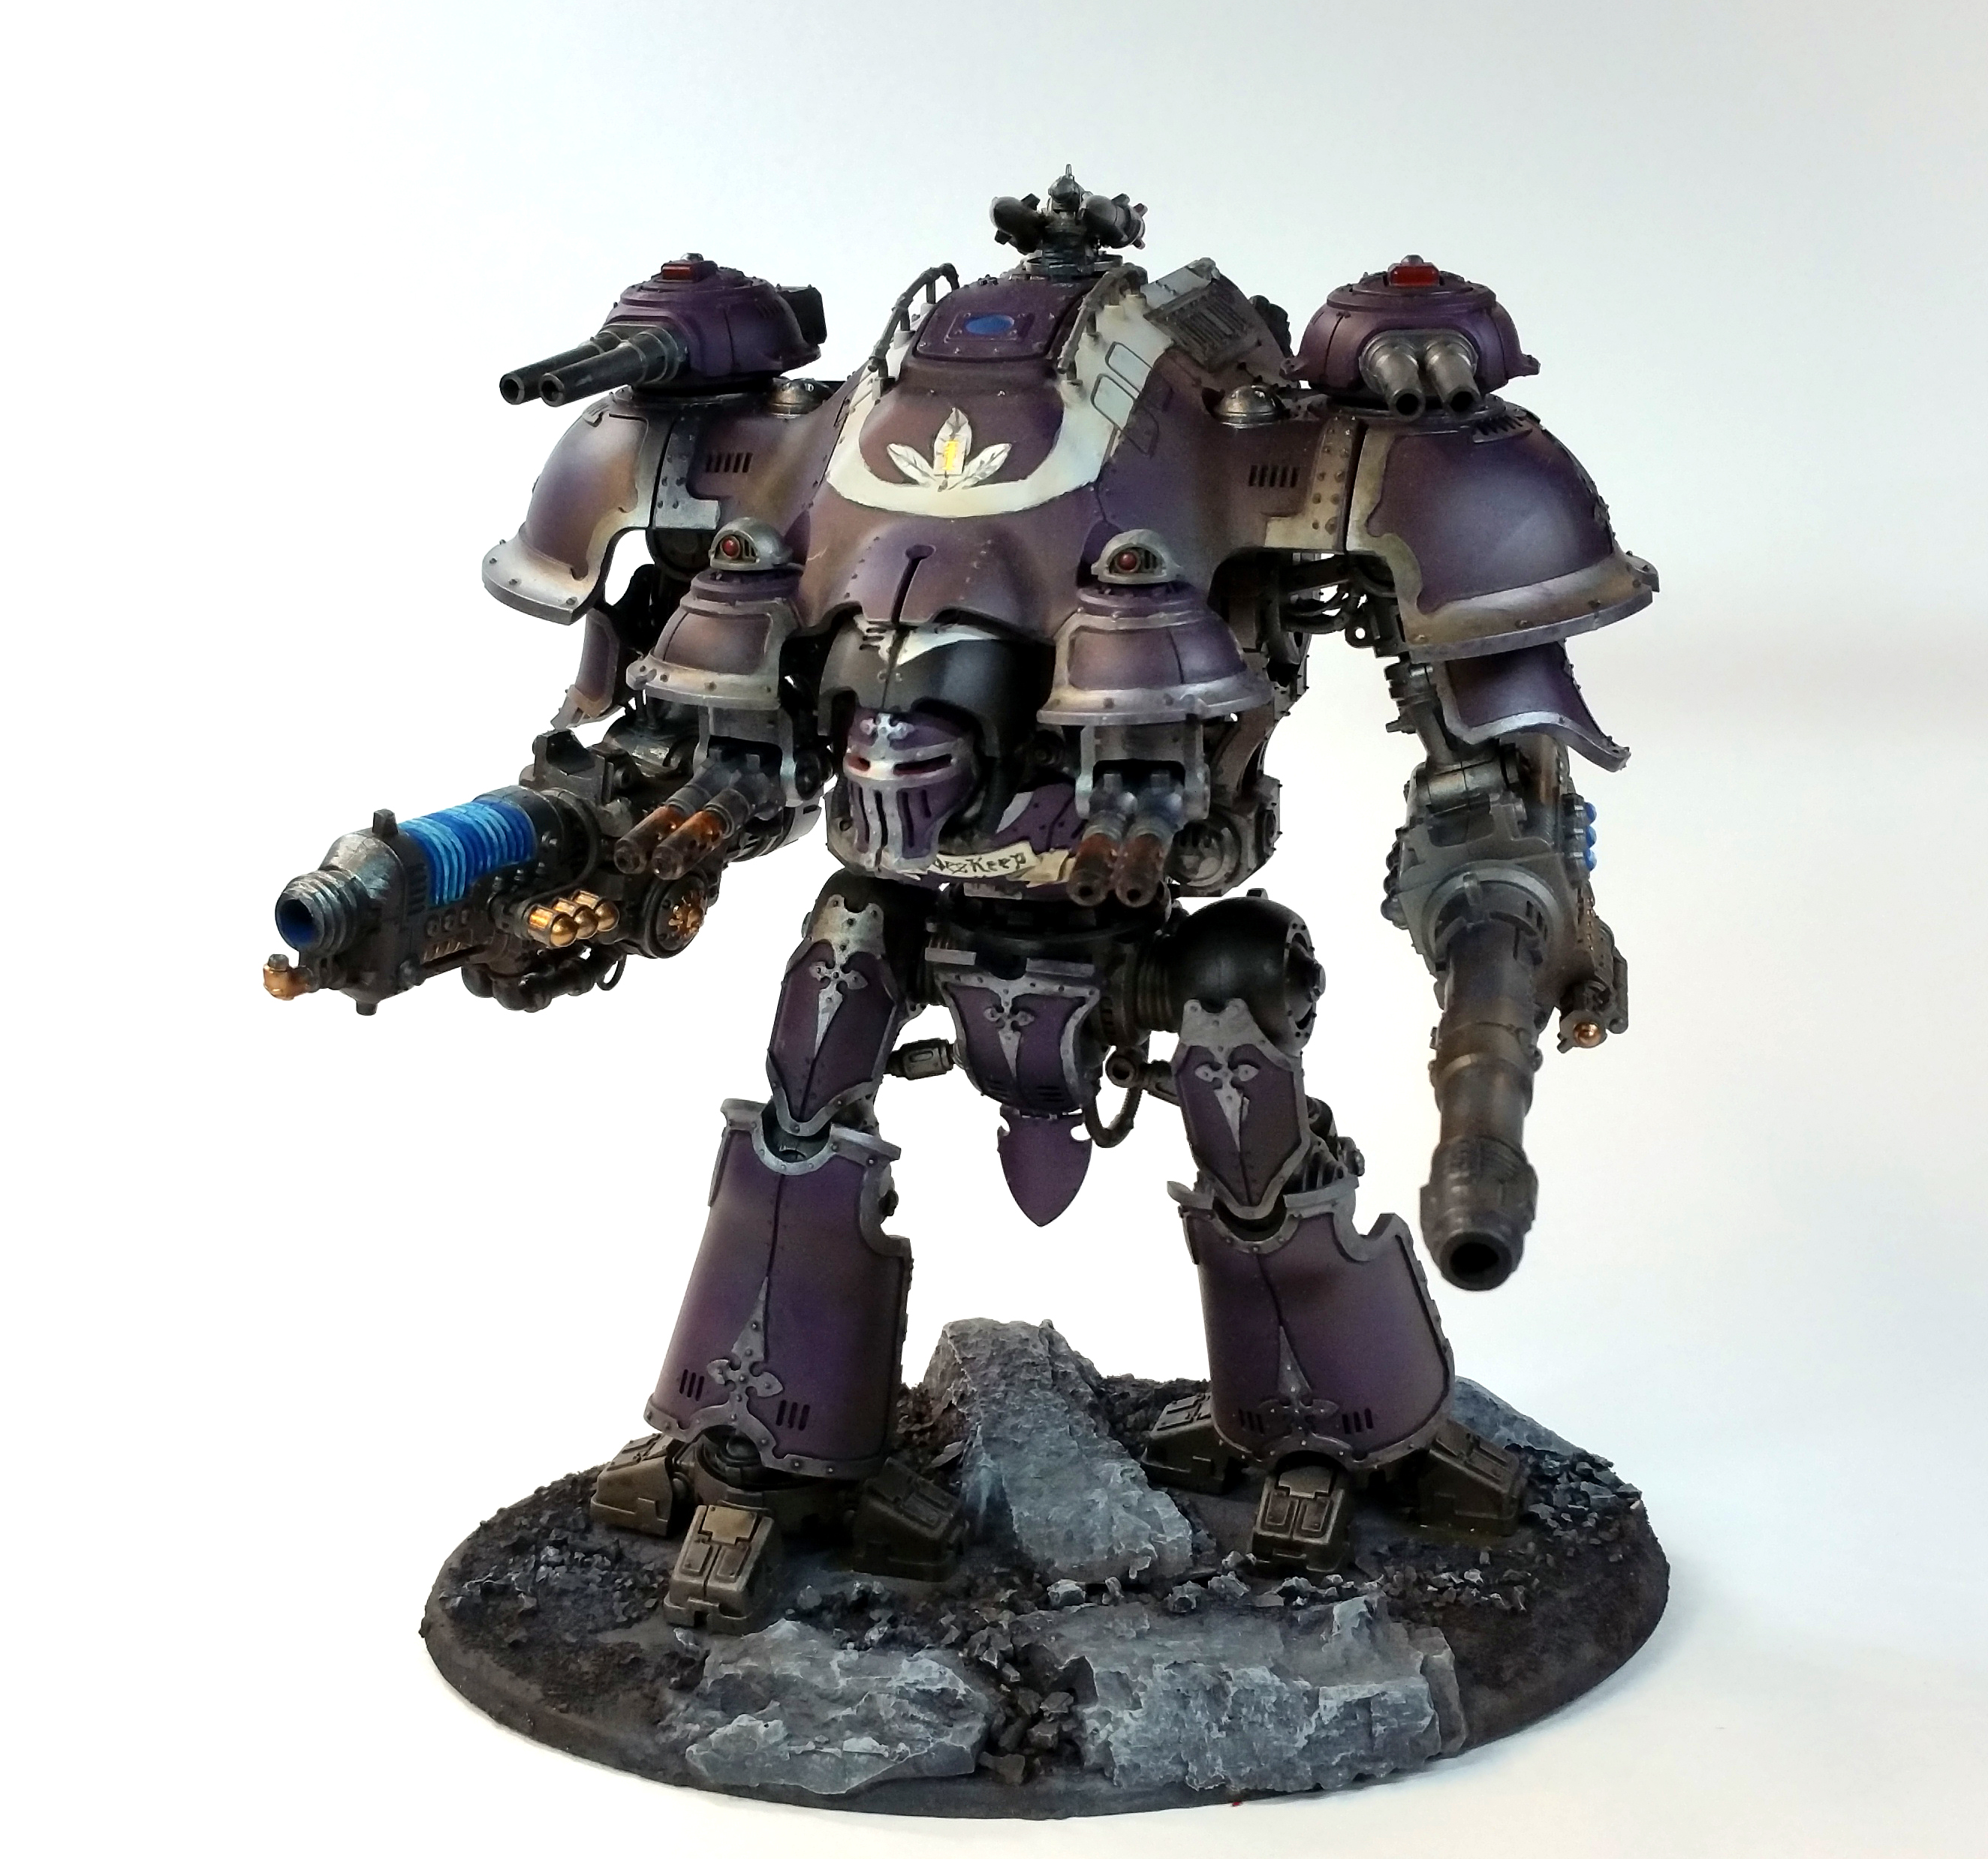
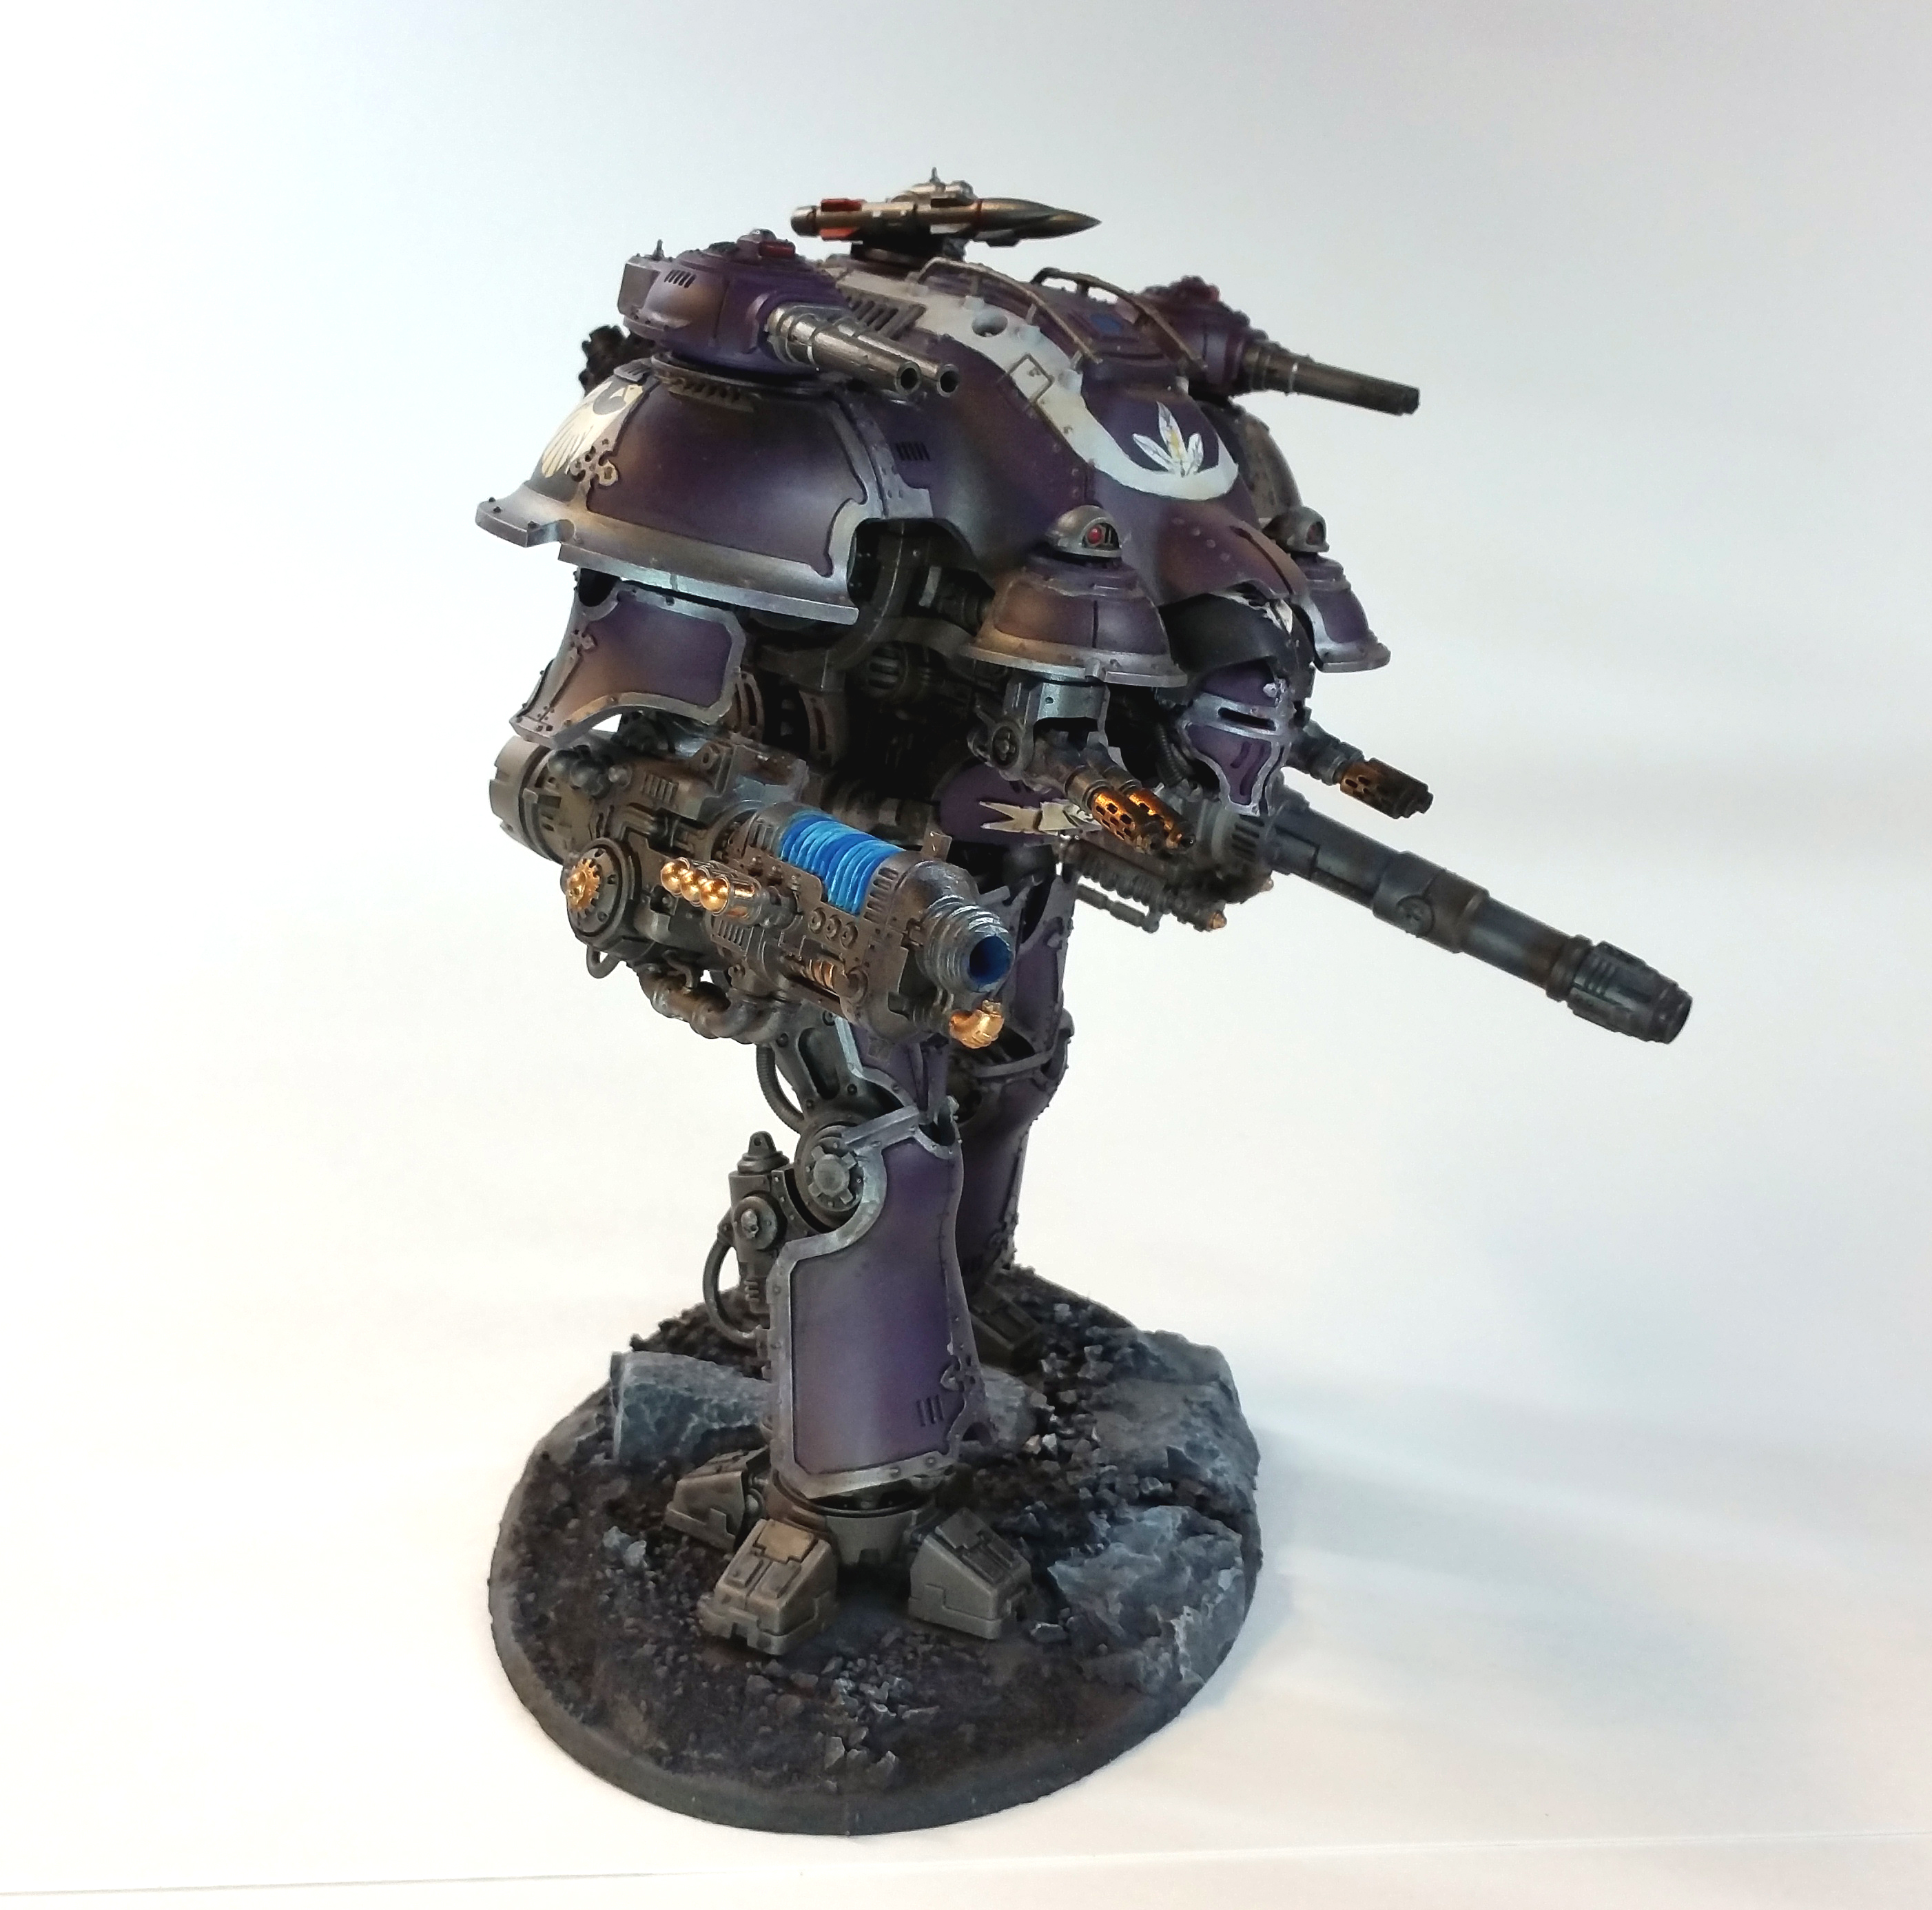
The first of these models just /had/ to be the Dominus Class Castellan, the “Amethyst Duke.” I dunno. I think it’s too clean. I’m somewhat content with the dust and grime effects, but I intentionally did not chip and ding up the armor. The jury’s still out on that.
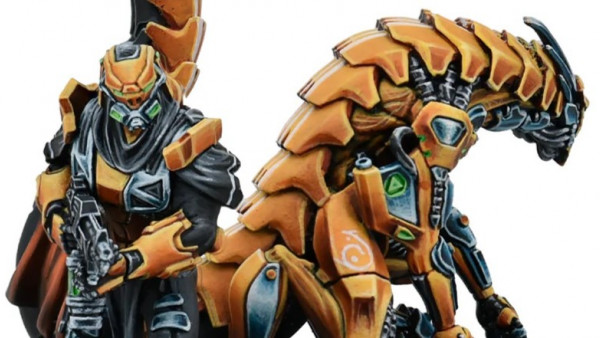
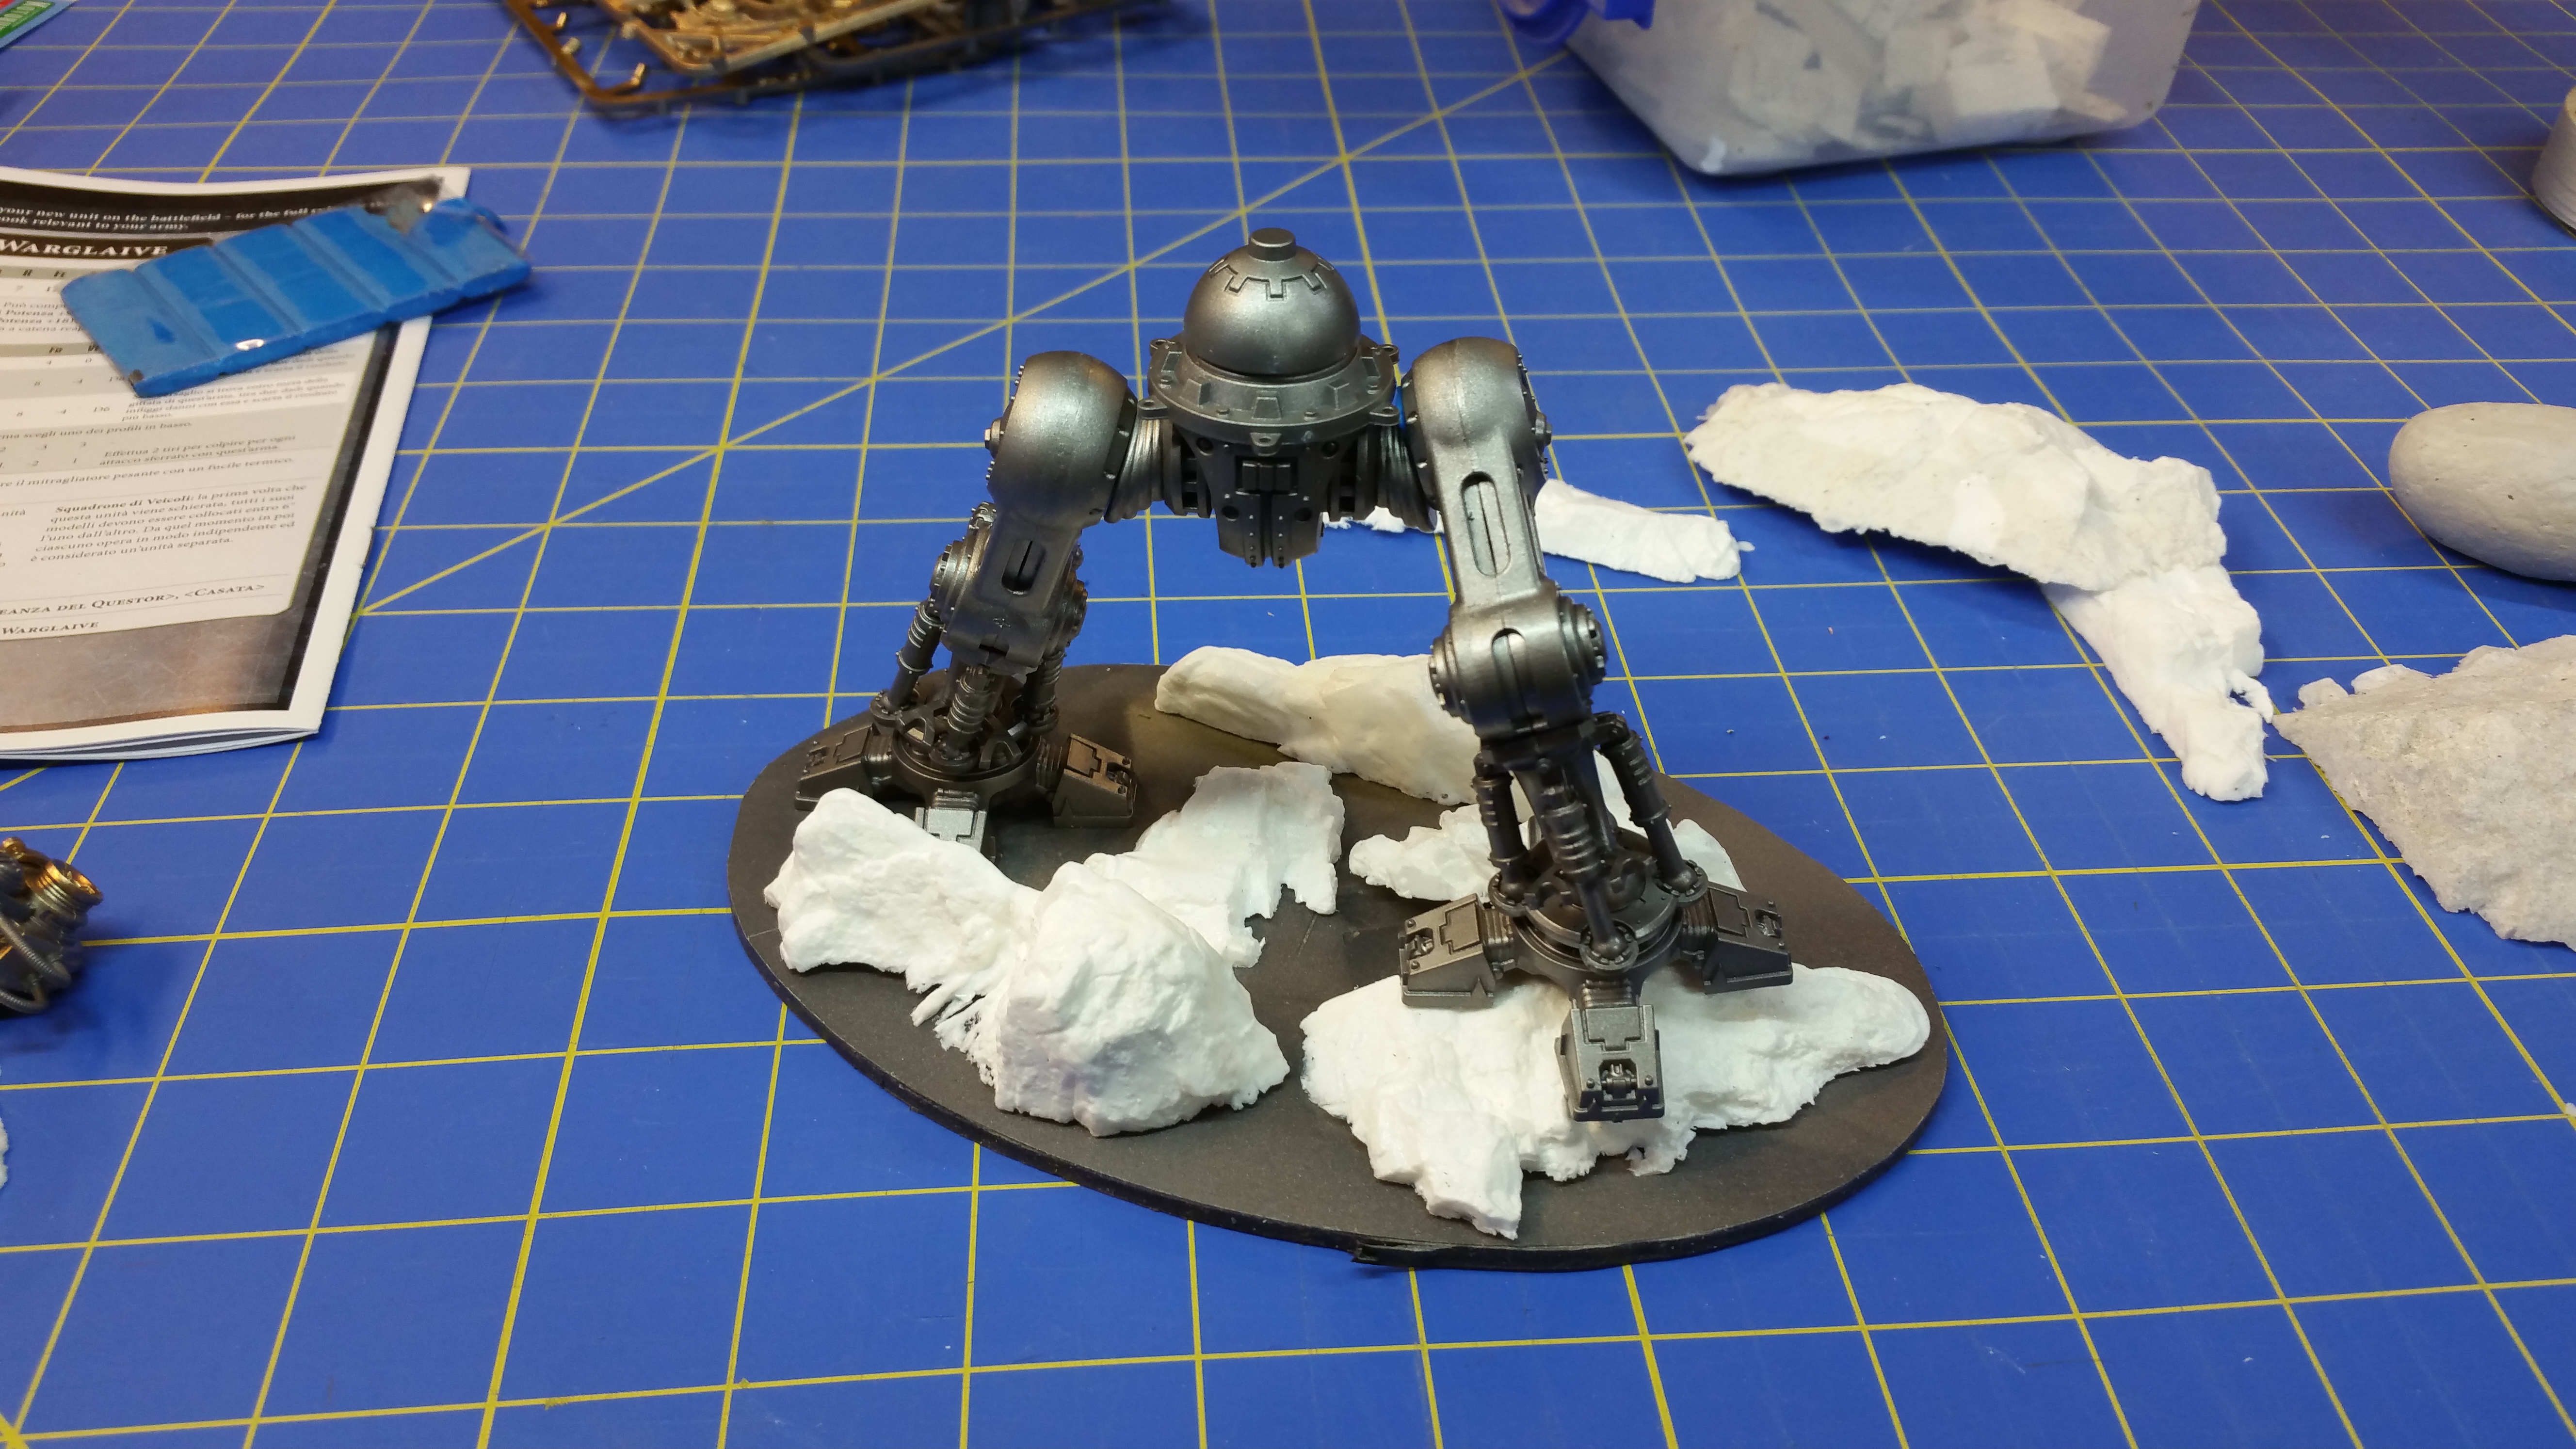
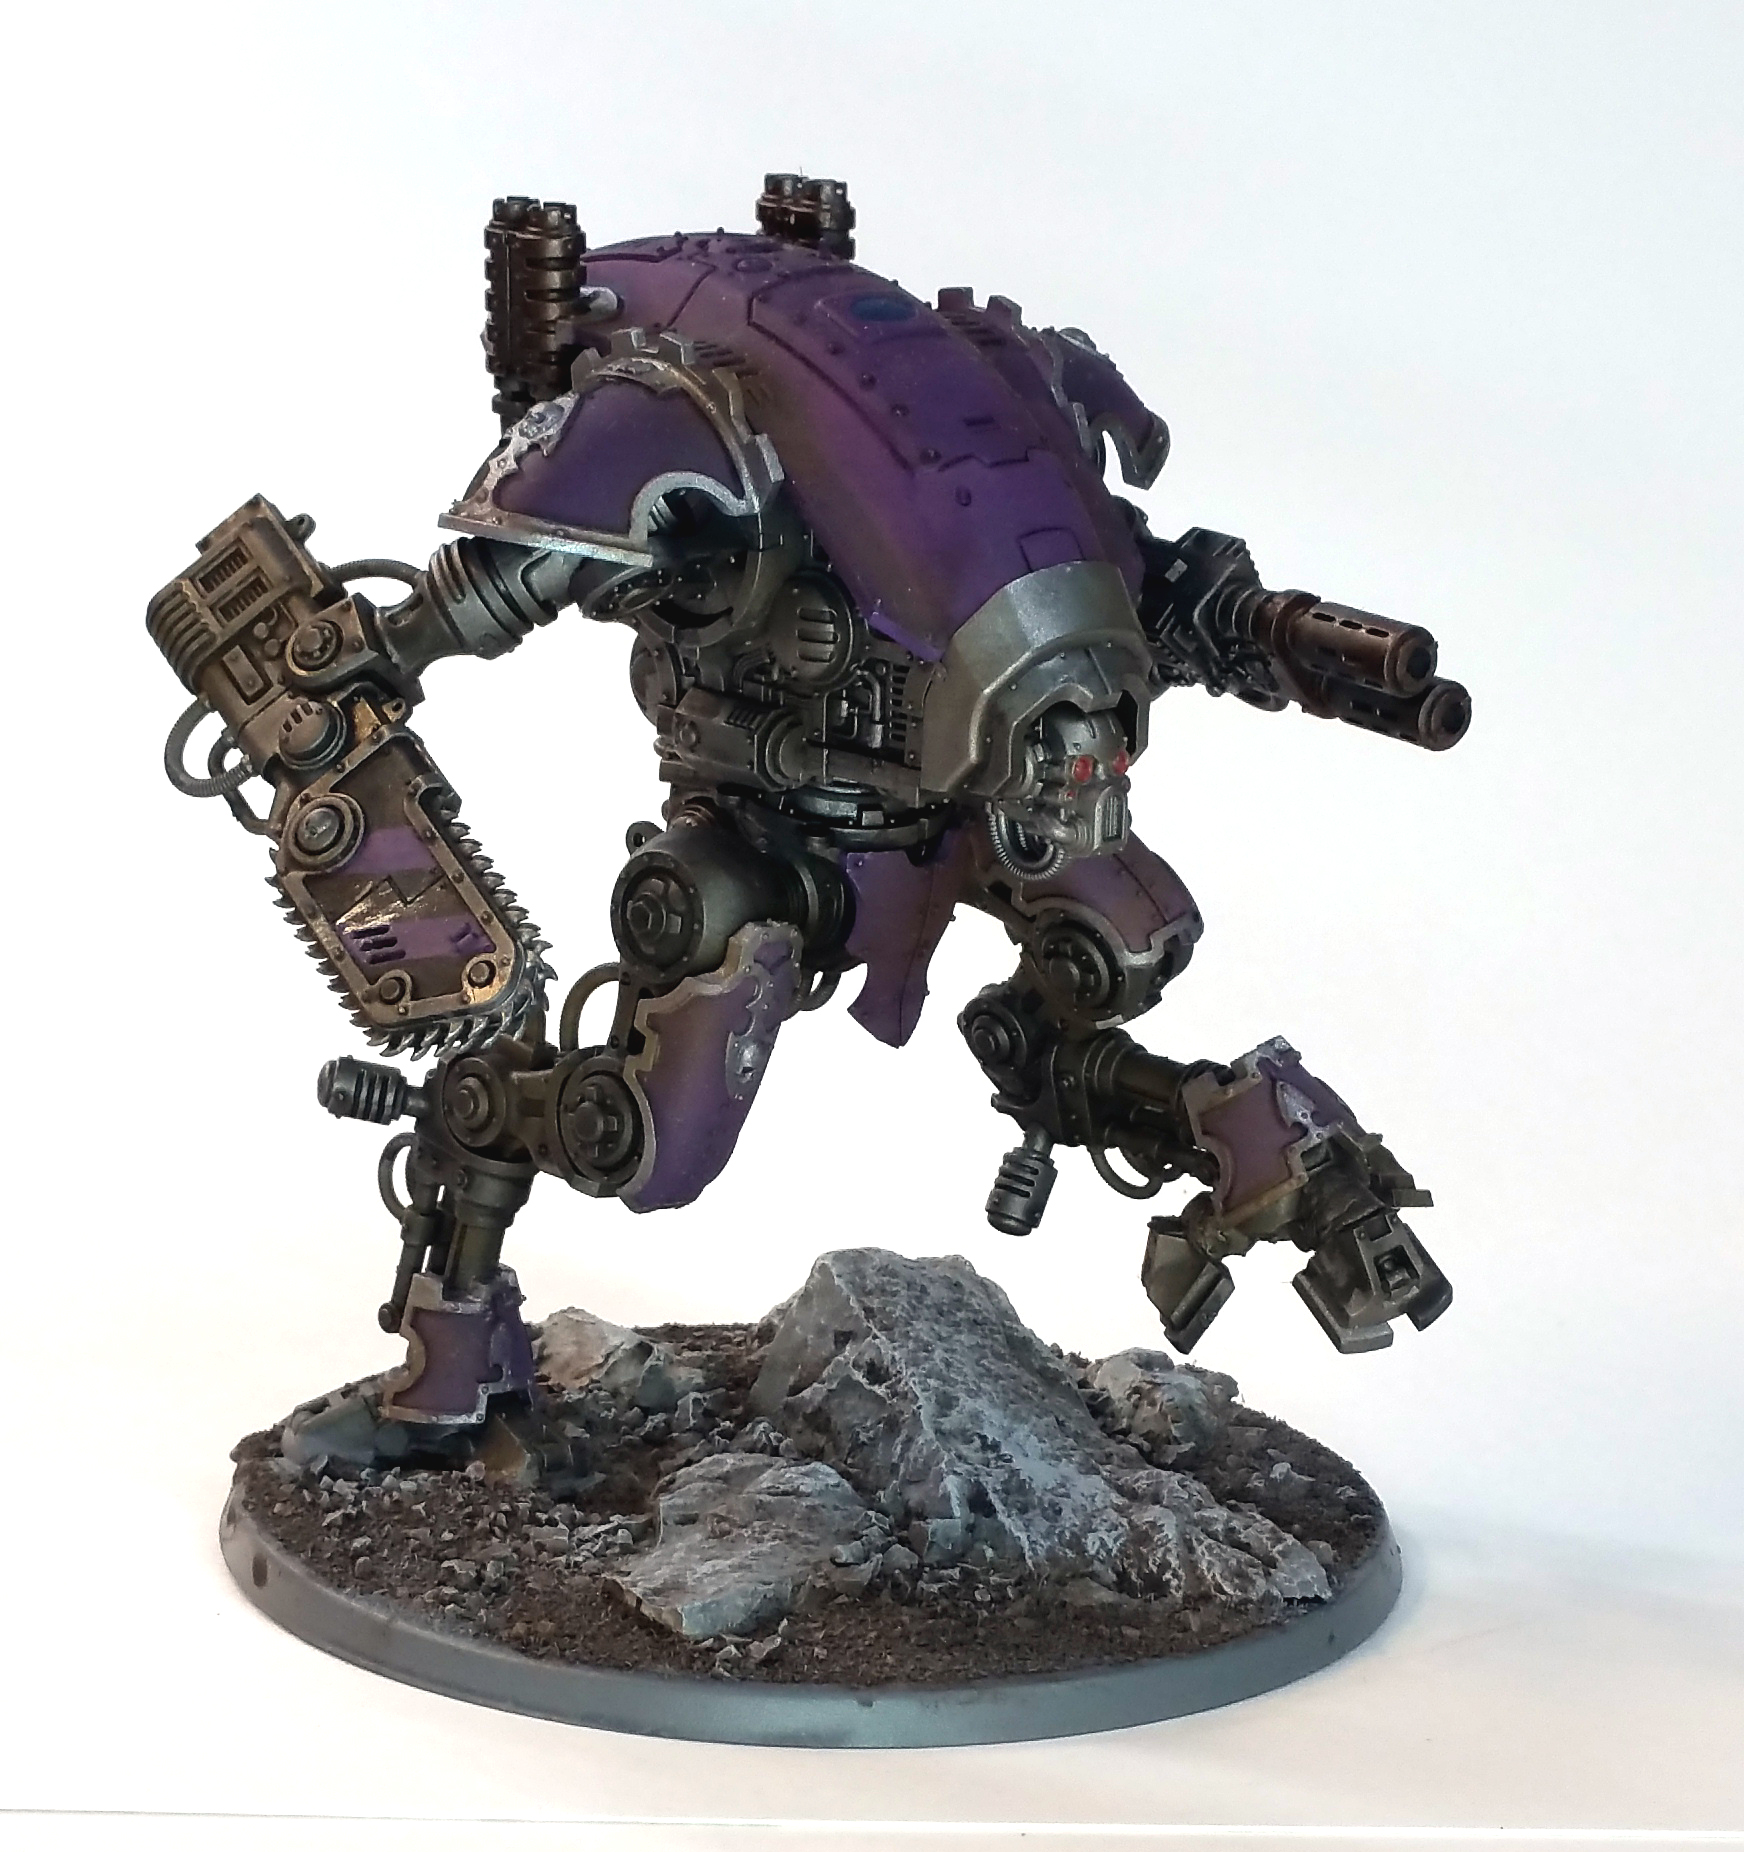
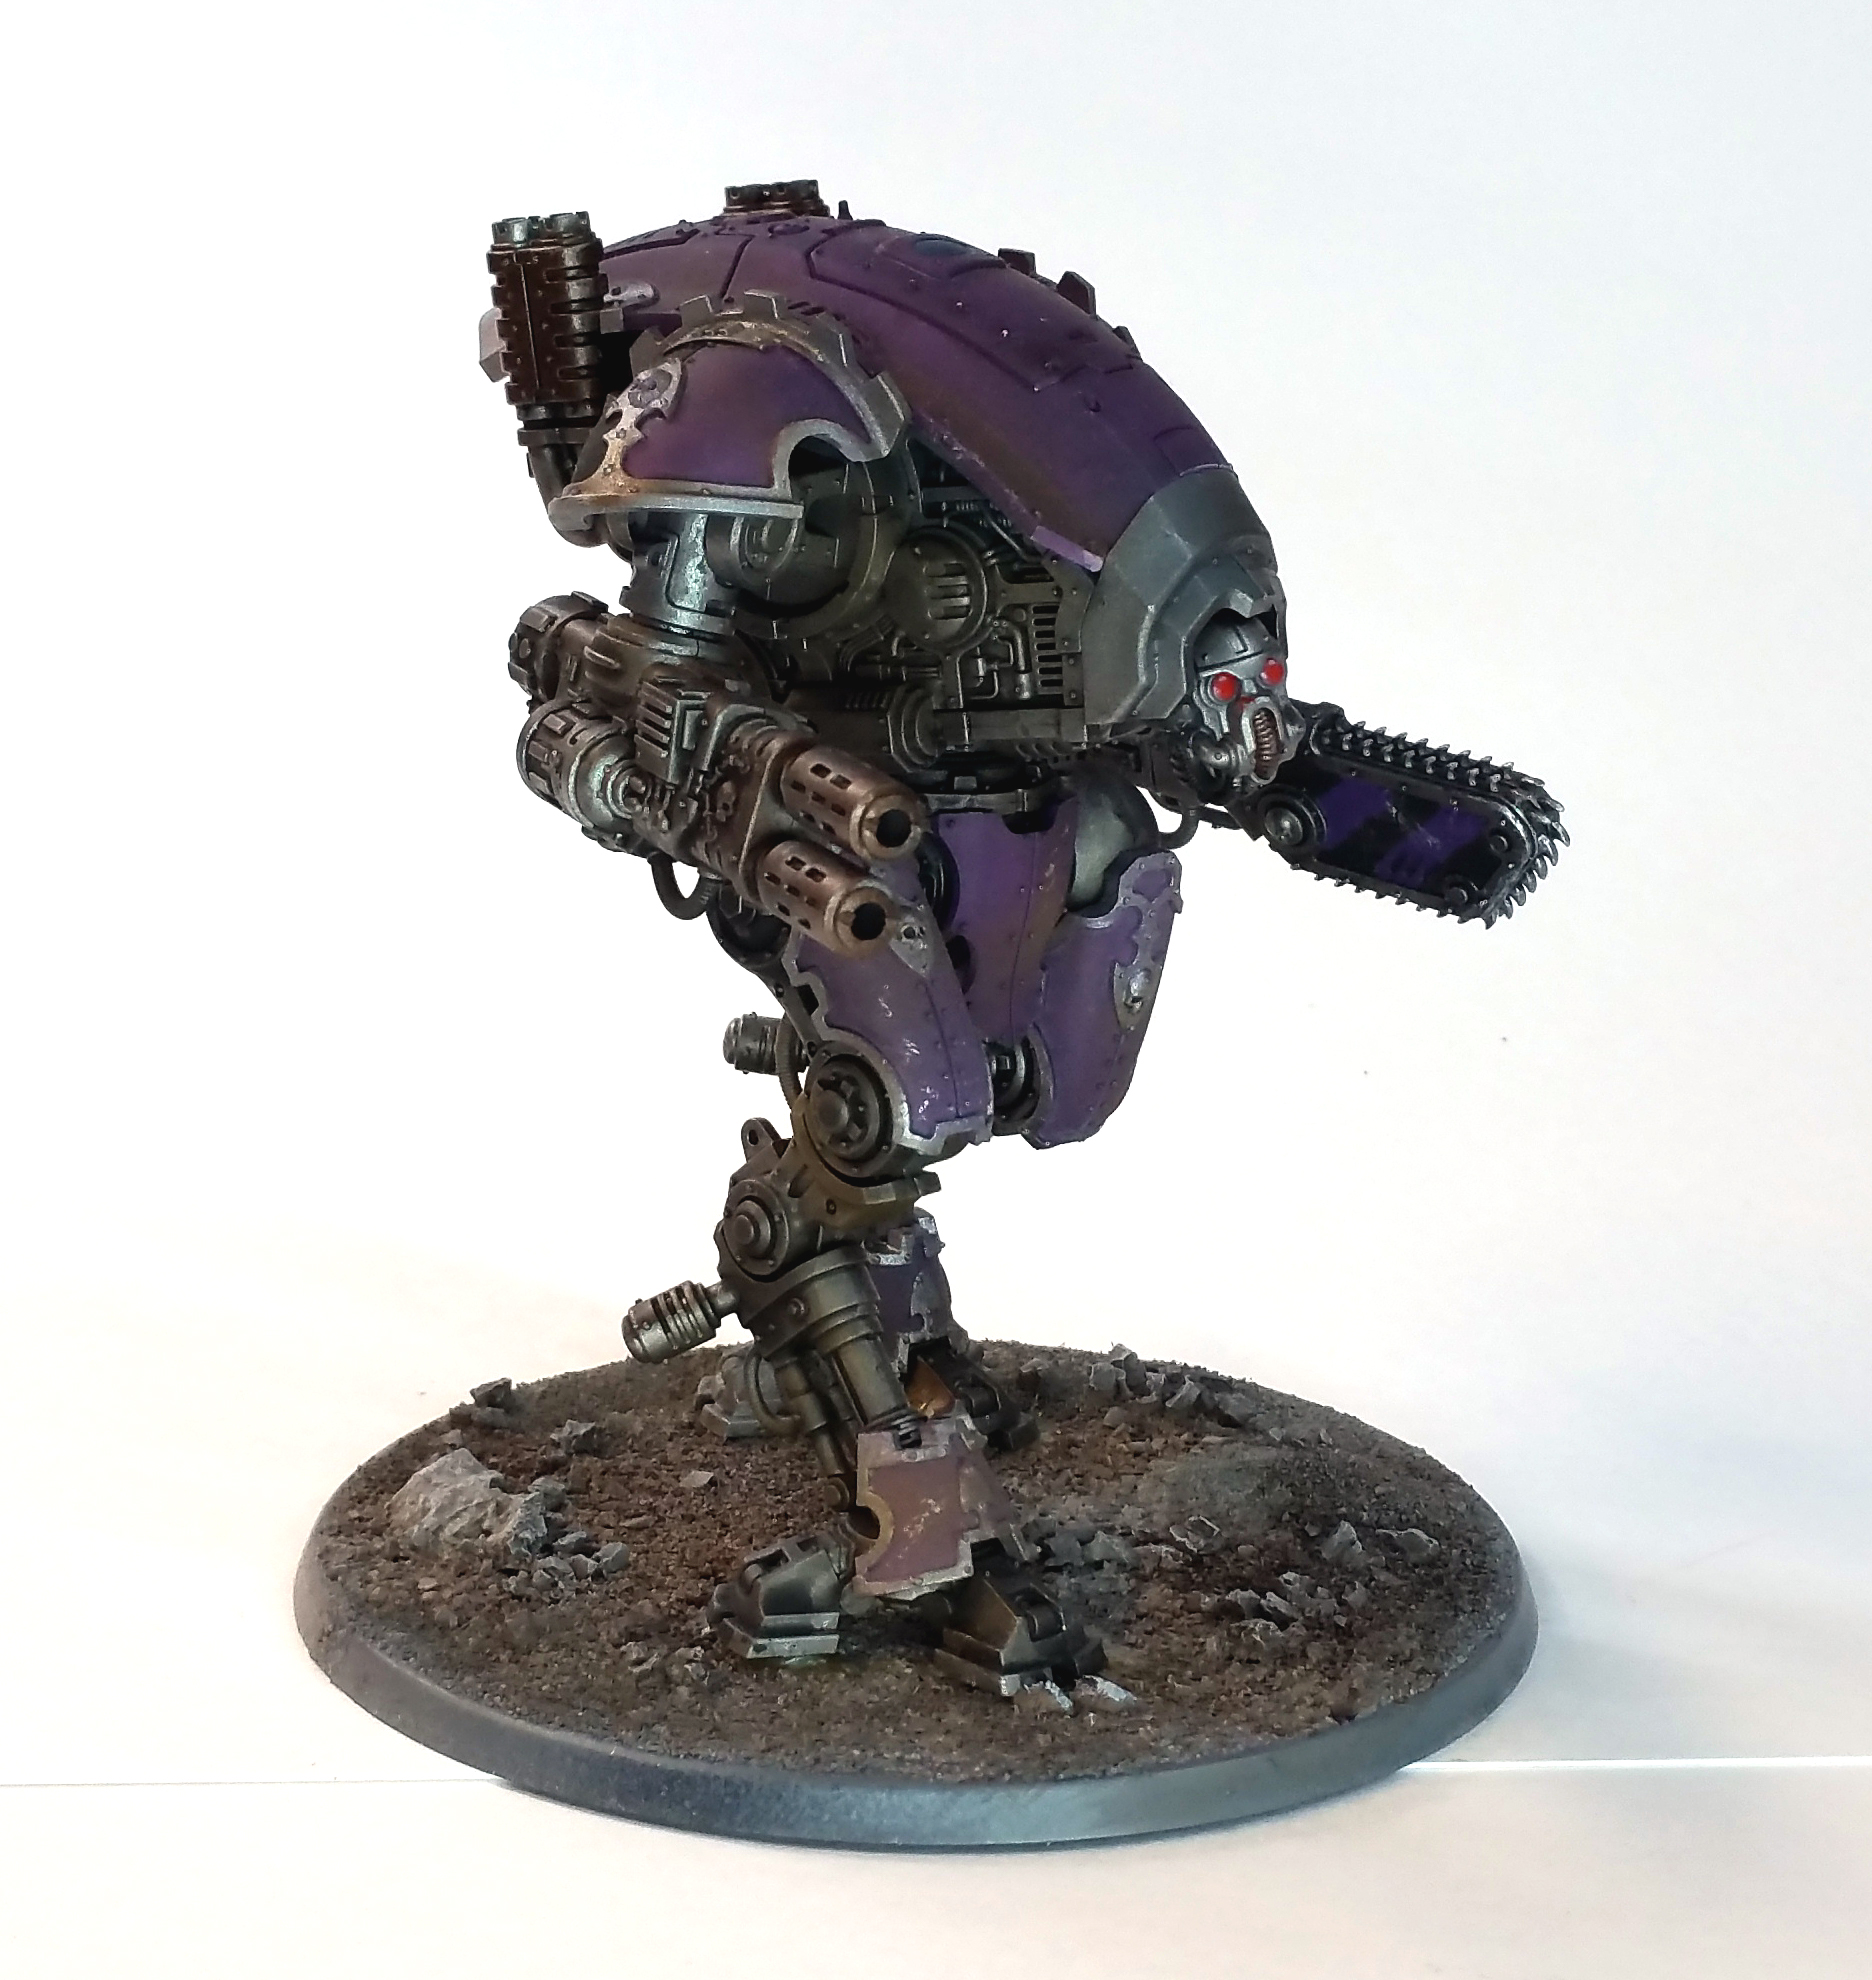
Along with that are two squires driving Warglaives. I did play around even more with the stance of the one Warglaive, trying to give it a more dynamic, charging pose. It took quite a bit of fiddling with the kit, but a bit of greenstuff and clever positioning worked. I can see this force growing into a larger collection of sworn members of the House as time and building options present themselves.
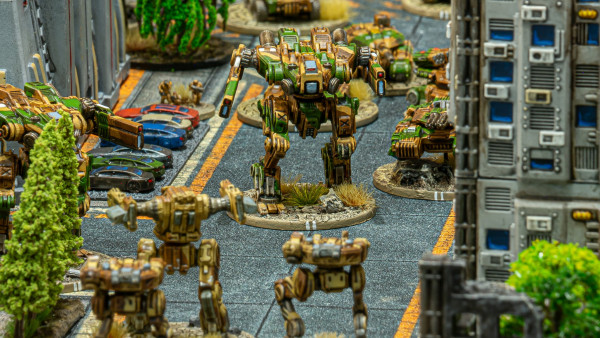
Where I am so far.
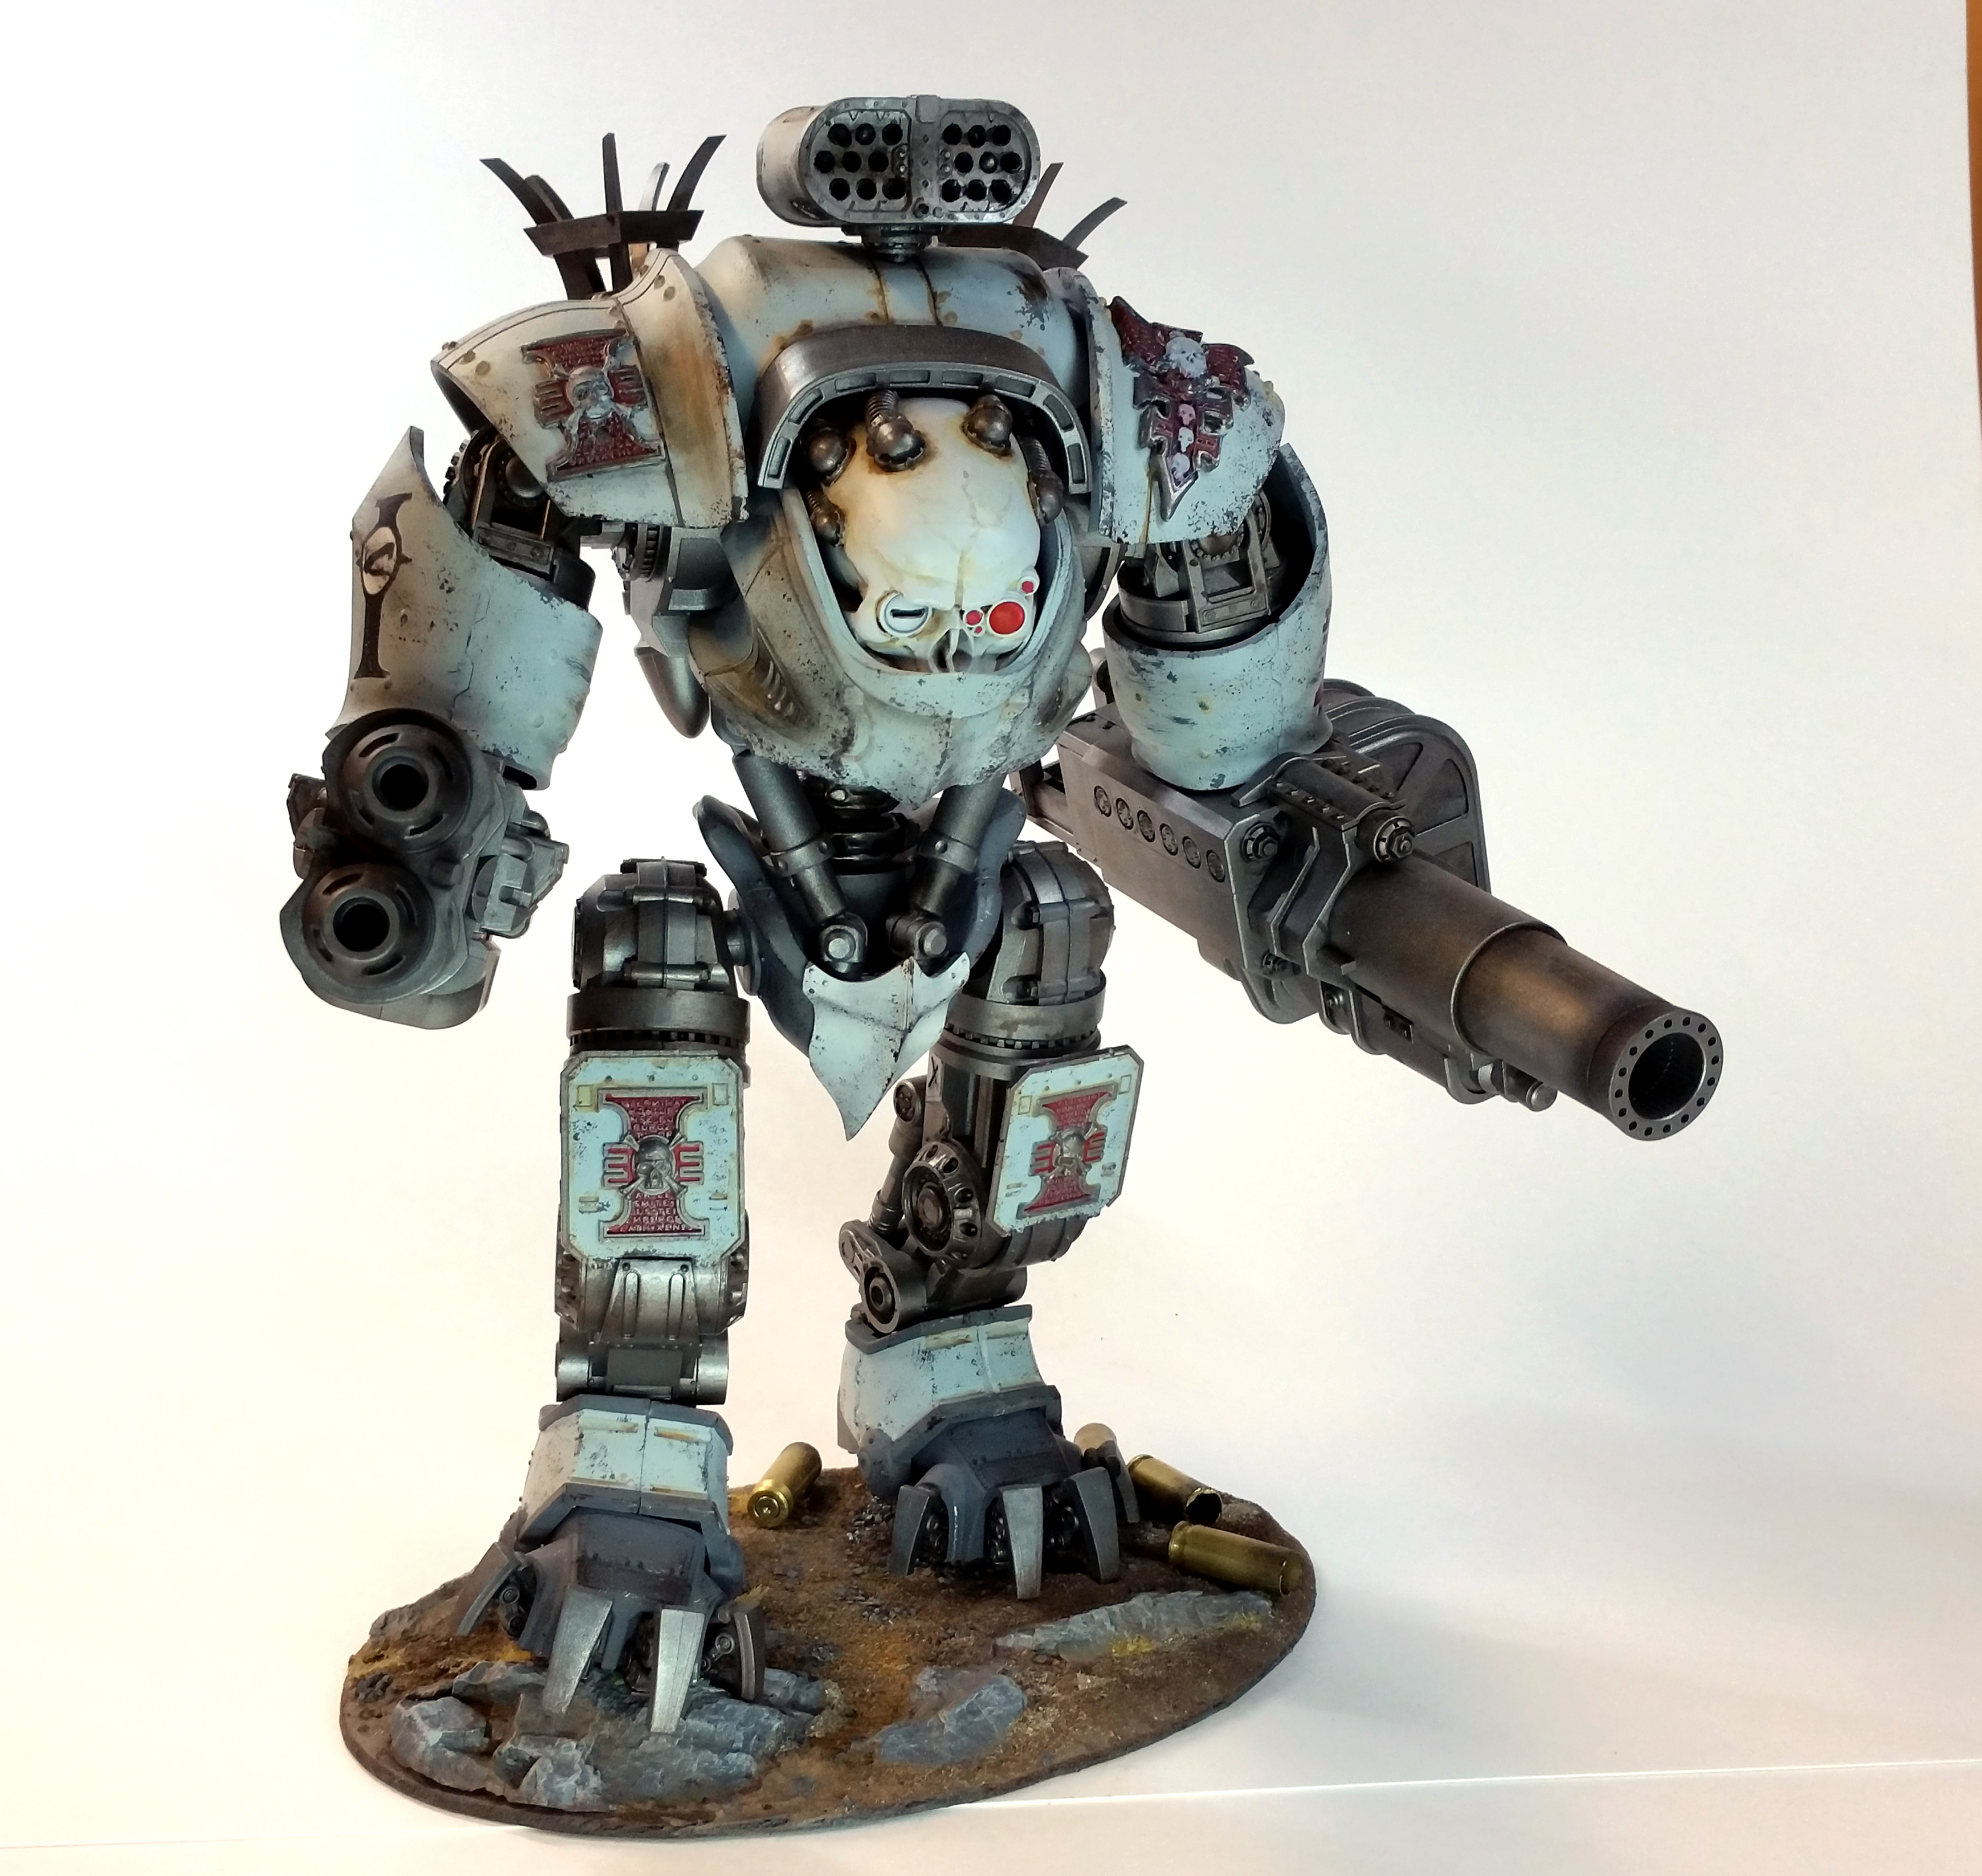
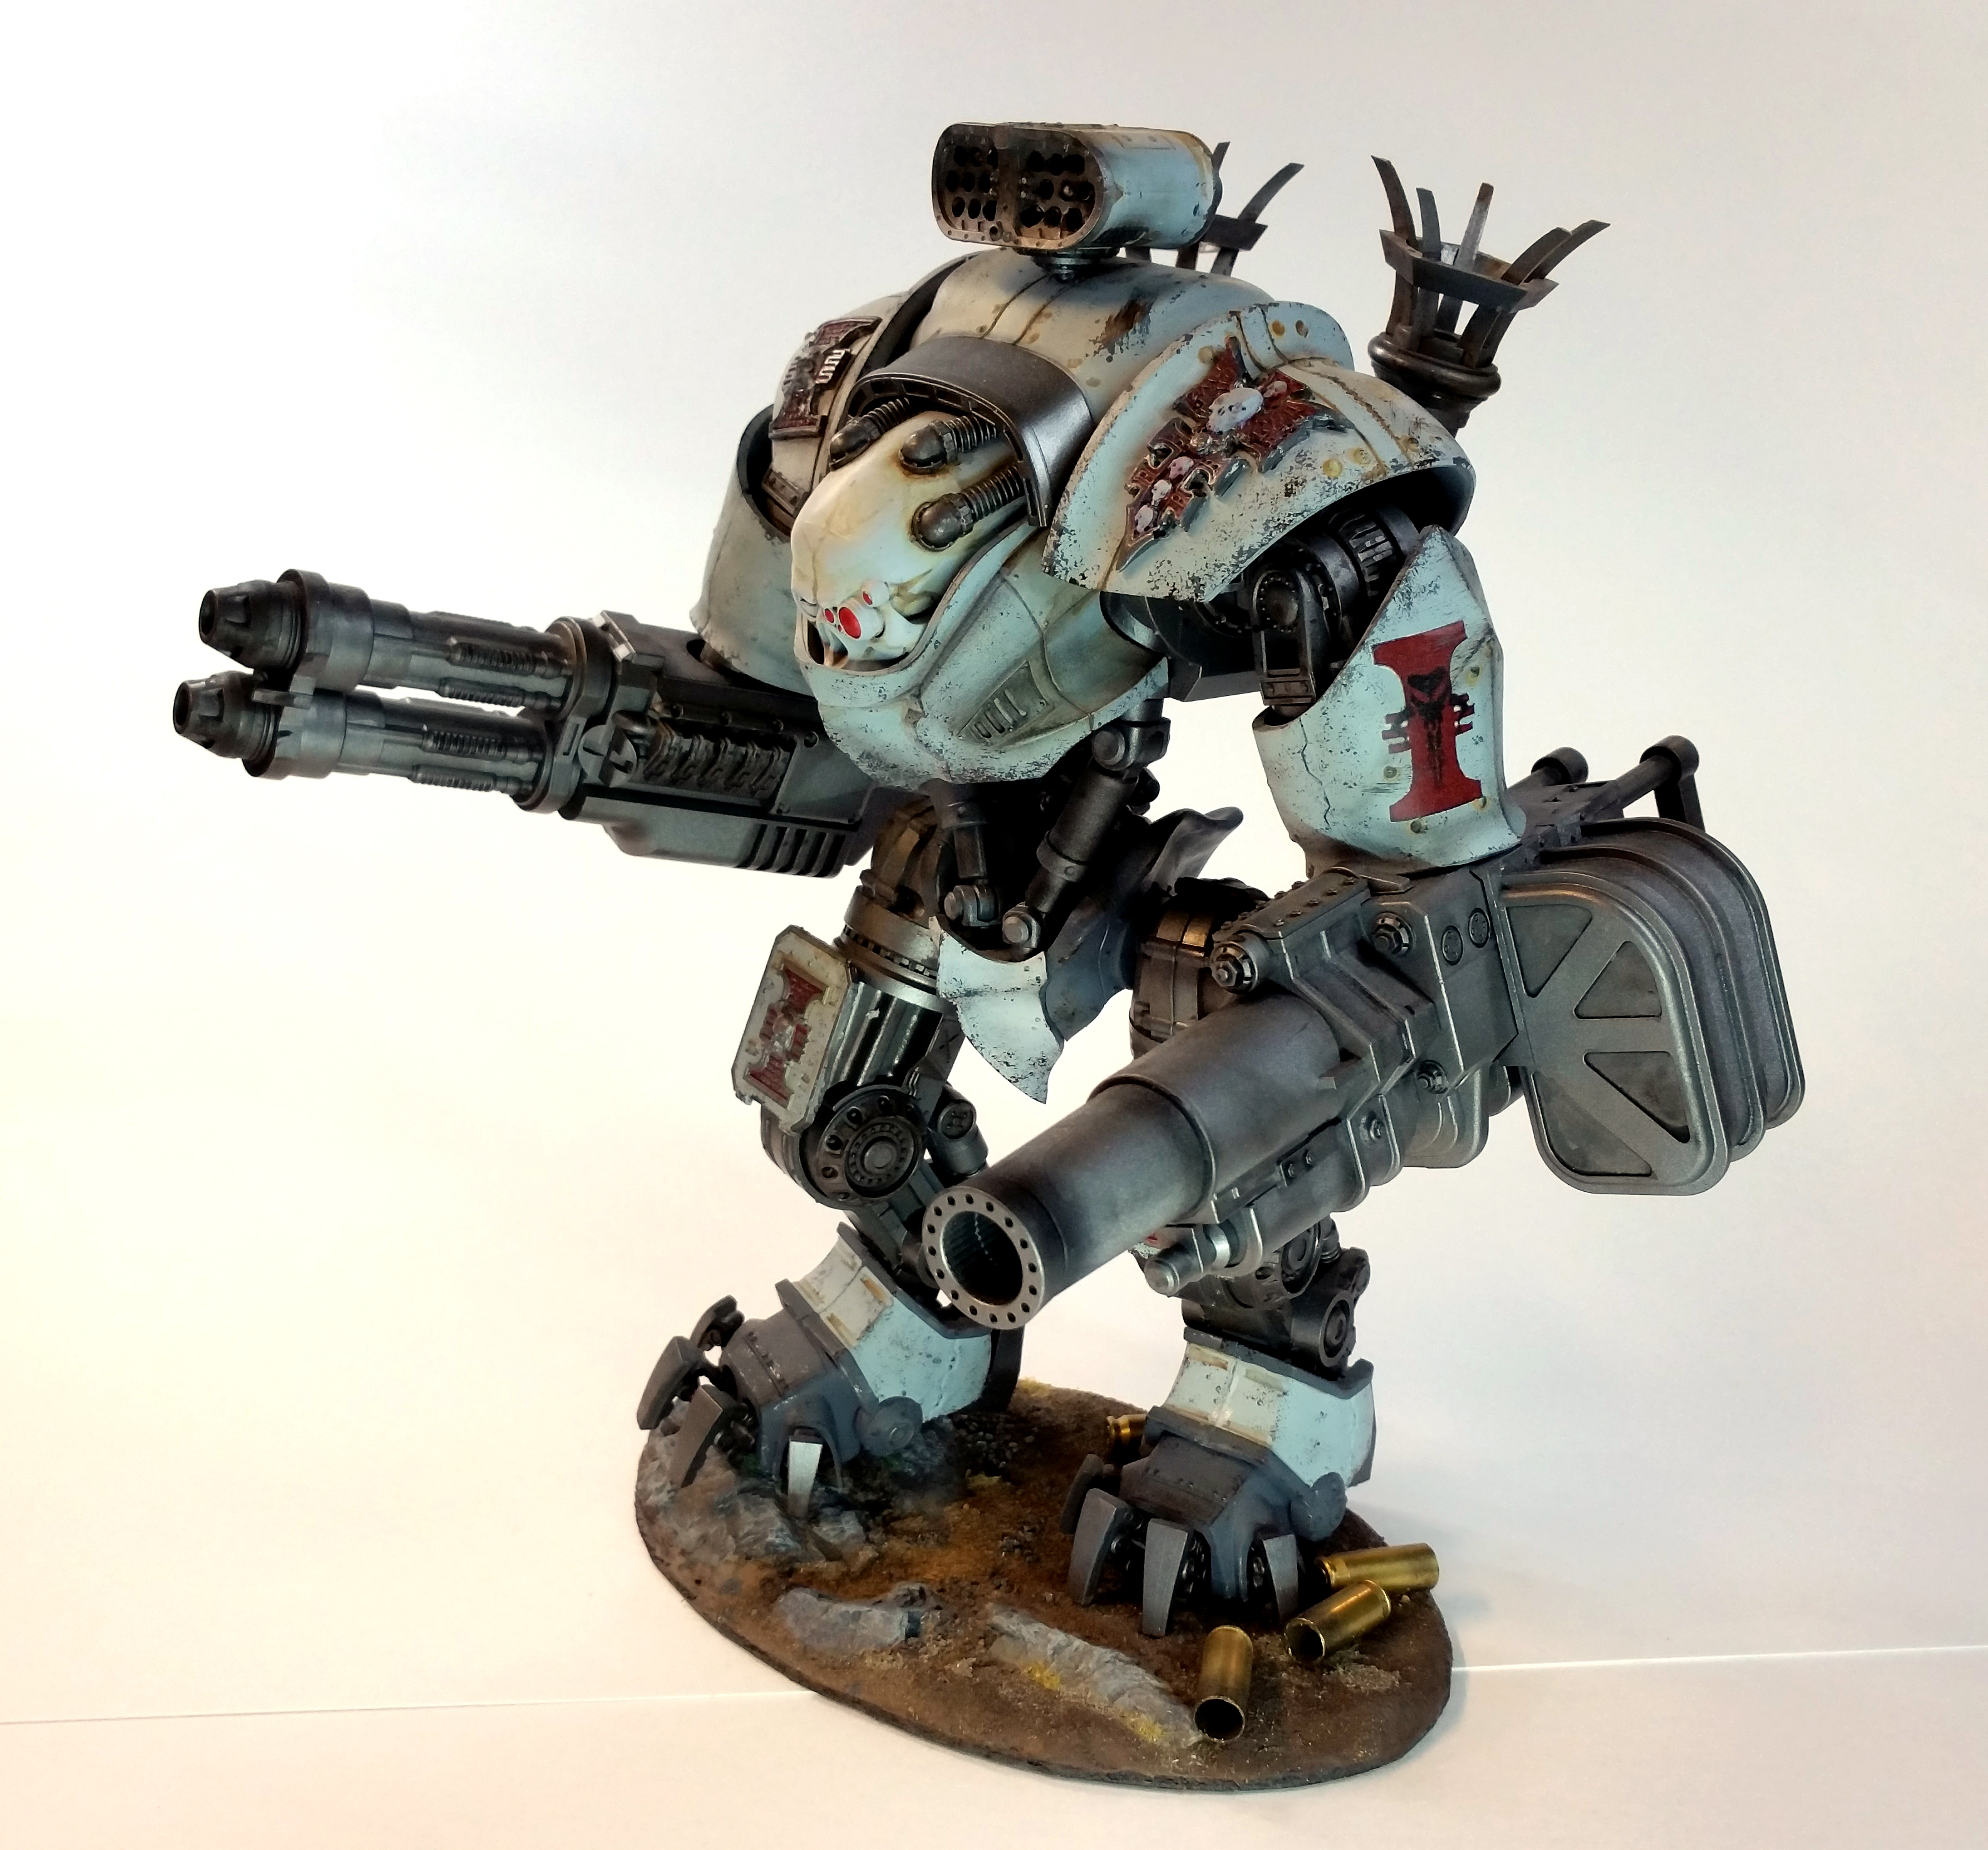
What can I say? I’m a huge fan of the Giant Stompy Robots.
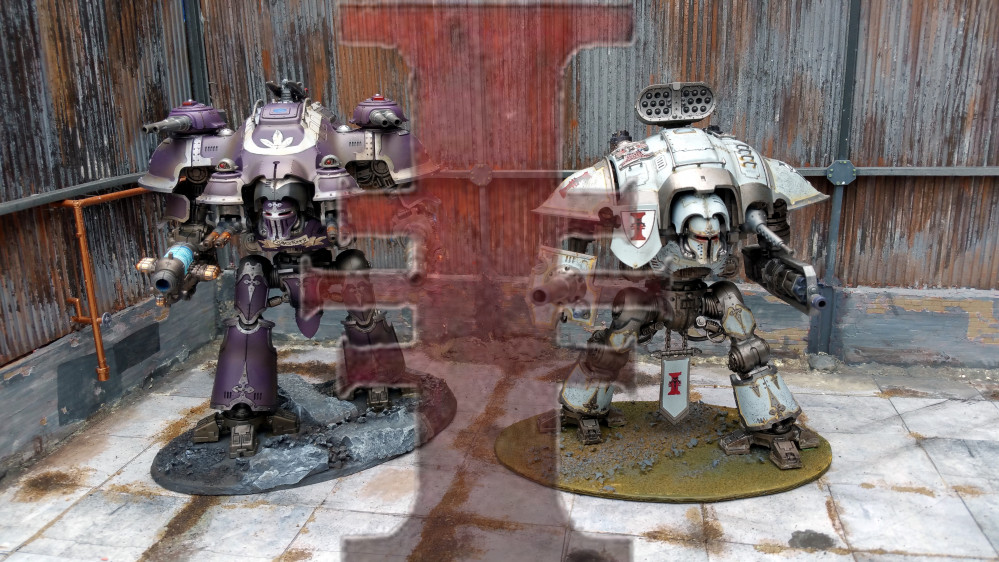
I have gradually been building Knight models since the first of them came out, although they never really made it to the tabletop as the whole “army” concept around them was somewhat strained. I wanted to put together a larger warhound-like titan, and the Dreamforge Leviathan had been on my table for quite some time. It ended up being the ride I envisioned for the Grand Inquisitor. When the leaks for the codex came out, I finally finished it and played it as a proxy for a Knight Castellan.
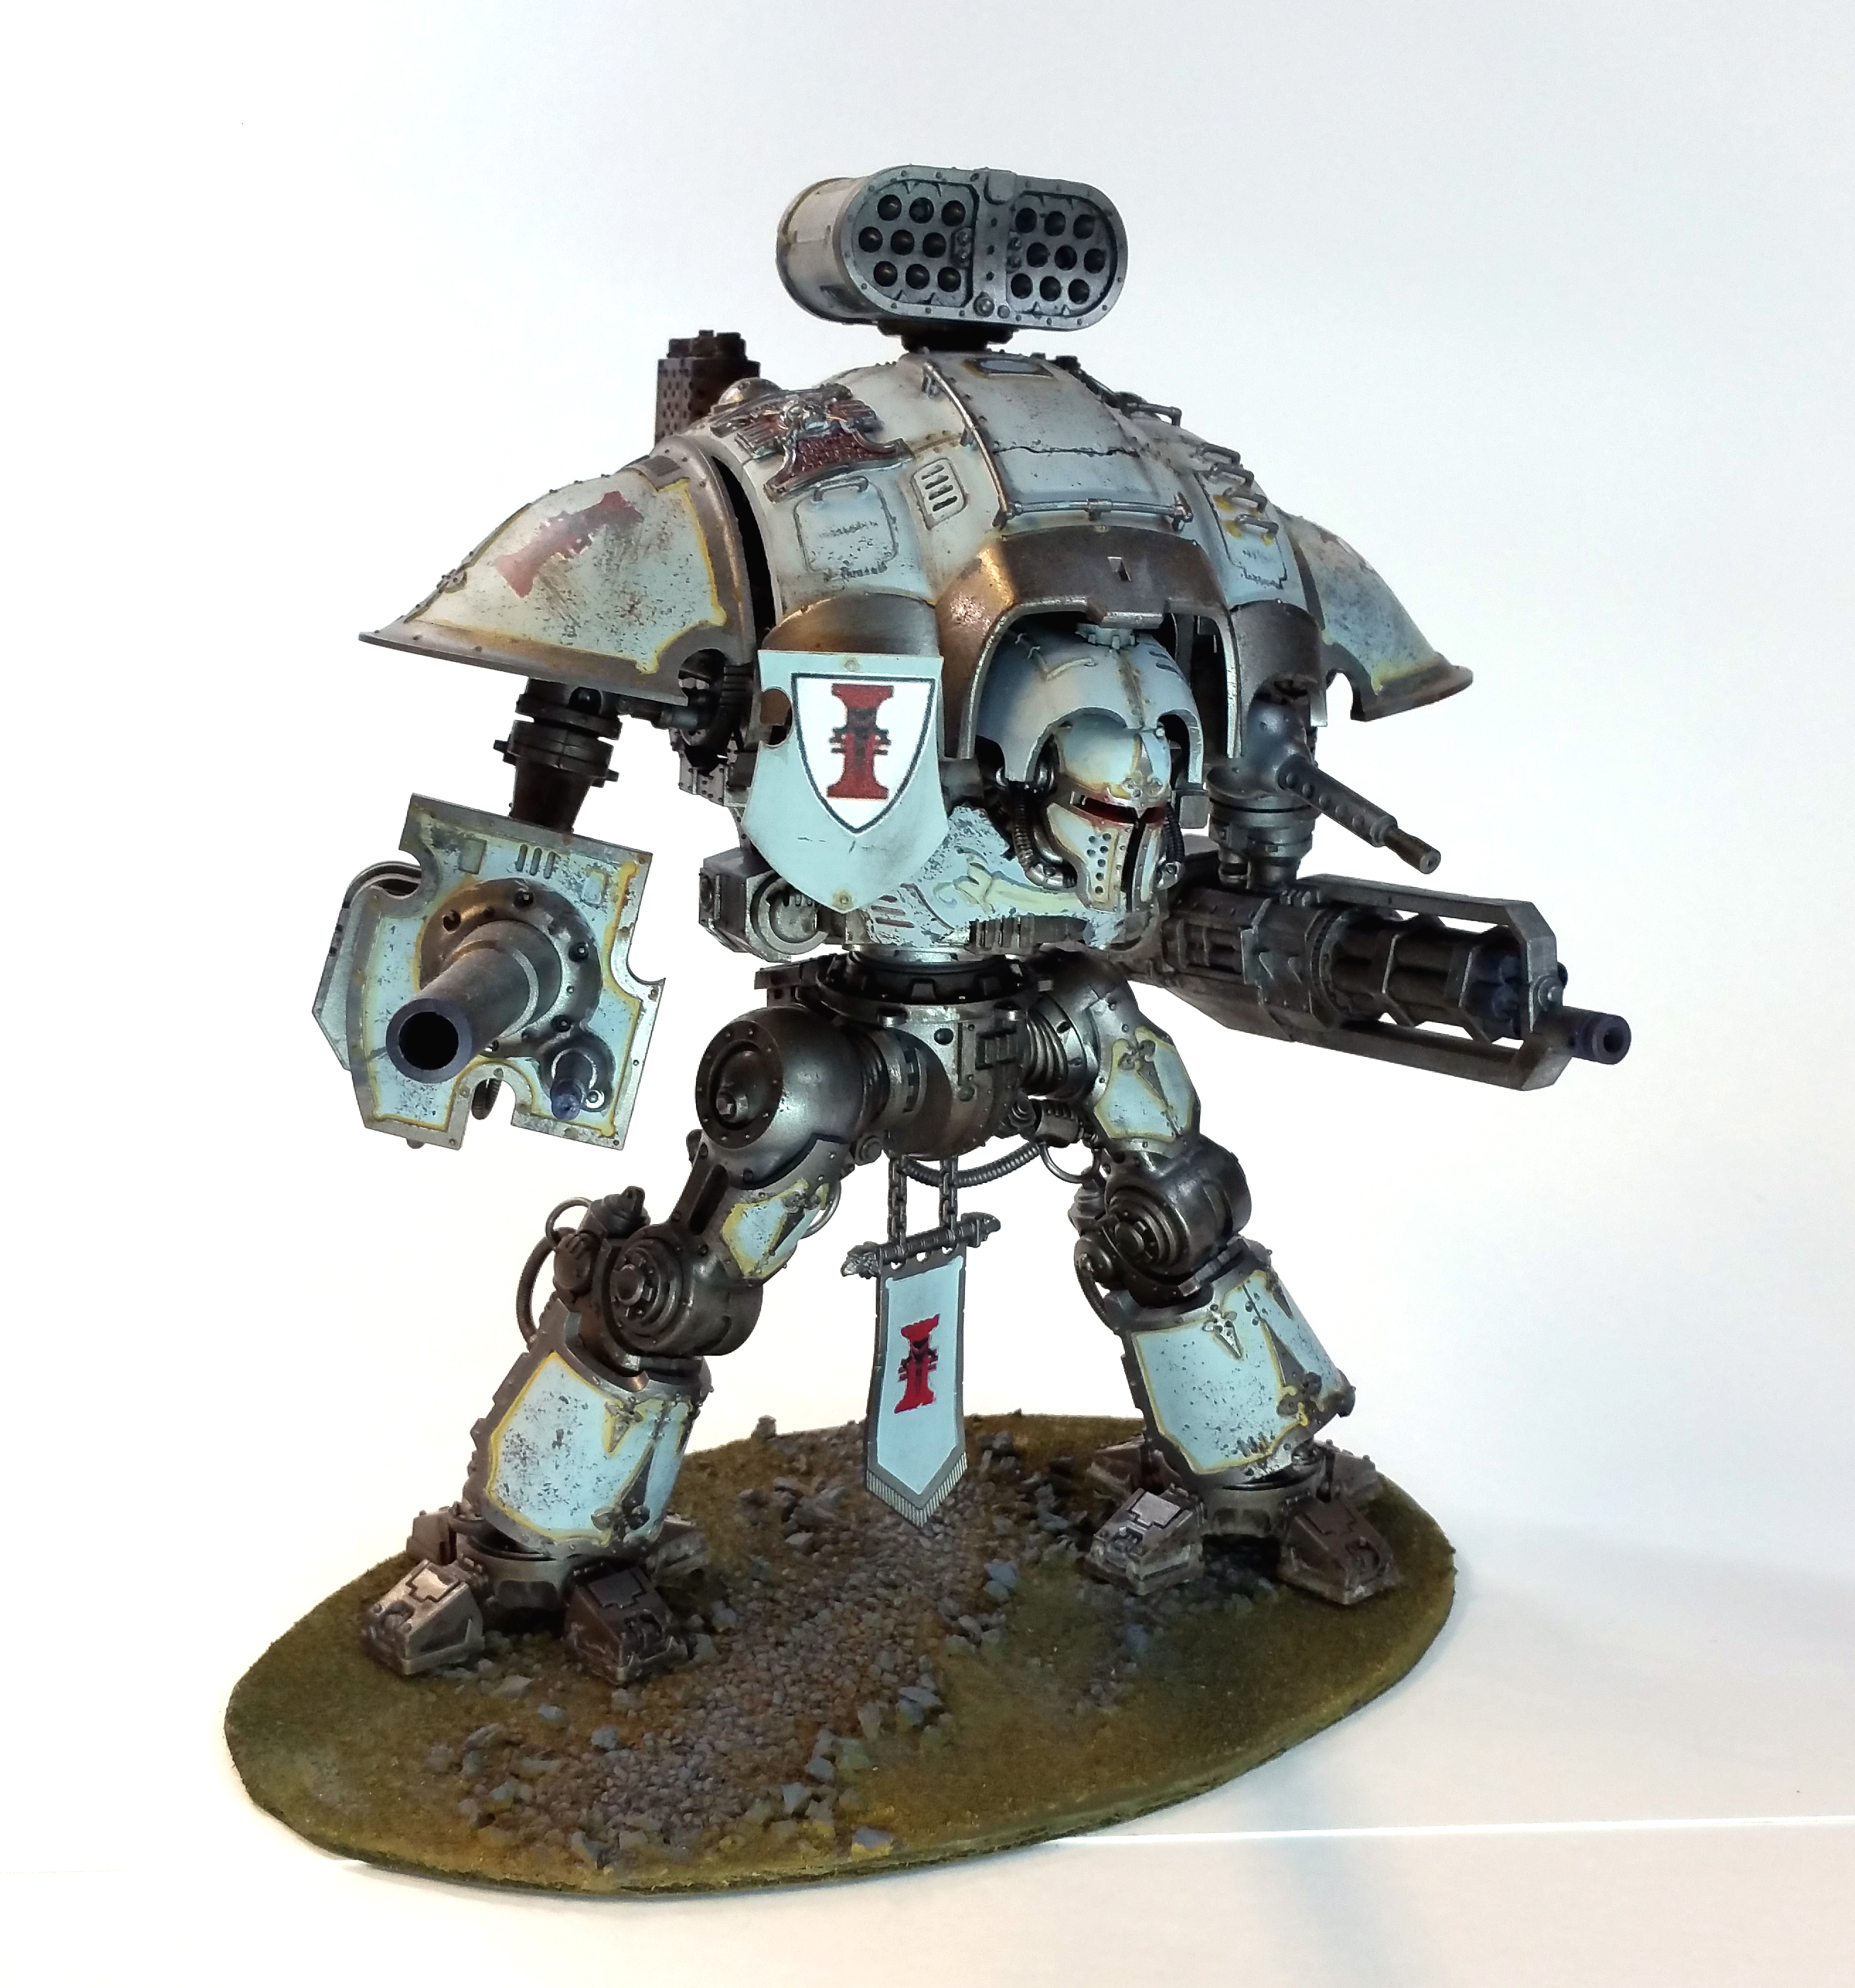
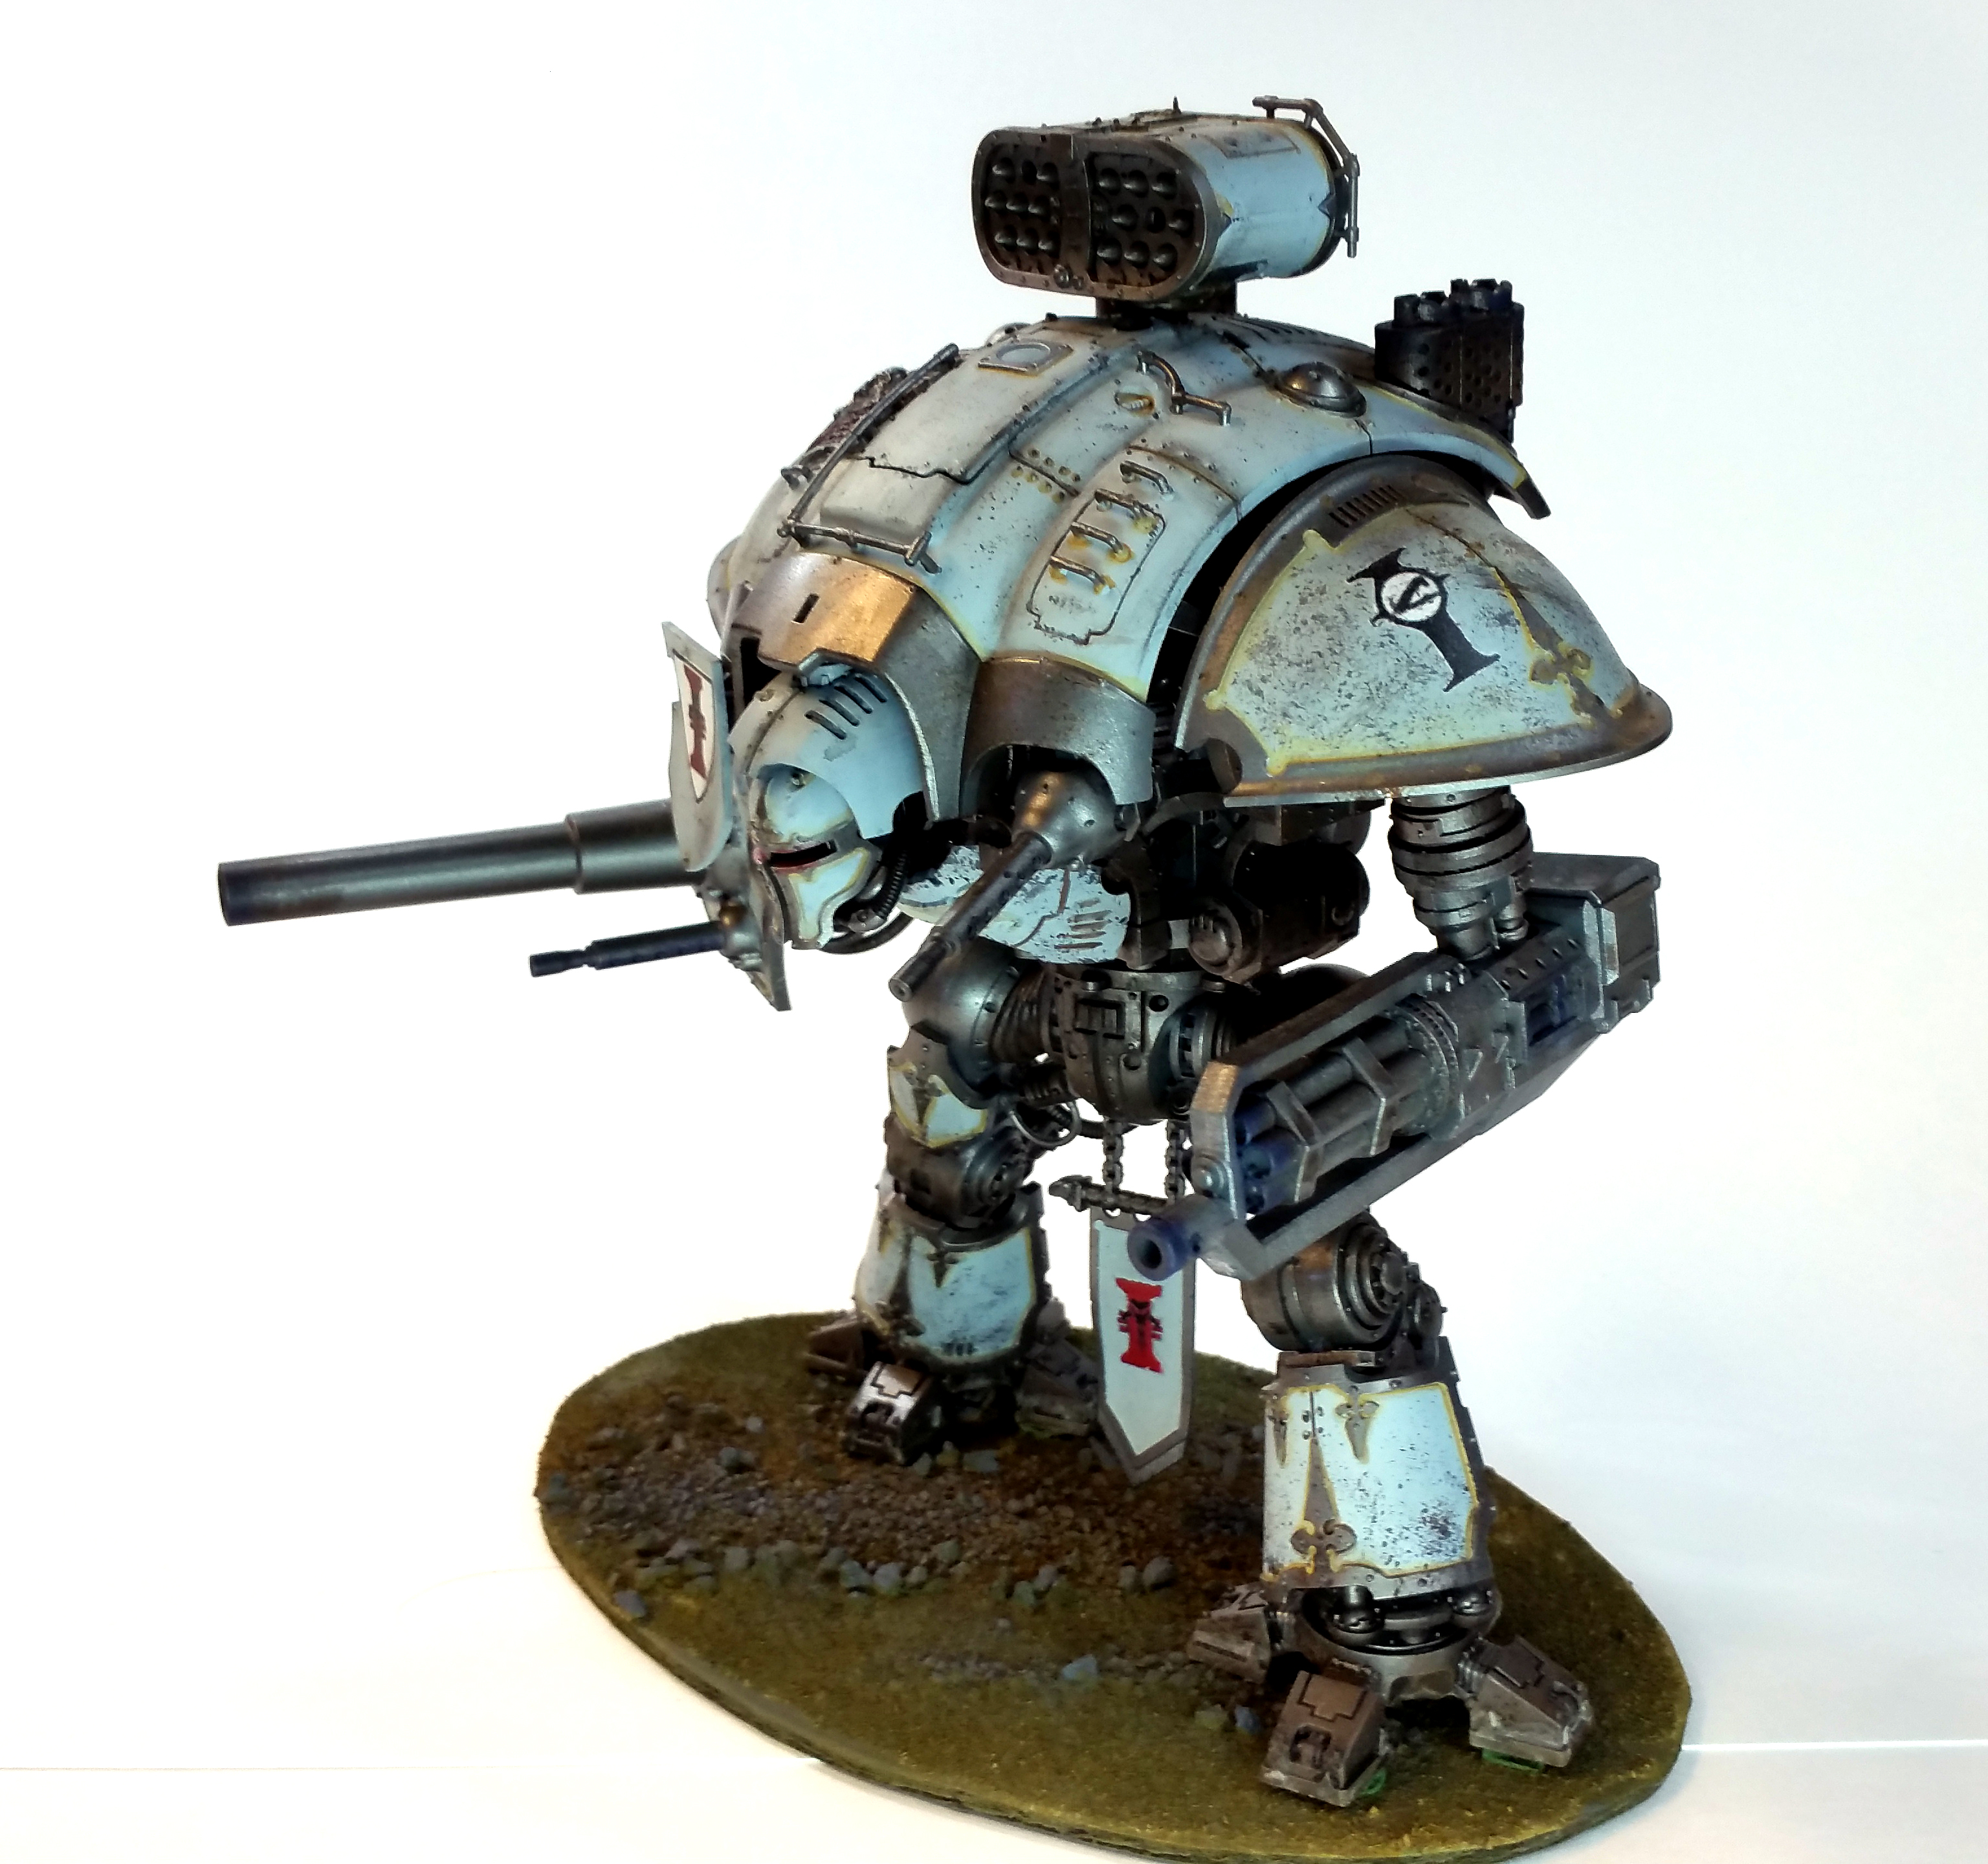
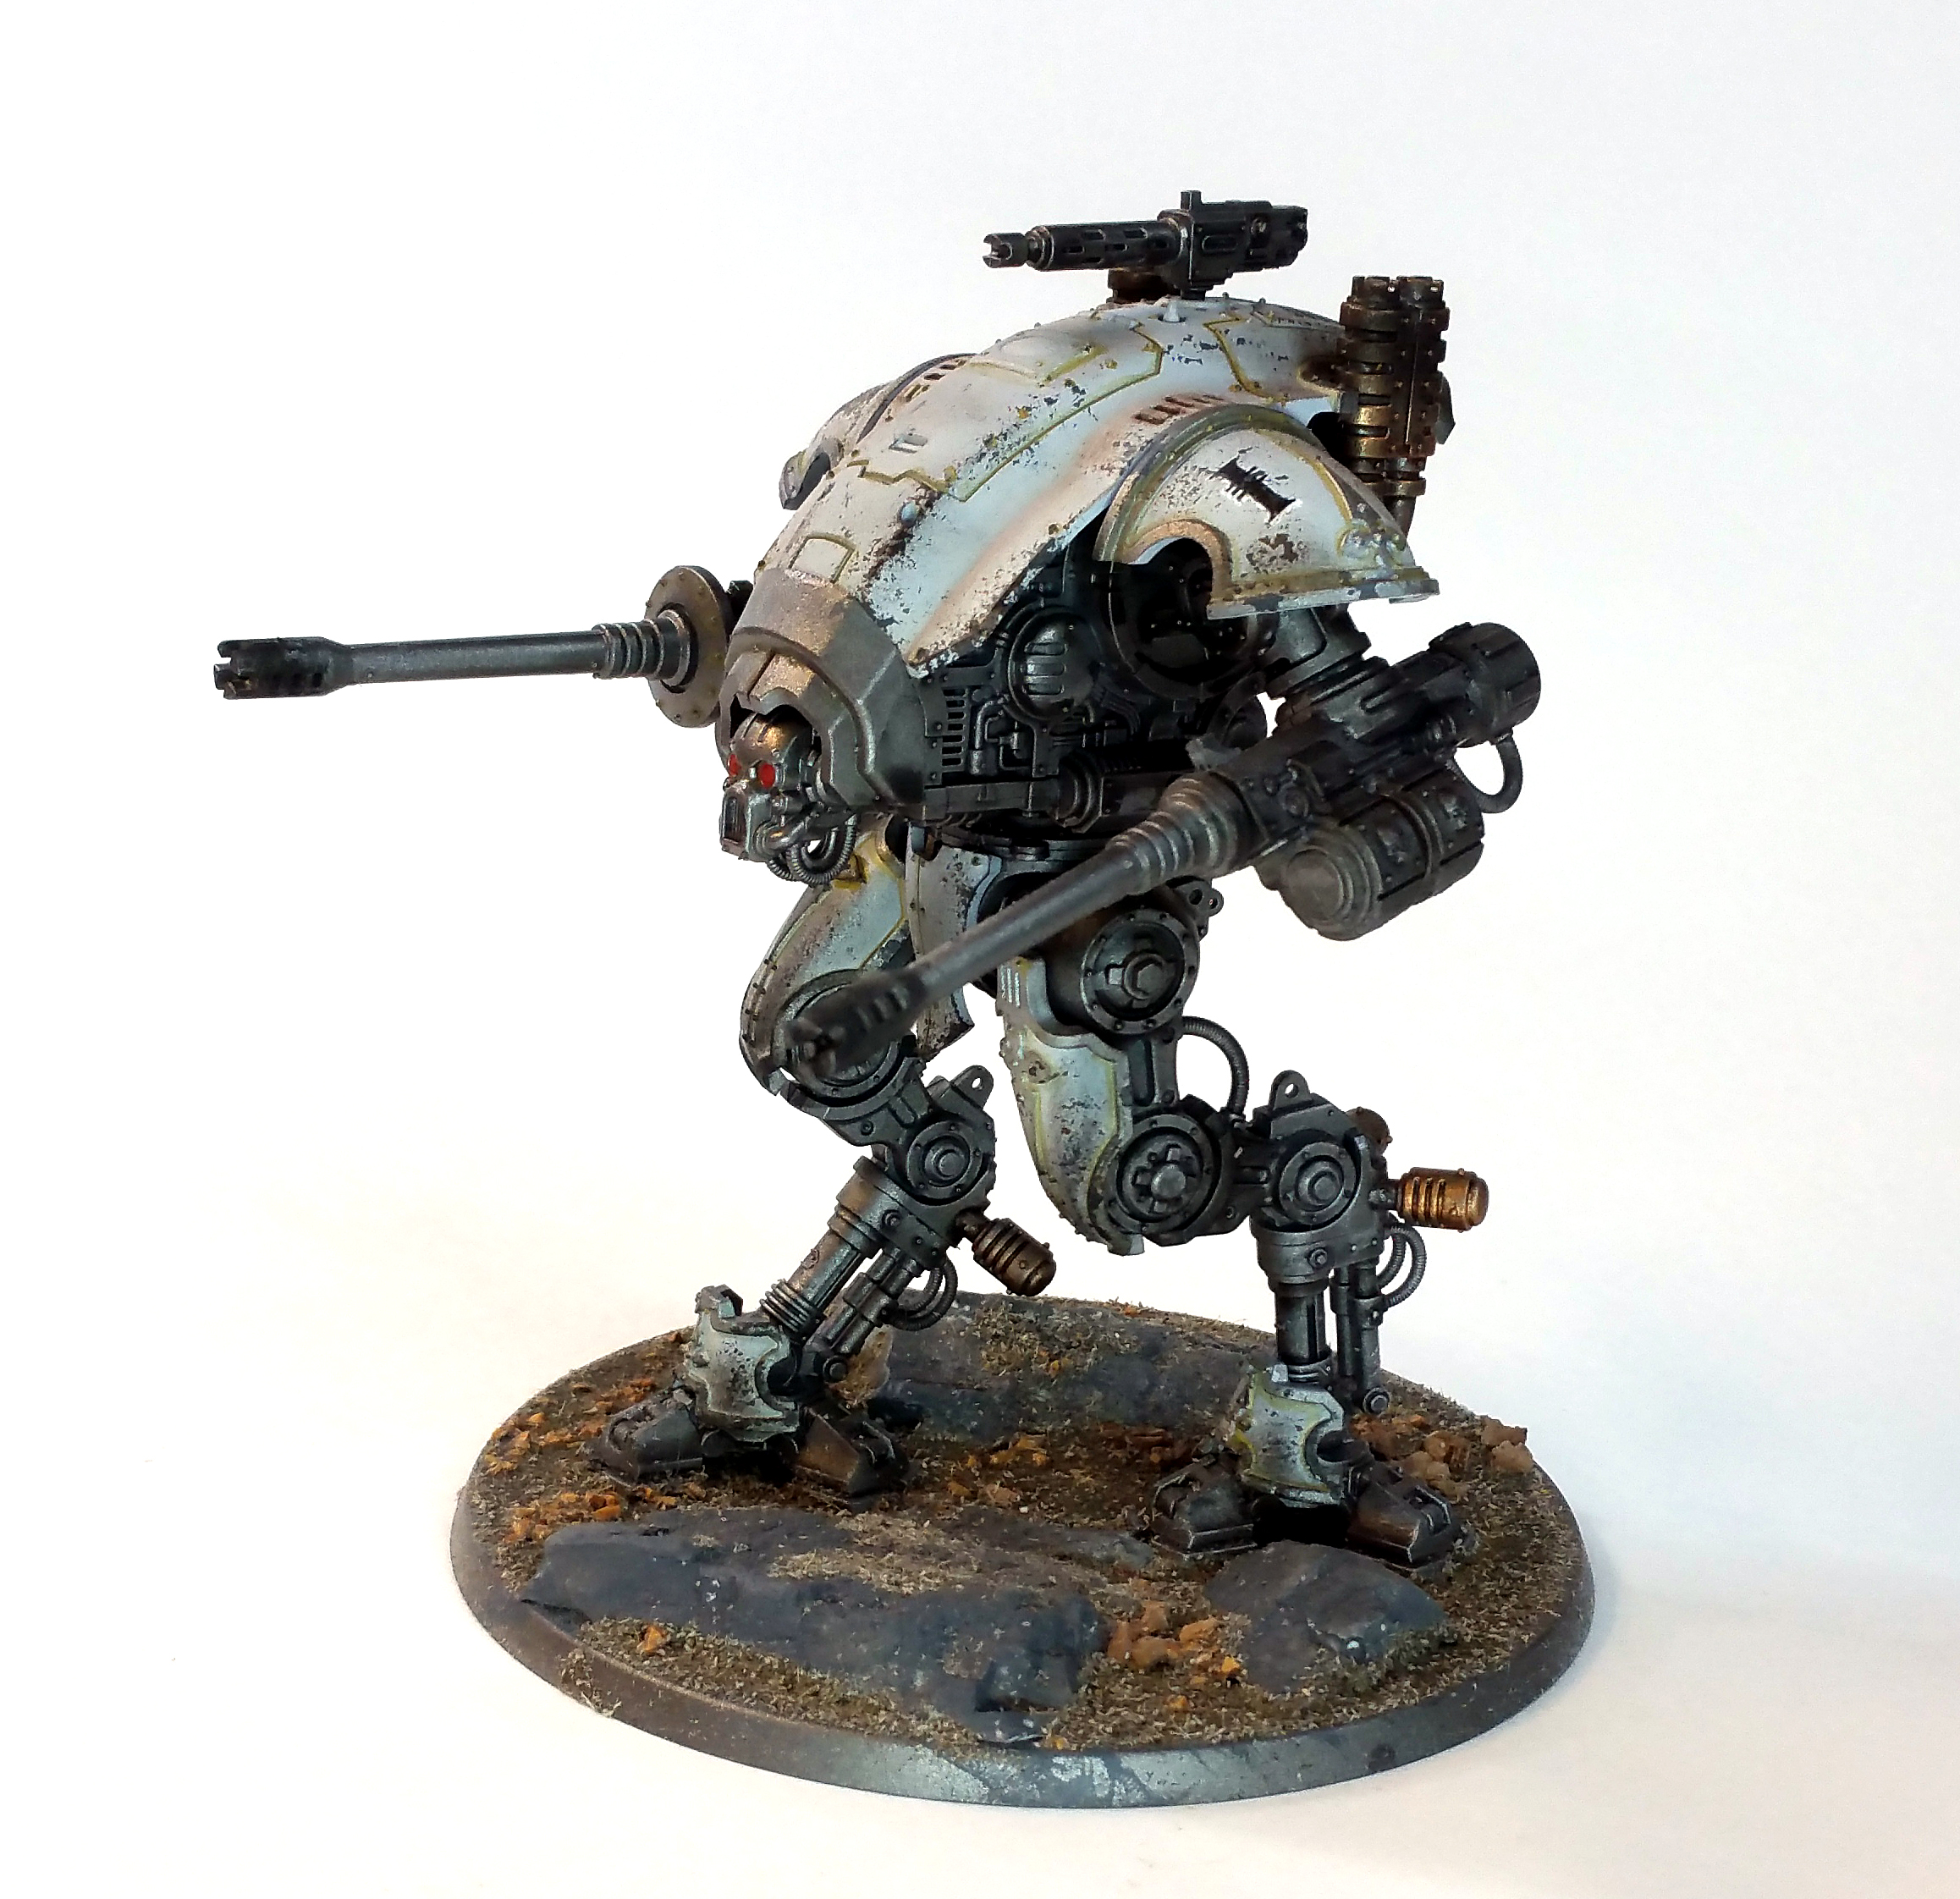
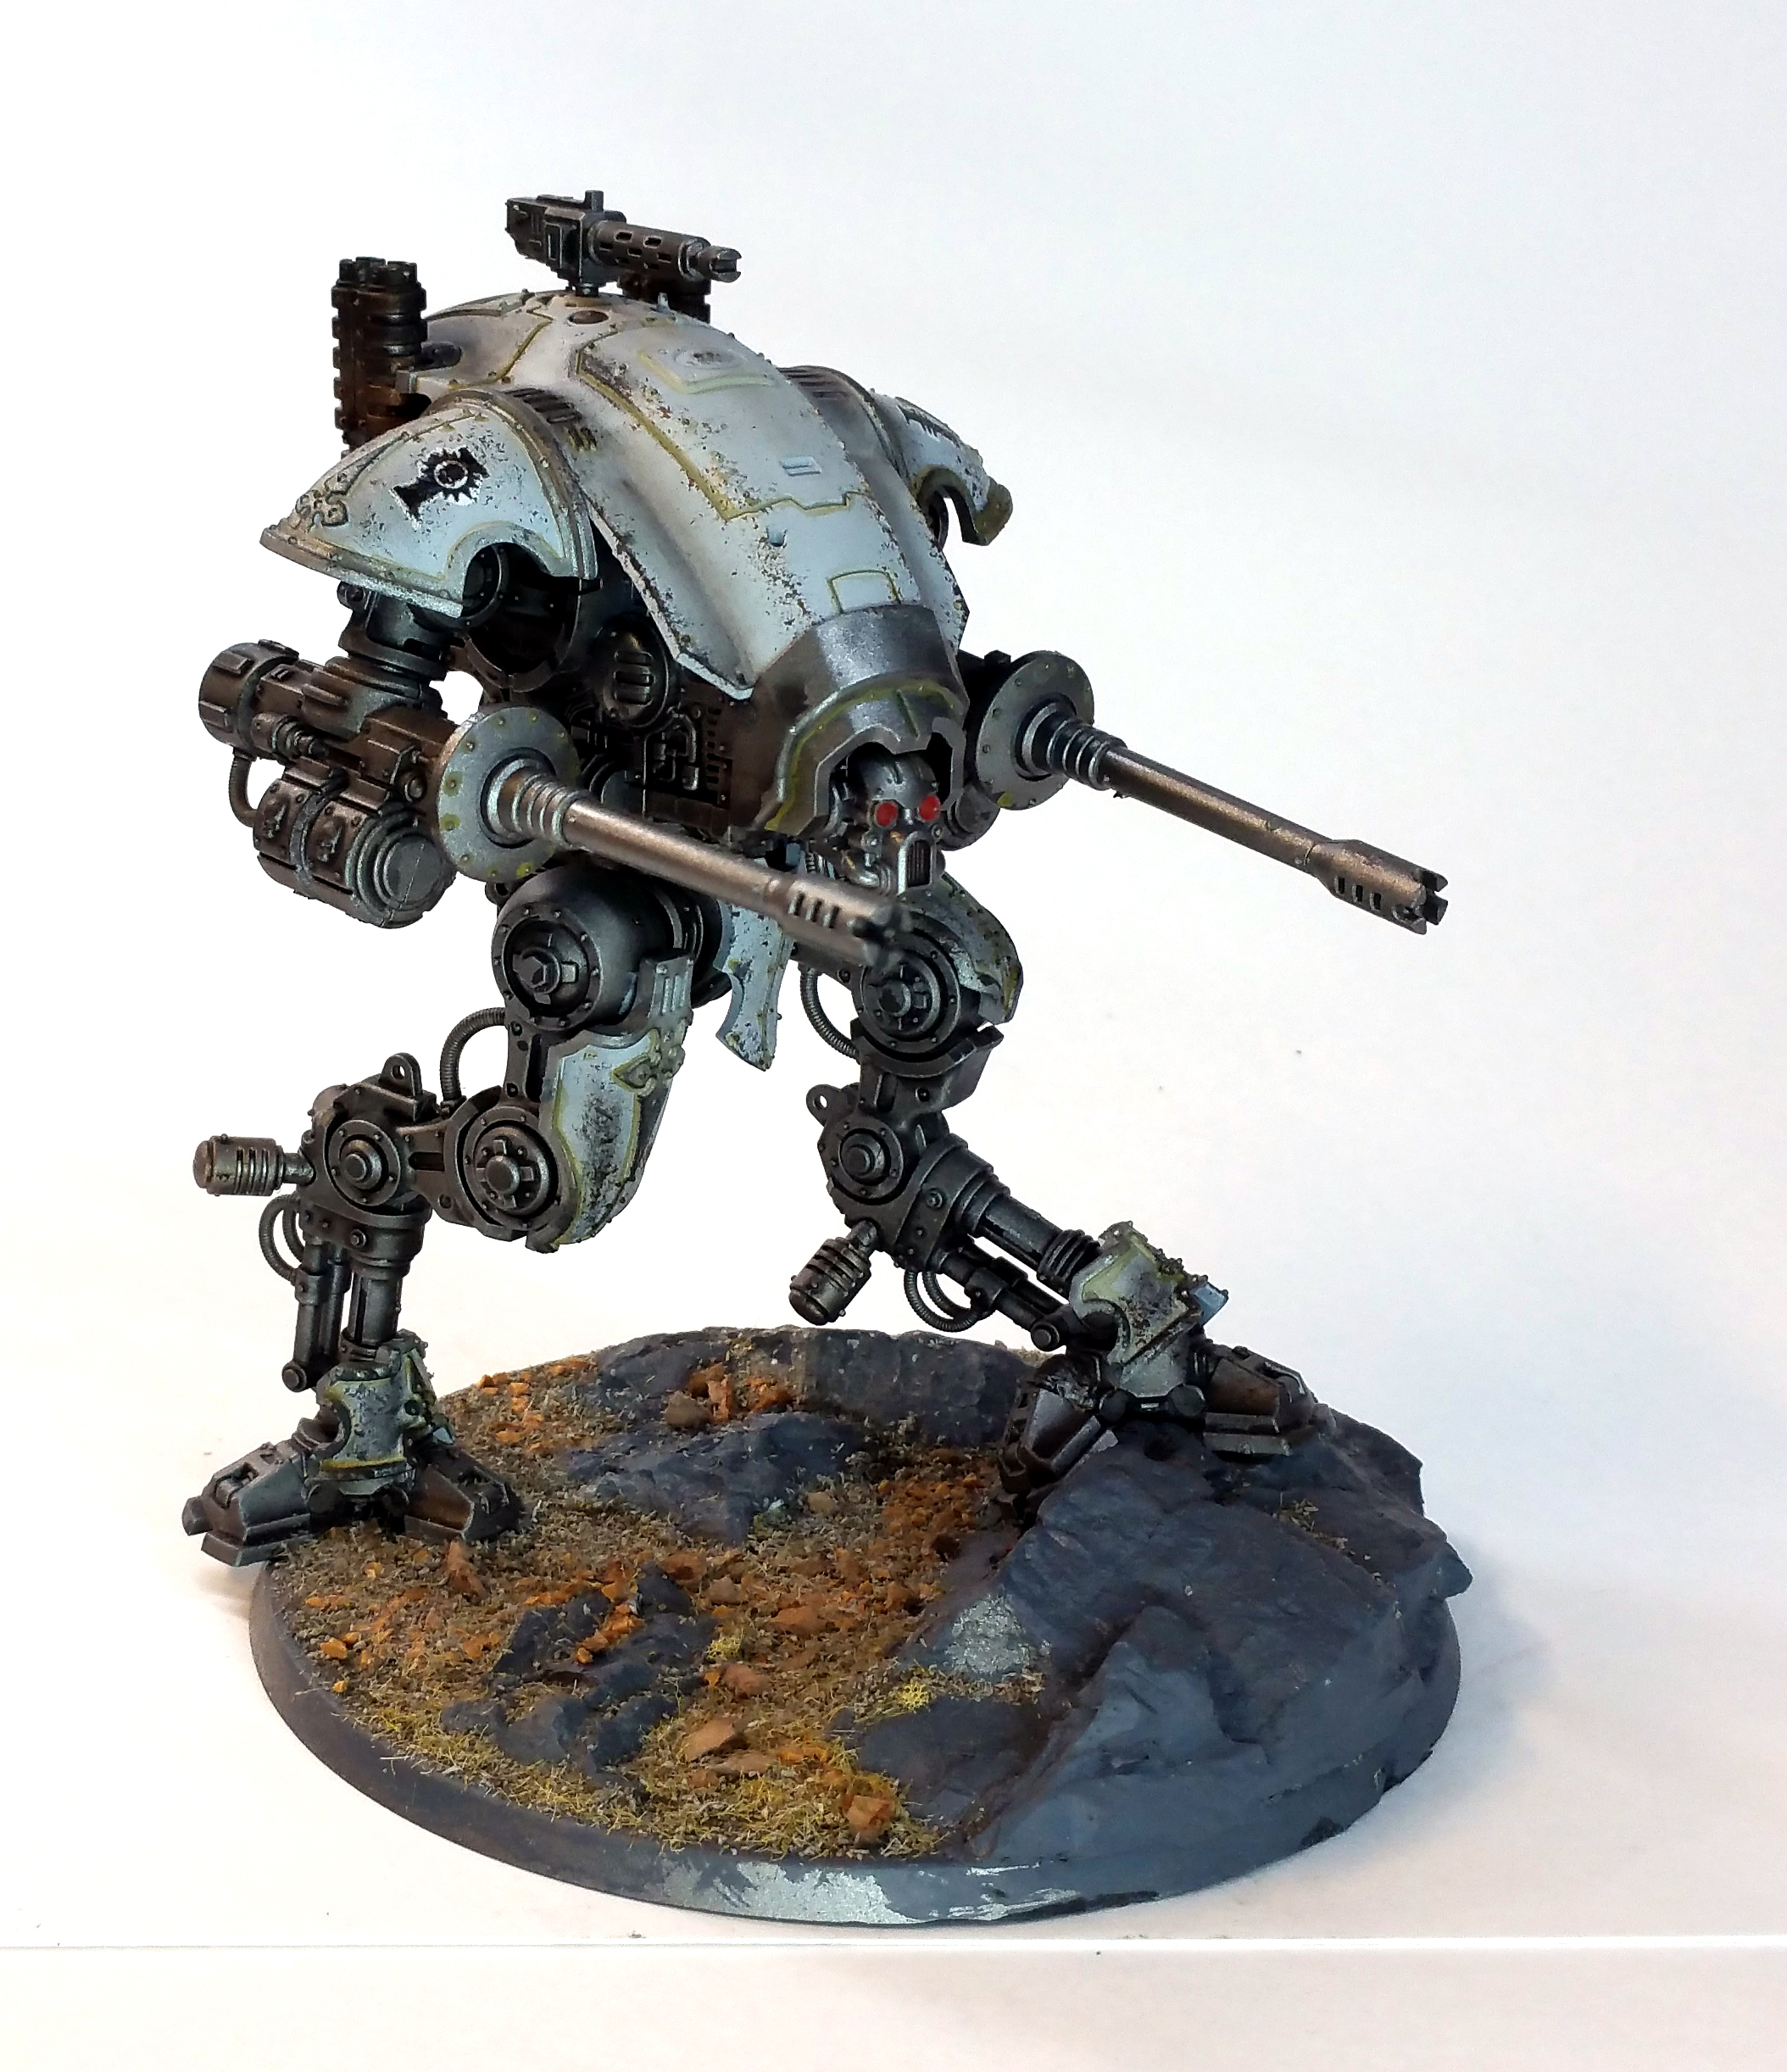
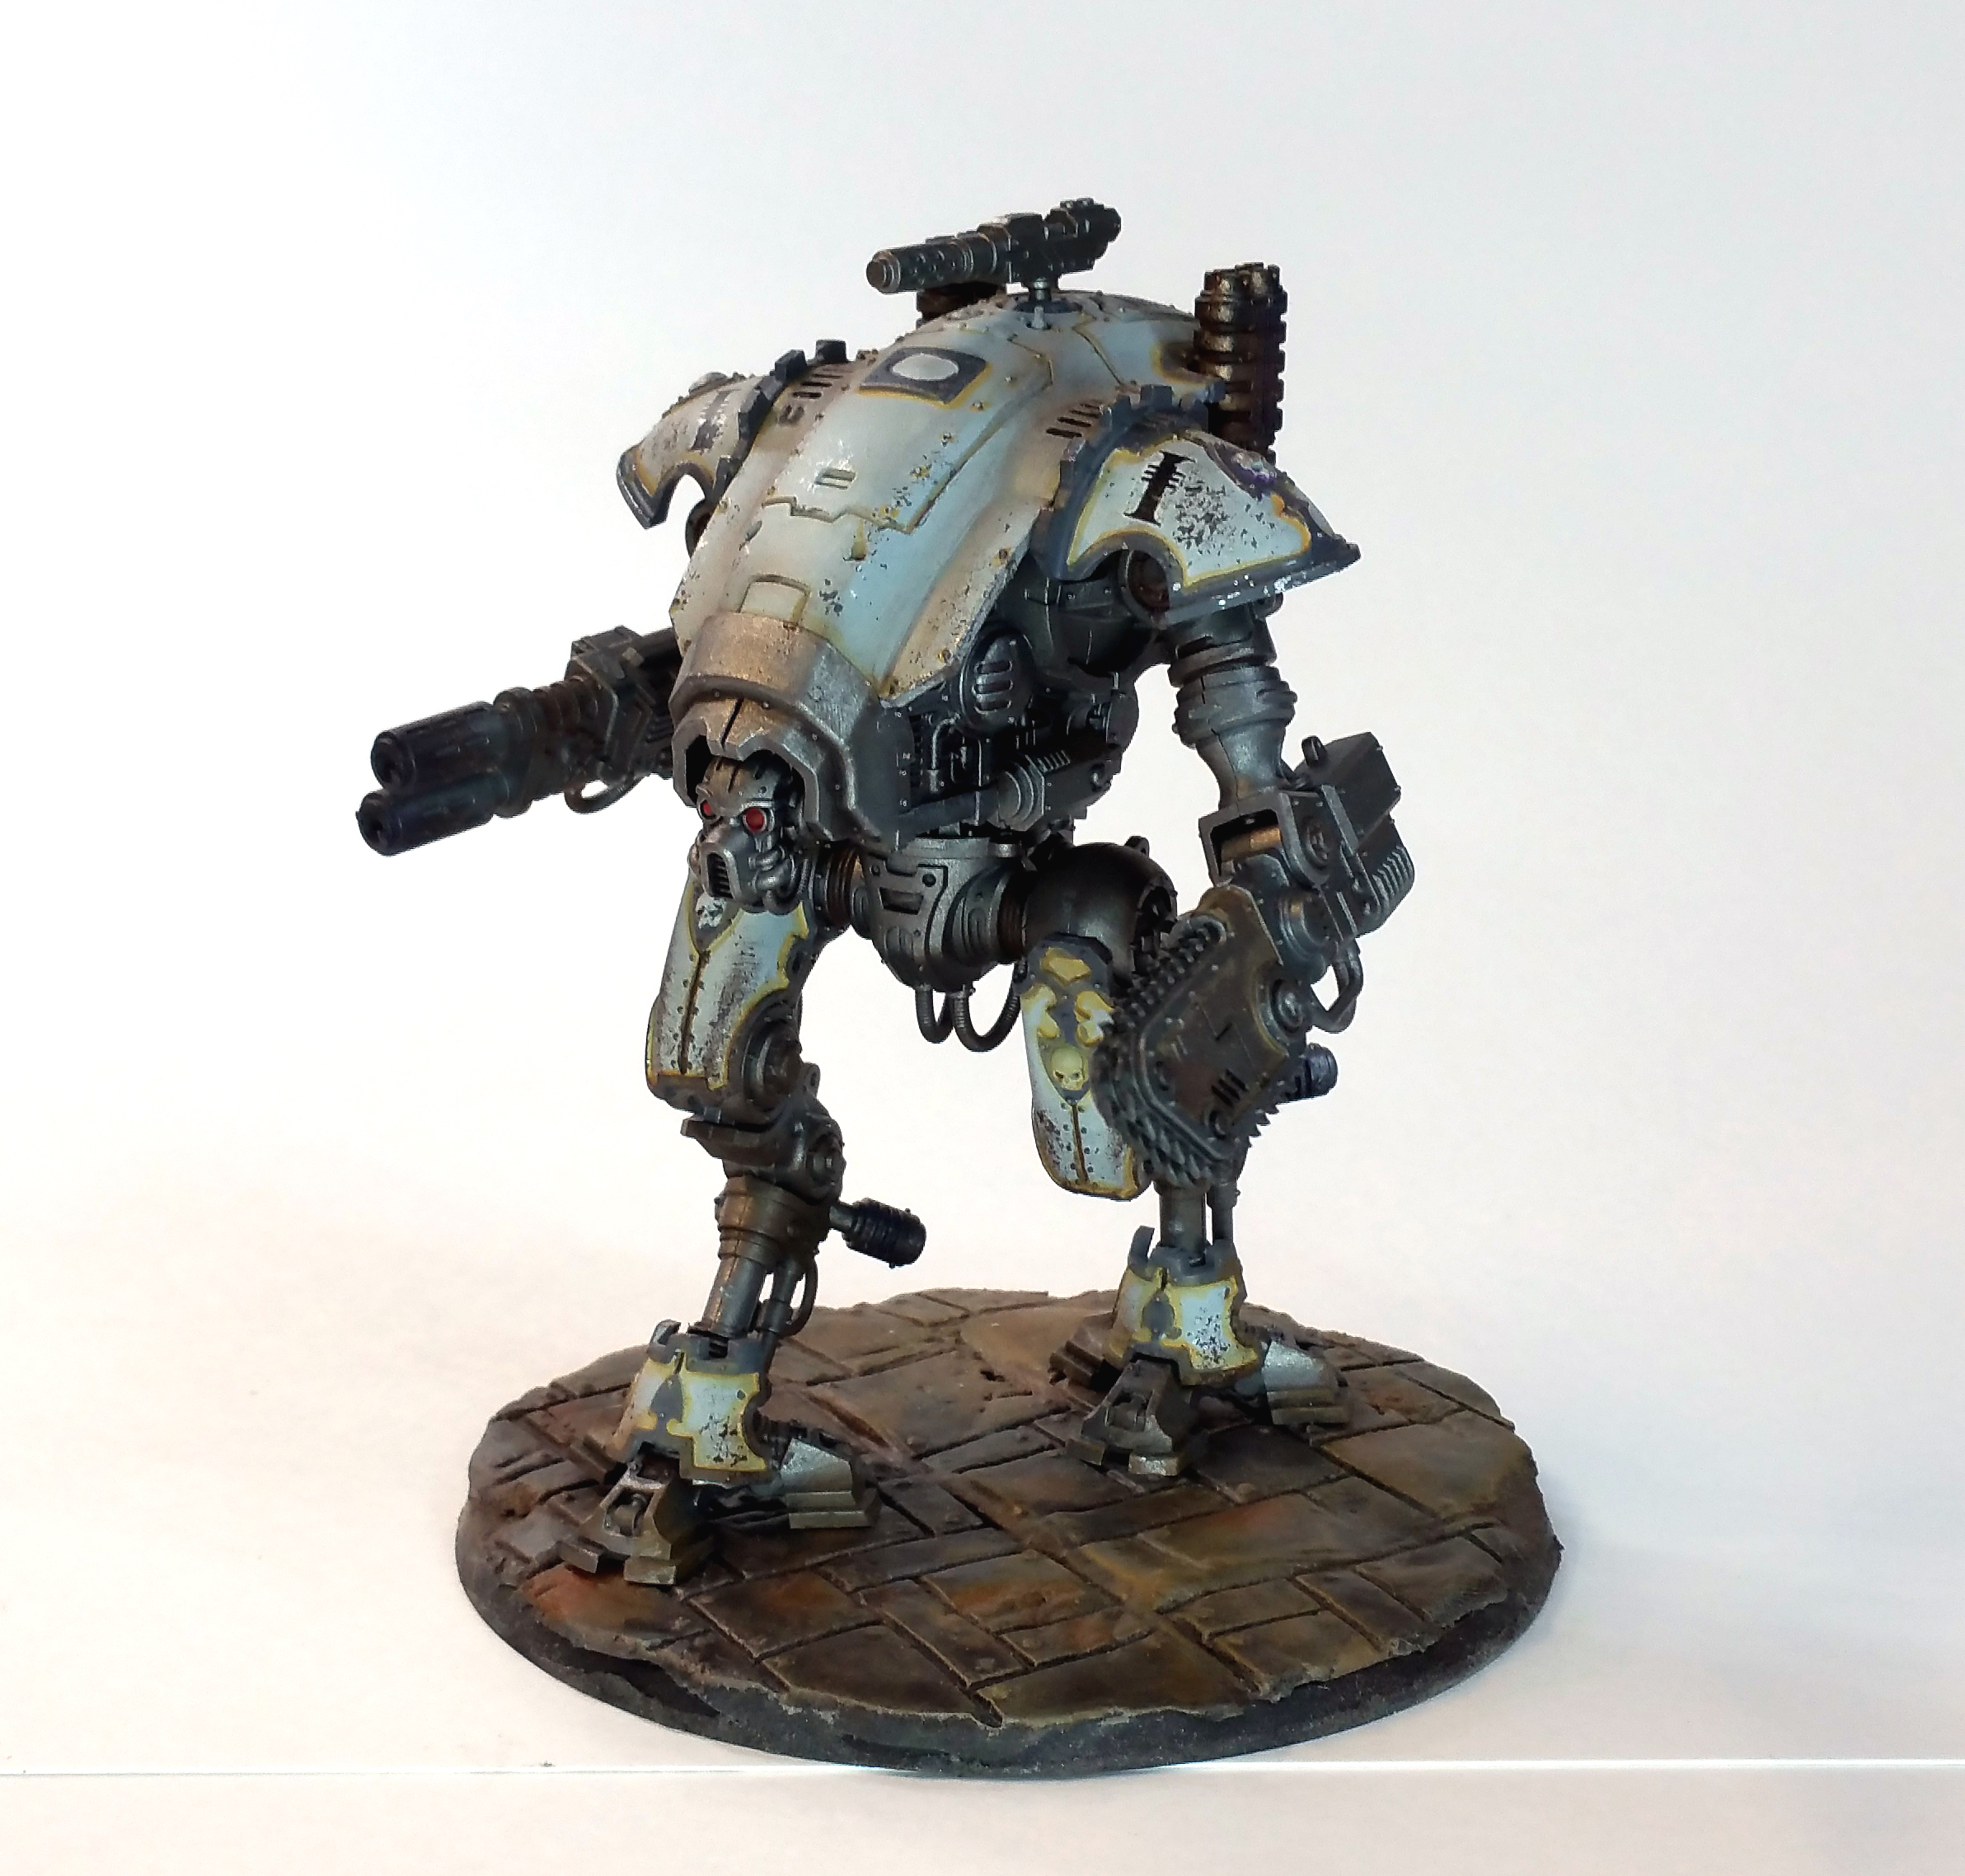
The Crusader Knight is also done up in the glorious Dress-whites of the Inquistion, being the Grand Inquisitor’s companion. As soon as the Armigers came along, it made sense to round out their small band with a pair of Helverins and a Warglaive bondsmen. All of the Grand Inquisitor’s primary team are in the pure white paint scheme, with inquisitorial iconography all about. I did some creative casting to make the leg plates and shoulder icons for the Dreamforge leviathan and Inquisitorial icon on the Crusader’s carapace.
Painting the white was a challenge I gave myself as “white armor” is hard to make work. I also chose to go with a weathering and painting style more like realistic armored vehicle rather than the highlighting and modulations of traditional GW styles. Using various shades of tans to browns for shading and markings, I’m somewhat content with the outcome.
I did play around with the stance on the Warglaive, just because I wanted something a bit more dynamic.