


Learning to paint Non-metallic Metals (NMM)


Initial build
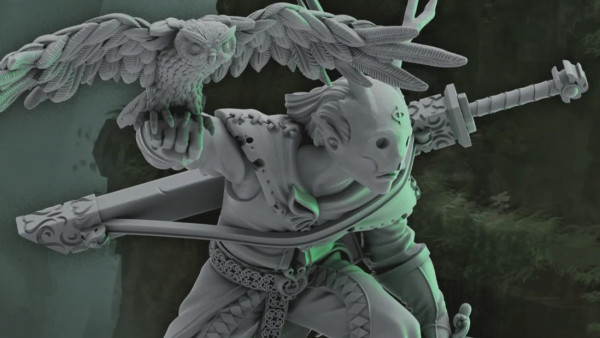
So, armed with a fresh box of Stormcast, the first thing was to build up a model. I wanted this guy to be standing in the ruins of an ancient temple, ready to cleanse the crap out of anyone in his way!
First steps involve rolling out the temple base, using a roller from Greenstuff World:
 Sculpey works reasonably well, and is simpler/cheaper to use than green stuff. It can be a bit soft though.
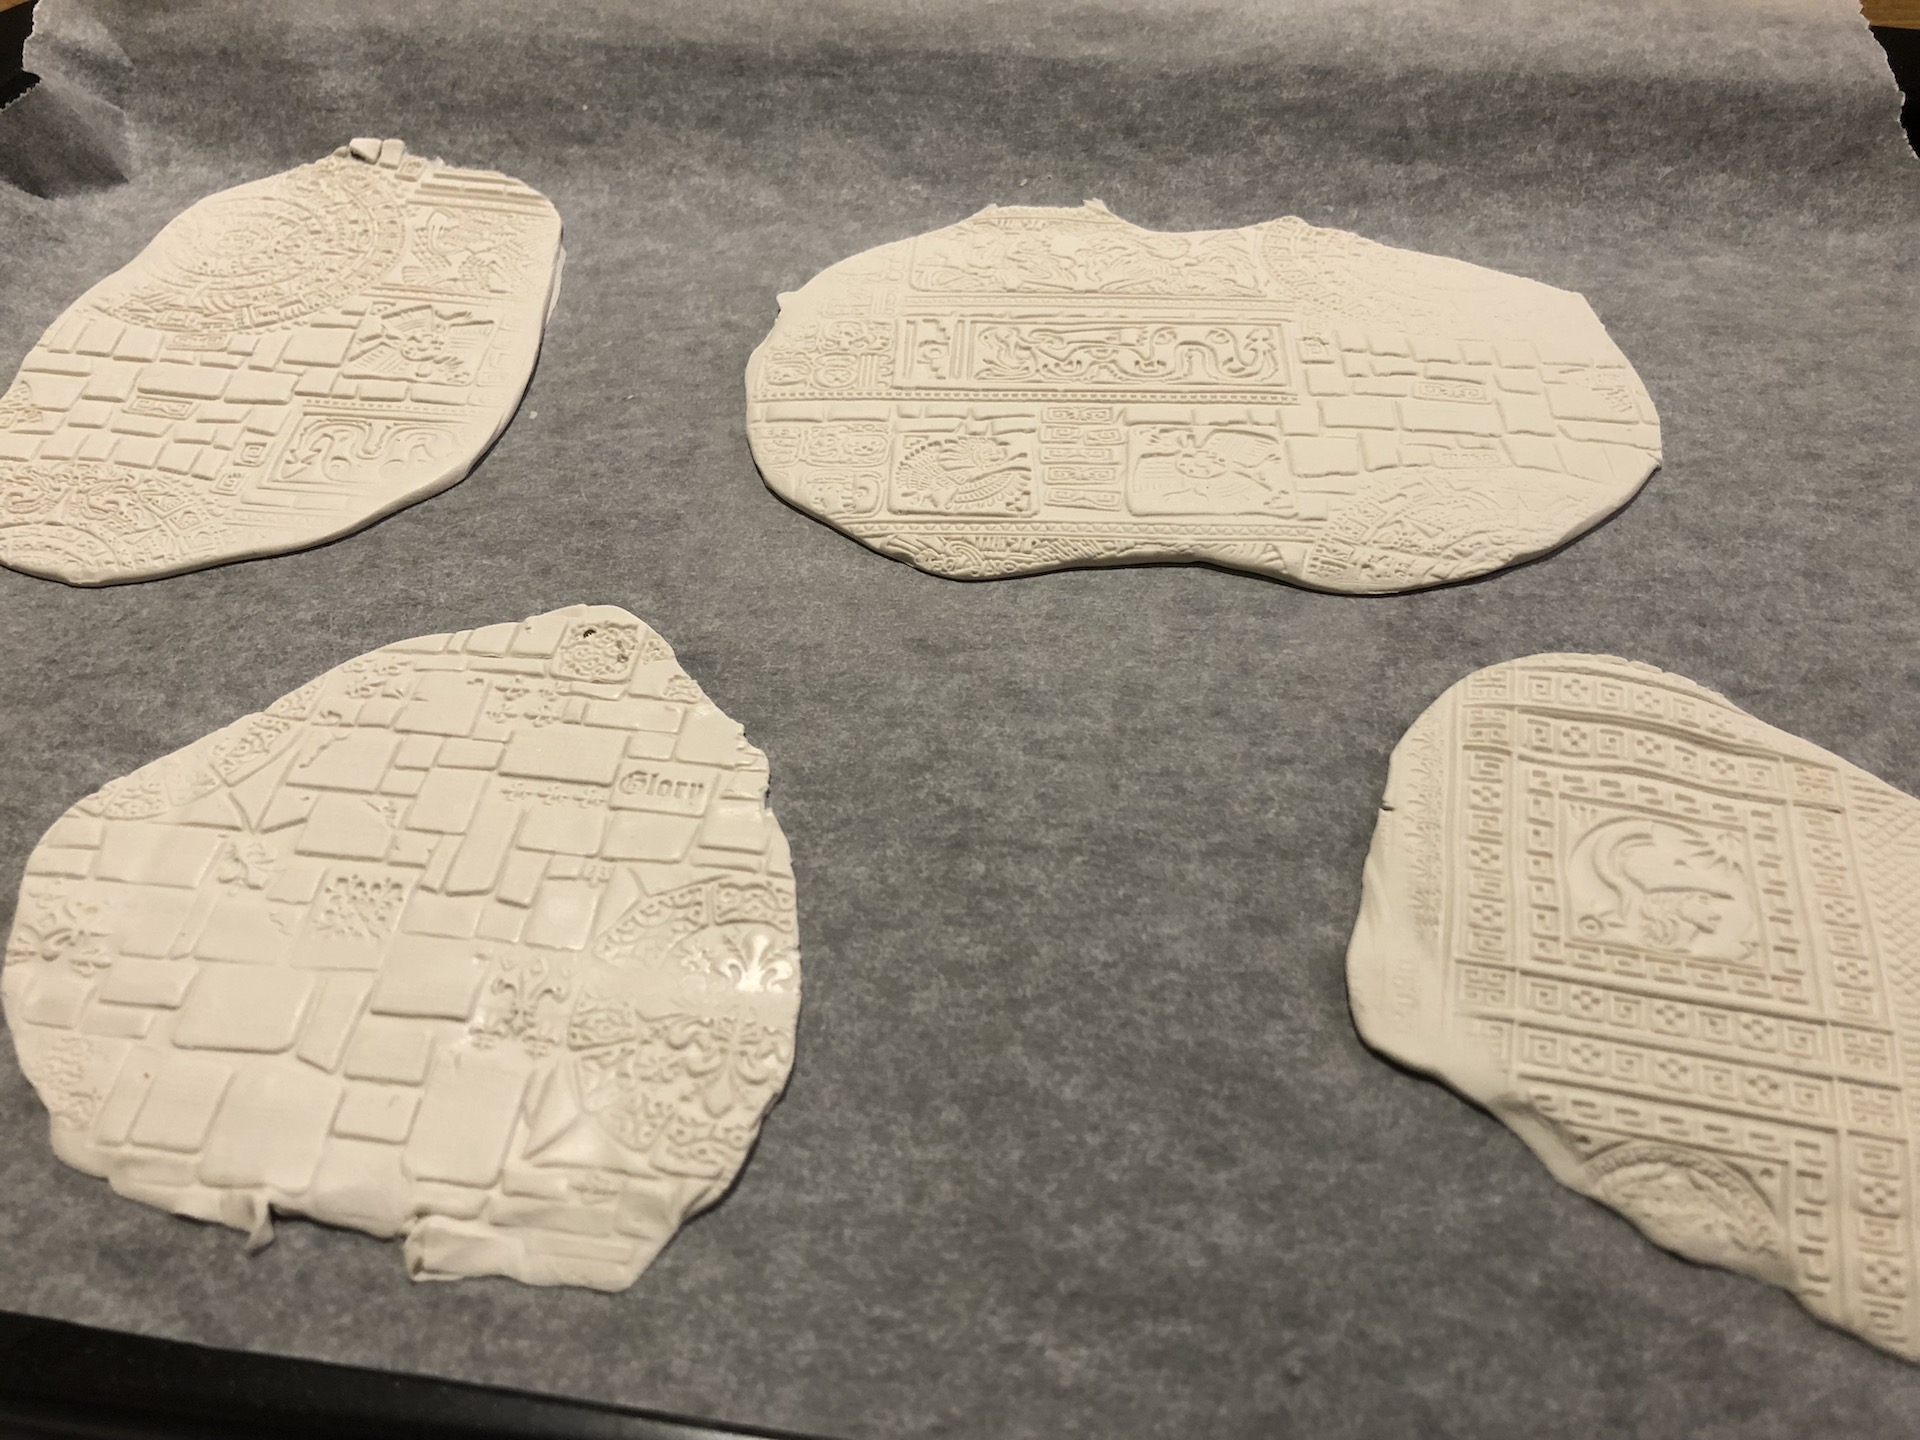 Sculpey rolled out, a little cornflour on the roller / clay helps avoid things sticking.
Once the clay is hardened – initially baked in the oven, then I find a night in the freezer helps further harden it – you can shape it for the base. My first step is to take a piece of cork and tear it to a shape that fits the base. You can be pretty rough here and an unexpected tear can often lead to a better shape than one that is carefully planned.
Once you have a shape for the cork, this can be used as a “template” to break off the clay surface. It doesn’t need to be a perfect match as we’ll blend the two together in the next step. Taking a craft knife to the clay can roughen the edges up nicely.
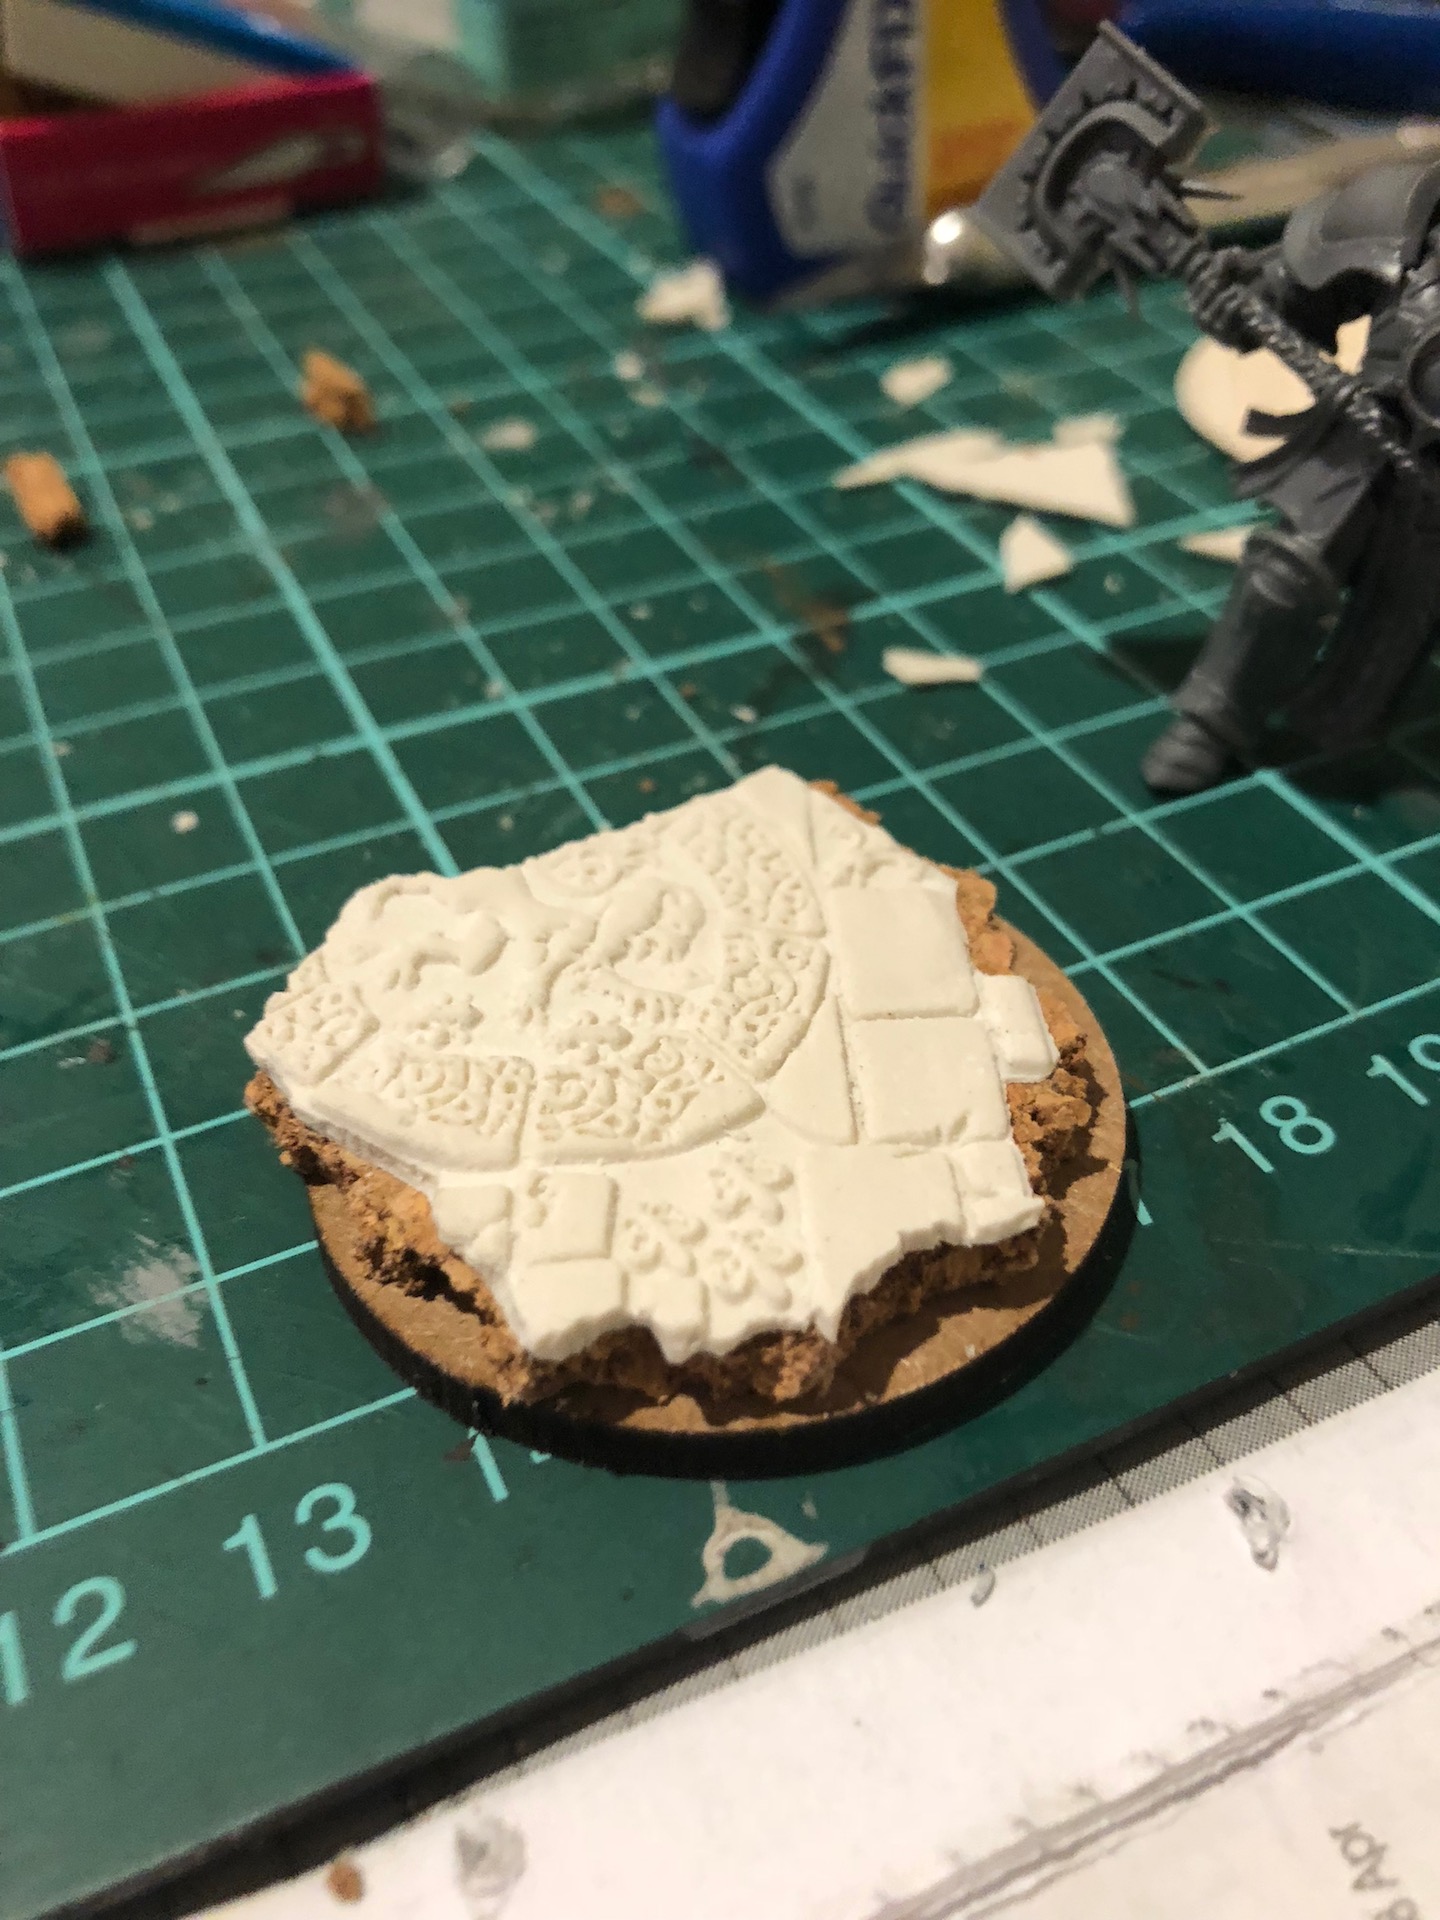 The basic form of the base.
Next up, the cork and top surface are glued onto the base (which also has adhesive magnetic sheet added to the bottom for storage – this stuff is cheap, easy to cut and works well for plastic and resin figures).
In the photo below, I’ve used Vallejo’s Earth Texture to fill out the base, blend the cork and clay together and hide any mistakes! It’s a great material, although you can typically find much cheaper (and almost as good) “modelling texture” gel from the art supply section of a dollar / pound store.
While the texture paste is still wet, I add some larger bits of gravel and then smaller sand / grit – no need to cover everything, we’re going for a variety of textures here.
Also in the photo below, I’ve pinned the model in place (not glued yet – I want to paint base and figure separately).
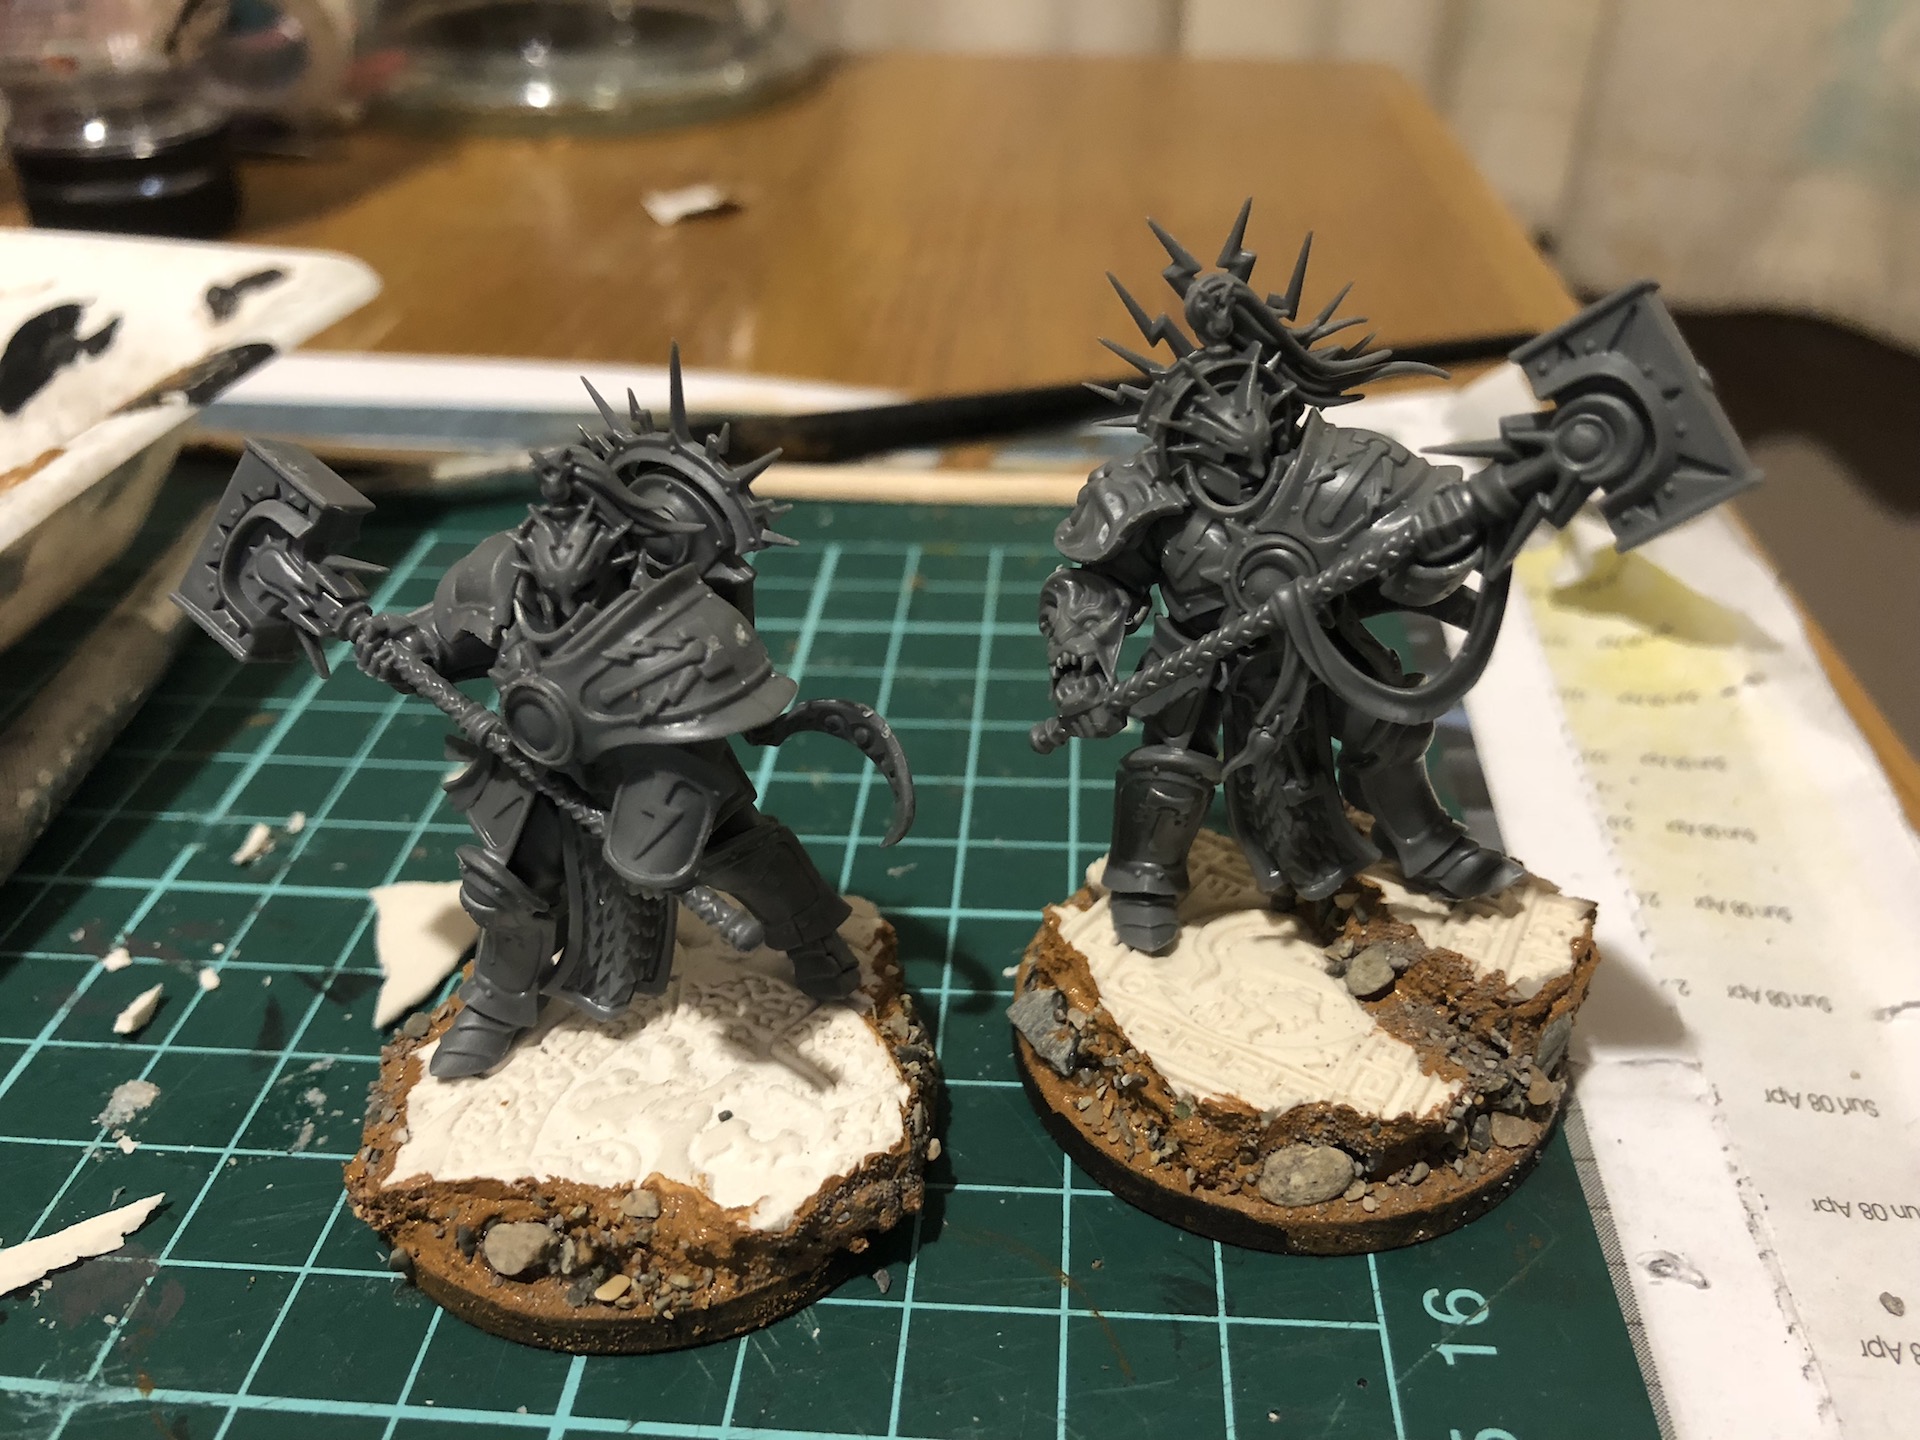 Assembly finished.
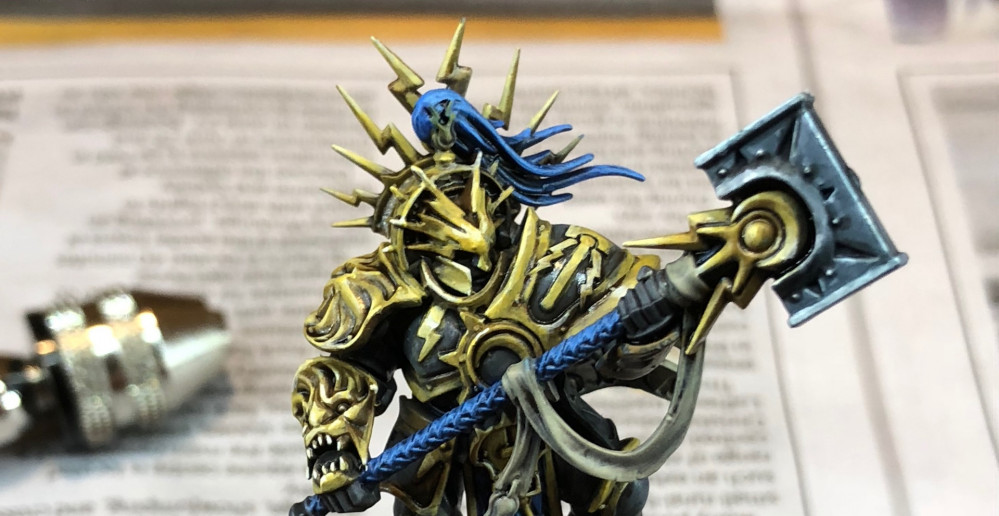
Assembly finished, and we’re ready to get painting. I love this stage, so much potential!
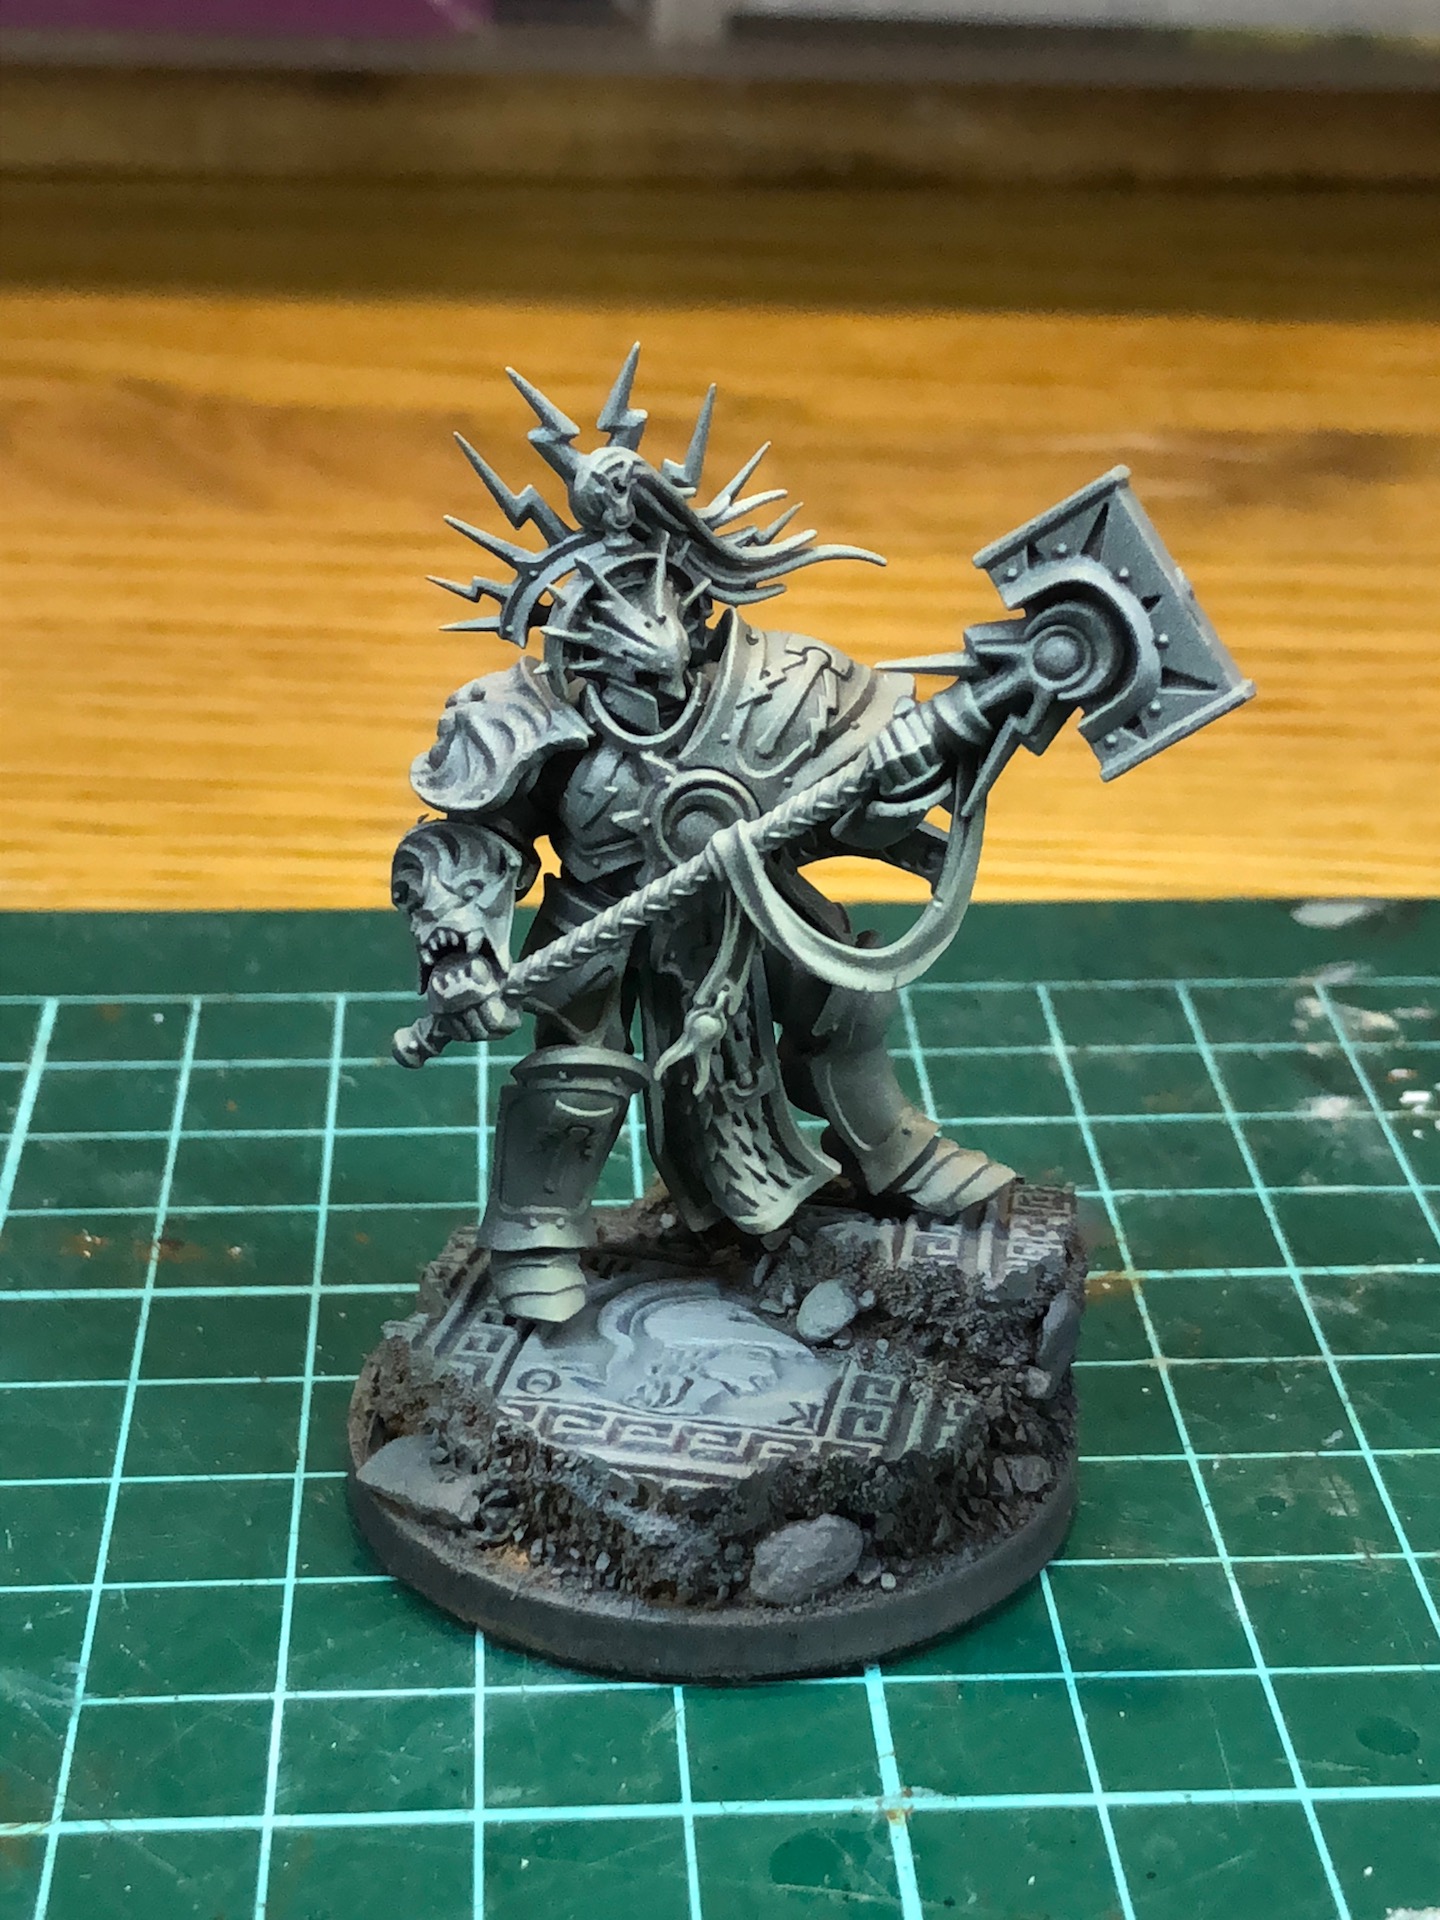 A quick prime...
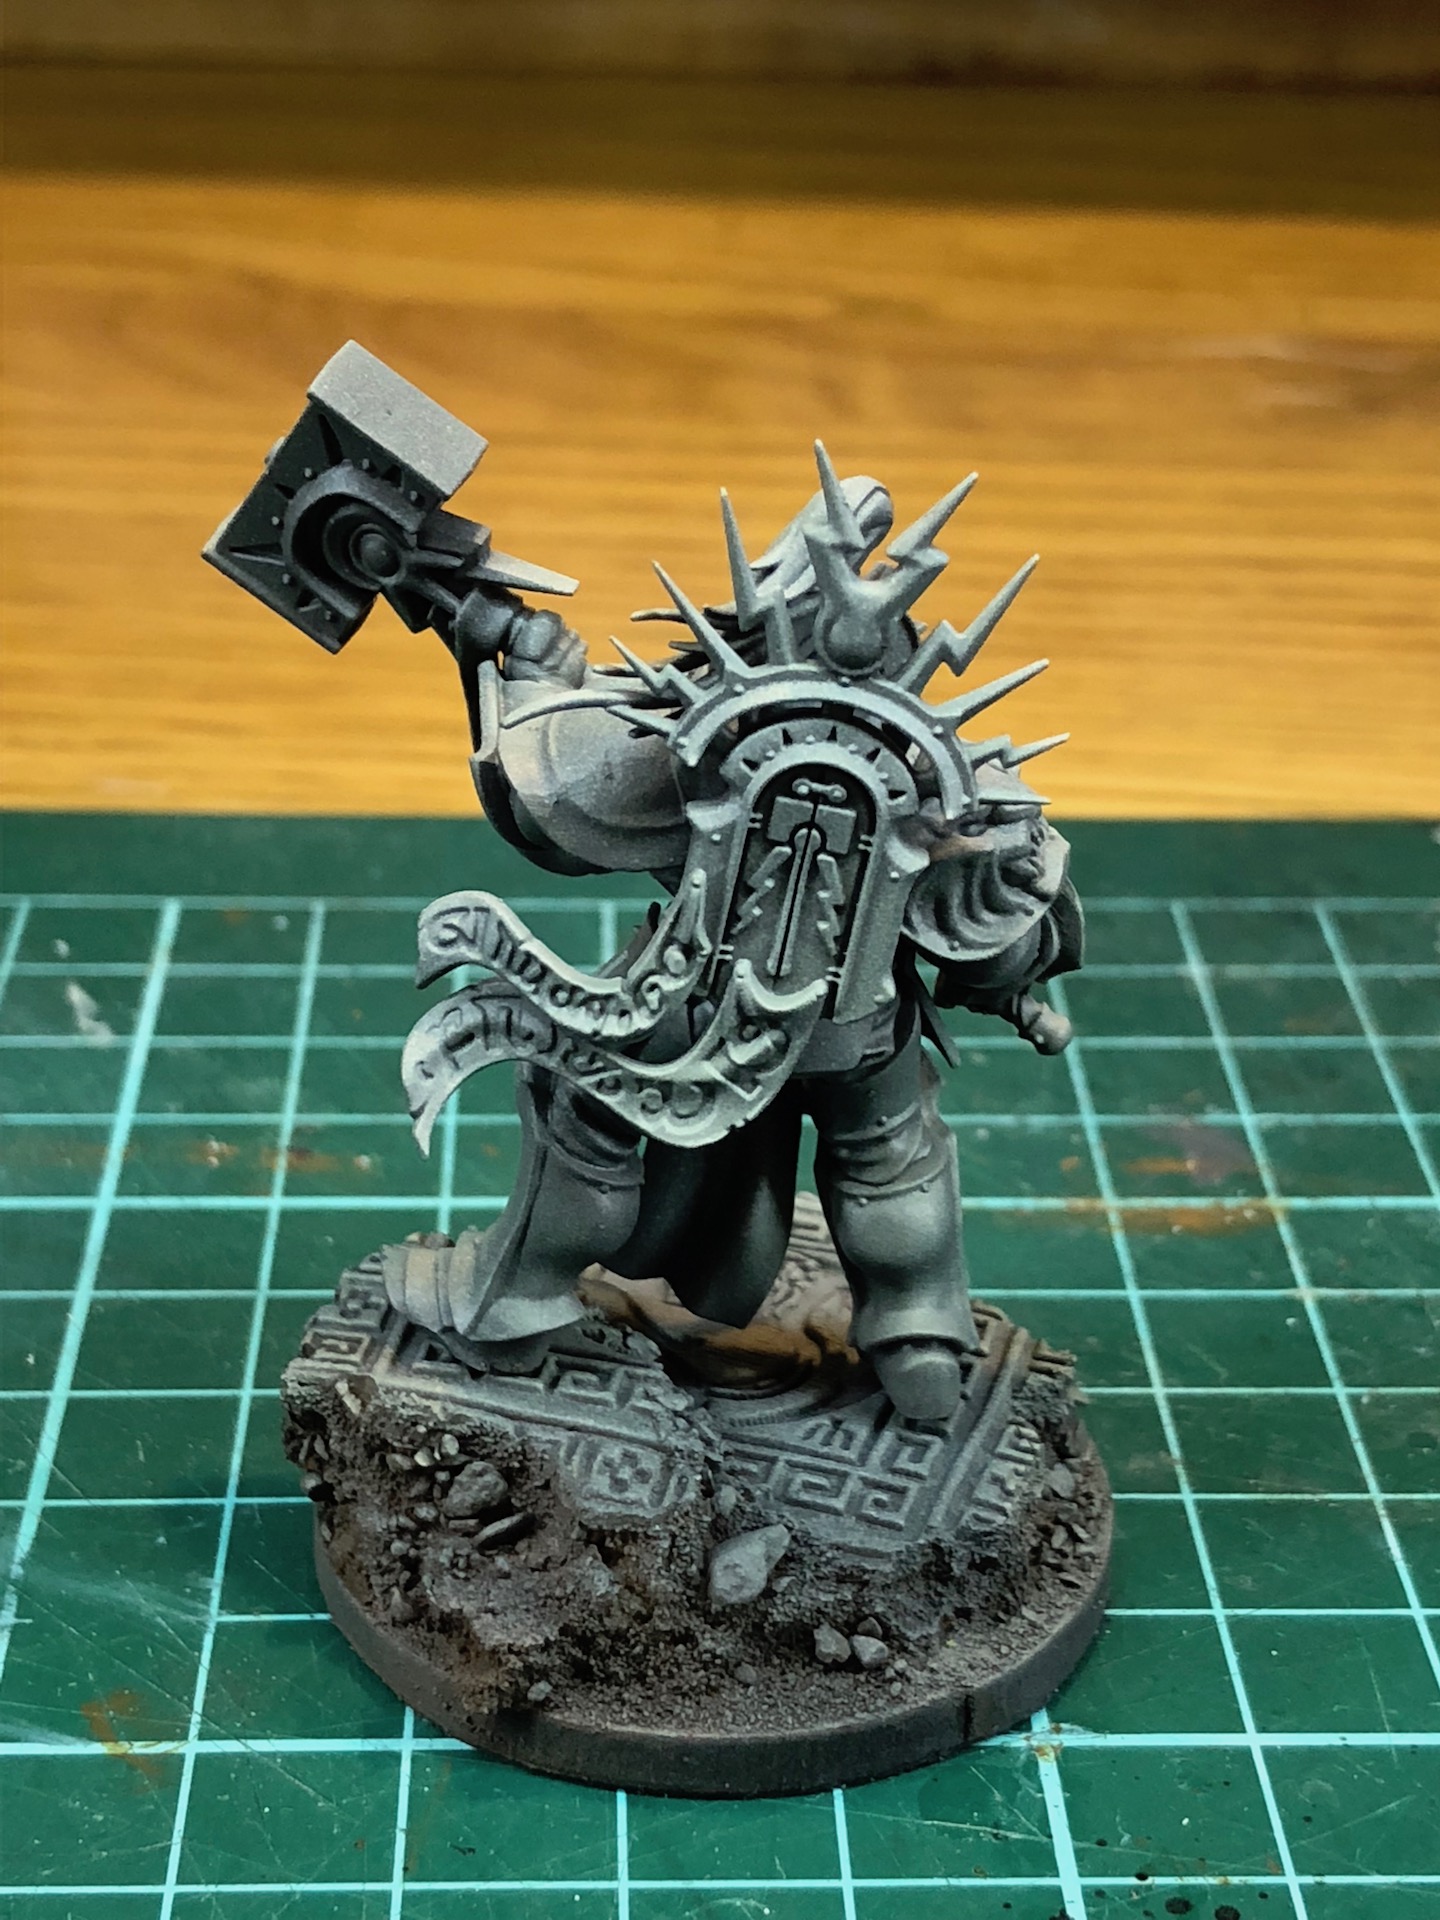


Leave a Reply