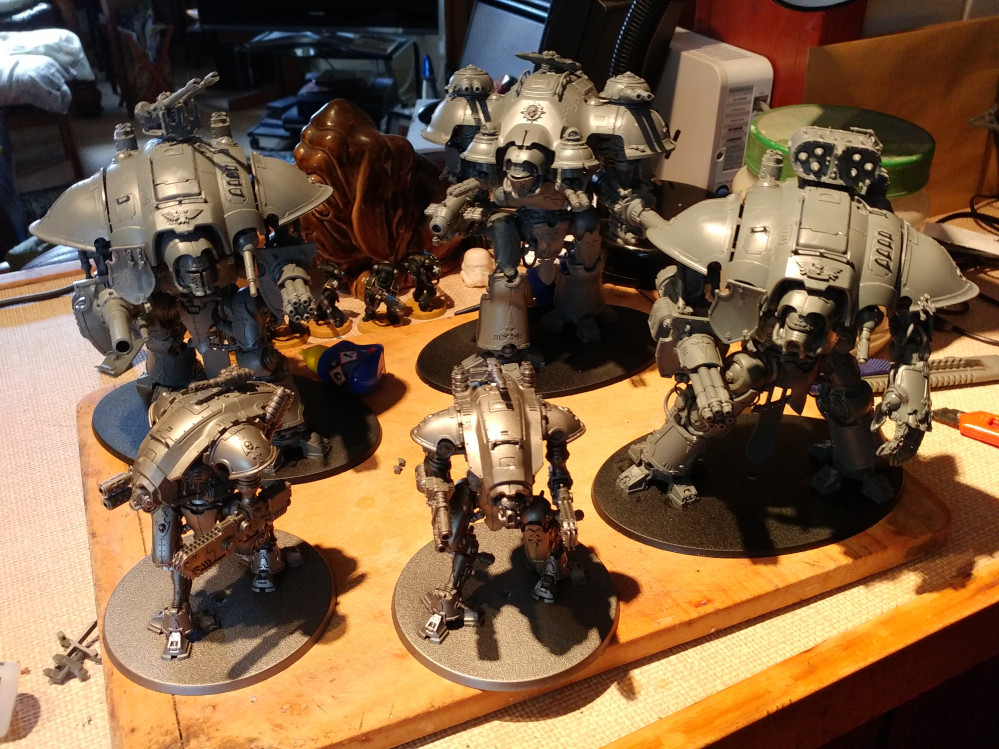
Calling it a Knight
Stage 3 1st Knight and Finishing the Squires
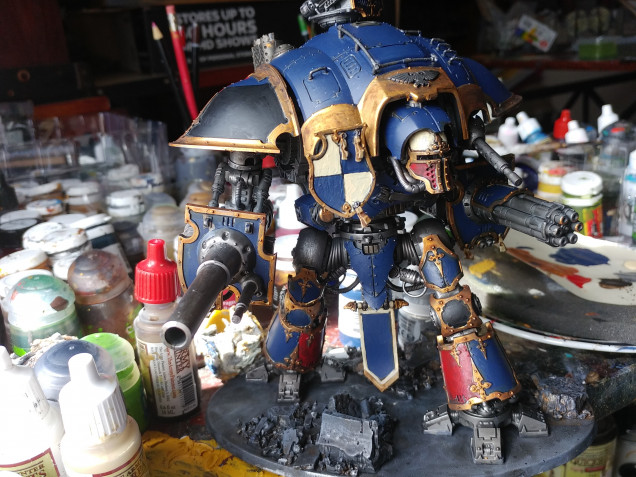
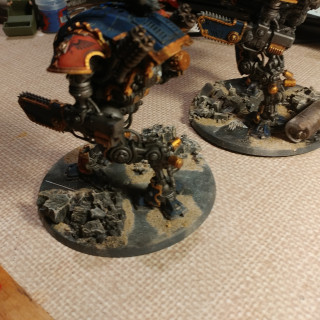
I decided to start the project with the squires, to try out the way I was going to paint them etc. As such it helped in the learning process on painting their bigger brothers. One of the things I realised was needed to better seal the base material as bits were flaking off when dry bushing. I already mentioned that I needed to paint the base colour on the base prior to inking. So last night did that on one of the Knights and then coated the rubble piles with Army Painter Strong Tone dip using the thick varnish to seal it to the base.
Next day I put an all over Nuln Oil black wash on both model and base, then once dry , dry bushed model with Plate metal, and the base Greatcoat grey.
Later I put on the base colours including the Gold
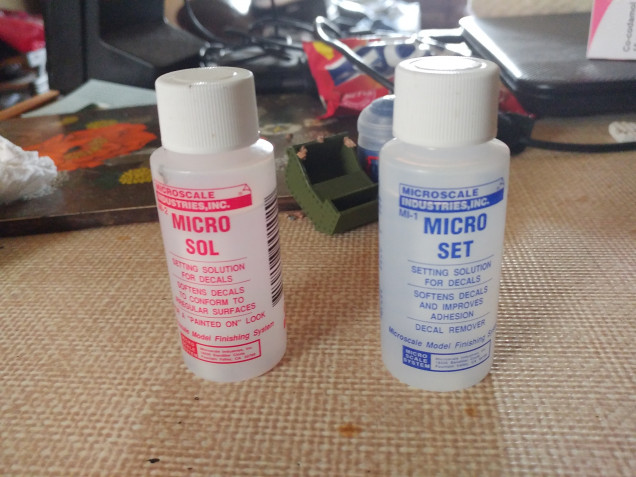
Leaving that model for a bit I returned to the Armigers , now ready for applying the transfers, the models have nice flatish areas but having found it easy to use, still used the John Tutured method of prep area with Micro Sol before putting on decal , then putting another layer on after they are in place. Leaving them for a couple of hours for the backing film to Disolve, finally sealing them in with Micro Set.
Some of the unused transfers such as some thin White lines an half of A White Aquilla were added to the Base to give it a more Imperial Industrial setting
I then varnished the whole model other than the Gold bits in Army Painter Anti shine, the Gold being done in Gloss. To give a bit of a sheen to the metal areas I then Dry brushed Gloss Varnish lighly over the areas to put slight shine to exposed areas.
Now I originally said that I wanted the Bases to be a mix between Urban and Desert.
My Idea was to show an wrecked Urban area where the Sand had begun to blow in from the surrounding Desert, so around the rubble , mixed in with it and in patchs on tarmac, so painted pva over areas and spinkled on librally my desert mix.
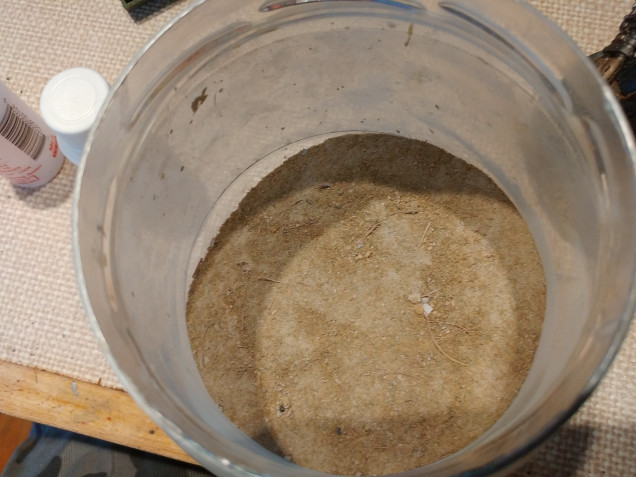
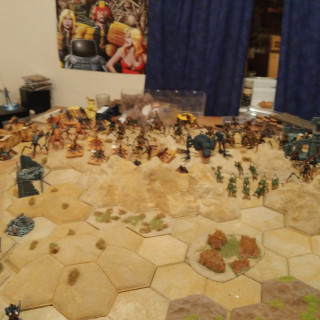
Believe it the mix is over 20 years old , originally made when I actually flocked my Hexon Terrain at the time. A friend at the Club had been working as a consultant at a Lime Stone quarry and had been looking at the bags of powder accumulated on it extraction,to see if it had any commercial use, so had given me a bag to try. On the test tile it had looked a bit flat, so a whim mixed a big bag of fibrous flock that I had brought at Partizan a year earlier, in the Dark not well lit main hall it looked a good sand colour, but on getting outside it was nearly bright orange!
I thought the fibrous nature of it would give a bit of body to the Limestone powder and the powder would dull its bright colour, and boy did it work, the whole terrain ended up with différent layers such as wind and water, plus lumpy rock layers etc


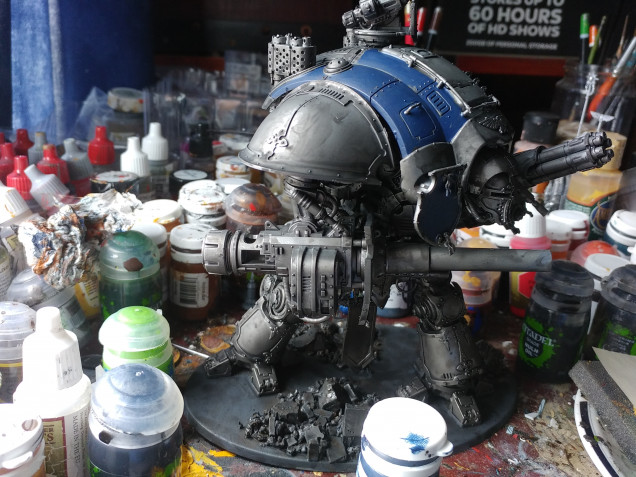
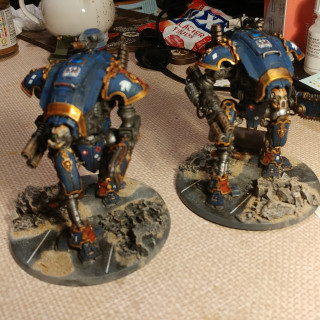


Those bases are awesome, really help with selling the scale of these models. Also, love that classic colour scheme.