Imperial Knights - Bringing chivalry back to 40k
Painting...
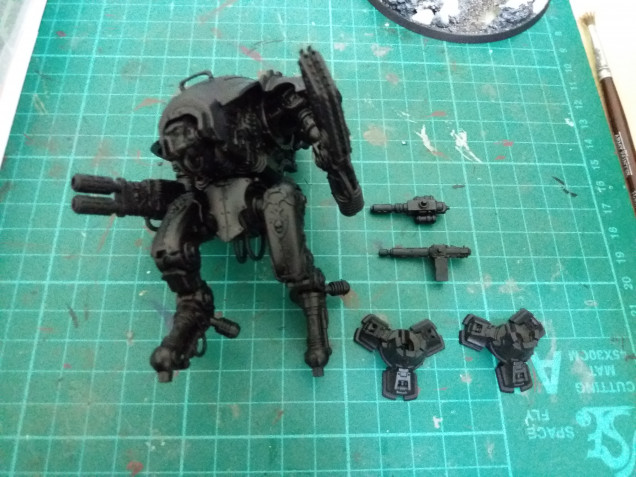
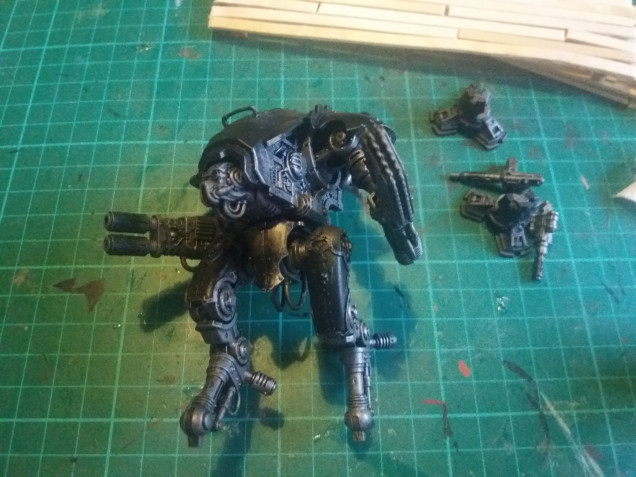
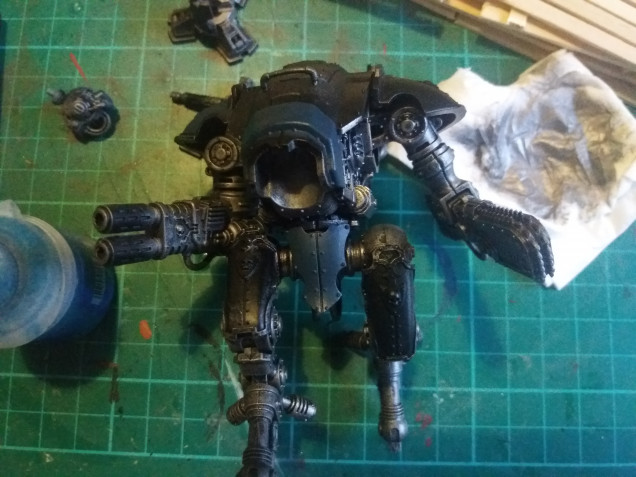
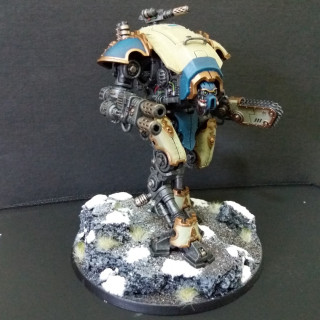
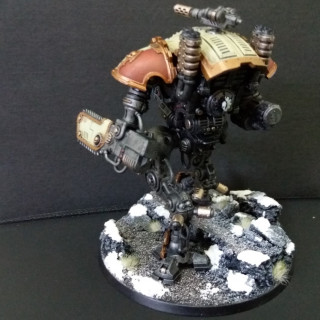
After completing the base I built the model to fit and it was onto painting. The ‘dragon hunter’ vibe I get from House Griffith made this the one for me. Plus this would give me plenty of chance to add some heraldry to the model (If I can ever find some Griffith transfers!).
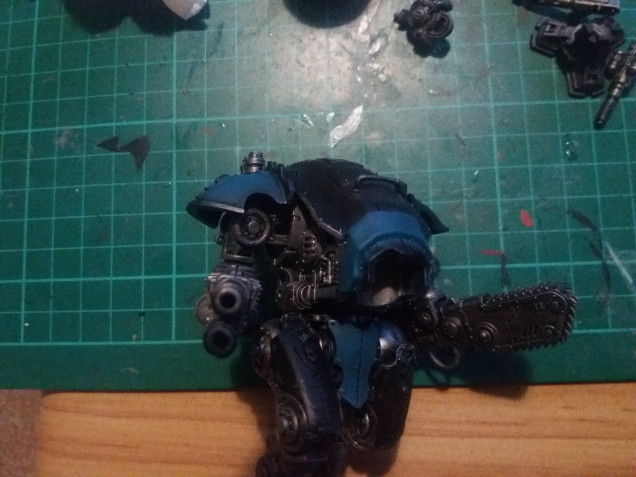 Step 4: Secondary colour highlight, I drybrushed sotek green onto the areas, concentrating on the raised areas and center of the panels.
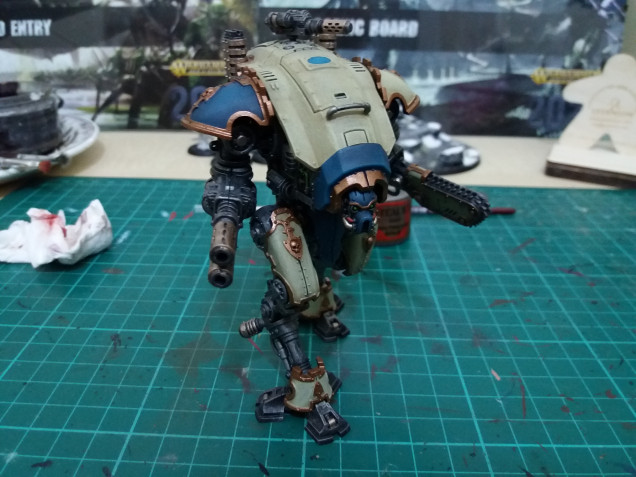
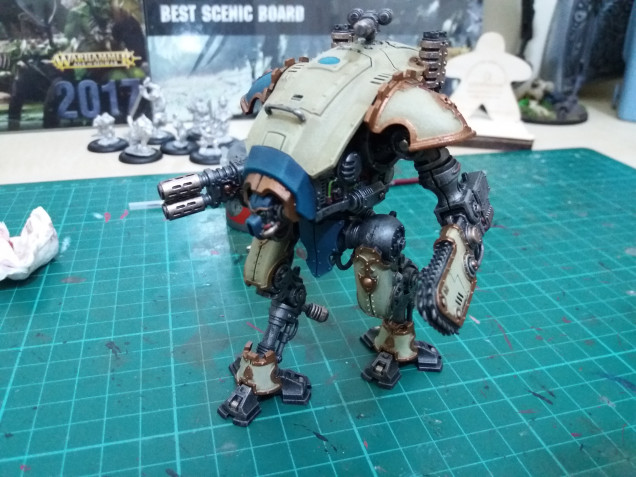
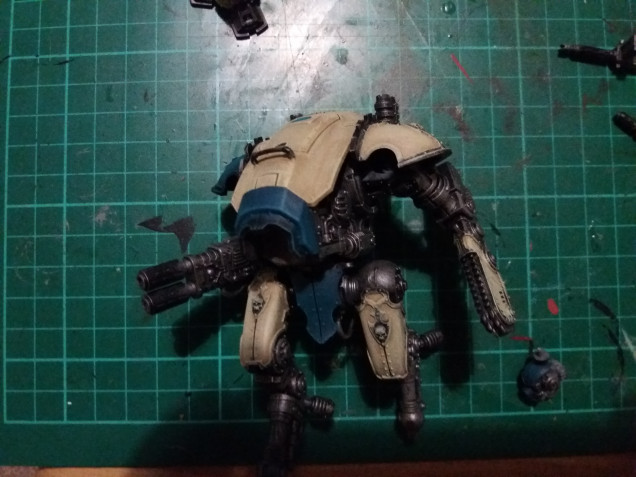 Step 5: Primary Colour, the base was done with Zandri Dust and then I highlighted in the same way as the secondary colour with Ushabti Bone
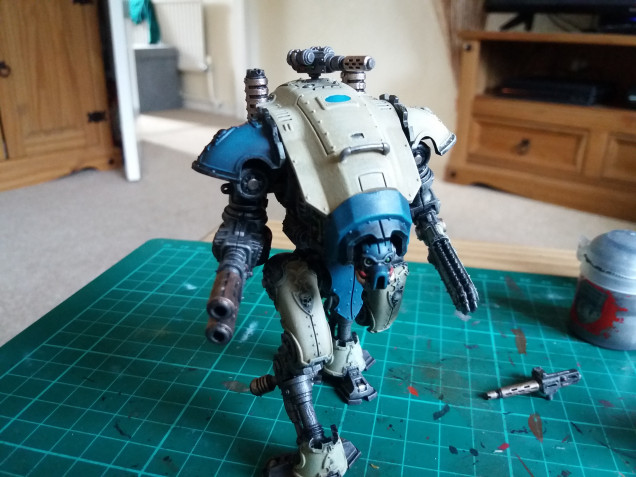 Step 6: Brass, I painted all the weapons and picked out certain focal areas within the workings of the Warglaive with Sycorax Bronze, this gave a little variety to the metal areas
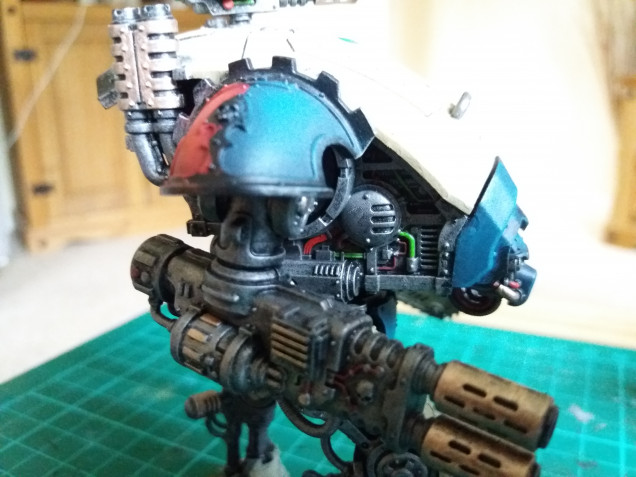 Step 7: Pauldron and Wires, the rear pauldrons were done with Mephiston Red and the drybrushed in the center with evil suns scarlet. I then used the same paints to pick out some of the wires within the workings of the Warglaive. I also used Moot green to don the same, this colour was also used on the lenses in the helmet.
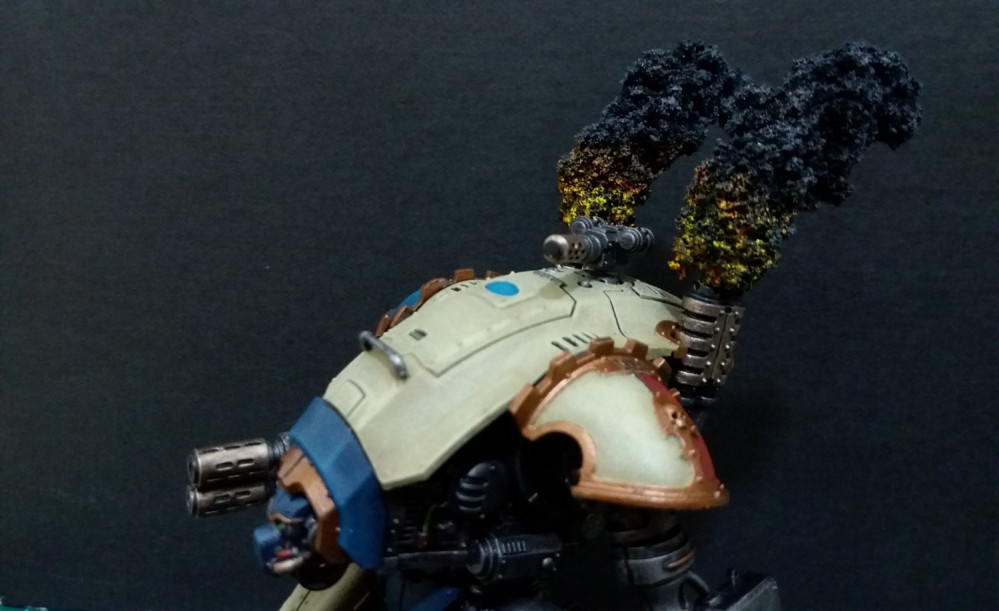
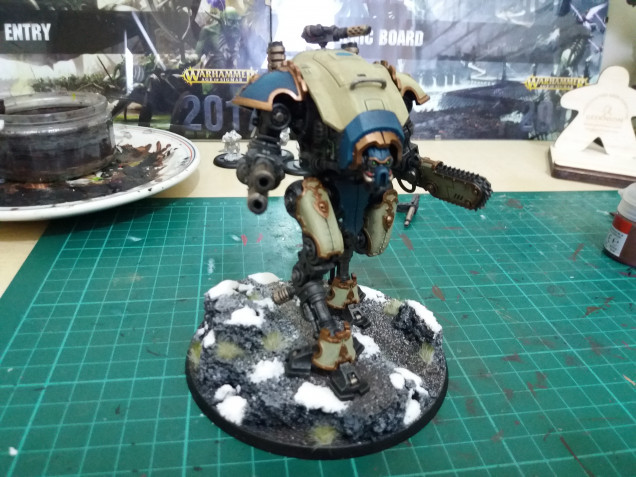 Step 9: I coated all parts of the model, apart from the armour, in Army painter dark tone to sink into all the recesses and add the shading. The Armour didn't need doing as the drybrushing of a lighter shade worked well on it's own. That's it for painting, I now wanted to try something I've not done before and add some smoke bellowing out of the exhausts.






Leave a Reply