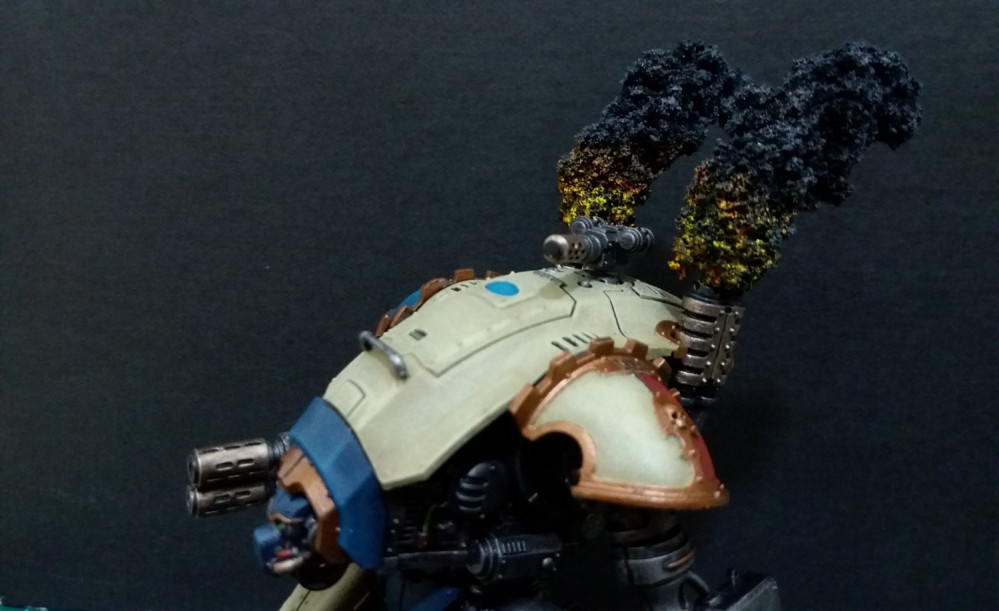
Imperial Knights - Bringing chivalry back to 40k
Basing...
The first step for me is always the base. Once I get this done I can decide on how I want the model posed, the downside of course is that I can’t play with them until they’re all finished, though this does get me painting quicker.
A few years back I painted up a Valhallan force, I dabbled slightly with snow bases then but never really went as far as I wanted. So snow was decided on.
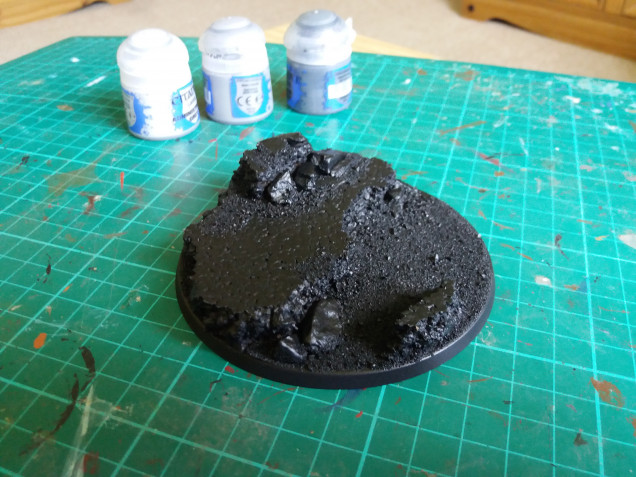
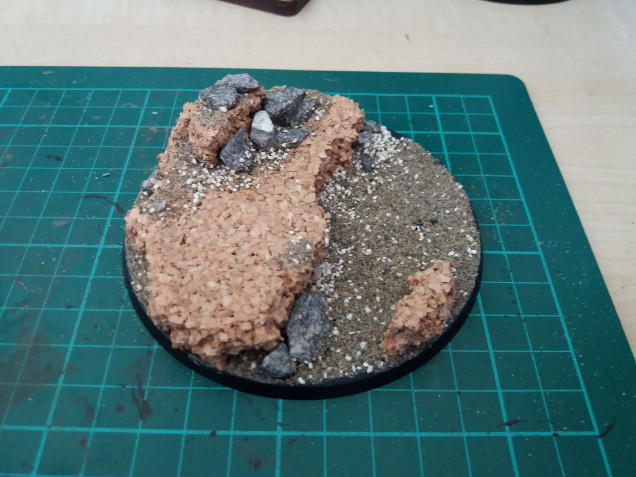 Step 1: I picked up a few bits of cork and arranged it so I could have him with one foot on a rock, I know this is the standard pose for a hero but with it being the first in the force I had to give it a go. I then added some small rocks and sand.
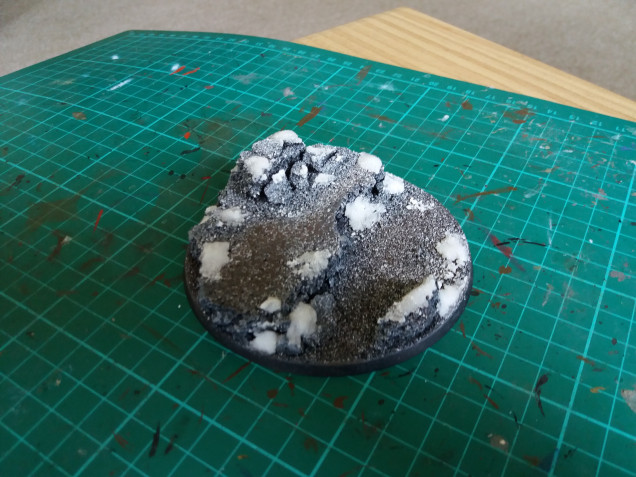
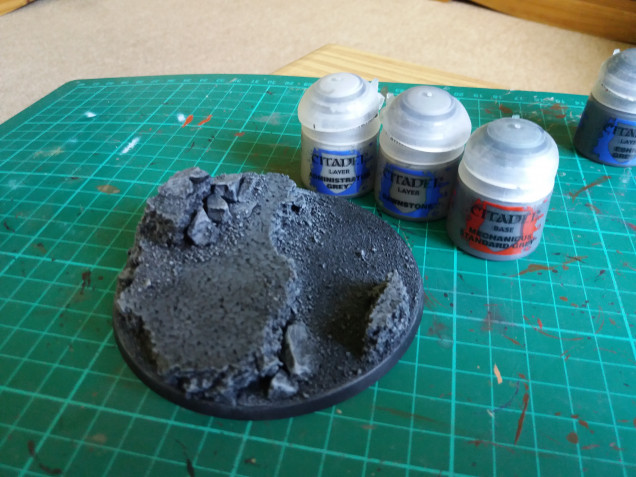 Step 3: Drybursh the rocks. Mech standard grey to begin, then dawnstone and a final drybrush of administratum grey, this was mainly concentrated around the smaller rocks to define the edges. better
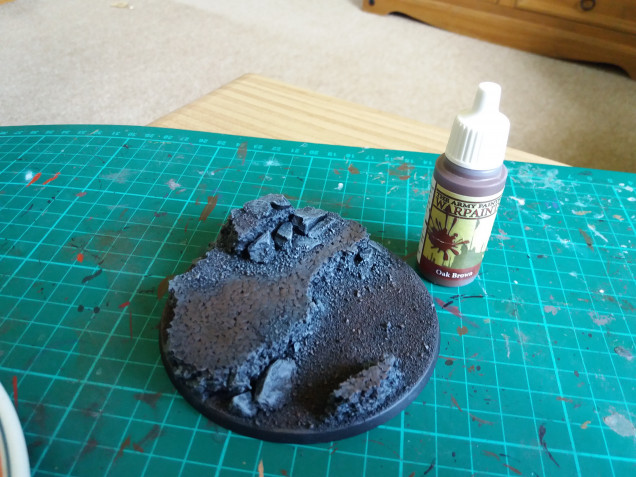 Step 4: Dirt, again I drybrushed this, this time though I concentrated on the flat areas. The drybush means that you don't get a block coverage and it looks more natural alongside the rocks.
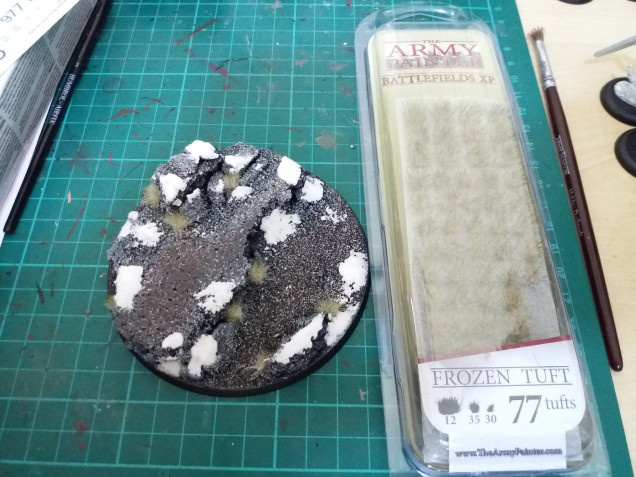
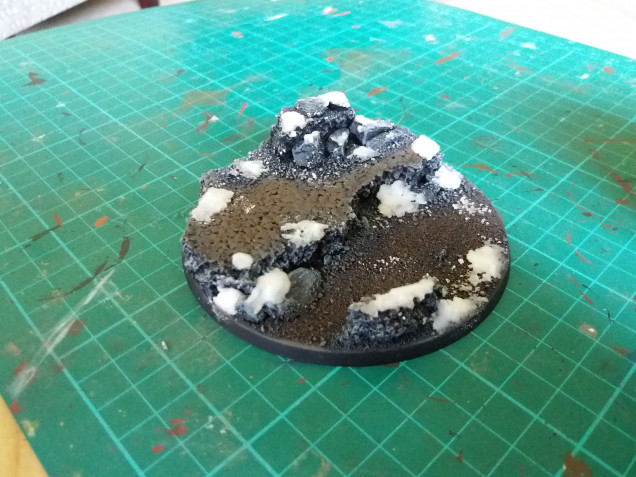 Step 5: Snow, For this I used Bicarbonate of Soda and PVA, I do this by mixing a little on a pallet and add each ingredient till it looks about right, there's no exact science with this. It will look like really think PVA but drys really nicely.




Really nice work. It goes without saying but the smoke effects are just great!
Thanks very much, pretty easy once you’ve figure out how ?