Avicenna Paints Guild Ball Busts
Recommendations: 150
About the Project
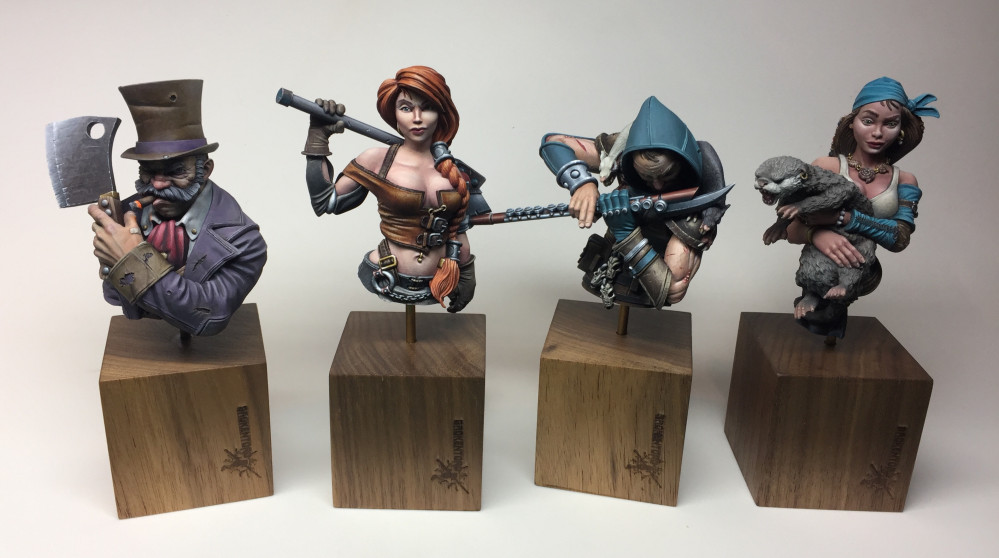
I have been painting the Guild Ball busts for BrokenToad as their box arts and wanted to share my brogress. I have now completed the first 4 which you will find in this project. If you have any questions about my process please don’t hesitate to ask.
Related Game: Guild Ball
Related Company: Steamforged Games
Related Genre: Fantasy
This Project is Completed
Rage
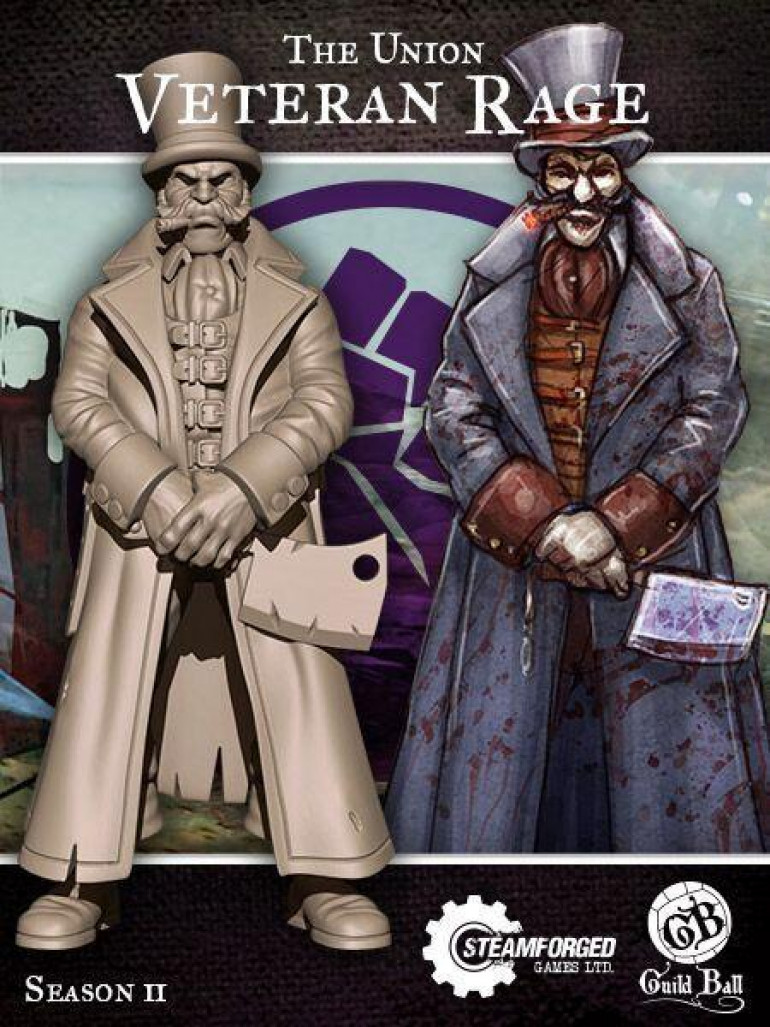
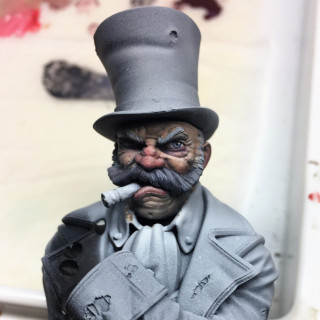
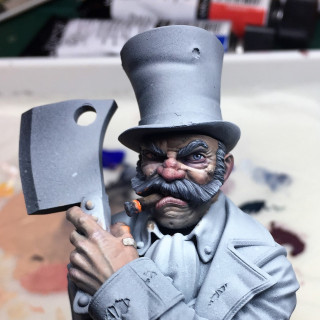
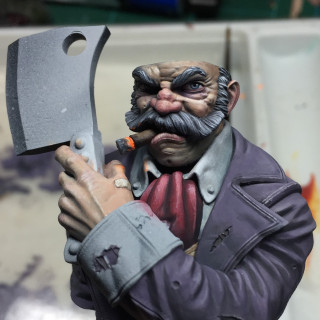
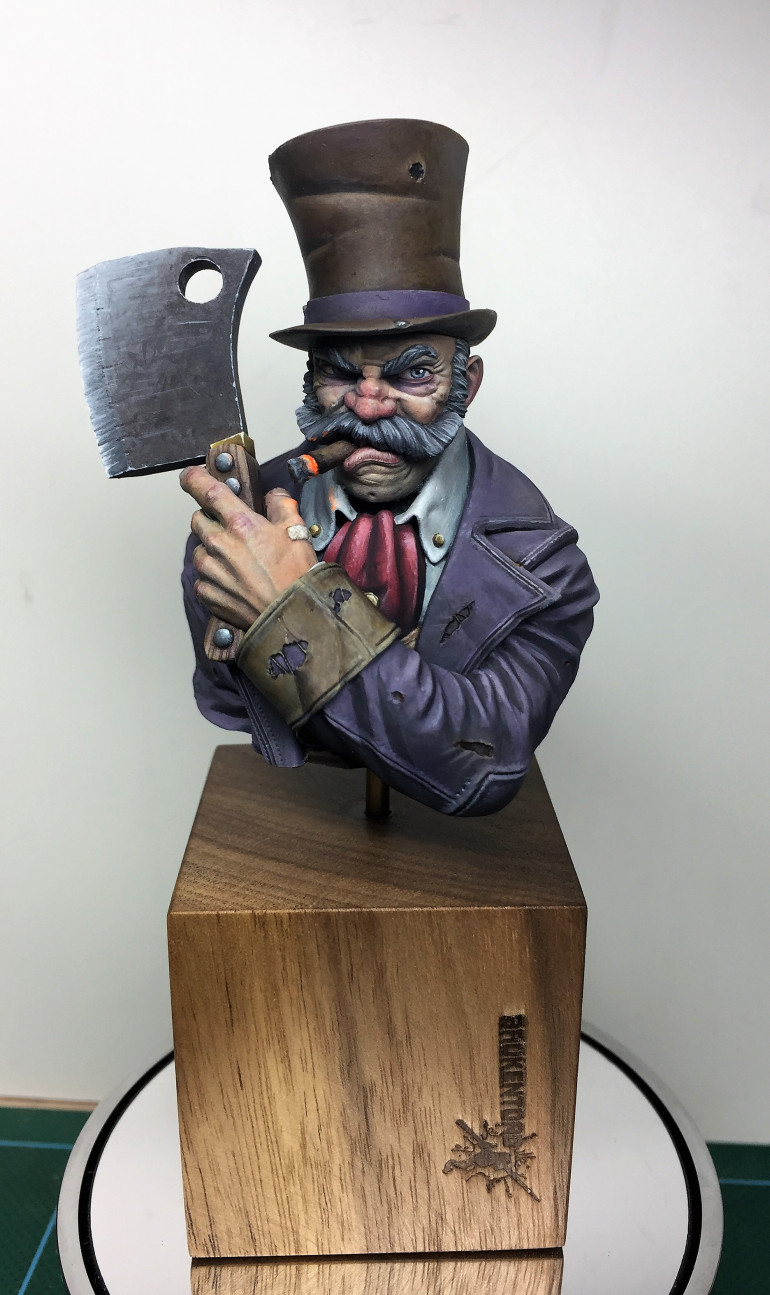
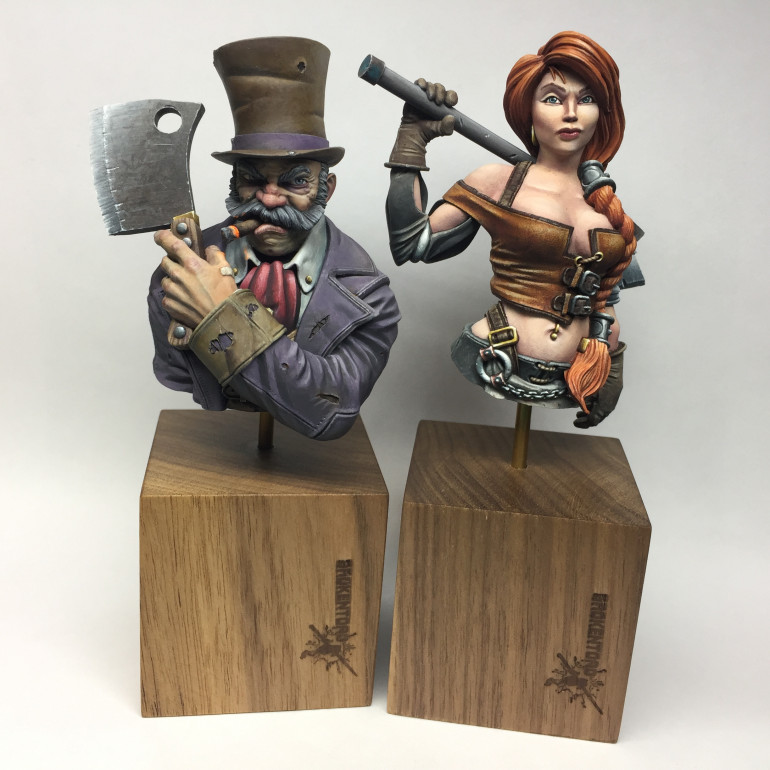
The first of the busts I have tackled is Rage from The Union. I picked this guy first because he looked like he had great character in his face and I thought the level of detail would be a good challenge to really push me.
I started with a bit of research into the character and the colours he might wear. I found this photo.
So the plan was to go with a purpley-grey coat, and then a dark red cravat, and the rest I decided to go with however I felt once I’d got that far!
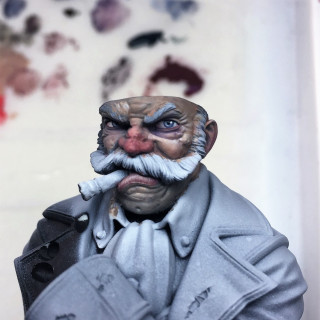
The first thing for me to tackle before any of that was his face. This is a typical place for me to start as I like to really set the tone for the miniature and get a bit of life into the model to keep me interested and excited about the way it progresses.
I haven’t really got any step by step photos as I tend to work a lot of the time ‘wet on wet’ mixing and blending colours directly onto the model – at some point I hope to do a video, but I’m not quite there yet.
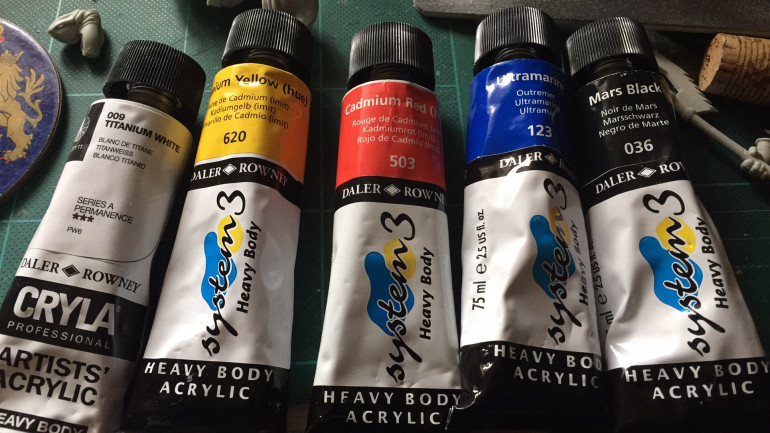
In all of these busts, I have gone for “custom” mixed flesh tones to try and emphasize the different characters in each of the models.
These are the colours I’ve used in the flesh and the quantities are White>>Yellow>Red>>>Blue>Black
I went for some fluorescent paint on his cigar to really make it pop 🙂
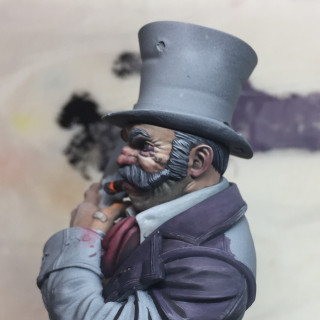
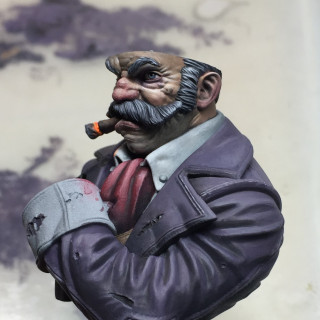
The next step was his cravat and coat – the cravatte was mixed from the red on the palette from the flesh tones plus some of the pale flesh for the highlights and the coat was Daemonette Hide and highlighted with Slaanesh Grey
I decided to break the colour up by giving him a leather top hat rather than the purple in the artwork. This allowed me to get a little more texture into the paint job and I included a lot of stippling to try and bring that worn leather feeling out.
I also added texture into the blade as I wanted it to appear like a really well worn butchers cleaver.
Some tweaking and about 5 different colours on his cuffs, and I finally got somewhere.
Next up, Brisket
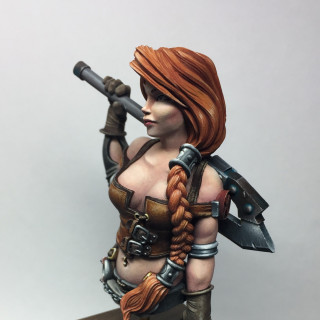
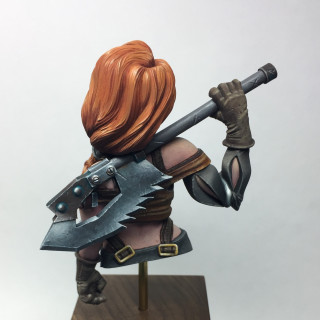
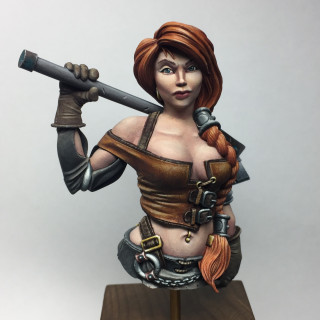
Before I finished painting up Rage, a fourth bust turned up in the post and this one was another beaut. It was Brisket from the Butcher’s Guild and she jumped straight to the head of the queue!
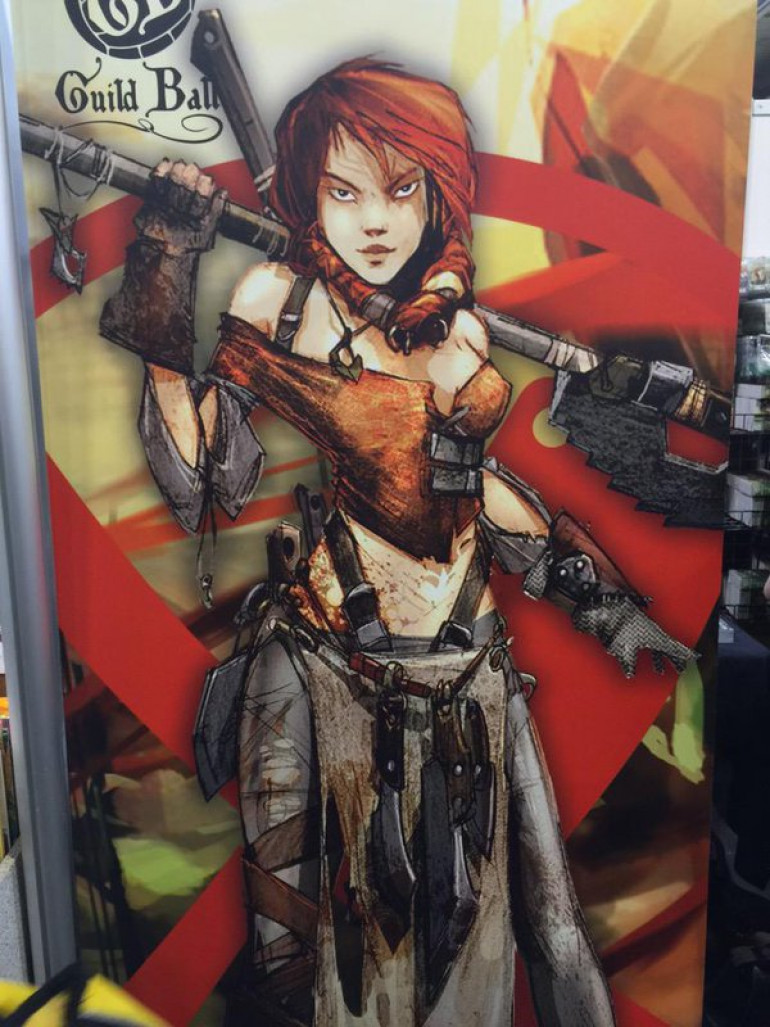
First things first, what does Brisket look like? A quick google search brought up this artwork from the guildball game itself.
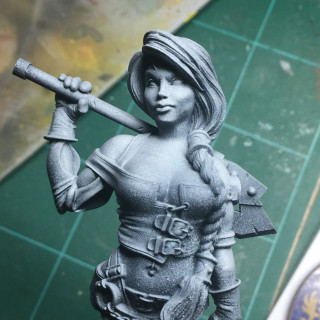
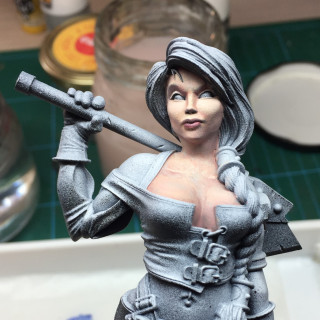
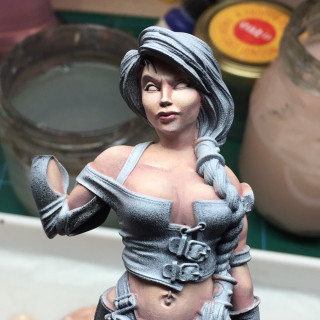
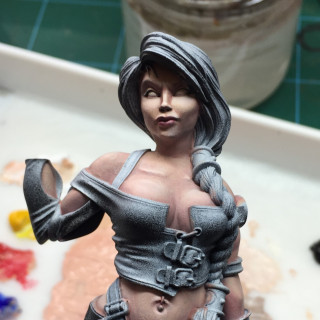
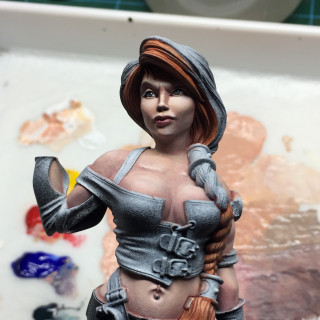
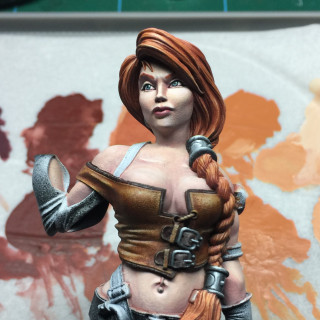
As I mentioned in the previous segment, I wasn’t really able to get many work in progress photos of painting Rage’s skin as I tend to paint ‘wet on wet’ or ‘wet blend’ those sorts of nuanced colours. This makes it difficult to stop and take a photo, but I thought I’d give that a try on Brisket.
So this post is going to mainly look at the way I painted her skin tones.
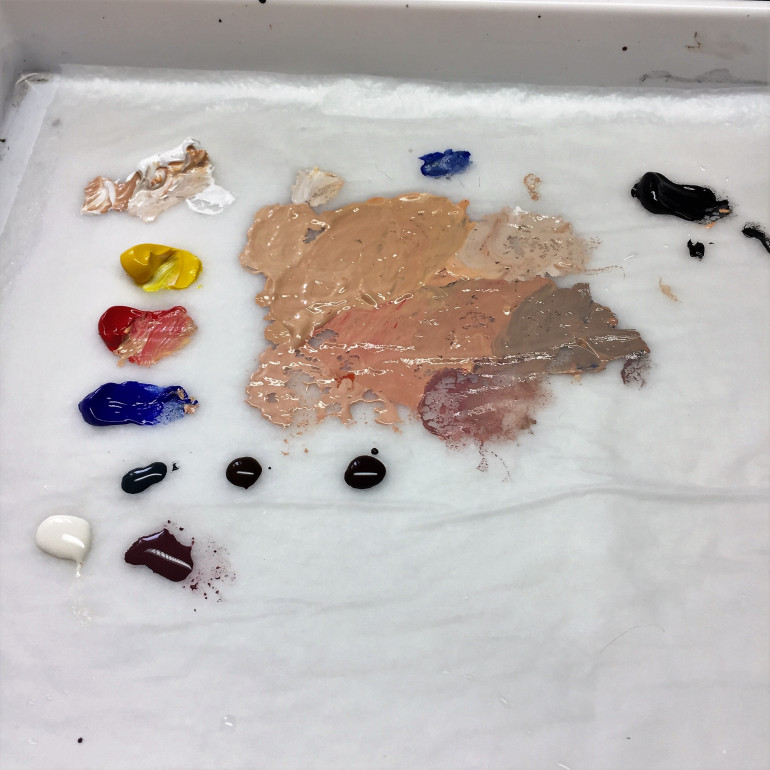
Lets start with my palette set-up
You can see my main mix in the middle of the palette which is mixed in pretty much the exact way as I showed in the video on the Rage part of the project – primary colours + black + white. I have also mixed various tones and shades that I can use throughout the painting process.
Below this large area of paint is three blobs that look almost black in this photo. I can assure you they aren’t quite that dark in the flesh and are three of my staple colours
- P3 Coal Black – this is a very dark, desaturated turquoise and a paint I frequently use in my darkest shadows, even if it is just a tiny dot of it in another colour.
- Vallejo Armour Brown – a redy brown that I use a lot as a glaze to add warmth and shift the colour of flesh tones.
- Vallejo German Camouflage Black Brown – this is a dark, desaturated brown. I use this as a dark liner where I don’t want to use black, or as another way to get some darker shadows into the flesh.
Below these three paints is 2 more pools. These two are also two of my “go to’s”
- Vallejo Ivory – this is like my standard highlight colour. Not as stark as white but still gives a good amount of contrast
- P3 Sanguine Base – I use this a lot for fleshy areas of many kinds. Inside of orcs mouths, edges of old wounds, and in this case Brisket’s lips. I also used it as a shade colour for her flesh tones.
Let’s look at how I applied the paint.
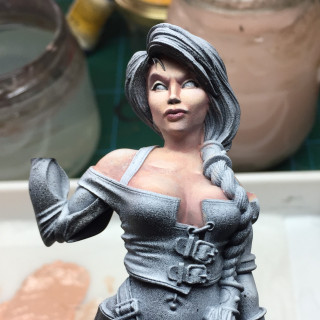
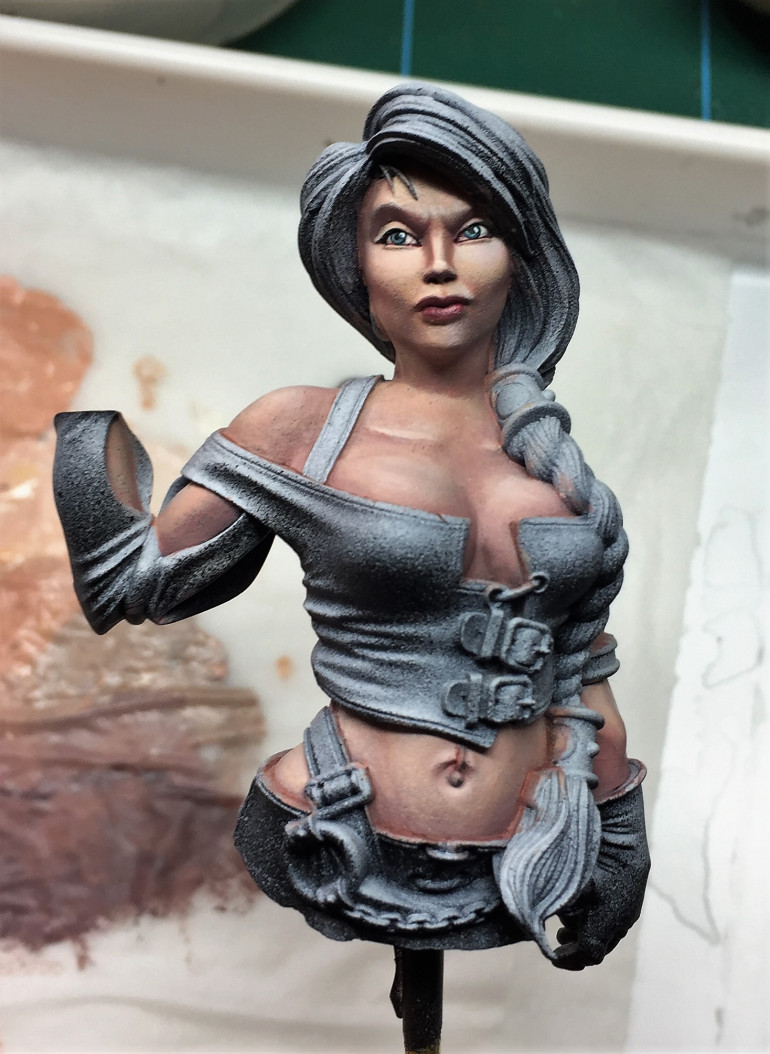
You can see that I tackled each section of flesh individually at first. This was for 2 main reasons:
- I was creating the initial gradients of colour and shade with wet paint and if I tried to do this on too many areas at once the paint would be drying before I worked my way round.
- It allowed me to be mindful of the zenithal priming and it meant that I could use this as a reference as I painted each area. If I painted it all a flat flesh tone from the start, I’d have lost all of this information.
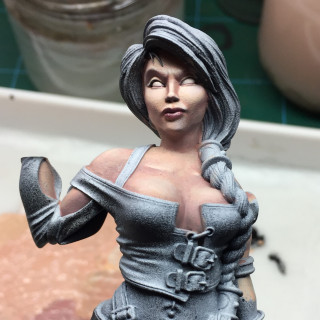
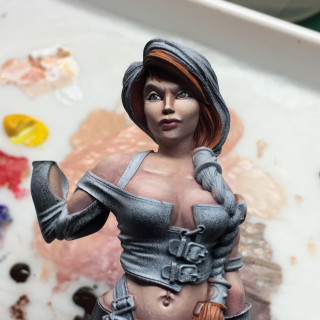
What may not appear too obvious in these photos is that I also refined all of the areas of flesh as I added paint to new areas. This meant that it could be quite rough to start with and may also still have some of the primer showing through, but by the time I got to the last image it was a lot smoother, and the shadows were much darker. I used a real mix of the darker colours depending on where the shadow was – for example, under the arms and in the recesses of her sleeve, I used more desaturated, cooler tones and round her face I used more saturated and warmer tones.
You can also see that part way through this transition, I painted the eyes in – for this I used the ivory on my palette. I also painted her lips and gave her some subtle rouge on her cheeks. Both of these details were in the P3 Sanguine Base mentioned earlier.
I refined these flesh tones further, pushing the highlights a bit more and sorting out any patchiness of colour, and painted in her eyes.
The next steps were painting in the rest of the details.
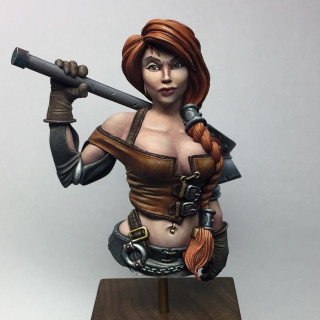
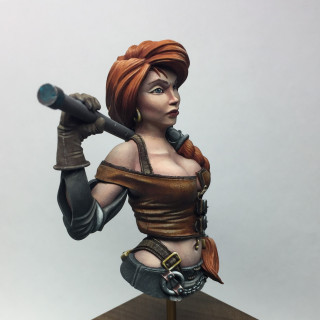
In a bust like this, where it is larger than a typical wargaming miniature, I always feel that it is worth trying to incorporate as much variation in texture into the piece as possible, taking advantage of the different materials present to try and represent them in the paint.
With this in mind I focussed on her leather top letting the spatter of the zenithal priming come through to give some of the texture, but kept areas like her sleeve as smooth as possible to try and simulate a smoother fabric and then enhanced contrast on the metal areas to make them appear reflective.
This all culminated an a fun piece that I really enjoyed working on.
If you have any questions please ask!
Moving onto number three
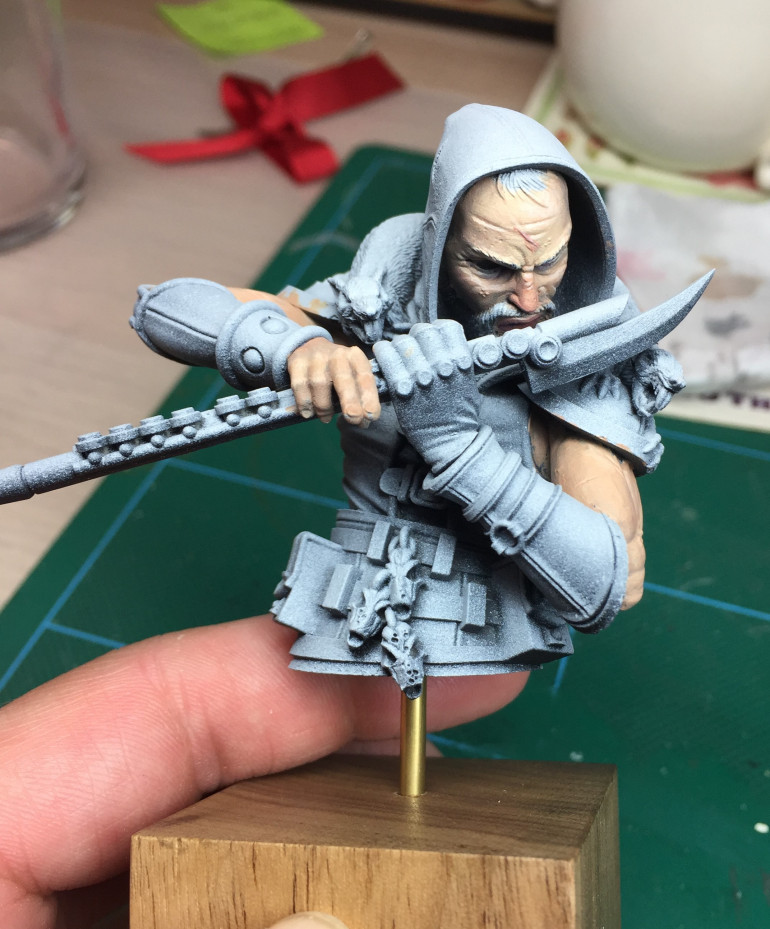
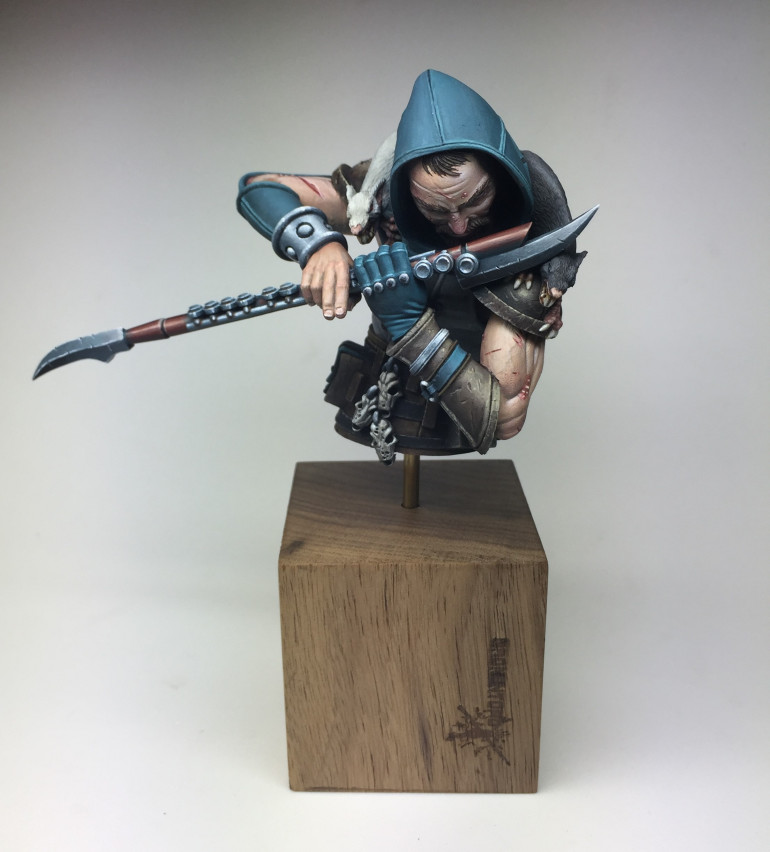
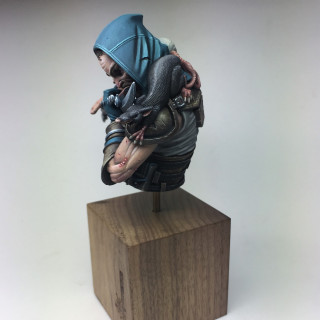
The third bust in this range that I am working on is Piper from the Ratcatcher’s Guild. I found this guy rather intriguing with his unusual posture, bladed flute and pair of huge rats!
As with the other two I’ve started with his skin. I tend to try and work from the deepest level out ‘dressing’ my figures with paint – skin, shirt, then coat/hats etc.
early days yet but here he is so far
Thats all for now – should hopefully have an update over the weekend 🙂
Extreme Close Up!
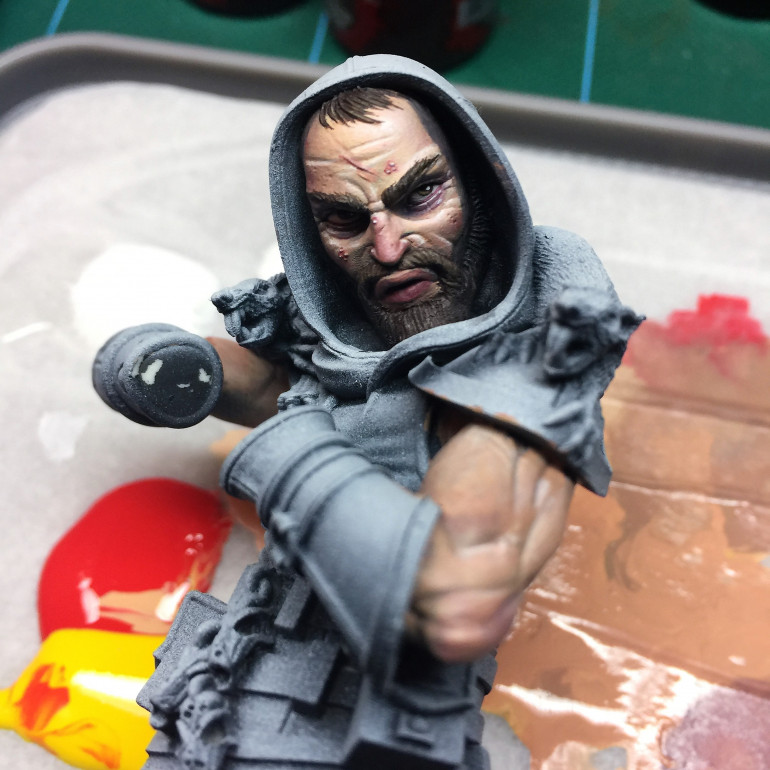
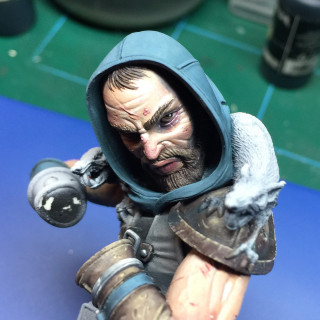
I continued work on Piper’s face tonight. Trying for dark and brooding and looking up from under his brow.
Wet Blending
I’ve mentioned previously that I have been using wet blending for the skin on these models, and that it was difficult to try and take true in progress shots. So I thought I’d try and do an up close video!
I’m painting a section of Piper’s leather pauldron – I hope it helps!
Any questions, please ask!
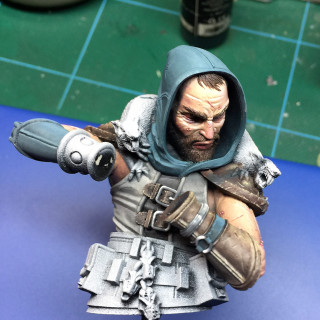
Slowly but surely he’s coming together!
I’ve replaced these images as they were sideways!! I hope these are a little better!
And now Piper is complete
I continued round the figure painting in all of the leather using a similar technique to my video lower down this thread. As there was so much leather on this model, I changed up the browns I used to try and give the feel of different leathers used for different parts of his clothing.
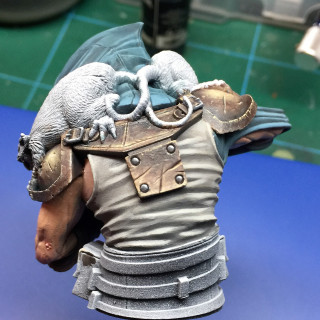
I spent quite some time trying to decide what colour I should paint his rats and in the end plumped for a bit of a ying and yang feel and painted one black and the other white. I was pleased with the contrast they added to the browns and blues of the rest of the paint-job.
I have also gone for a copper flute, again to add another point of interest to the model.
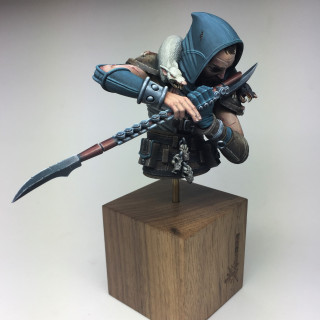
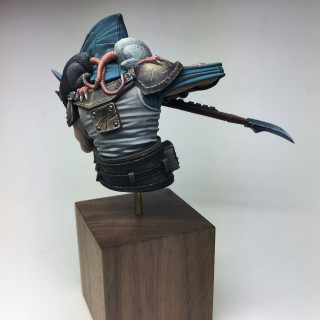
Here are a few other views of Piper – Comments most welcome!
The final chapter
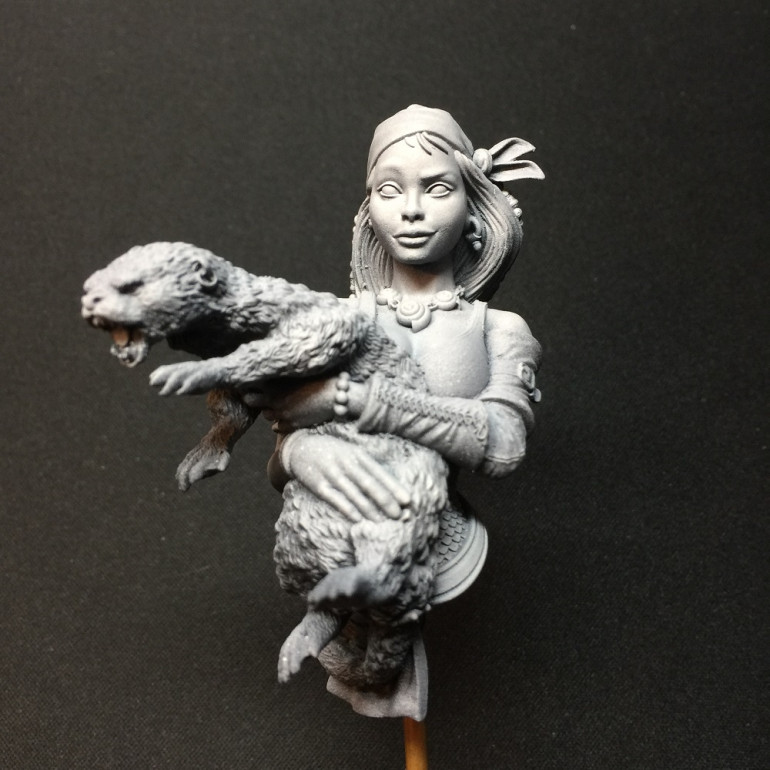
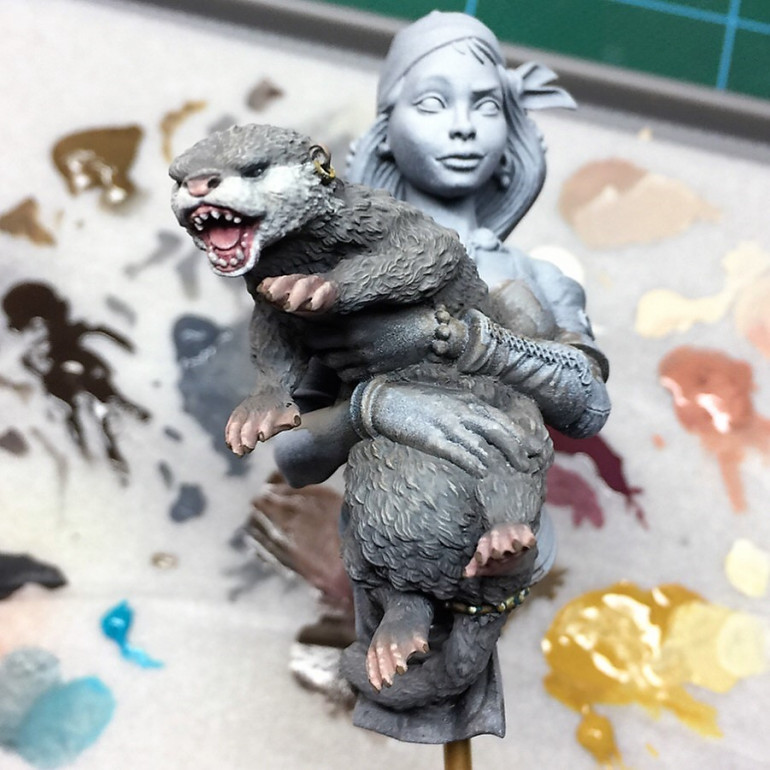
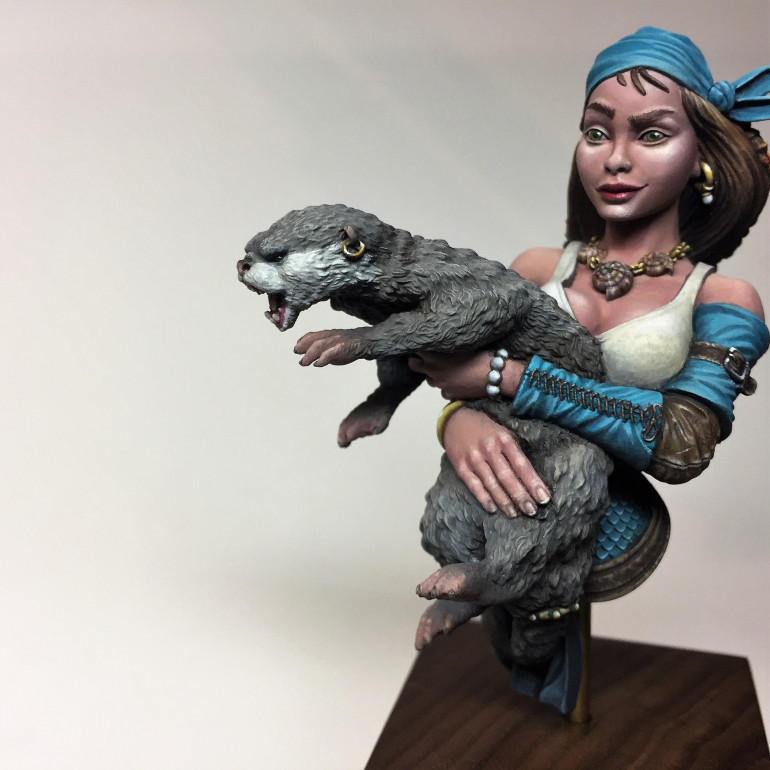
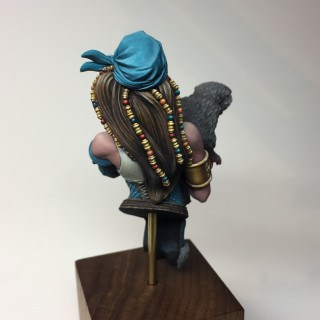
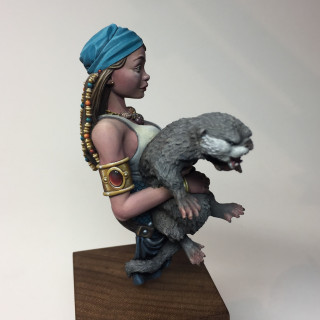
The last of these 4 busts is Angel and Salt – a ‘double’ bust really as you might argue that Salt (the otter) is as important as Angel to the Fisherman’s Guild!
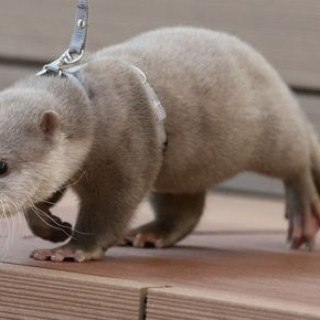
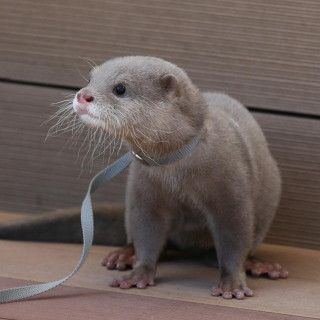
In all of the pictures I’ve seen online Salt has been a white otter, but he doesn’t have pink eyes so I didn’t want to do him as an albino (plus I wanted him to look different to the albino rat on Piper’s shoulder). I decided to google ‘white otter’ and got a couple of interesting photos.
Otters are normally a dark brown/black colour and it appears that white otters are a very pale browny-grey. The fact that this adds a good bit of interest to the model sold me on the idea of trying to reproduce this colour scheme.
Here is my attempt
Last but by no means least
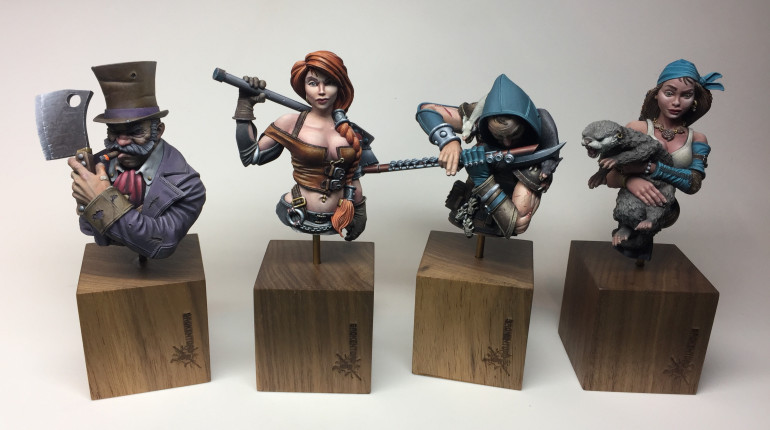
Well, this is the last post for this project as I have now finished all 4 of this first lot of busts and wanted to share her (them) with you.
My last update was Salt in all of his white-otter goodness, and now I have finished Angel to go alongside him.
I really wanted her skin to be quite different to Brisket yet still smooth and feminine. To achieve this, I ended up mixing yellow ochre with P3 Sanguine base and a load of ivory. Using completely different colours helped make sure the base tone was different from the outset, even though the shadows and highlights were the same.
One thing that took a crazy amount of effort was the non metallic gold beads in her hair… ouch! they are beautifully detailed but NMM really made it tricky for me! I’ll be chalking that up to experience 😛 Looks good though 😉
The gang's all here
If you’ve followed my whole project, thank you!


